Make your portraits look as if they were shot in a high-end photo studio

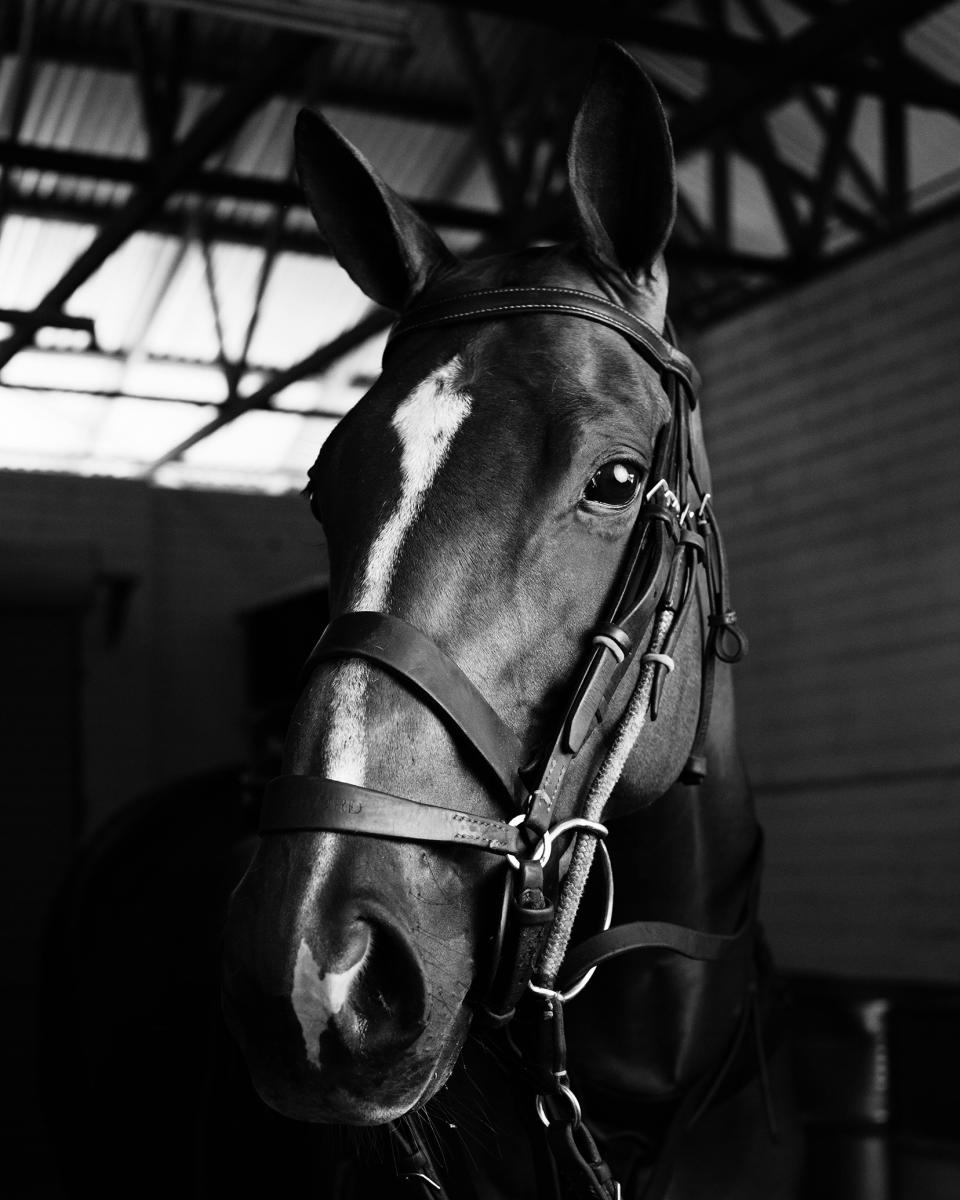
Monochrome portraits are a great way to highlight the eyes and facial features of your subject. By editing the background to black and blending the subject’s outlines in one frame, you can create a negative space that allows the subject to stand out, while effectively drawing the viewer’s attention to the frame.
What you'll be using:
Curve Adjustment Layer
Pixel layers
Brush tool
Color Panel
Blend Ranges option
Before and after

Editing steps
1. Add drama
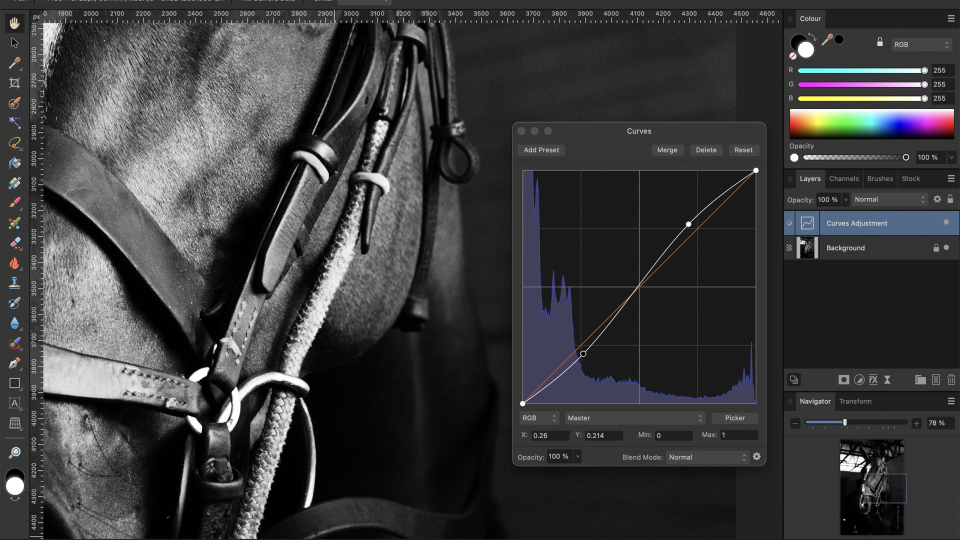
Firstly, work on the overall contrast of the image. Add a Curve Adjustment layer and make the line into an S-curve by adding nodes and dragging the line to bring the highlights up and the shadows down. The layer works non-destructively, so you can fine-tune the settings at the end.
2. Color in the background

Add a Pixel layer. Select the Paintbrush tool with 100% flow, opacity and 0% hardness. Choose black from the color wheel. Paint around the subject, avoiding the outlines. Add another Pixel layer. Select the Brush tool with 20% flow and use it to fill in the gaps. Correct with the Eraser.
3. Blend outlines
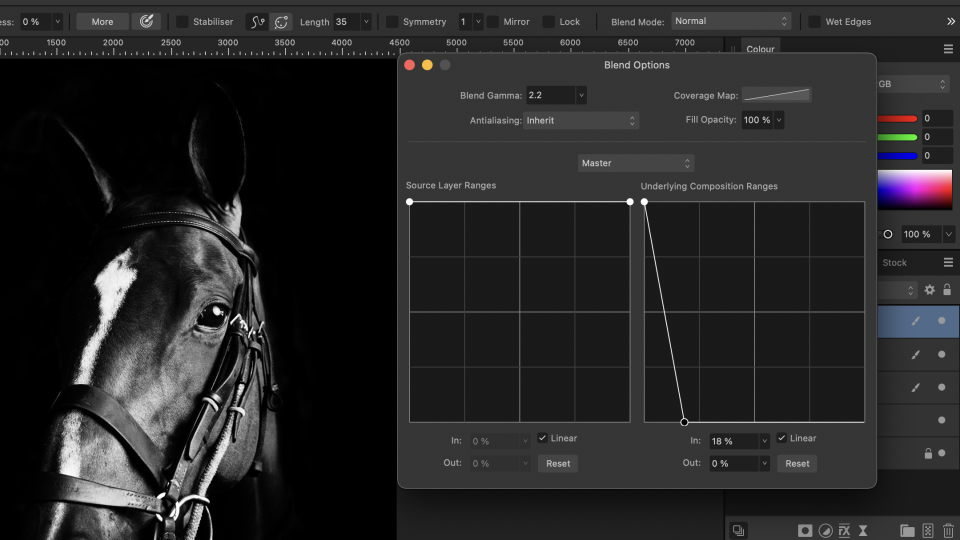
Add a third Pixel layer. Use the Paintbrush tool to paint over the outline of your subject. It doesn’t need to look perfect, as we will blend it in. Open the Blend Ranges option and focus on the right graph. Lower the right node and move it to the left to recover any overpainted highlights and details.
4. Add a mood

To create a moody look, adjust the darker areas by adding another Curve Adjustment layer. Select the bottom left node and gradually increase its position. This step is optional and depends on personal preferences, so experiment with the settings until you achieve the desired result.
5. Fine-tune

Add another Curve Adjustment layer and bring the middle node of the graph right down. Now invert the layer and drag and drop it to the right of the background layer. Finally, use the Brush tool to paint over any elements you want to darken with a white color or brighten by painting with black.
Key tip
Extend the frame
If your portrait only has a little background space around the subject, extend the frame by selecting the Crop tool and adjusting it to your preferences. You can apply the editing technique to a variety of portrait shots so that your subjects stand out for a more professional look.
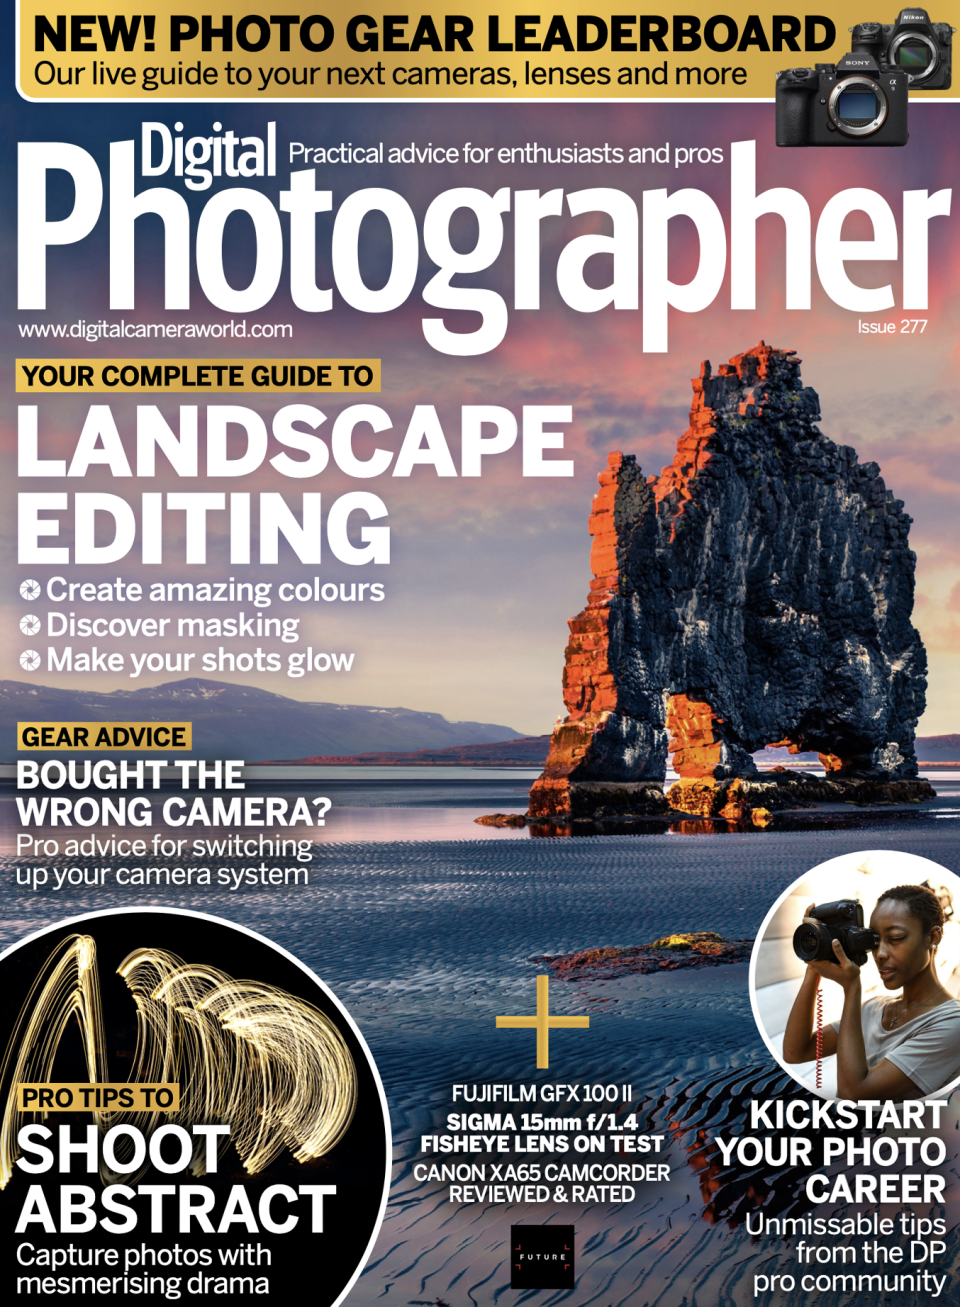
This article originally appeared in Digital Photographer, a monthly magazine, and the kitbag essential for pros, enthusiasts, and amateurs alike!
Inside, you'll find practical guides, shooting tips, and techniques from working photographers, plus all the latest industry news.View Deal

