The Very Last Thing You Should Do With Wilting Flowers (It’s a Japanese Tradition)
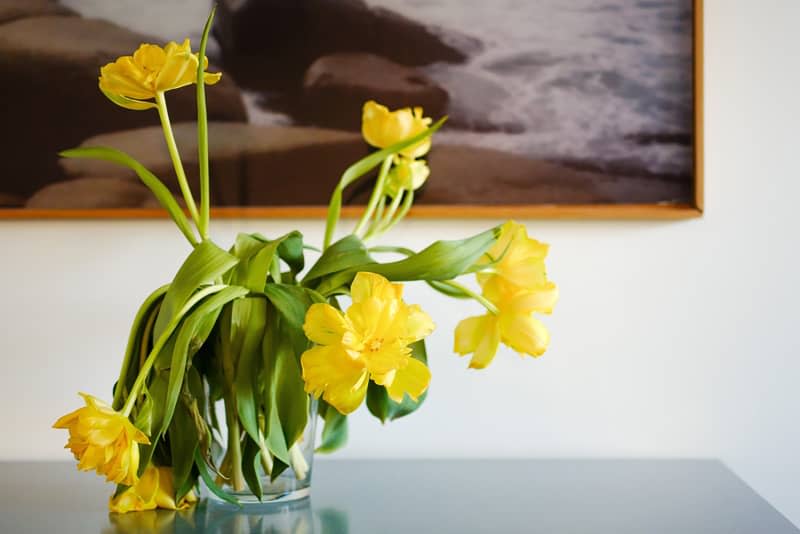
Something you should know about me: I love flowers, and I love Pinterest. One of the coolest Pinterest discoveries I’ve made this year has hands-down been Japanese herbariums, which are essentially decorative solutions to save and display dried flowers. Though their origin is a little blurry, Japanese herbarium jars were likely inspired by European plant preservation techniques as well as Japanese pressed flower art, or oshibana.
When I saw designer-influencer Janine Graff putting together a dreamy herbarium, I instantly fell in love with the concept. It’s such a unique and eye-catching approach to keeping flowers in the home, and a brilliant means of gracefully retiring an already existing dried flower bouquet. (Plus, it’s wallet- and eco-friendly!). While using fresh flowers isn’t out of the question, experts note that they’ll lose their color and form quickly, so you might as well use dried flowers instead.
I think an herbarium jar is the sweetest springtime craft or gift, especially with Mother’s Day right around the corner. Sentimentally, it’s also a way to continue treasuring flowers from a meaningful occasion, such as a wedding, birthday, baby or bridal shower, or funeral (kind of like these wedding bouquet resin coasters). Here’s how to do it yourself.
How to Dry Flowers So They Last Forever
Whichever drying option you go for — I’ve detailed five different methods below — make sure to snip away excess leaves and stem length in advance!
Personally, I like to dry my flower bouquets by air-drying them, which is low-lift yet effective. All I do is rubberband the stems together and leave them hanging upside-down in a closet for about two weeks. I check on the bouquet every couple of days to gauge how much moisture is left. In the comments of the video, Graff recommends drying rounder blooms such as peonies, roses, and carnations, and using the same air-drying method.
Graff also suggests coating the flowers in silica gel and microwaving them with a glass of water for 30-second intervals for up to 3 minutes.
In addition to air-drying and microwaving foliage, three popular flower drying methods include desiccant drying, baking, and pressing.
Silica gel (like the tiny bags found in product packaging) and cat litter are frequently used desiccants that can naturally dry flowers in the span of one week. Just cover the flowers with your preferred drying agent, seal everything in an air-tight container for 3 to 7 days, and thoroughly dust off the flowers when they’re crisp.
To bake your blooms, spread them out on a baking sheet and pop them in the oven to heat at 200 degrees Fahrenheit for an hour or two. Check their progress periodically, looking for shrinkage. While using the oven is definitely the fastest option, keep in mind that the high temperature could lead to petal and pigment loss!
Lastly, you could opt to press your flowers to get a more delicate, ethereal aesthetic. (You might want to chop more stem space off to highlight the buds on larger flowers.) You could lay the flowers flat on parchment or wax paper and set a weighted item on top. Alternatively, you could place the flowers in between the parchment or wax papers and close them in a heavy book. Both could take about one to four weeks to dry the flowers and require weekly paper changes.
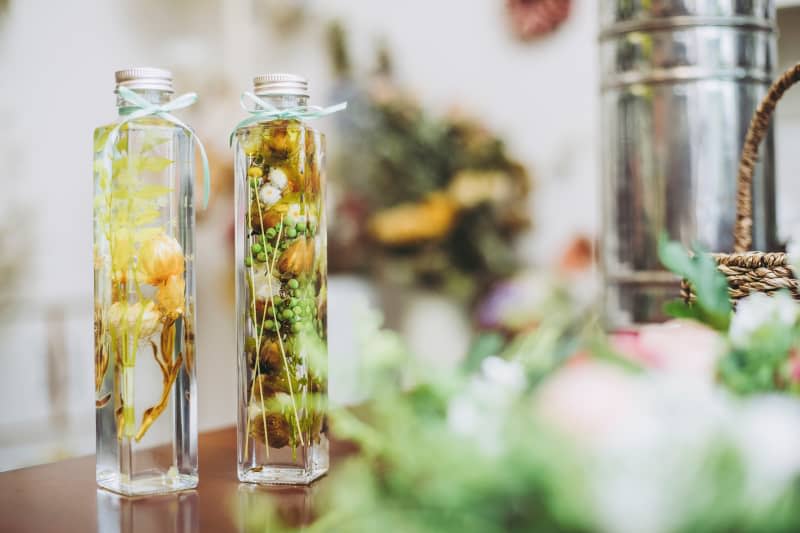
How to Make an Herbarium Jar
What You’ll Need to Make an Herbarium Jar
Dried flowers
Glass vase, jar, or vial
Wooden skewer or chopstick
Take your dried flowers and play around with their formation, making sure you’re satisfied with each stem length. Graff encourages a variety in height for greater visual appeal.
Take your container of choice — you can likely score a great thrift find or reuse a household, beauty, or candle jar — and insert the foliage. Get your blooms into a position you’d want them to stay in, but note that you’ll have more time to rearrange later.
Slowly pour baby oil into the container, and use a wooden skewer to arrange the flowers as desired.
Seal everything with a cork or a cap! Graff recommends leaving an air bubble at the top or adding a hot glue barrier beneath the cork to prevent oil absorption.
Whichever drying method or jar you choose, you’re bound to have a special creation, whether it’s part of a table centerpiece, kitchen counter decor, or a sweet handmade gift. To add more personalization, try experimenting with different jar sizes, shapes, and styles, or tie string or ribbon around the neck of the bottle for an extra cute touch. I think herbarium jars are a fun idea for craft nights, event decorations, and party favors — and, of course, they’re thoughtful keepsakes for milestone moments. Enjoy your forever bouquet!
Buy: Johnson’s Baby Oil – 200 ml, $6.90

