DIY Organization: How to Build Your Own Shop Shelves
"Hearst Magazines and Yahoo may earn commission or revenue on some items through these links."

The small area of my basement that is carved off into a shop is all I’ve got, so I’ve got to be efficient about how I use my floor space. When I decided to put up a couple of shelves recently, I knew that I wanted a cantilevered design that wouldn’t take up any floor space.
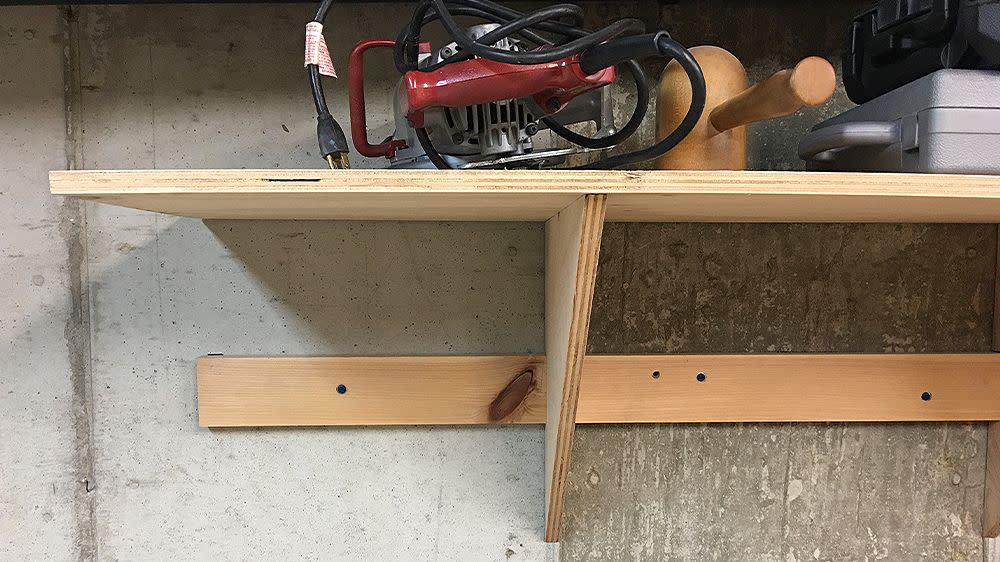
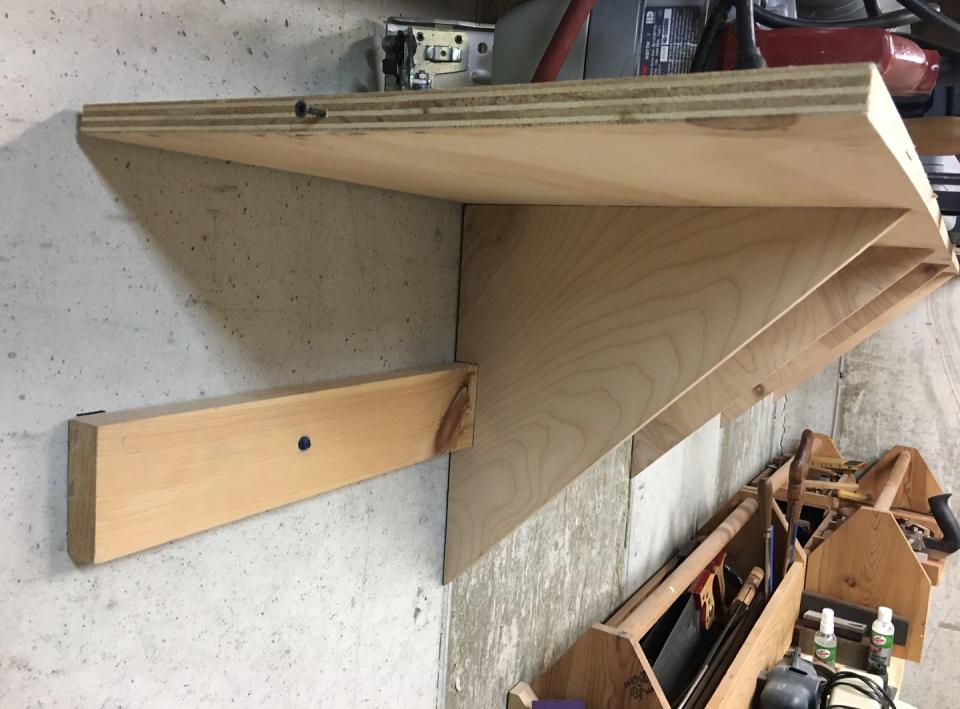
So I came up with the design you see here. It consists of 17-inch-deep (wide) plywood shelves and brackets spaced two feet apart to support the shelf. Each bracket is notched to receive the cleat, and the two are fastened together by driving a couple of screws through the back of the cleat into the back of the shelf bracket.

I built my shelves and brackets with plywood leftover from a previous job, but I did purchase the pine wall cleat material, which is approximately 4 inches wide and slightly more than one inch thick (a material commonly known as 5/4 pine; it’s sold at home centers and lumber yards).
The nice thing about this design is that you can alter the proportions and bracket sizes I show to suit your needs. If you make the shelves narrower (say, 12 inches), you’ll get more shelving from each sheet of plywood. You can also increase or decrease the bracket spacing. Use more brackets for heavy loads and fewer for light loads.
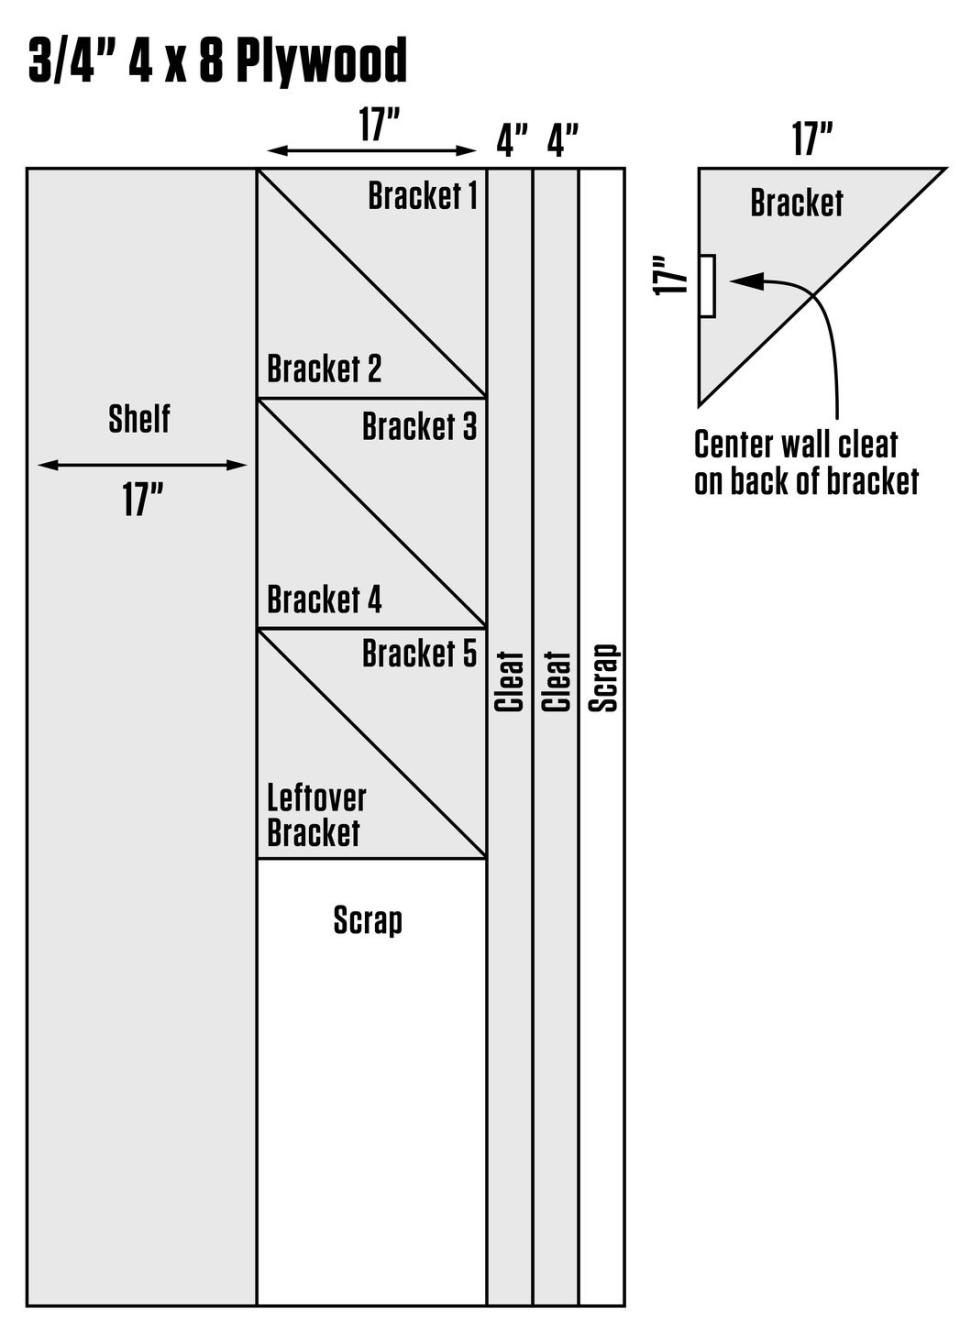
See the diagram if you want to make one heavy-duty shelf, 8 feet long and supported on 5 brackets. This is somewhat different than the design you see in the photos, which has a cantilevered end.
Step 1: Rip
Use a table saw or a track saw to rip the plywood according to the cutting diagram. This will produce one shelf and six brackets, of which you will only use five. It will also produce 4-inch wide cleat material. I show two rip cuts for the cleats. Glue and screw these together will produce a very beefy wall cleat, 1-1/2 inches thick.
Step 2: Cut the brackets
Take one ripped piece and set it aside for the shelf. Take the other 17-inch-wide piece and mark off 17-inch squares on it. Cut three of these squares using a track saw or a circular saw. Then cut each square along the diagonal.
Step 3: Notch the brackets

Cut a 4-inch wide notch into the back of each bracket. If you only use one thickness of plywood, make the notch ¾ inch deep. If you double up the plywood cleat material (to support more weight), then make the notch 1-1/2 inches deep.
Step 4: Assemble cleat and brackets
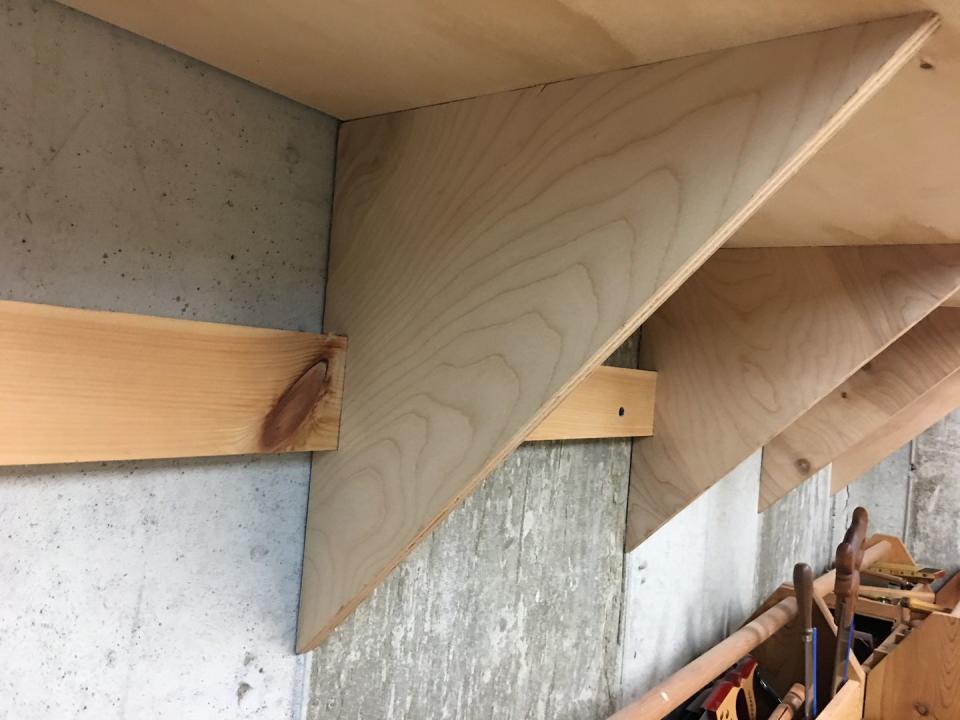
If you use one thickness of plywood (3/4 inch) fasten the cleat into each bracket with a No.8 x 1-1/2-inch wood screw with a self-cutting tip.
You can use:
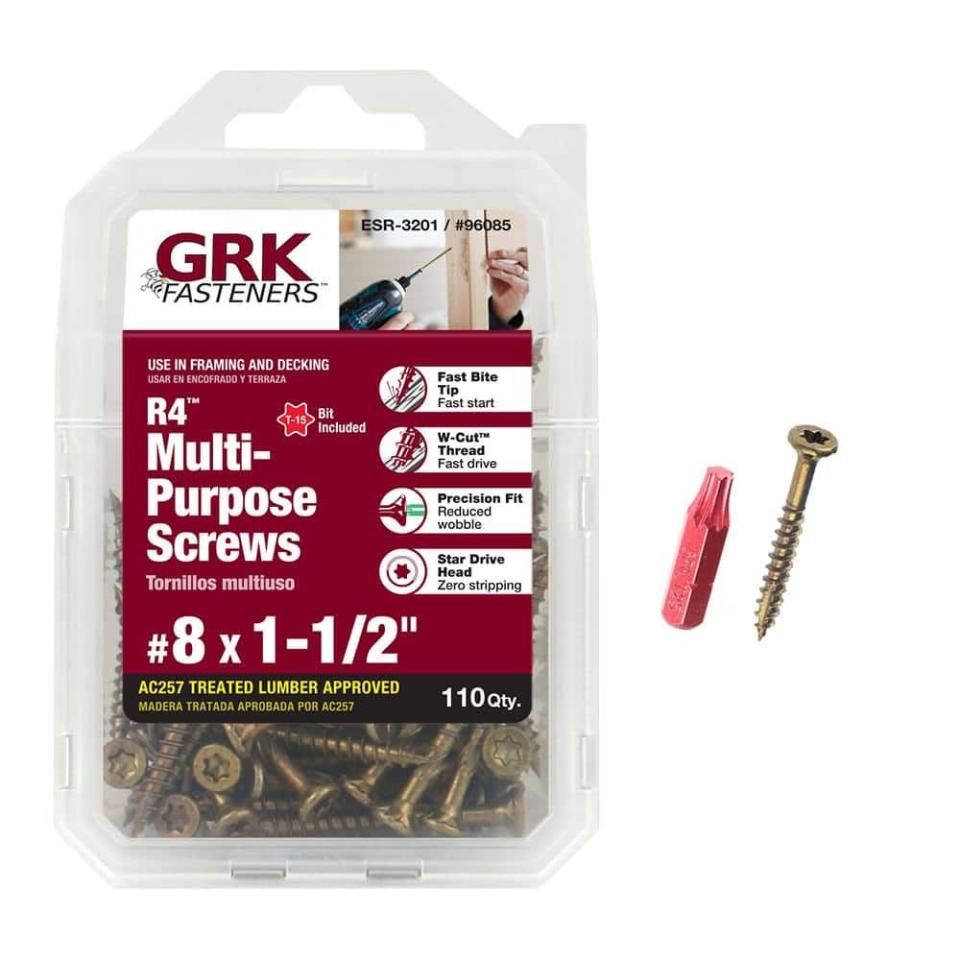
8 x 1-1/2 Inch R4 Multi-Purpose Screws
homedepot.com
$12.38
If you double up the cleats (1-1/2 inches thick), use a larger and longer screw, such as a No. 9 x 2-1/2-inch wood screw with a self-cutting tip.
You can use:
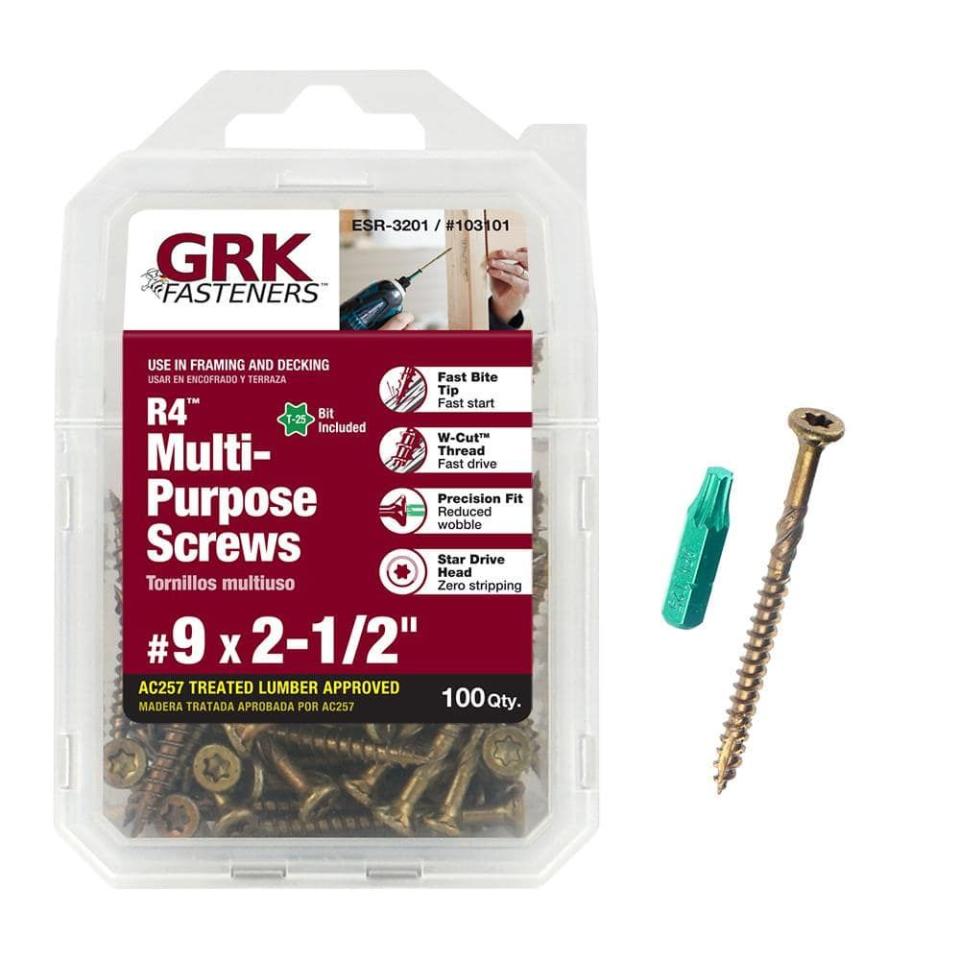
9 x 2-1/2 Inch R4 Multi-Purpose Wood Screws
homedepot.com
$14.99
Because this is plywood, and there’s a risk of the screw breaking out through the side of the bracket, predrill pilot holes using a 3/32” inch drill bit. Drill for and drive two screws at each cleat-bracket location.
Step 5: Hang the cleat-bracket assembly
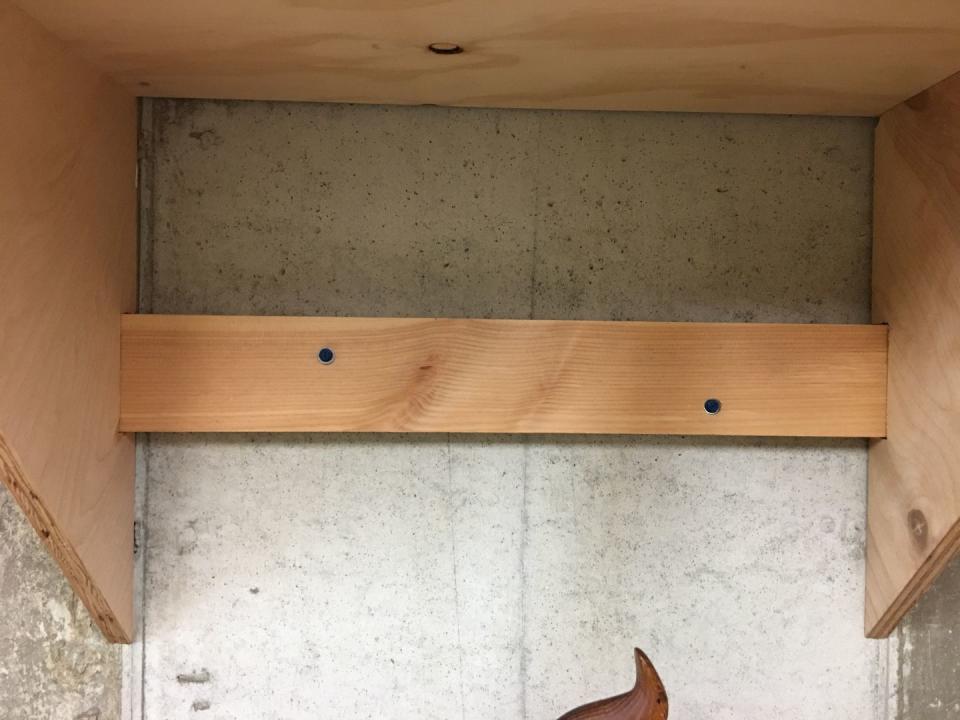
Mark a level line on the wall and drive screws through the cleat into the wall. The shelf shown was attached to concrete with a pair of masonry screws driven between each pair of shelf cleats. These screws measured 3/16 in. x 2-3/4 inch and had a hex head. I used a washer under each screw head to prevent it from digging into the wall cleat.
You can use:
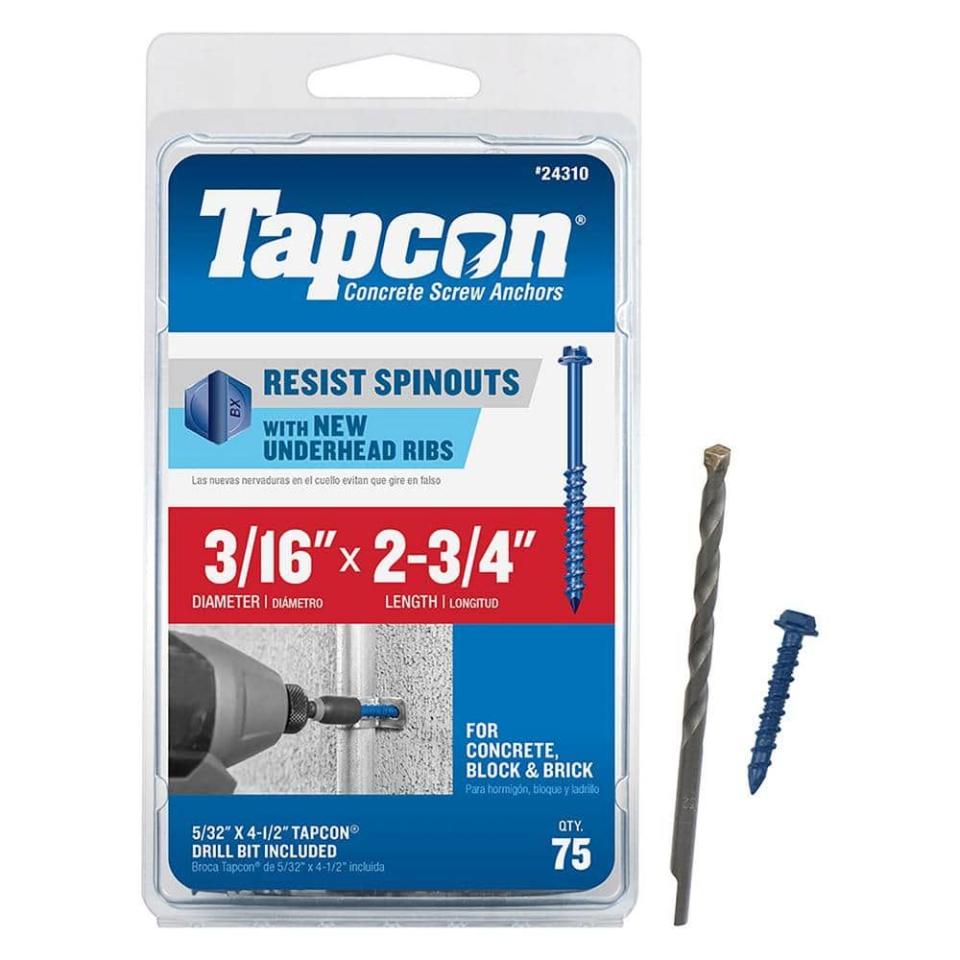
3/16 Inch x 2-3/4 Inch Hex-Washer-Head Concrete Anchors
homedepot.com
$25.97
If you use a thinner wall cleat (3/4 inch) use a shorter screw, such as a 1-3/4 inch screw.
You can use:
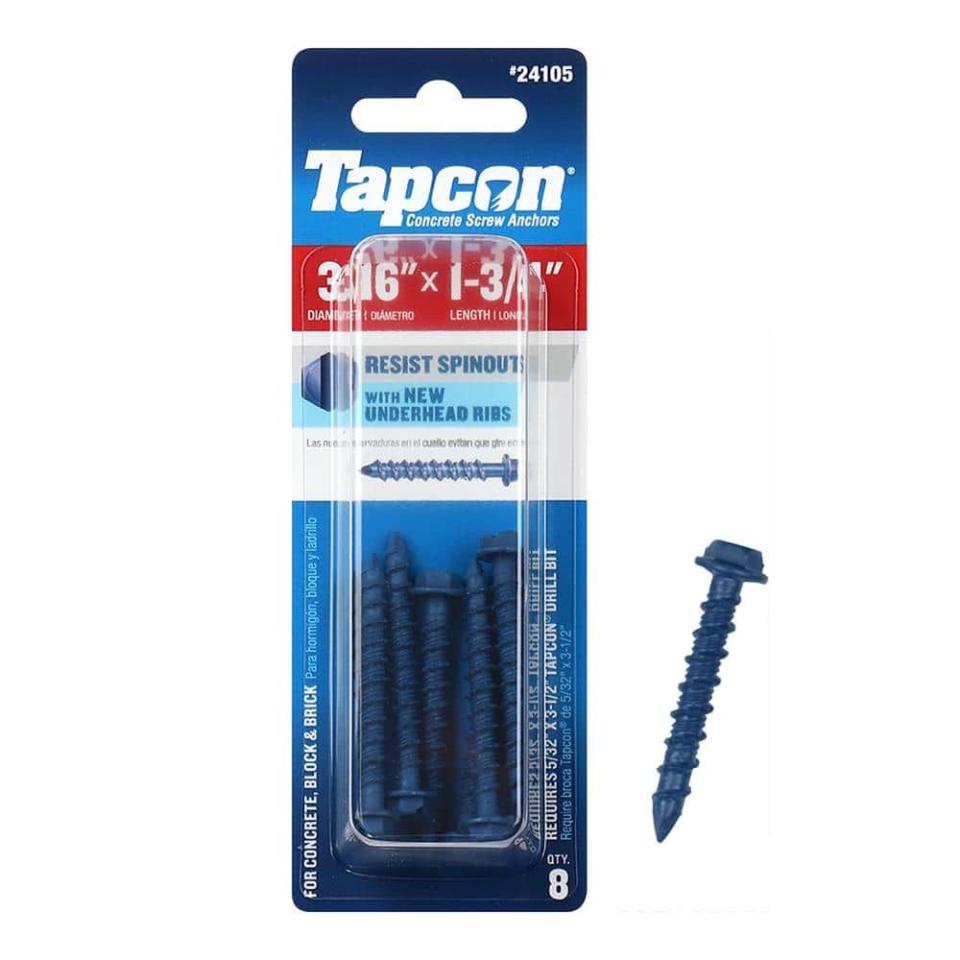
3/16 Inch x 1-3/4 Inch Hex-Washer-Head Concrete Anchors
homedepot.com
$4.98
If you hang the shelf on a wood stud wall, you can use the same wood screws mentioned above to attach the cleat to the studs.
Step 6: Attach the shelf
With the cleat-bracket hung and leveled, slide the shelf onto the brackets and screw it down. Use a pair of 1-1/2-inch screws driven into each cleat.
You can use:
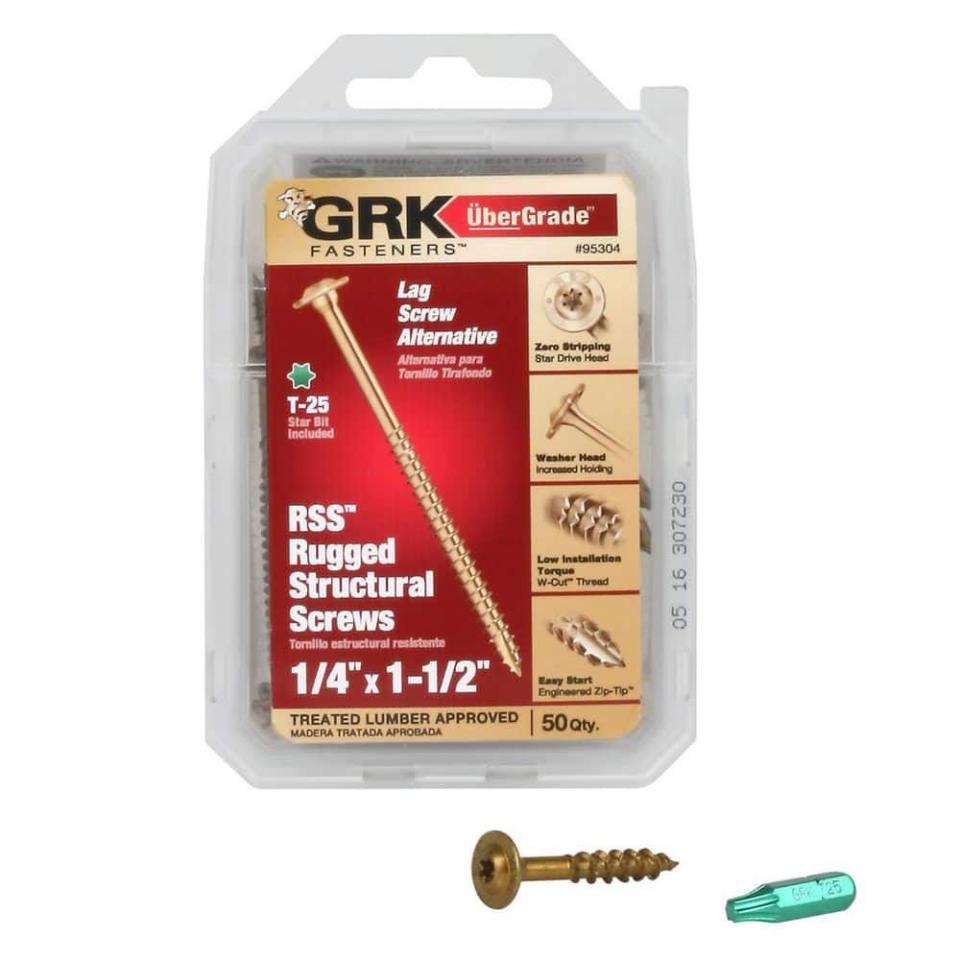
1/4 Inch x 1 - 1/2 Inch Star Drive Low Profile Lag Wood Screws
homedepot.com
$13.48
Again, to avoid screw breakout through the side of the bracket, drill a pilot hole for each screw using a 3/32-inch twist drill bit.
You Might Also Like

