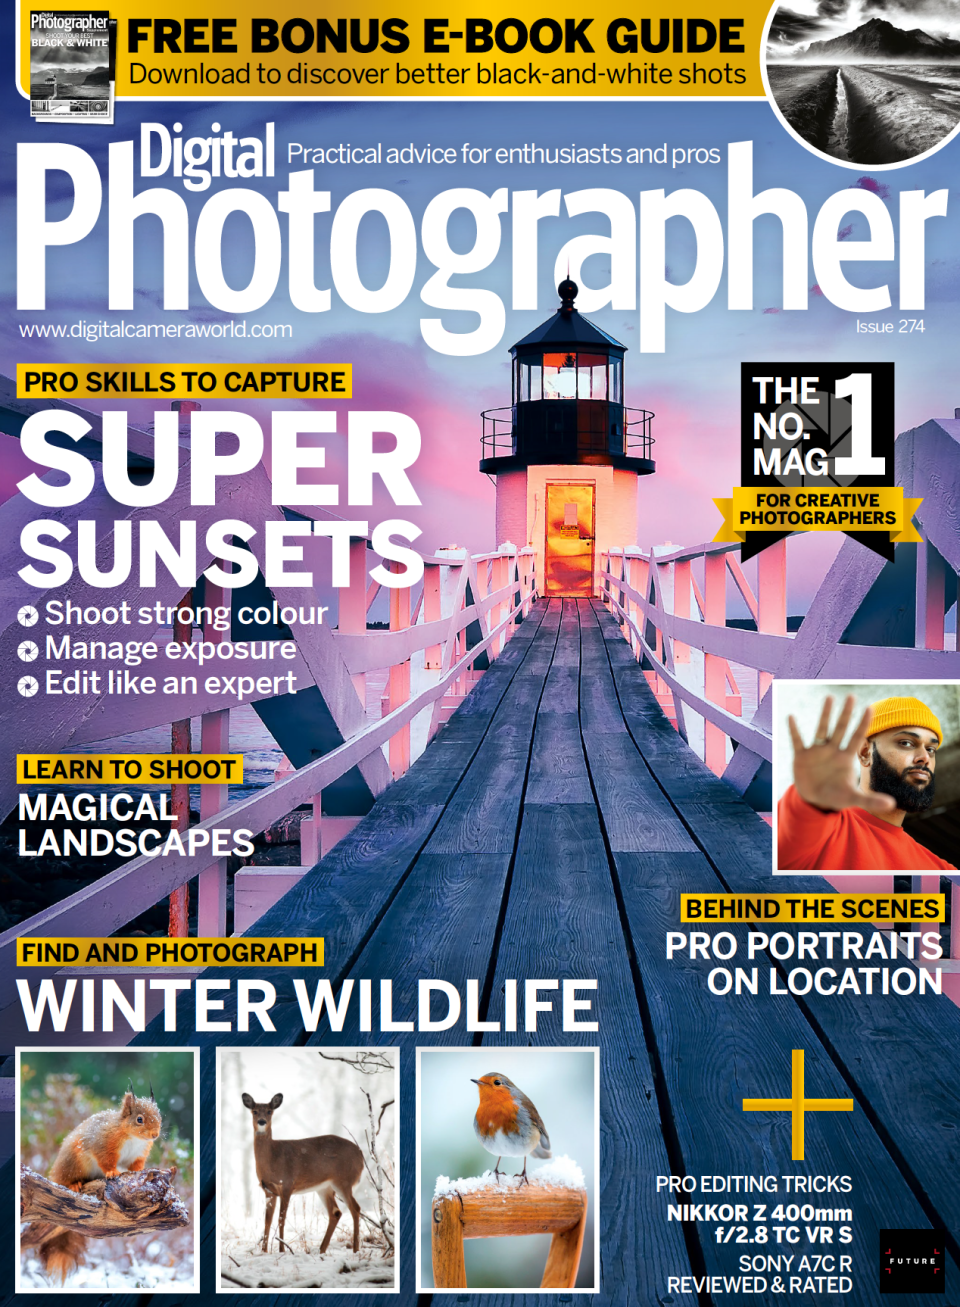
Want to shoot superb sunsets on your camera? Here's how
In many ways, sunset is the best time to shoot landscape photography. While dawn is the other golden hour for capturing scenic images, providing warmer light and softer shadows than midday, atmospheric factors often result in more saturated colors towards the end of the day. The other advantage of staying out later, rather than getting up early, is that the light is getting progressively better as the sun lowers in the sky and so the window for the best images is generally longer.
However, capturing golden hour shots at the coast comes with several unique challenges. The close proximity of the sun to the reflective surface of the ocean often results in easily blown highlights. To make matters worse, these clipped areas are difficult to balance due to the localized nature of the exposure difference – it’s not often possible to filter these areas using an ND grad filter, and HDR blending might require further local adjustment.
For this project, we’re going to explore how to balance exposure and color to maximize the sunset atmosphere. With careful camera work, these steps can be applied to any scene, anywhere. The aim is to recognize those characteristics that make the golden hours so attractive to the eye and learn to make these aspects as prominent in your images as possible.
Set up
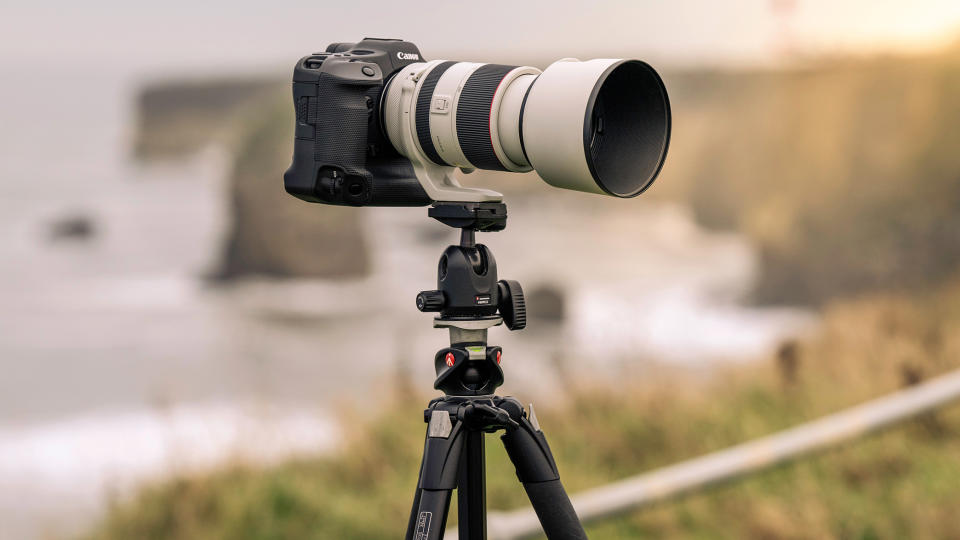
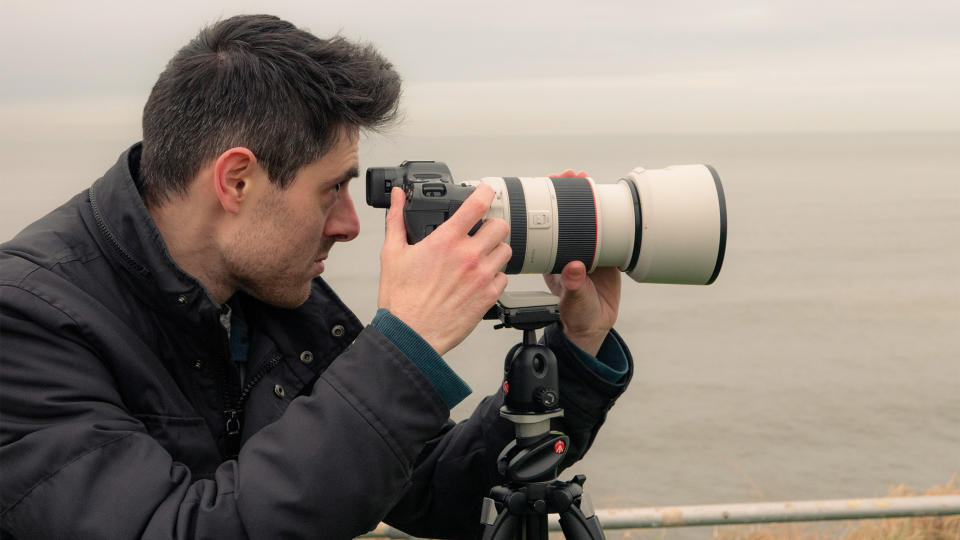
1. Medium telephoto
A 70-200mm lens or 300mm removes flat areas that diminish sunset ambience
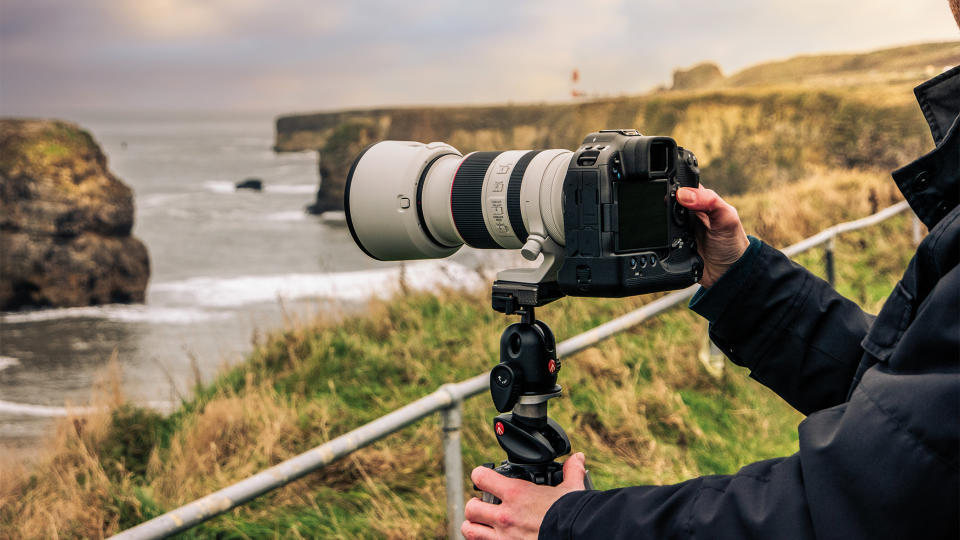
2. Lens hood
This reduces internal lens reflections, which is vital for shooting the exposed sun disc
3. Ball head for tripod
Offers more rapid reframing, but take care of precise horizon angle adjustments
Shooting steps
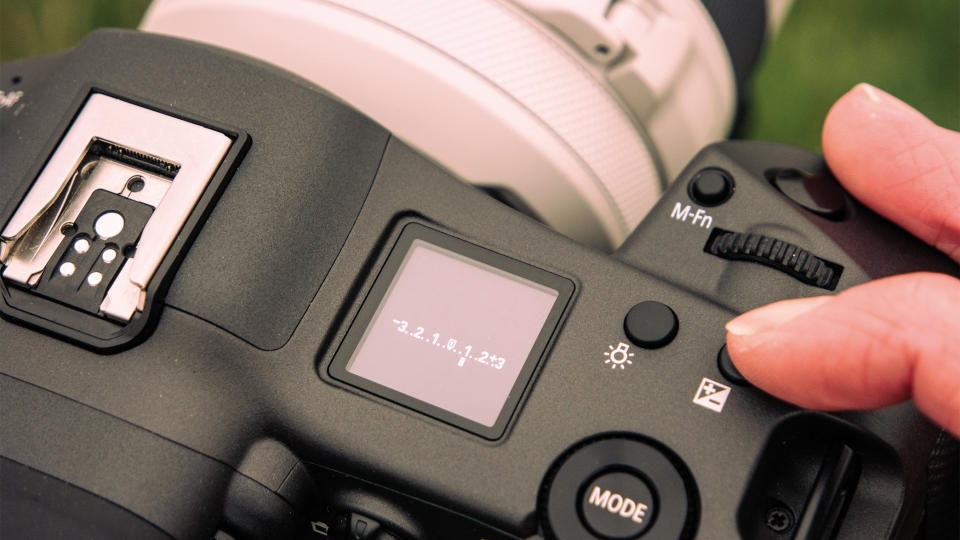
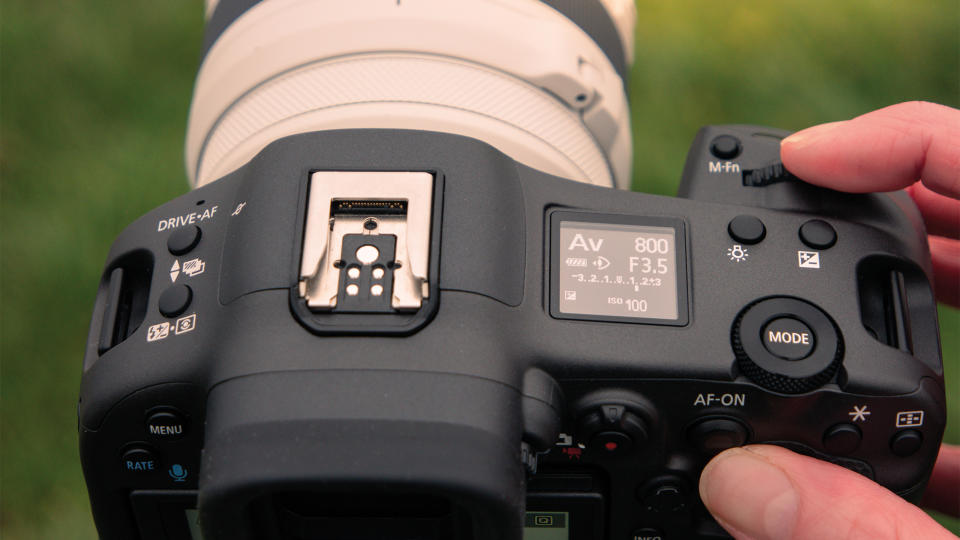
1. Set metering mode
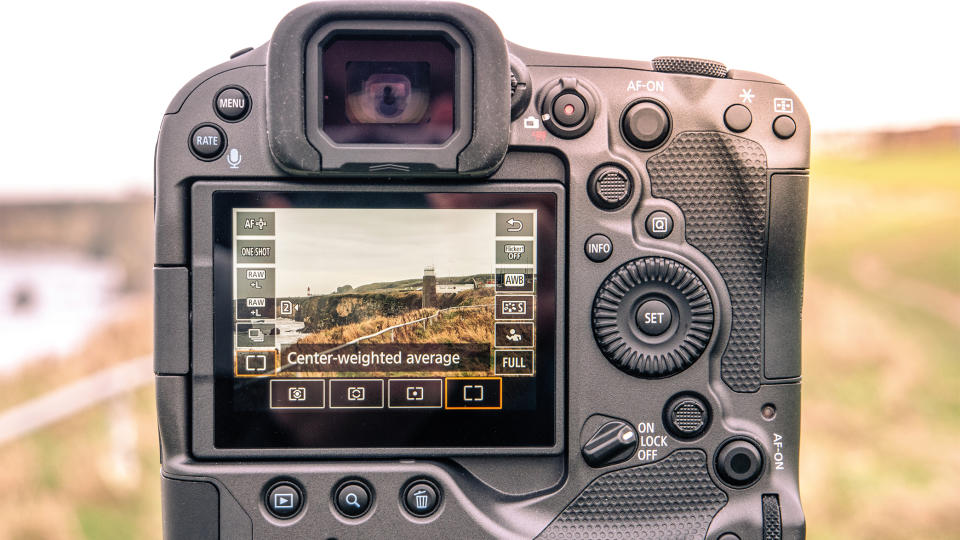
With extreme contrast, there is a risk of miscalculating the exposure. Here Spot metering underexposed the cliffs and beach, while Evaluative gave an exposure that didn’t match any area well. Center-Weighted ensured that zones close to the sun didn’t overly influence the AE system, but highlights weren’t ignored totally.
2. Attach a hood
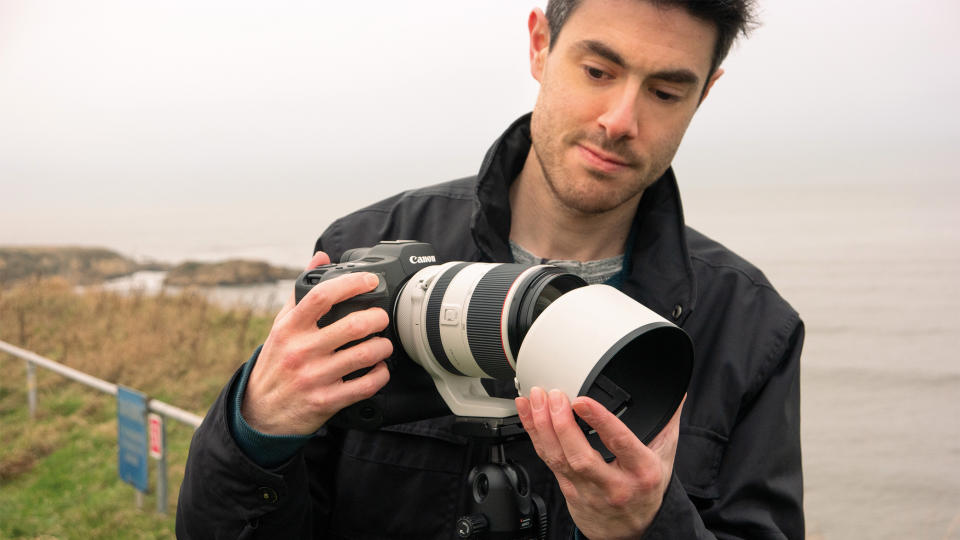
To achieve the glowing sunset effect I’m after in this scene, we need to shoot towards the sun, which is just out of the frame. However, this opens up the risk of lens flare, so a hood is essential. If you don’t have a hood for your lens, use a baseball cap or similar item to shade the sun-facing side of the optic.
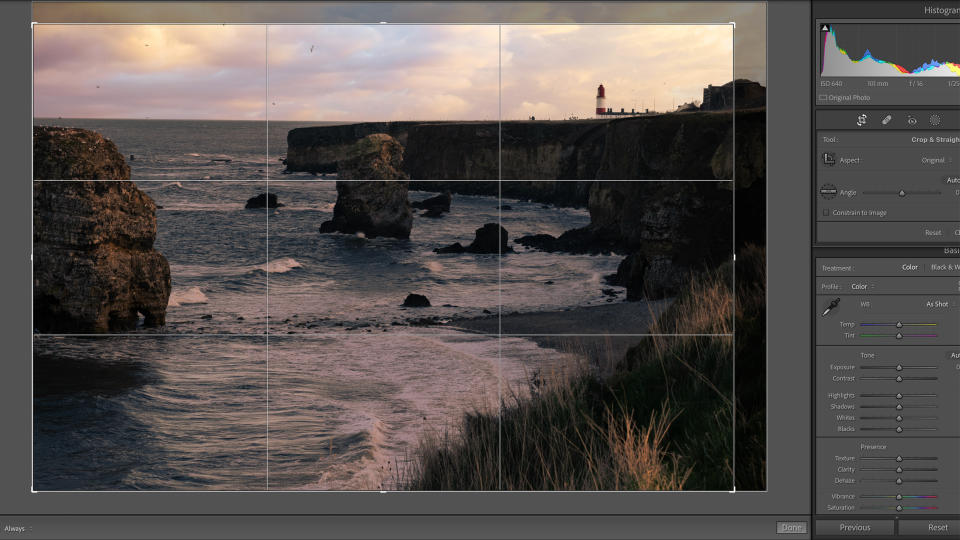
3. Crop the scene
Many sunset images fail because too much of the scene not illuminated by the golden light is included. To enhance the effect, a quick and easy solution is to crop into the areas covered by the directional light. For this image, I used a 70-200mm lens to compress the illuminated areas and exclude a darker foreground.
4. Control white balance

Although we think of sunset lighting as yellow, other hues are commonly present too. A Shade WB preset made the landscape too uniformly warm, so I scrolled through the manual Kelvin settings until a good balance of warm and cool tones was visible. These can be tweaked further at a later stage.
5. Time the exposure
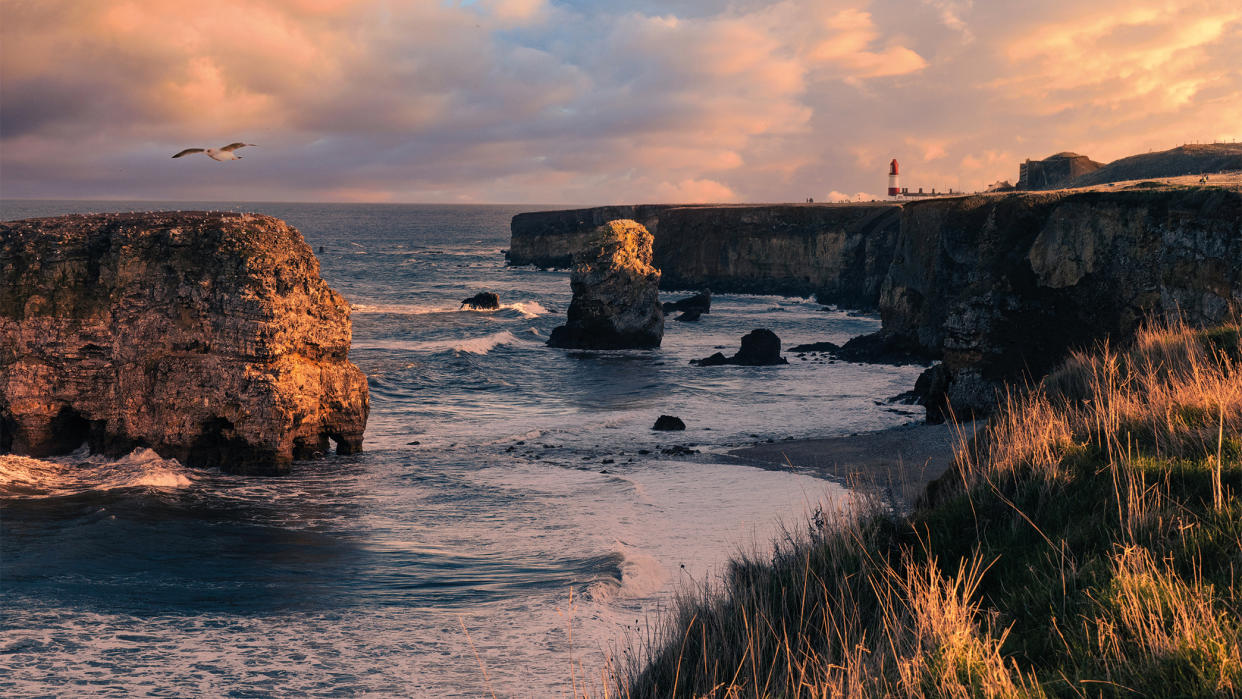
The most effective sunset contrast occurs when there are clouds in the sky to hold the color. I shot this coastal scene on an overcast day and waited for the setting sun to break through a small gap in the cloud layer, which provided this tightly focused raking light and contrast with the darker sky areas.
6. Shoot ‘one over’
While exposure blending will help in this context, sometimes all that is needed is an extra frame to capture tones that are most at risk. Since there are lots of shadows in the middle ground, I captured the ideal exposure for the sky, then used +1EV Exposure Compensation to reveal extra detail in the darks.
Pro tip
Create a sunset glow
Use aperture to introduce some magic
A wide aperture enables light to flood into the lens and can create a wash of color. Stopping down to above f/8 may be needed for depth of field but might also generate harder, unsightly flare. An f-stop of f/2.8 to f/5.6 solves this problem and introduces an artistic magical glow effect.
A good solution is to capture a frame at a smaller aperture, for safer foreground sharpness then, with the focus set a third of the way into the frame or double the distance of the closest object, open up the diaphragm. This captures softer, diffused light around the sun itself, where it is just out of frame, as in this scene. The two frames can then be merged in software for the best of both worlds.
Editing steps
1. Crop clipped detail
The area closest to the sun is slightly clipped, while the near foreground is missing direct illumination. A little cropping was applied to remove these problem areas and focus the composition on the glowing parts of the shot with retained detail.
2. Control the range
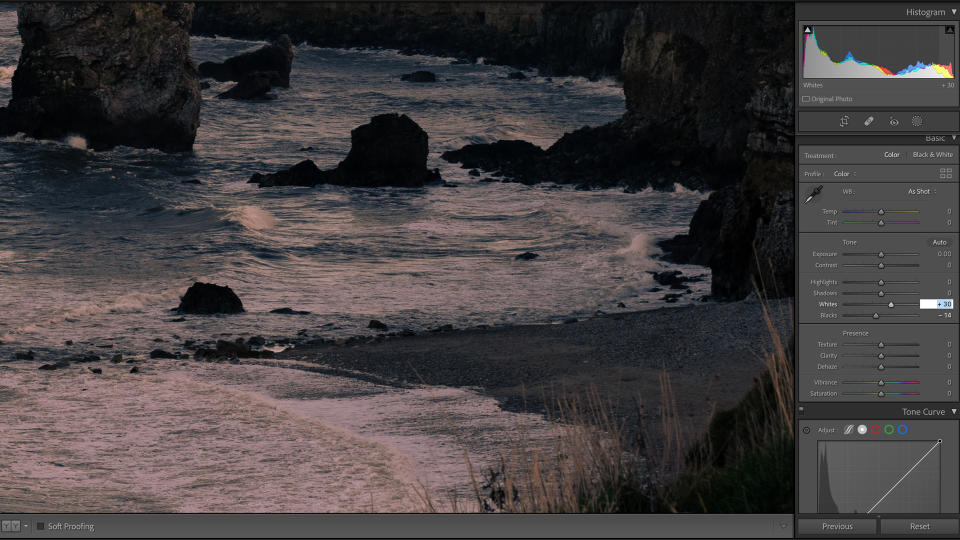
To compress the tones further, the Black and White points were set to prevent clipping (drag the sliders while observing the histogram) and the Highlights and Shadows sliders were moved until the dynamic range appeared balanced but natural.
3. Sunset toning
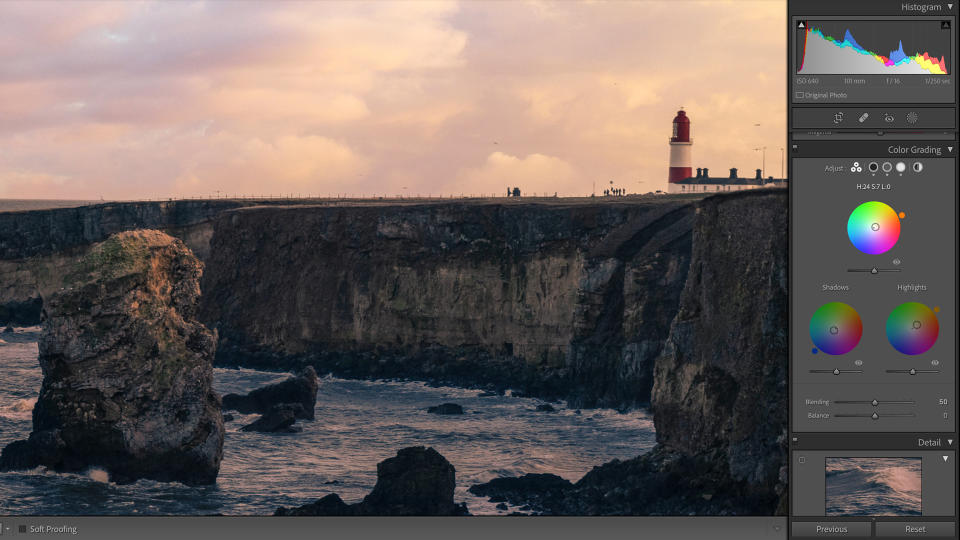
To highlight the golden theme, I added yellow to the highlights, magenta to the mid-tones and subtle blue to the shadows, using Color Grading and adjusting the balance until happy. I also added Blue Primary Saturation in Lightroom’s Calibration Tab.
4. Local adjustments
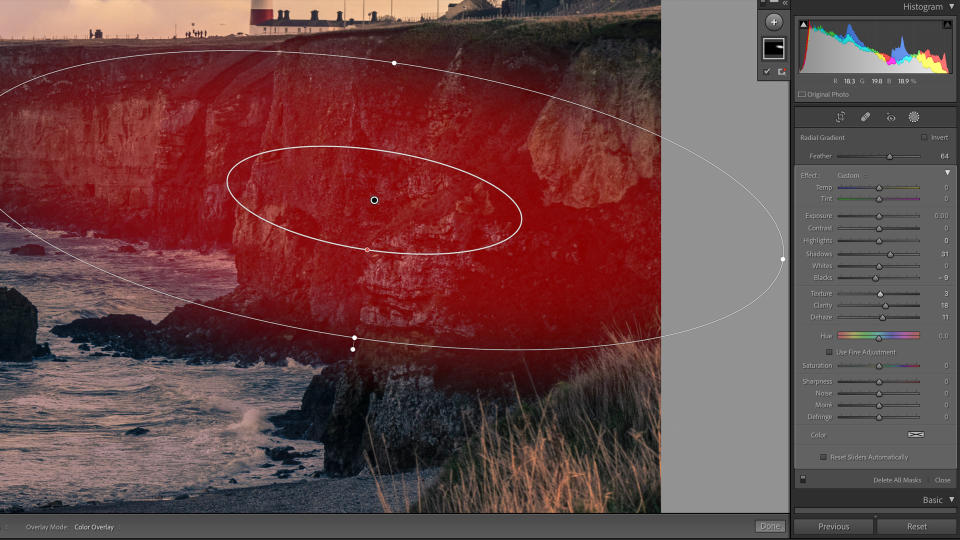
I didn’t need a +1EV exposure, but used the Radial Filter to lift the shadows for aesthetic reasons – the detail was present but dark shadows drew the eye. I added negative Blacks to maintain natural contrast and dodged the highlights on the stacks.
5. Diffuse the highlights
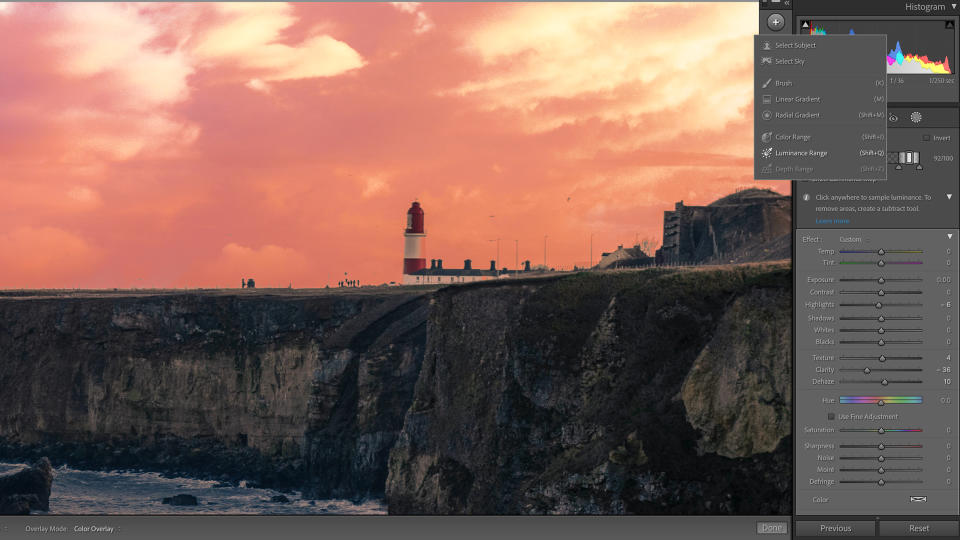
For a subtle boost, select the highlights using a Luminance Range mask. Use the Eyedropper to choose the brightest tones and drag the Luminance scale for better precision. To make the highlights softer, reduce the Clarity and Dehaze sliders.
6. Final contrast
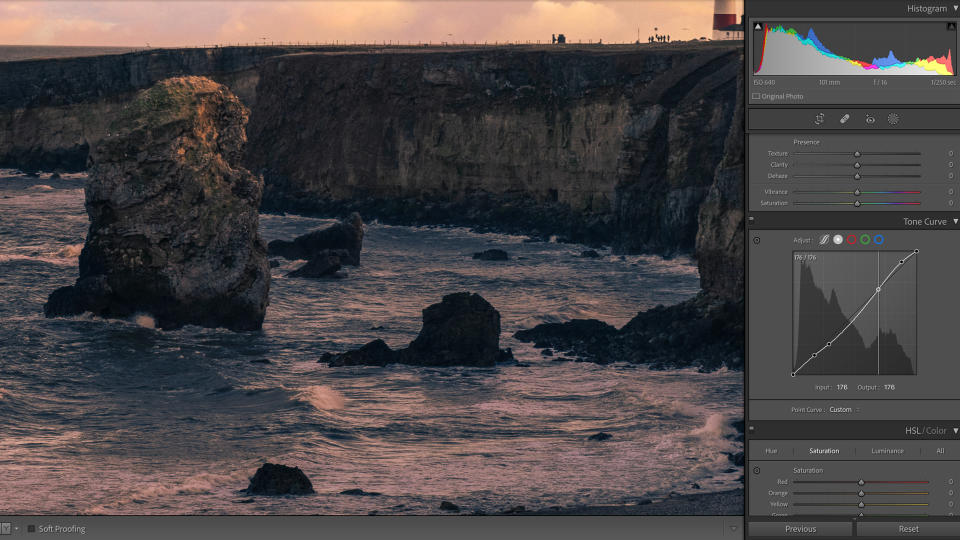
To finish the shot, use the Tone Curves to apply some final tonal adjustments. In this image, I required only a fairly shallow S-Curve overall, with some minor darkening of the lower mid-tones for added depth and extra natural contrast.
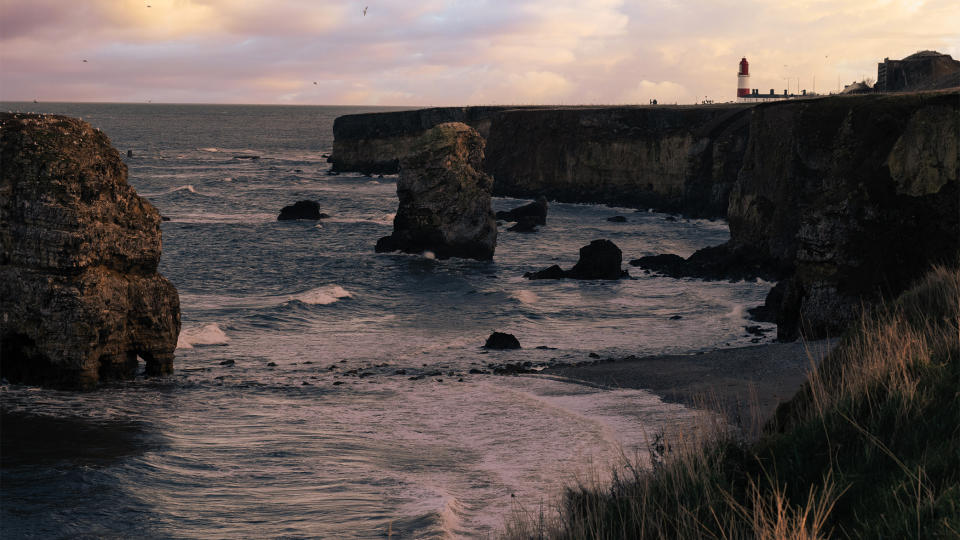
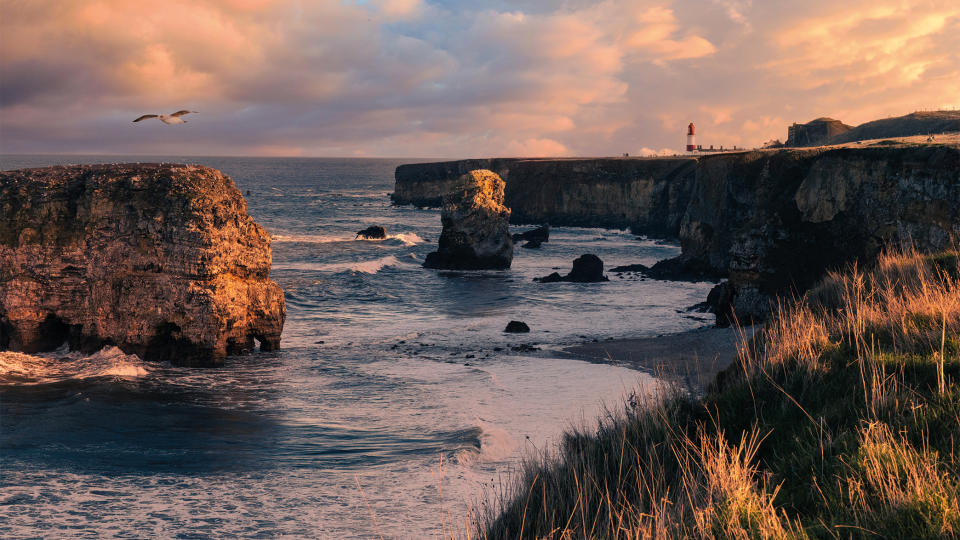
Before/After
This article originally appeared in Digital Photographer, a monthly magazine, and the kitbag essential for pros, enthusiasts, and amateurs alike!
Inside, you'll find practical guides, shooting tips, and techniques from working photographers, plus all the latest industry news.View Deal

