How to create a gallery wall from objects that you love
Have you ever trolled through Pinterest and wondered how people create those perfectly curated gallery walls?
The best wall displays may look effortless, but the truth is that a lot of planning goes into a good gallery wall. While it may seem like a daunting task for those who are less creatively inclined, abiding by a few design principles can lead to success. Here is a step-by-step guide to creating a fabulous gallery wall.
Step one: Collect items you love
Original art can add a lot to a display, but it typically doesn’t come cheap. Local art fairs are a great place to purchase well-priced original art, as are estate sales, auction houses and antique stores. Try framing something wonderful your kids created - it's original! And of course, it’s totally OK to use prints.
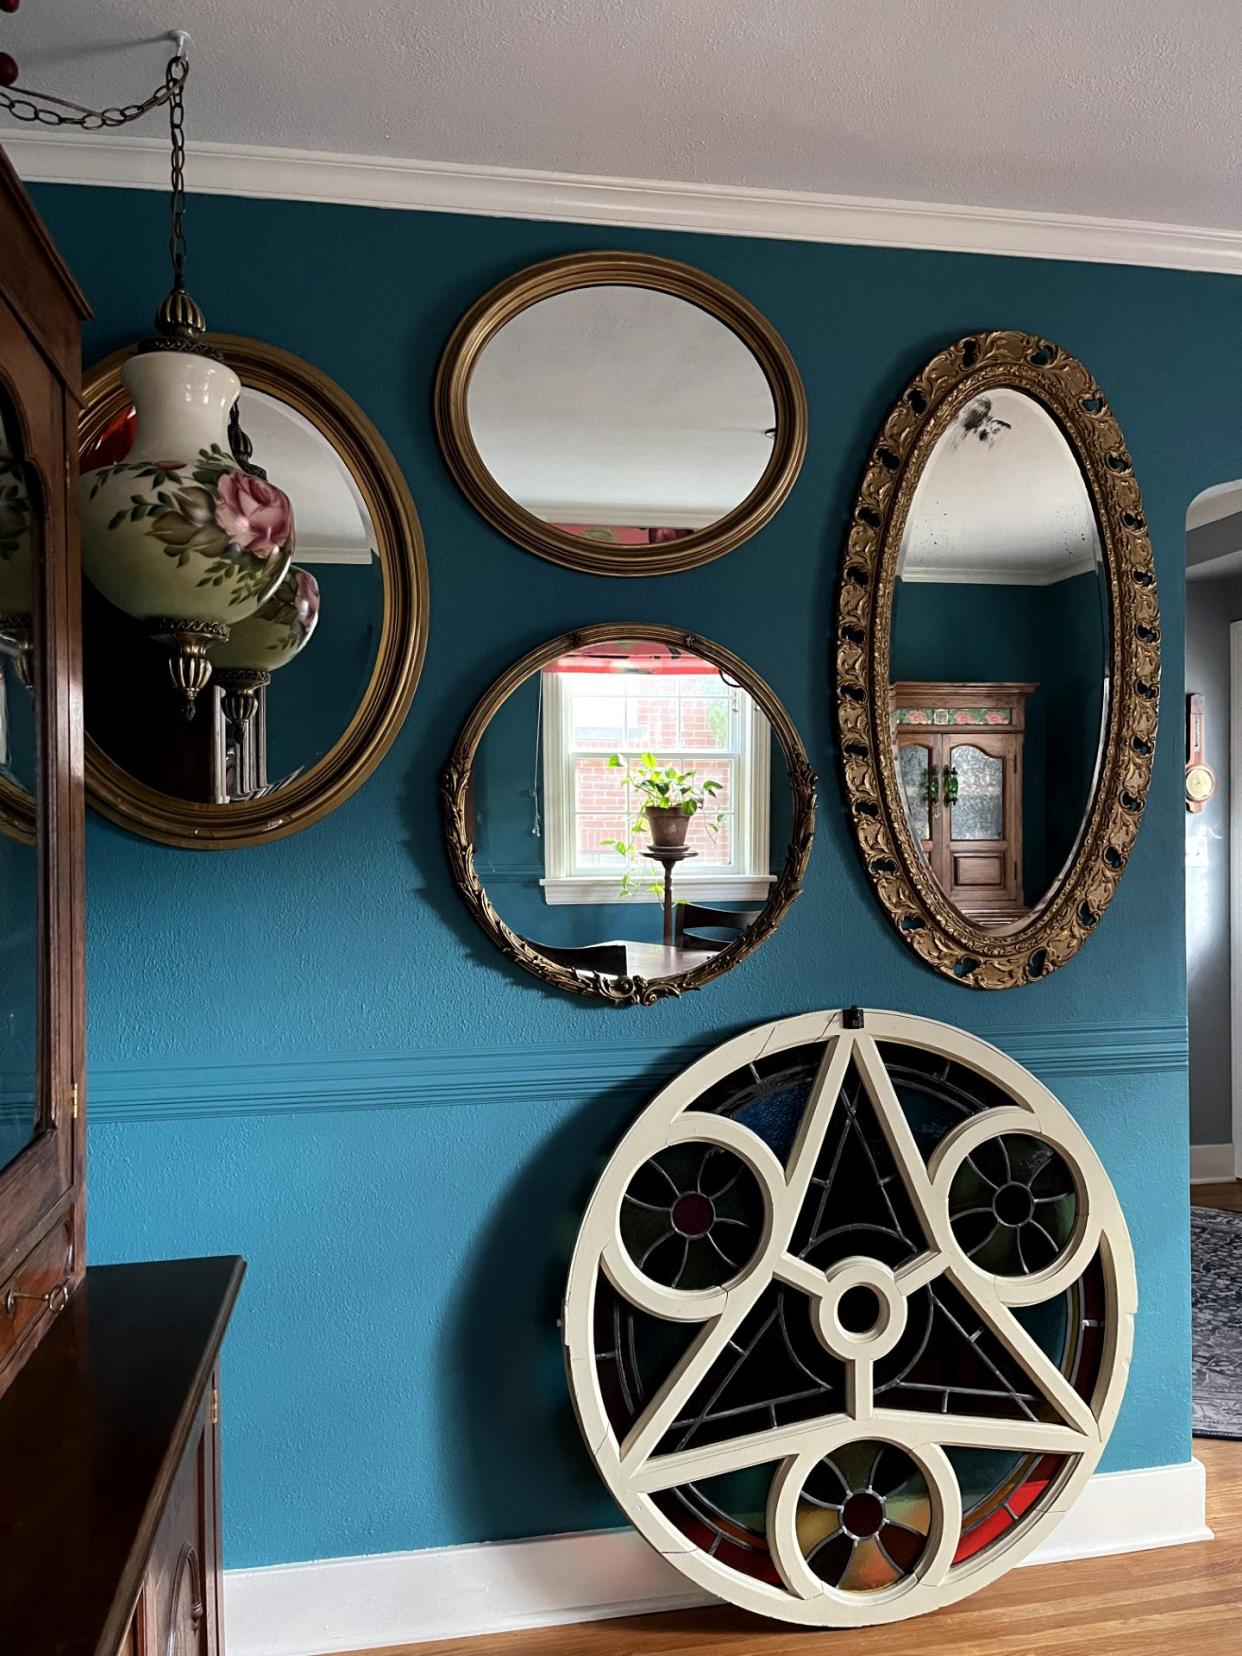
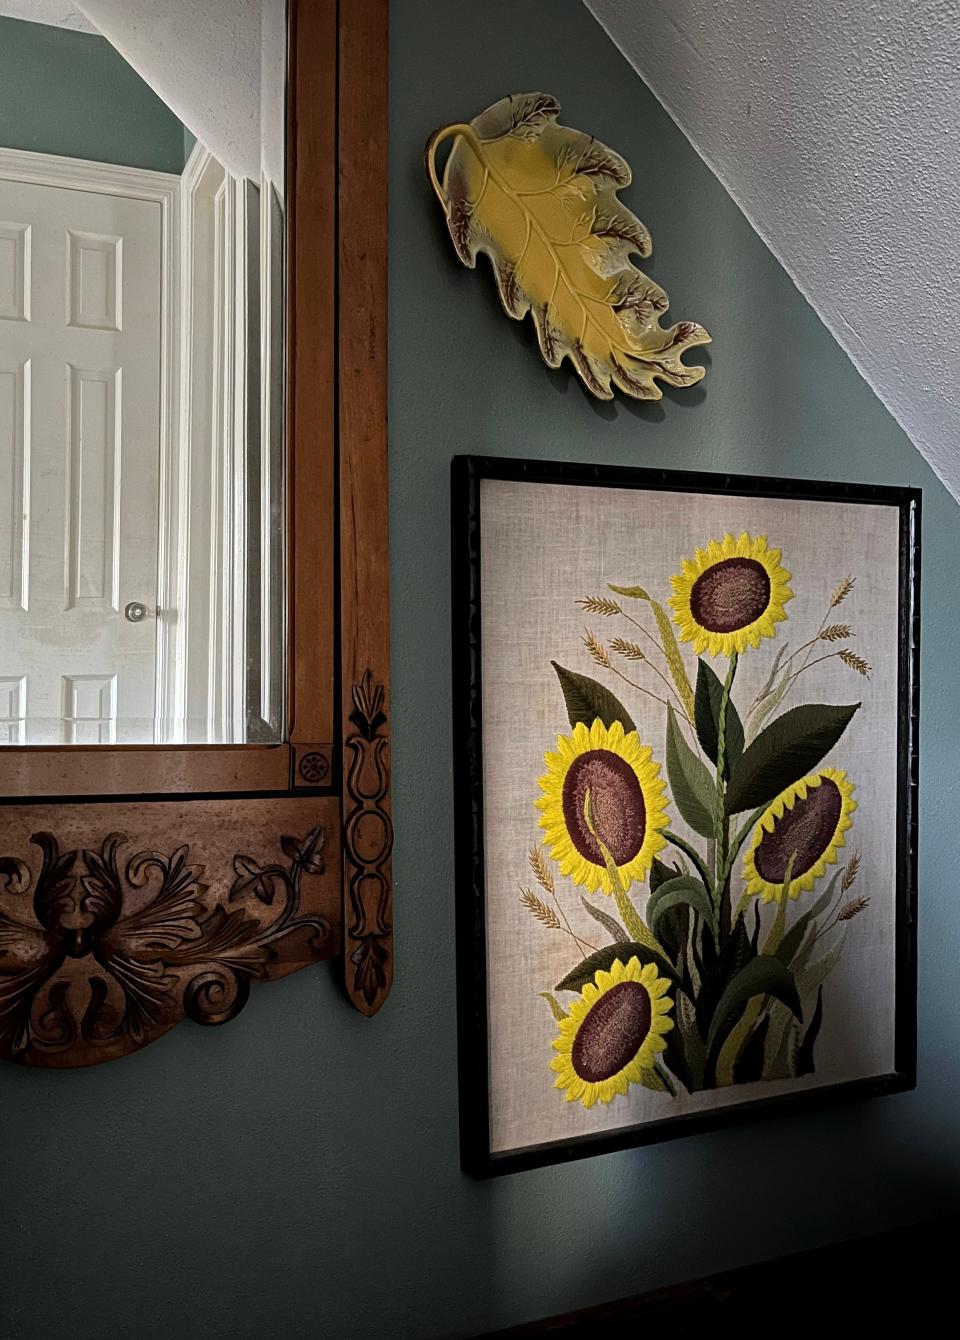
While flat artwork is the obvious choice, pretty much anything can be hung on the wall. Mix it up. Original art can be hung next to interesting items that have been framed, displayed on shelves, or fitted with a hook so they can hang from a nail. Flea markets, thrift stores and garage sales are great places to find things that make you smile.
Step two: Unite the collection with a theme
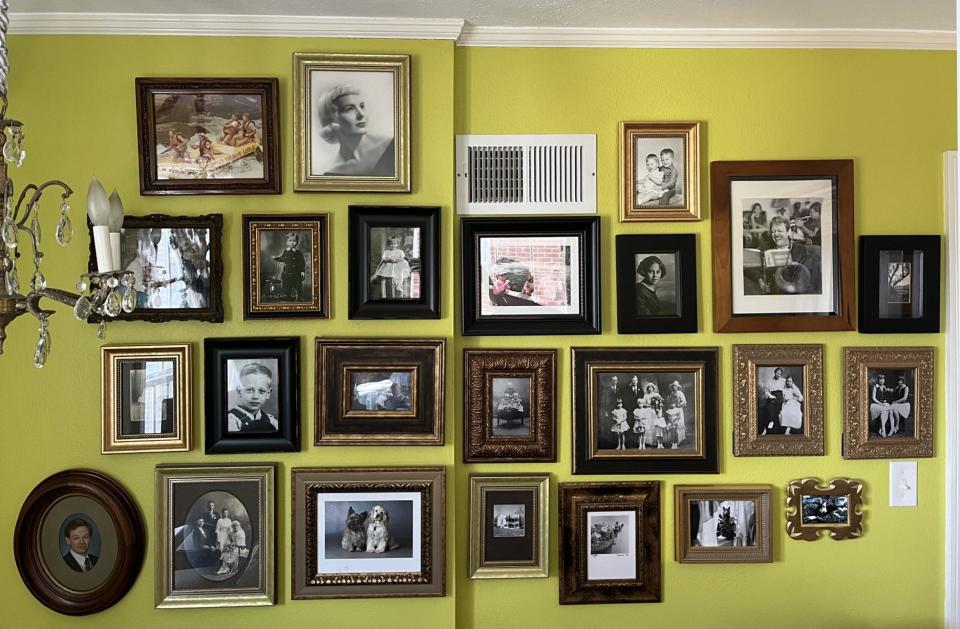
A theme can be a common color, shape or subject. A display of paintings of the sea can be made more interesting with the addition of a piece of driftwood or a seashell on a shelf. Disparate images can be united by using the same type of frame – black frames, gilded frames or shadow boxes. If you want to display your collection of Mickey Mouse memorabilia, determine the dominant color and add something in that color to the room to create unity.
Step three: Plan your display
Sure, you could grab a hammer and some nails and go to town, but the results would likely be less than optimal. Instead, arrange the collection on the floor in a space the same size as the wall. Leave several inches between each item. The most interesting displays are usually asymmetrical – don't hang the largest item in the middle of the display. Instead, place it at the two thirds line, and group smaller items around it. Play with the display, and when you are happy with it, draw a diagram or take a photo to refer to when hanging items on the wall.
Step four: Hang it right
Nails will probably work fine for lightweight pieces, but large items need anchors. Visit your local hardware store for advice on what type of hanger will work best in your walls.
For complicated displays or heavy pieces like mirrors, it’s best to trace around the object onto heavy paper, creating a template that can be arranged on the wall to determine placement before drilling holes. Mark where hangers need to go on the templates, then drill right through the paper.
Leslie Renken is a reporter with the Journal Star in Peoria, Illinois and an avid DIYer. She can be reached lrenken@pjstar.com.
This article originally appeared on Journal Star: How to create gallery walls

