I Tried 6 Popular (and Unusual) Methods for Cleaning Baseboards

Cleaning baseboards is one of my least favorite tasks. There are so many planes, creases, and tiny ledges where dirt, dust, and pet fur settle and seem to stick. However, clean baseboards make my home feel tidier. There’s nothing like a good baseboard cleaning session to create that spotlessly clean effect you can’t quite put your finger on.
So while I try to run a duster over the baseboards each time I clean a room, every few months or so, I gear up for a more thorough baseboard cleaning session. Since I have a large family and two dogs, the task might be more arduous for me than others. The baseboards, especially downstairs, build up quite a layer of dirt.
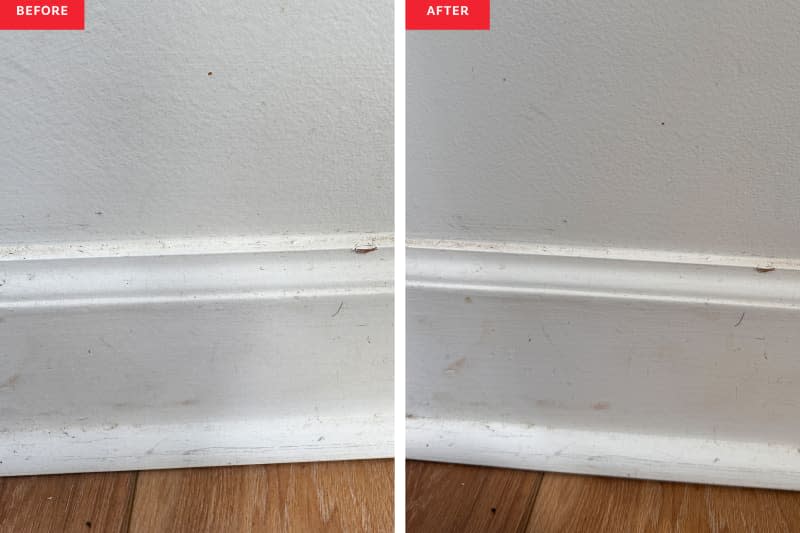
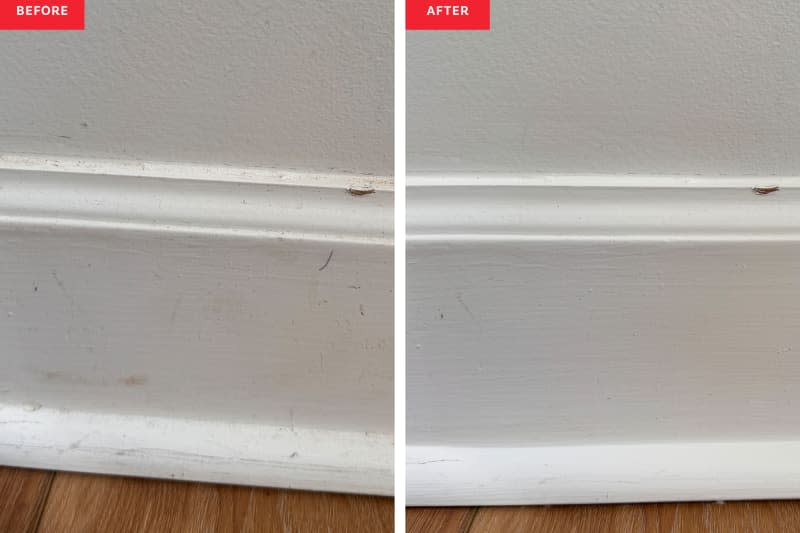
I wanted to find the most effective and efficient way to clean baseboards, so I tried six different methods, including popular and straightforward techniques, and even a few unusual tactics. Here’s how it went.
How I Tested the Methods
For each method I tested, I tried to pick a section of baseboard about 18 inches long and had the same amount of dirt and scuff marks. I considered how easy each method was to set up and put into action and paid special attention to how well each cleaned tricky corners, crevices, and tiny ledges.
The ratings: I based my ratings on a scale of one to five, with one being low and five being high. I considered several factors, including how simple the method was to implement, how much effort was involved in executing it, and how effective it was overall.
Method 1: Magic Eraser
Rating: 3/5
Method: To use a Magic Eraser to clean my baseboards, I got a fresh one from my stash, wet it, and squeezed it out. I ran the Magic Eraser over the baseboard section, cleaning several times and applying more pressure to areas with more significant scuffing or dirt.
How it went: Using Magic Erasers is one of my standard methods. I like how with one tool, I can pick up dust and dirt and remove tougher marks and scuffs. Magic Erasers fall short when it comes to those harder-to-reach spots, like the angles where the top of the baseboard meets the wall, and the corners.
Method 2: Cleaning Wipe
Rating: 3/5
Method: Using a cleaning wipe is straightforward. I just pull a wipe from the container and clean a section of baseboard from top to bottom. One wipe covers a good deal of baseboard.
How it went: Using cleaning wipes to clean baseboards is one of my favorite ways to use old disinfecting wipes that are past their expiration date and no longer reliable as disinfectants. They are great at picking up dust and because they are thin, it’s easy to use a fingernail through the wipe to get into those crevices where dirt hides and clings. While they lift some dirty marks, they don’t do anything to remove scuff marks.
Method 3: Dryer Sheet
Rating: 2/5
Method: I used a dryer sheet to wipe down the baseboards, from top to bottom.
How it went: The dryer sheet was pretty effective at lifting dirt and dust from the baseboard, and similar to the cleaning wipe method, using a dryer sheet was simple. The dryer sheet was thinner than the Magic Eraser but not as thin or flexible as the cleaning wipe. However, what the dryer sheet lacked in flexibility, it made up for in “clinginess.” The dryer sheet acted almost like an electrostatic dust cloth to attract dust. Supposedly, the dryer sheet also leaves behind a film that repels dust. I for sure love the idea of keeping my baseboards cleaner longer! My biggest issue with the dryer sheets was that the scent was too strong for me and set off a sneezing fit.
Method 4: Broom
Rating: 4/5
Method: To use a broom to clean my baseboards, I grabbed my handheld broom to get closer to where I could see the dirt and dust (as opposed to using a broom with a regular handle) for the best results.
How it went: This was the quickest method, and I was surprised at how well it worked. Since I used a handheld broom, I could see things better and apply pressure against the baseboard to remove dirt, dog fur, and dust everywhere except the corners. The broom didn’t remove scuffs or dirt marks, and dirt and dust were merely displaced, not lifted, so it would be best to use this method before vacuuming.
Method 5: Toilet Wand with Sock
Rating: 0/5
Method: I used a Clorox toilet wand and slipped a spare sock over it. I then sprayed the sock with cleaning spray and used it to wipe across the baseboards with moderate pressure.
How it went: In theory, the spongy part of the toilet wand would fit into the different surfaces and crevices of the baseboards, but overall this method was a flop. The sock did not lift any fur, dust, or dirt, but the cleaning spray got it wet. Similar to what happens when trying to wipe down a toilet without dusting it first, this method left me with a bigger, or at least far more visible, mess than I started with!
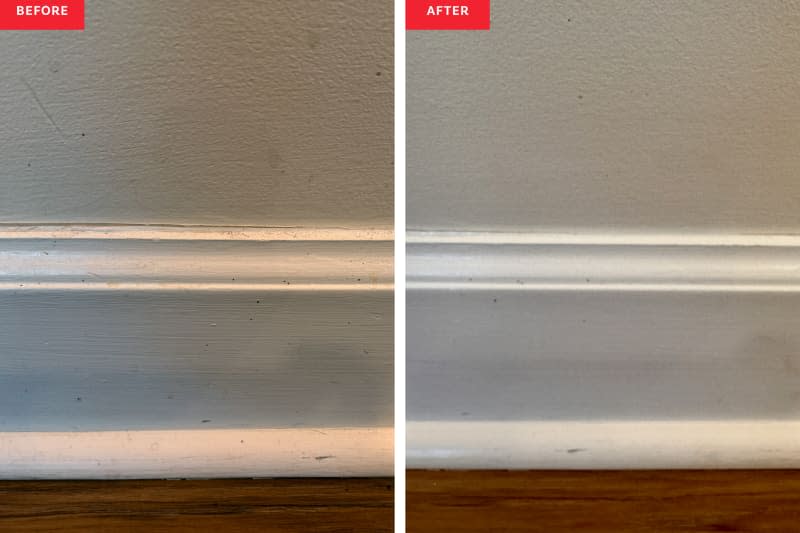
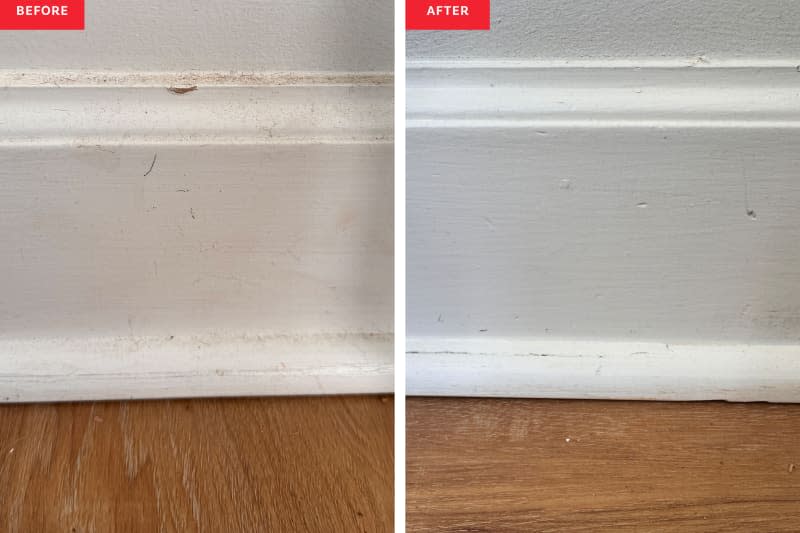
Method 5: The Thorough Method
Rating: 5/5
Method: This method involves a combination of several others, gleaning the best parts of each. I used the broom to dust the baseboards quickly and then took a rag sprayed with a cleaning solution to wipe down the baseboards by hand. I opted for a thin terry cloth rag so that I could get into the grooves. Next, I used a Magic Eraser to address scuffs. Finally, I used a cotton swab that I wet with my cleaning spray to get into the corners and other areas that the rag couldn’t get to.
How it went: This method left me with the cleanest baseboards. I wouldn’t be able to do this thorough of a job very frequently, but it yields the deepest clean. I liked how each part of this method had a specific focus (broom for dusting, rag for cleaning, Magic Eraser for scuffs, and cotton swab for corners) and how overall it addressed every issue.
Conclusion
It’s clear from the ratings that the winner was the most thorough method — but that doesn’t mean there isn’t a time and a place for some of the other methods. For instance, I’ll use the broom method for a quick weekly dusting and might rotate using a Magic Eraser and cleaning wipes when I need a bit of a deeper clean but don’t have time for the thorough option. When I determine that the baseboards need a deep clean, though, using a combination of tools is the only way to go.
A version of this story was first published on April 5, 2014, by Adrienne Breaux.

