A Stuck-in-the-’60s Bathroom Gets a $986 Makeover (The Tile Stays!)


ABOUT THIS BEFORE & AFTER
HOME TYPE: Historic Home
PROJECT TYPE: Bathroom
STYLE: Cottage, Glam, Vintage
SKILL LEVEL: DIY
RENTAL FRIENDLY: No
Sometimes a space looks to be in good shape, but it actually needs a lot more work than meets the eye. (And if you want to avoid that, be sure to ask these six questions before buying a home, and these eight before signing a lease.)
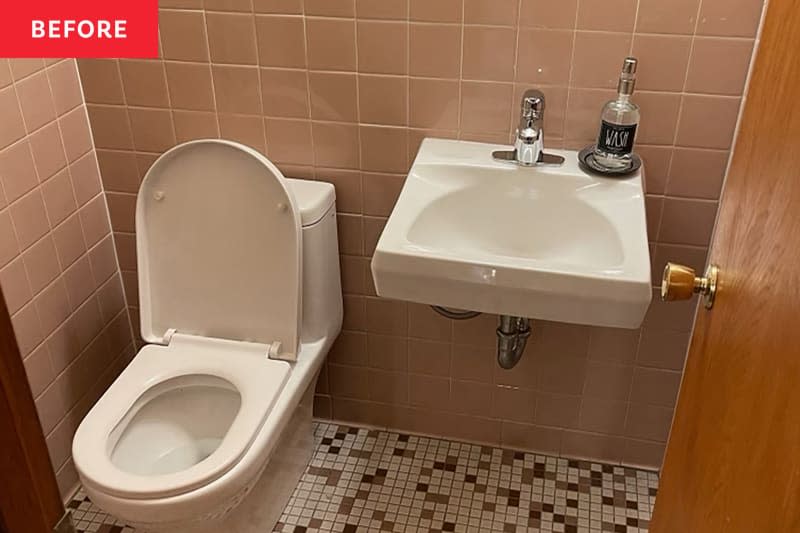
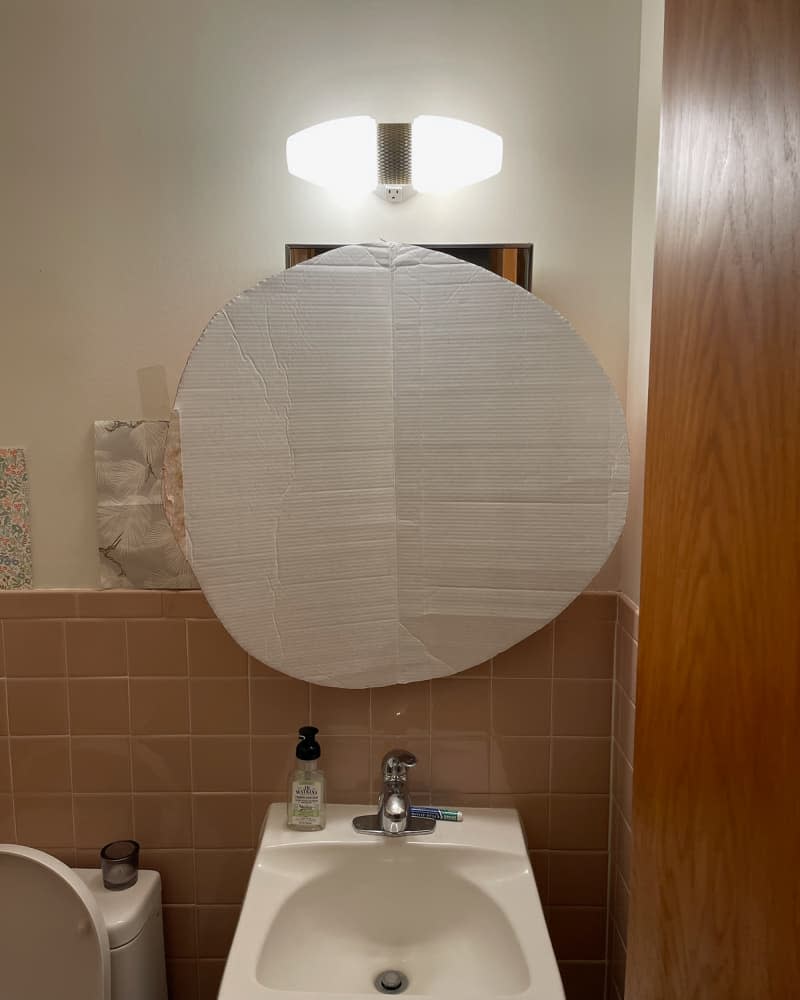
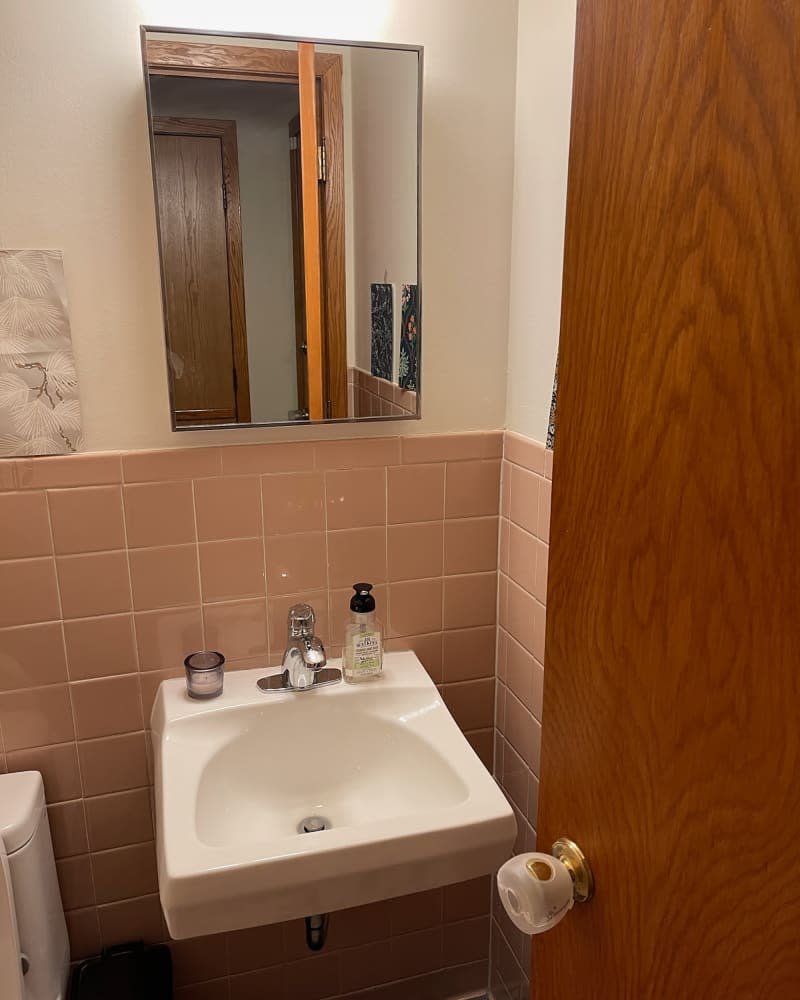
DIYer Julia (@refreshthishome) and her husband purchased their 1960s home during the height of COVID-19 quarantining, meaning they didn’t have much chance to tour it before they put an offer in. They hoped they wouldn’t have too much renovating to do, but after moving in, they realized the bathroom actually needed a lot of attention.
“The toilet wasn’t functioning properly, and the sink wasn’t working well either,” Julia says. “The floor grout was also in bad shape, as was the sink. The original wall tiles were beautiful, though!”

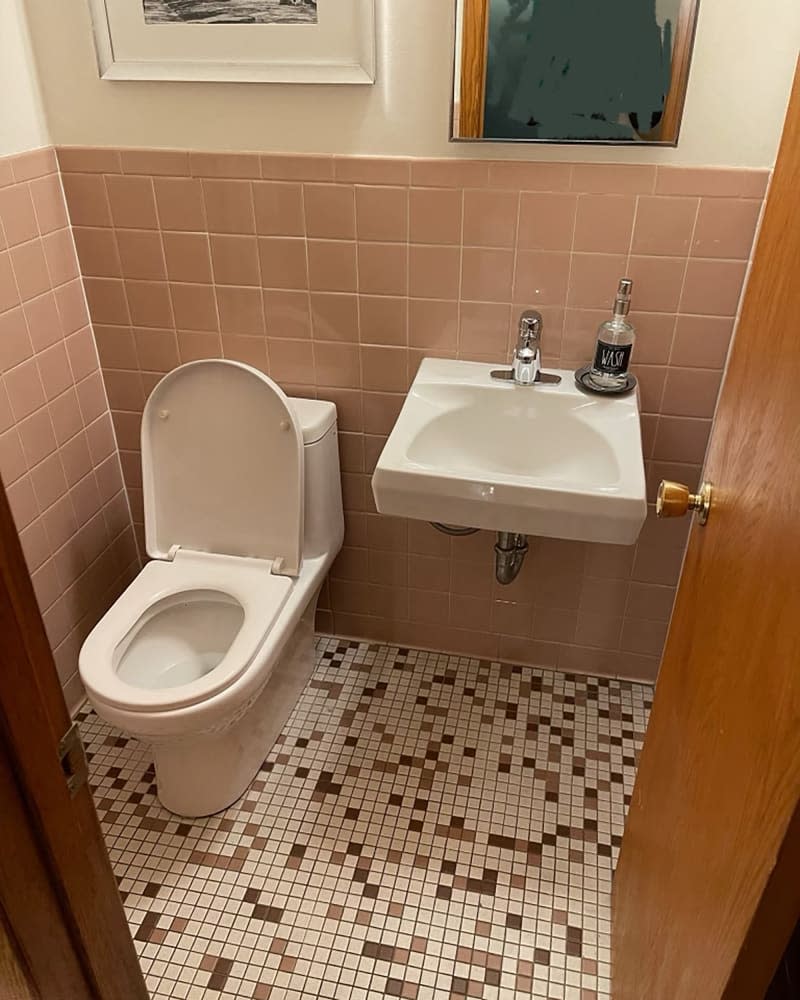
The wall tiles stayed, and the floor tiles got an upgrade.
Julia had originally wanted to keep the brown and white floor tiles, but ultimately decided that there would be too much pattern happening in the space when her design vision came to fruition.
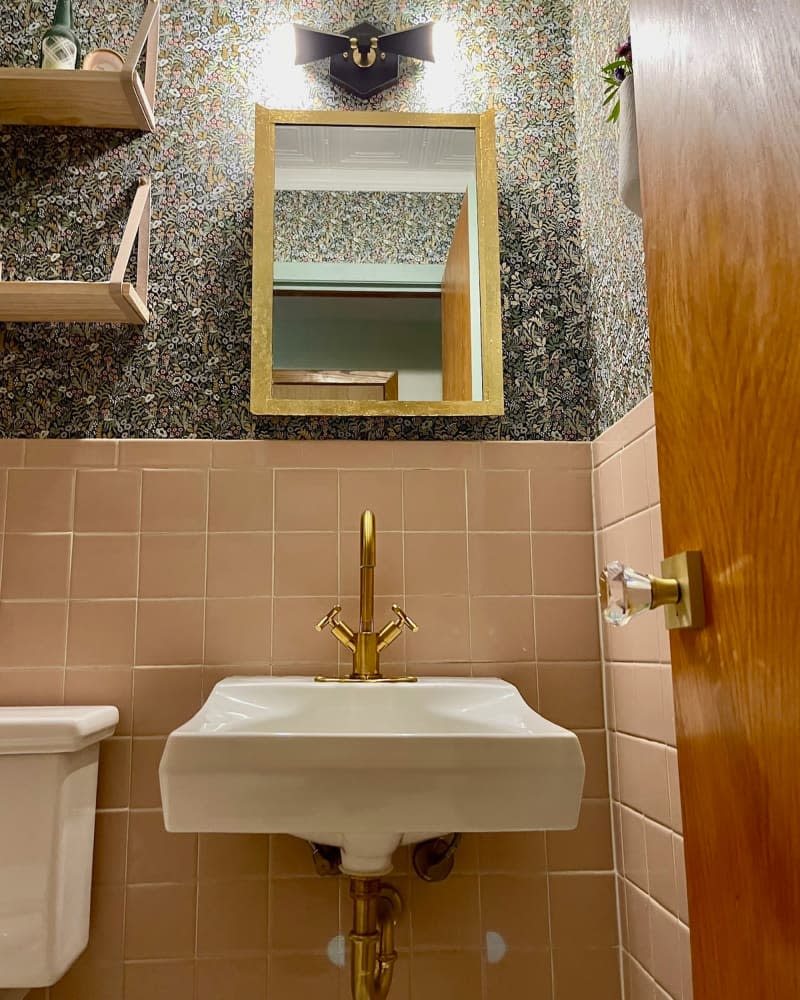
“I typically love to preserve original details, particularly mid-century designs, but I couldn’t find a way to work the existing floor tile colors into any designs I liked,” she explains. “The square shape of the tiles still worked, so due to that and our budget, and time being of the essence, I painted them,” she says. She used Rust-Oleum HOME Floor Paint in white.
The bathroom got a bottom-to-top redo.
“For this project, I just started at the floor and worked my way up,” Julia says. “It moved along quickly, as I was keeping the original wall tiles and wall-mounted sink.”
She and her husband started by taking out all the fixtures and cleaning and painting the floors, then they re-installed the original sink (with new fixtures), installed a new toilet, wallpapered, and decorated.
The project cost $986 total.
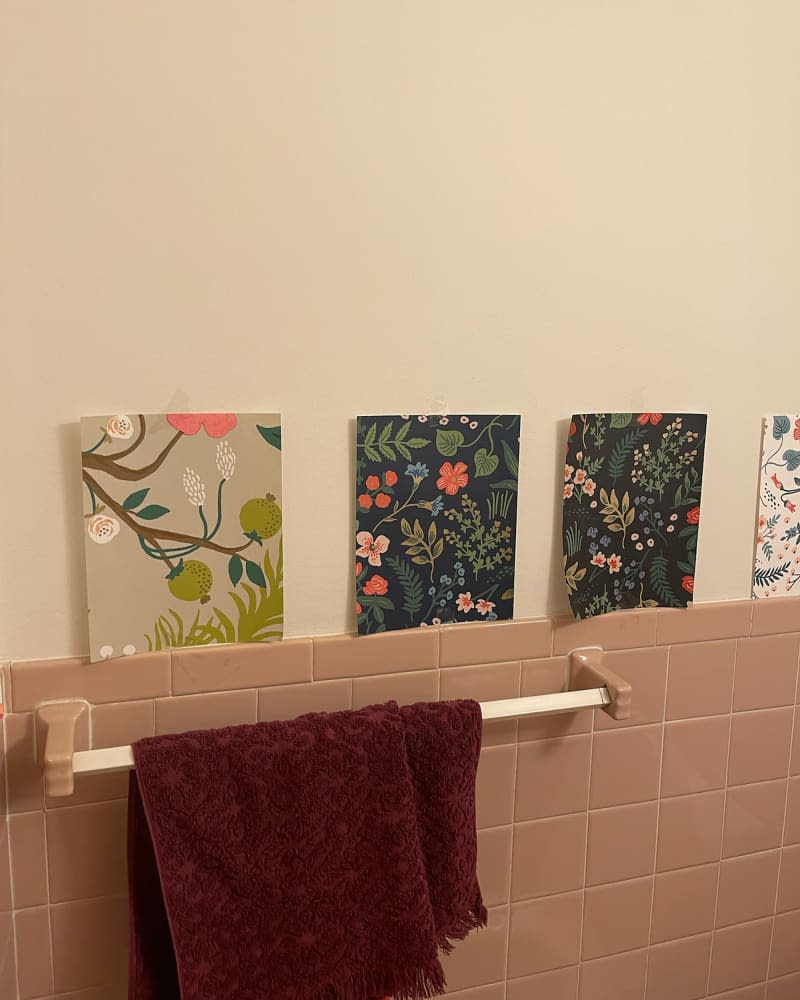
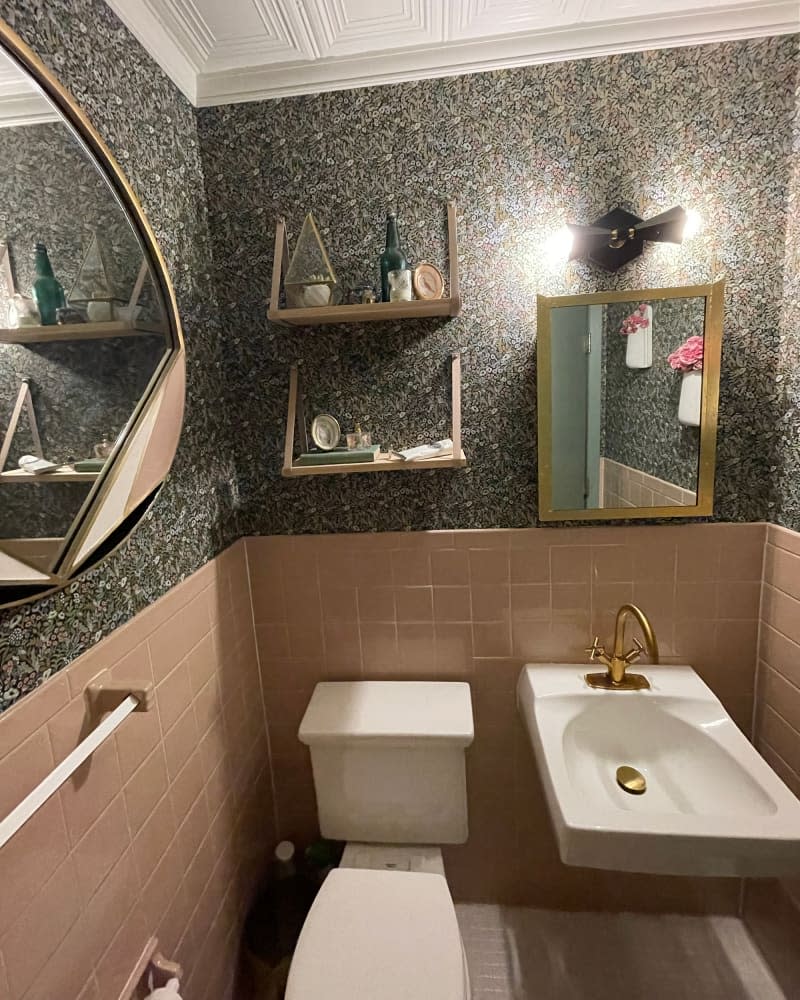
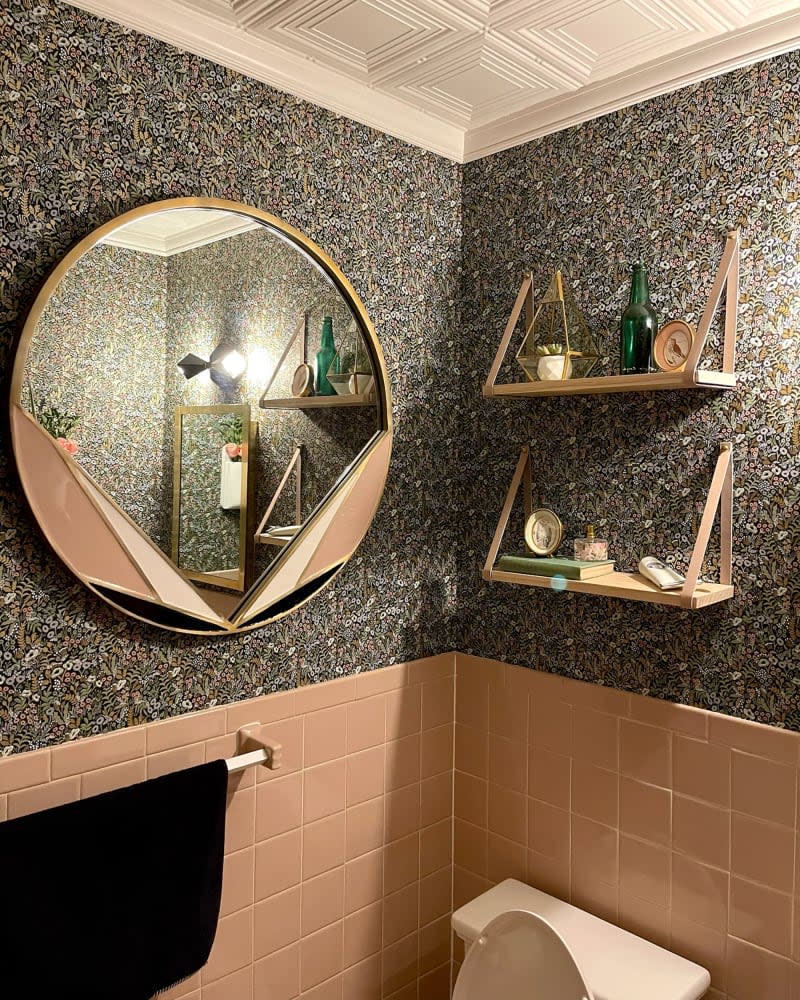
Julia says the biggest splurges in the bathroom were the Rifle Paper Co wallpaper and a new brass mirror from West Elm, but they were worth it in the end. “The wallpaper definitely made the biggest difference,” Julia says, adding that the mirror “perfectly fit with the design.”
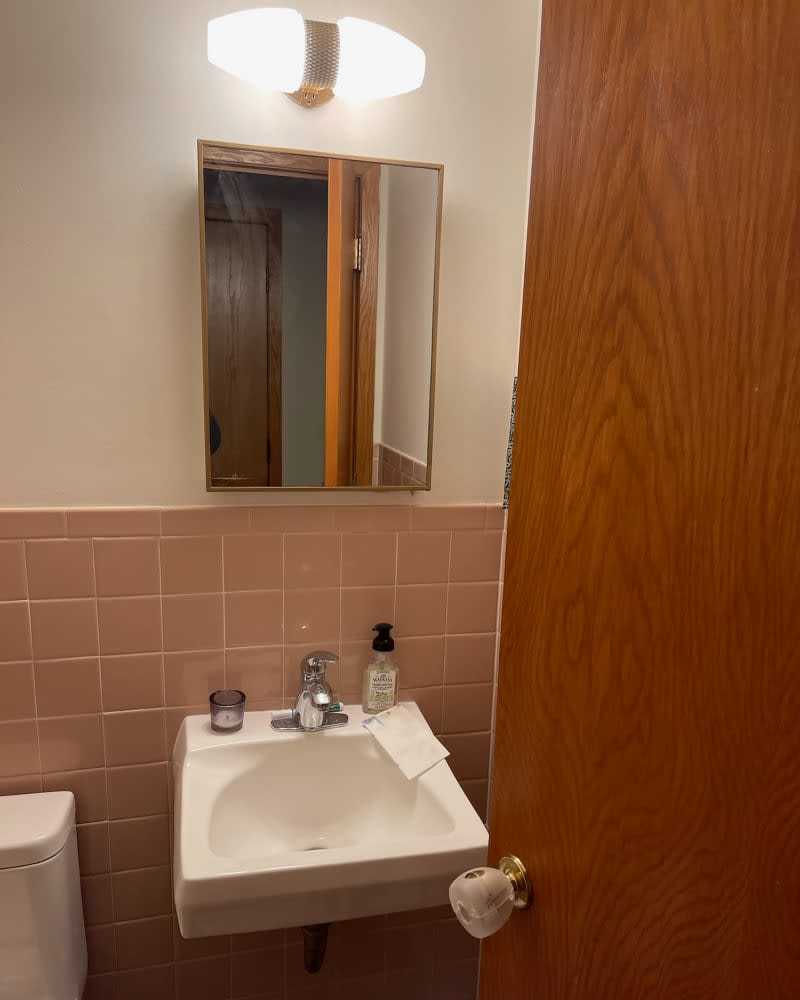
In an effort to remain budget-conscious, Julia made her own wall shelves with materials left over from a previous DIY project. She was originally planning to buy a new mirror to replace the medicine cabinet, but after her two splurges, she decided to update the original medicine cabinet with a gold leaf kit instead — and she likes that she didn’t lose any storage that way.
It’s all in the details.
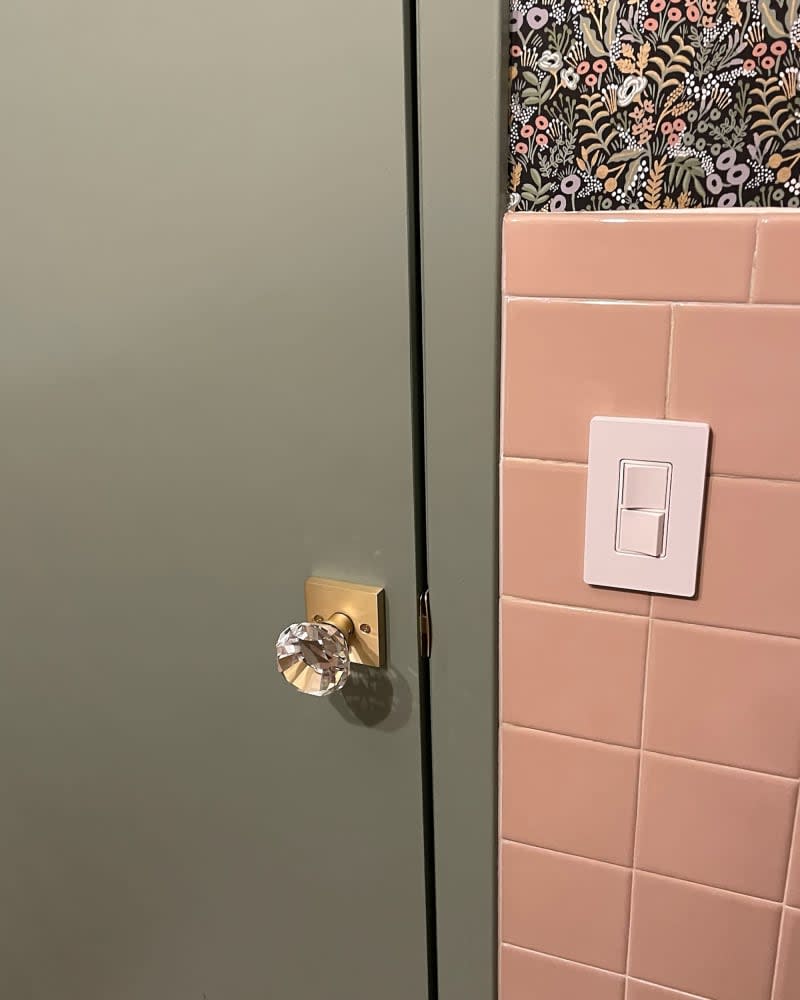
Julia brought a sample of her wallpaper to The Home Depot so they could help find the closest paint match to the green in the wallpaper, and she used that to paint the door and door trim.
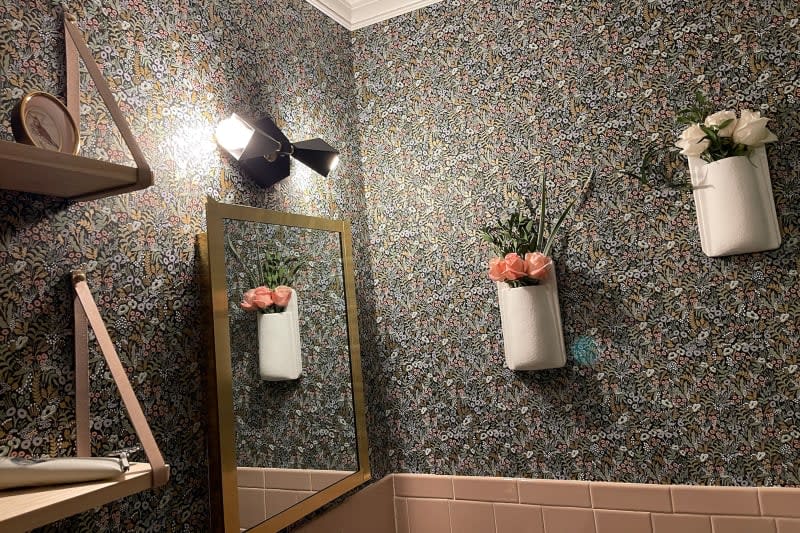
After that, she looked up and noticed one more thing she wanted to change. “I originally was going to be finished after wallpapering, but the ceiling in the bathroom is popcorn style, and the room felt perfect, except for that,” she says. “Eventually I added ceiling tiles and crown molding, which was not an easy task!”
But now the bathroom looks exactly like she’d envisioned. “I love that this can be one small perfect space in the house,” Julia says. “I particularly love the wallpaper, shelves, and the brass elements.”
Inspired? Submit your own project here.

