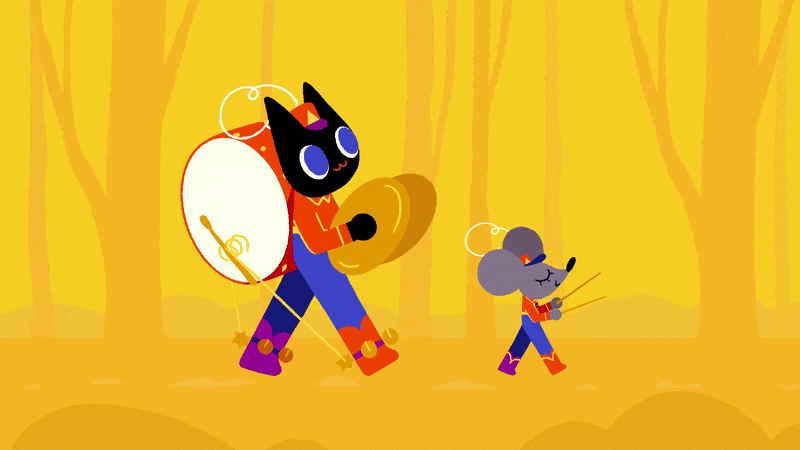
Procreate Dreams beginner tips – Danni Fisher-Shin shares her animation insights
Getting started in Procreate Dreams is fairly easy, it's part of the draw of this iPad-exclusive animation app - making it one of the best tablets for animation. But understanding the fundamentals of animation, which tools to focus on first and how these fit with traditional animation skills can really help boost your workflow.
I recently had the chance to catch up with leading cel animator and Procreate Dreams user Danni Fisher-Shin. The illustrator and animator can count Netflix, Apple, Google and LEGO among her clients. "My favourite projects have been the music videos I get to create or art direct, and anything with fantastical cel animation," she reveals.
Danni started animating at Otis College of Art and Design in 2012-2013, "and fell in love immediately", she tells me. After graduating with a degree in Digital Media she freelanced in LA for various studios, took a full time job, before heading back to the hustle of freelance.
That journey has taught Danni that cultivating her own mental health and creativity is very important, "especially as I find the two to be deeply connected and symbiotic," she says.

Danni believes none of us can be creative and reach our full potential without understanding of our own mental health or understanding there are myriad ways in which we can all "absorb creativity".
She explains: "For me, personal relationships and being in nature and around diverse mediums of art are great creative motivators and inspire me more than focusing on just one medium or source of inspiration."
In terms of advice, Danni tells me: "I personally have found that when I began to make a ton of work for myself, letting myself explore and create exactly what I wanted, I improved exponentially and began to see the effect in the clients I was getting and the kind of projects that came my way.
"So, my advice for new artists is to have fun, explore and create exactly what you want to make and see; like attracts like, and you’ll find your true collaborators and attract the projects you want by putting your most authentic self out there."
Procreate Dreams beginner tips
Below Danni shares her advice for getting started in Procreate Dreams - it's great advice and ideal for people like, me who's love of 2D animation has been rekindled by Procreate Dreams. The animator reveals the tool that everyone needs to know about, her best practice for understanding cel animation and the shortcut everyone needs to know about in Procreate Dreams.

01. What's your most used tool in Procreate Dreams?
Since I’m a cel animator primarily, definitely the Draw & Paint Mode to hand-draw my frames - but I often use it in tandem with the keyframe functions to lighten the workload.
It’s similar to cel animating in a program like Photoshop, in terms of it being a very natural interface with lots of amazing brushes but cuts out the middleman of having to export my cel animation to another program (usually After Effects) to add camera moves and any other keyframes. I love being able to super simply use both keyframe and frame by frame animation in a way that feels much more natural and streamlined.
02. What's the first thing you'd suggest someone animates, and how is this easily done in Procreate Dreams?
I think creating a simple cel animation, grouping that, and keyframing that group is a great way to get a feel for multiple functions you’ll find useful in Procreate Dreams. So, any sort of sprite, like a character walking, a butterfly flapping its wings, etc that you can then move around with keyframes is a great starter to get a feel for these tools.
03. Have you found any neat shortcuts in Procreate Dreams?
I love using the grouping function to make easy cel animated loops for further keyframed animation. Grouping a few hand-drawn frames and duplicating the loop, then adding keyframes on the grouped animation over a longer span of time creates the illusion that the entire longer keyframed animation was hand-drawn.
04. What are the 'need to knows' about using Draw Mode in Procreate Dreams??
If you already use Procreate, it’s pretty much the same at its core, which is lovely. Personally, I love that we’re now able to draw outside of the canvas, which is a big asset for me. The Smoothing setting in brushes is useful as well for keeping lines smooth and cohesive over numerous frames when cel animating.
05. Are there any warmups or simple animations new users can try to get up to speed and learn to animate?
It’s my opinion that practicing the basic animation principle exercises (like ball bounce and slide, and box falling), are always useful no matter the program being used to animate.
However, I think exercises that combine frame by frame and keyframing and grouping would be my personal recommendation for learning with Procreate Dreams; I recently did a demo of this on a Skillshare livestream where we created a cel animated loop of a bee, a depth-scrolling background from one cel animated flower we duplicated and keyframed, and then used the Performing feature to make our bee loop fly through our scrolling environment. Something utilising the basics of the app in that vein to get the feel for each capability is definitely useful.
I also have a full-length Skillshare class utilising all of these principles and tools specifically for animators learning to use Procreate Dreams, so check that out for a more in-depth answer to this question!
06. What are the core tools in Procreate Dreams you use regularly, and how best to use them?
My go-to process in Procreate Dreams is to create any background or layers I need in Draw & Paint Mode, then add any camera move keyframes with the keyframing feature - I also use Draw & Paint mode extensively to create frame-by-frame animations, and then keyframe those within the environment I’ve created.
I use the Grouping capability for that, so my most-used functions are definitely Draw & Paint Mode, Keyframing and Grouping. Performing can also be incredibly useful for creating natural-looking animation over longer spans of time without having to hand-keyframe every movement!
07. What are the basic principles of animating in Procreate?
Procreate Dreams is a bit like a mashup of a desktop cel animation program and a keyframe animation app like After Effects; so it’s combining a lot of basic principles of both.
My essentials are using Procreate Dreams' Draw & Paint Mode to create frame by frame animation and any background layers, using the keyframe function to add extra animation on top and any camera moves, and using the Grouping feature to essentially 'precomp' things I’ve already animated or want to keyframe together, for ease and efficiency.
08. Do you have any advice for storyboarding? (Do you do this in Procreate or Dreams?)
As a cel animator, I find storyboarding very important and tend to pipeline mine directly into preliminary keyframes for my animations. I do this in Procreate Dreams, pacing out my storyboards on the timeline to create a simple animatic, which I adjust basic timing on and then add more frames or animate directly from there with those moments as my core keyframes to build on.
My most effective way of creating storyboards is thinking of each moment or beat I want to hit in the piece, then using them as a rough layout to figure out what looks best compositionally and what will punch up these moments in animation.
09. What should people keep in mind when animating over video?
Matching the movement of the camera in live-action footage is always an inherent challenge, so if you’re just starting, working with a locked-off camera is a great way to take a lot of the work out of it.
If you’re a little more advanced, I personally love using wild camera moves to add intense, depth-filled animations that would be harder to map out without the live-action camera in play; just make sure you have good points of reference to track to in the footage, like markers on the ground or specific small things in the environment to track to, so you can more easily integrate your animation in a convincing way.
Otherwise, just have fun and play around with it! Even without intense tracking, animation over live action can be incredibly fun and stylized in ways that you wouldn’t normally think of with just one or the other as a medium.
If you enjoyed Danni's tips then you should also read animator Havtza's advice for getting started in Procreate Dreams. If you're keen to follow these two animators, then also read up on our guide to iPad's generations to see which is right for you.

