How to Pluck Your Eyebrows Like a Pro: Step-by-Step Guide
Score A+ arches with ease.
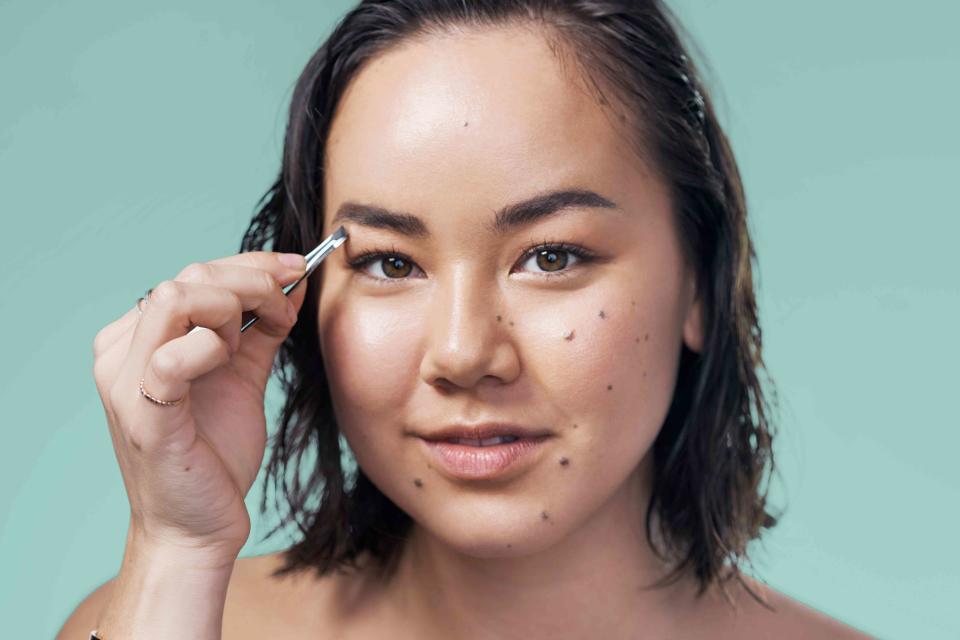
PeopleImages/Getty Images
Plucking your eyebrows—it may seem like a super easy, no brainer beauty task. And, for the most part, it is. Not to mention it’s gentle on the skin (unlike, say, waxing or threading) and can easily be done in the comfort of your own home. That being said, there are some key tweezing tips and tricks that can make the process not only more seamless, but also enhance the end result. So we tapped top brow experts for a step-by-step guide—and their favorite product picks—to learn exactly how to pluck eyebrows like a pro.
1. Start After You Shower
Plan on plucking after you get out of the shower. Not only will your skin be clean, but the hair follicle also softened, notes beauty and brow expert Robin Evans. And a softer hair follicle means the hair will slide out more easily. Doesn’t line up with your timing? Alternately, you can apply a few drops of a face oil to help soften the skin, which also makes it less painful, adds brow expert Michele Homes. We like the Le Prunier Plum Beauty Oil ($72; leprunier.com).
2. Trim Any Stragglers
First, use a brow brush, like the Real Techniques Dual-Ended Angled Liner and Spoolie Brow Brush ($3.49; ulta.com), to comb all of your hairs upward. This will make it easy to see any that are especially long, which you can then individually trim with a pair of brow scissors, explains Evans. One pair to try: Sephora Collection Brow Scissor ($14; sephora.com).
3. Create Your Shape
Because you definitely don’t want to risk over-tweezing and ending up with skinny brows that are giving 2003, Evans advises creating a DIY brow stencil. “Take a brow pencil and hold it next to your nose, pointing straight up. This spot is where your brow should start. Next, hold the pencil against your nostril, angled toward the eye through the center of the iris and make a mark here. This is where your arch should be. Finally, hold the pencil in the same position, gently touching the nostril, but angle it out further to the outside or outer corner of the eye. This is where the tail should end,” she says. Once you have these three points, use the brow pencil to draw that shape—it will look heavy and overdrawn, but that’s okay, you’re just using this as a guide. Plan on tweezing everything underneath and outside this shape. Whether or not you want to tweeze what’s above it is a matter of personal preference, says Evans; some people like to leave this to create the appearance of fuller brows.
4. Get to Tweezing
Both experts we talked to recommend using a slant tweezer; Holmes likes the Tweezerman Pointed Slant Tweezer ($25.50; tweezerman.com), specifically. “Hold your skin tight with your index finger and the thumb of your non-tweezing hand, tweezing individual hairs in the direction of hair growth,” she says. Brow hairs grow at an angle, so pulling them out at an angle—rather than straight up—will help make for a pain-free experience, she explains.
5. Finish With Moisturizer
Wipe off that leftover brow pencil with some micellar water or eye makeup remover, says Evans. If your skin is sensitive, you can also finish with a little bit of your face moisturizer to help calm the skin, adds Holmes.
For more Real Simple news, make sure to sign up for our newsletter!
Read the original article on Real Simple.

