How To Hang Curtains Like A Professional
6 expert-approved steps for stunning drapery the first time.
If installed incorrectly, it won’t matter how lovely the pattern is and how perfect the colors are on your freshly purchased curtains. And unless you've chosen a renter-friendly, puncture-free hanging solution (not advisable for long-term needs), an askew curtain installation can be an expensive and complicated fix.
“You can spend a lot of money on drapery, but getting the hanging wrong can make them look wrong, thus ruining the effect of your thoughtfully spent money,” says interior designer Stephanie Abernathy.
Meet the Experts
Stephanie Abernathy is the principal designer of Studio Wellington in Atlanta, Georgia
Jenn Cameron is the principal designer of Jenn Cameron Interiors in Baltimore, Maryland
Stephanie Pohlman is the principal designer of Stephanie Pohlman Designs in Saint Charles, Missouri
Done right, however, a new curtain-rod combo adorned with decorative fixings can brighten a room—or dim it as intended. Proper materials and installation are important for both the look and function of your curtains, designers share, but they’re also important for safety. The last thing you want is for your curtains to come crashing down because the rod couldn’t handle the weight of the drapery. If possible, hiring a professional is the way to go.
“I always recommend having a professional to hang draperies,” agrees interior designer Jenn Cameron. “It is so important to make sure that they are hung at the right location, especially if you want the drapes to just ‘kiss’ the floor.”
If you’re a DIY-er at heart (or at budget), we’ve got your back. Here’s how to hang curtains like a pro.
What You Need
Curtain rod with brackets
Curtains
Tape measure
Level
Screwdriver
Pencil
Screws
Optional: wall anchors, drill, curtain rings or clips, embellishments

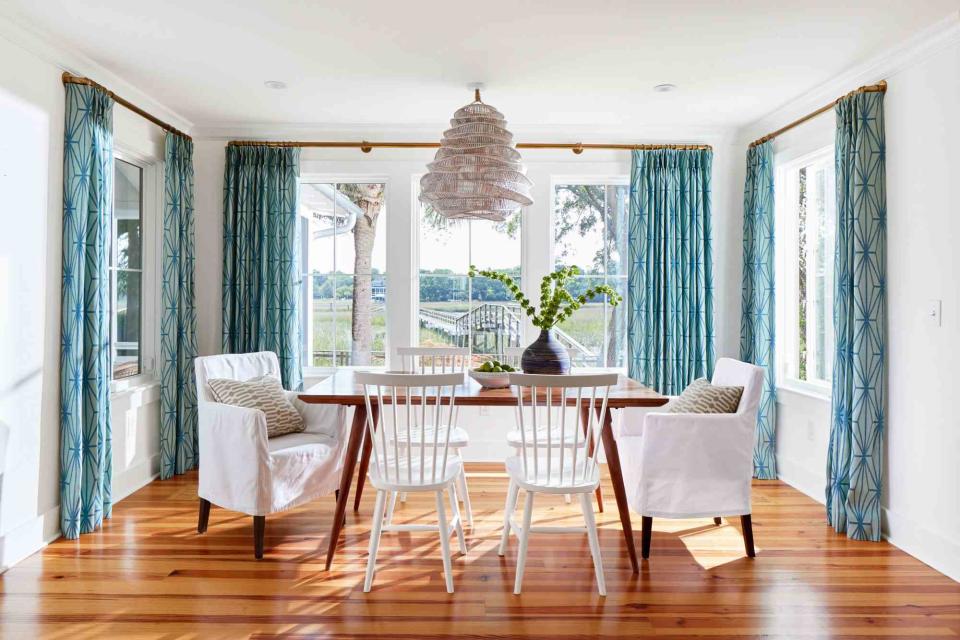
Courtesy Stephanie Pohlman Designs
How To Hang Curtains
Step 1: Measure
Before you bring home a curtain rod or set of curtains, measure your window to figure out what dimensions you’ll need for materials. First, use a tape measure to determine the width of your window. Measure from the outside of the trim on one side to the outside of the trim on the other, interior designer Pohlman emphasizes. Jot that number down for safe keeping.
Rather than measuring the exact height of your window, you’re going to start your measurement on the ground. Identify the distance between the floor and the top of the window trim. Remember that number, too.
Step 2: Choose the Right Materials
With those measurements in mind, it’s time for shopping. Selecting drapery that’s correctly scaled to your space is important both aesthetically and functionally. Curtains that aren’t wide enough will let in light, and curtains that aren’t tall enough will hang loosely at an awkward length. Pohlman reveals that finding window treatments with the right dimensions is often a tough hurdle.
“A lot of times people hang curtains too low because of the standard heights that are offered,” she reveals. “For typical eight foot ceilings, a generic height curtain is going to hang right above the window, which is too short it makes the room feel shorter. What we like to recommend is 4 to 6 inches from the ceiling which gets you at like 90 to 92 inches long for the curtains. That will make your room feel so much taller.”
Use this helpful guide to learn about different curtain styles. Here’s how to find your perfect curtain size:
Height: Because designers say that 4 to 6 inches is the ideal height to hang curtains, you’ll need to build a few extra inches into your measurements. Add 4 to 6 inches to your floor to window-top measurement to determine the ideal curtain length for your window.
Width: Simply double the width of your window to ensure sufficient coverage. This should be the perfect amount of drapery to stylishly block out any light. If you’re choosing double panel drapery, this means that each panel should be able to cover the whole window.
Using this metric, your curtains will effectively block out light, give the illusion of a taller ceiling, and gently “kiss the floor,” as Cameron puts it.
The curtain rod also has to be properly sized to fit the window in question. As a general rule, curtain rods should be about 8 to 10 inches wider than the widow, allowing for 4 to 6 inches of excess on each side.
Pohlman and Abernathy both reveal that they prefer French return curtain rods for their simplicity and reliability. Sturdy, quality materials including the curtain rod, brackets, and anchors are essential for a secure installation. Moreover, double-check that the brackets and anchors are suitable for your wall material; specific options are available for different wall types such as drywall for a proper and durable setup.
Step 3: Mark the Spot
To ensure the curtain rod is level and positioned correctly, it’s once again time to break out your trusty measuring tape. Use a pencil to mark that perfect spot about 4 to 6 inches above the window from which your curtains can hang to just barely brush the floor. This mark indicates the height for your curtain brackets. To mark the width of the curtain brackets, measure and mark about 4 to 6 inches away from either side of the window.
Most types of curtain rods require a bracket every three feet. If your window is wider than that, use your tape measure and pencil to locate and mark a spot in the middle for an additional bracket.
Position your brackets against the wall according to your markings, and use the pencil to mark the wall where the bracket's screw holes align. Use a level to verify that your marks are even. These marks will serve as a guide for perfect, precise curtain rod placement in the next step.
Step 4: Install The Curtain Rod
If you’re installing a window treatment on drywall, or using especially heavy curtain rod and drapery, set your curtain rod up for success by securing anchors. Drill holes at the marked positions for the brackets, then insert plastic anchors. Next, use a screwdriver to firmly fix the brackets into the wall, using a level along the way to maintain evenness. Finally, it’s time to put the curtain rod in place.

Step 5: Hang The Curtains
The technique needed to attach curtains to the rod will depend on their type. For drapery with grommets or eyeholes, simply thread the rod through the opening at the top of the curtain. Alternatively, use curtain rings or clips to fasten the drapery onto the rod.
Now, it's worth noting that the order of steps may need adjustment in certain scenarios. For example, when utilizing the French return curtain rod style favored by designers, it's necessary to attach the curtains, or at least the curtain rings, before screwing in the brackets, as the pole cannot detach from the brackets once installed.
Step 6: Style and Maintain
Now that your curtains are up, designers have a tip or two about how to keep them looking their best.
For a traditional look, Cameron suggests adding tiebacks, although her personal preference is to allow the drapery to hang straight down, complementing the space with valences. Meanwhile, Pohlman recommends layering shades.
“We like to recommend layering your window treatments,” she says. “We love woven shades on a window to give privacy and help with light control, and then we'd like to layer on a nice linen curtain. Adding a tie back also really gives you that light and bright airy feel.”
To maintain your window treatments over time, periodically check and replace loose screws as needed. If the curtain rod begins to sag in the middle, it’s probably time for a replacement. Keep curtain rings sliding smoothly by lubricating them with dry silicone spray like WD-40. Lastly, follow the care instructions on your drapery's tags (and use these tips) to ensure they remain fresh without damaging the fabric.
For more Southern Living news, make sure to sign up for our newsletter!
Read the original article on Southern Living.

