How to build a Squarespace website
If you’re wondering how to build a Squarespace website, we’re here to help. Squarespace is one of the most popular website builders out there at the moment, in part because it’s pretty user-friendly and intuitive. With ready-made templates and a drag-and-drop interface, Squarespace gives you the tools you need to get up and running quickly – but if you’re new to designing sites, it can be a little overwhelming.
So, we’ve put together this guide to help you get started. Whether you’ve come to Squarespace because you’re looking for a web builder for small business, or a web builder for artists, you’ll find it to be a fairly straightforward way to put a website together. From signing up and choosing a domain, to structuring your site and populating its pages, here’s our straightforward guide to how to make a website on Squarespace.
1. Choosing your plan
The first thing to do when building a Squarespace website is, well, sign up for Squarespace. Like pretty much all website builders, Squarespace is a subscription-based service – you’ll pay on an ongoing basis for as long as you want your website to be active.
The plans start at a minimum of $16/£12 per month – though you’ll only get this low rate if you pay for a year all at once. The plans include ‘Personal’, ‘Business’, ‘Commerce (basic); and ‘Commerce (advanced)’. Realistically, you only need to look beyond ‘Personal’ if you’re planning on taking payments directly through your site, as the lower tier still offers the full suite of design features. There is no free tier – though there is a 14-day trial period, which you can use to design your site without committing any money.
With each plan you get what Squarespace calls a ‘Free custom domain’ – however, this actually means, ‘One year of a free custom domain’. Once the year is up, you’ll need to pay to continue hosting your site at yournamehere.com or wherever. Fortunately, while costs do vary, it is unlikely to be expensive – I have a domain that auto-renews each year for a grand total of £16.
2. Theme, structure and pages
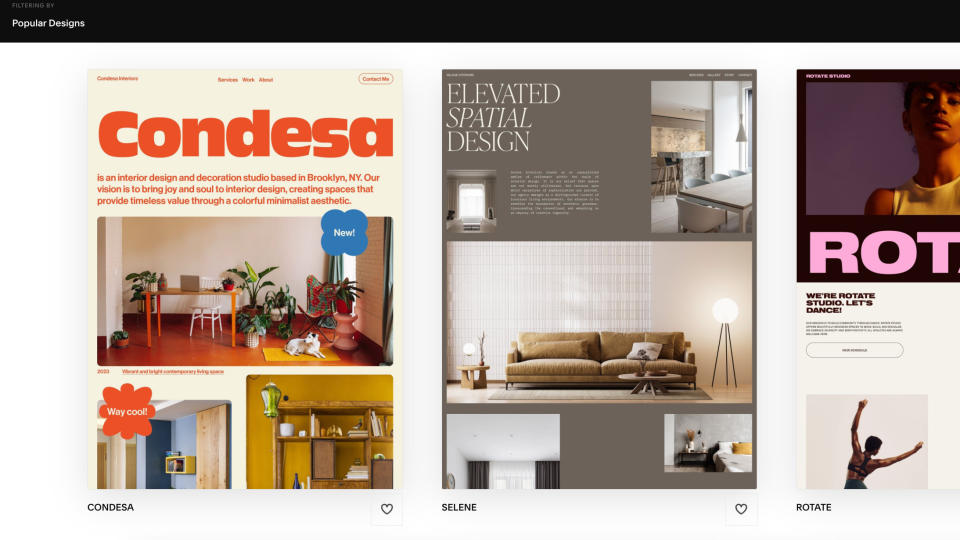
Once you’re all set up, it’s time to start designing your site. The best thing to do is to pick a theme – this will give you a basic structure and ‘look’ to work with, which you can then tweak to give your site a bit of individuality. Many themes can also be customised with different colour schemes. Of course, if you feel confident with design, you can completely build a theme from scratch.
Once you’ve chosen or designed your theme, it’s time to lay out the basic structure of your site. Sites on Squarespace are structured around pages – using the ‘Pages’ panel, you can add as many pages as you need, which will be added to the site’s navigation (which in most themes is in the top bar). You can choose from Squarespace’s preset page layouts or work from a blank template, and set different pages as your homepage according to where you want visitors to land first.
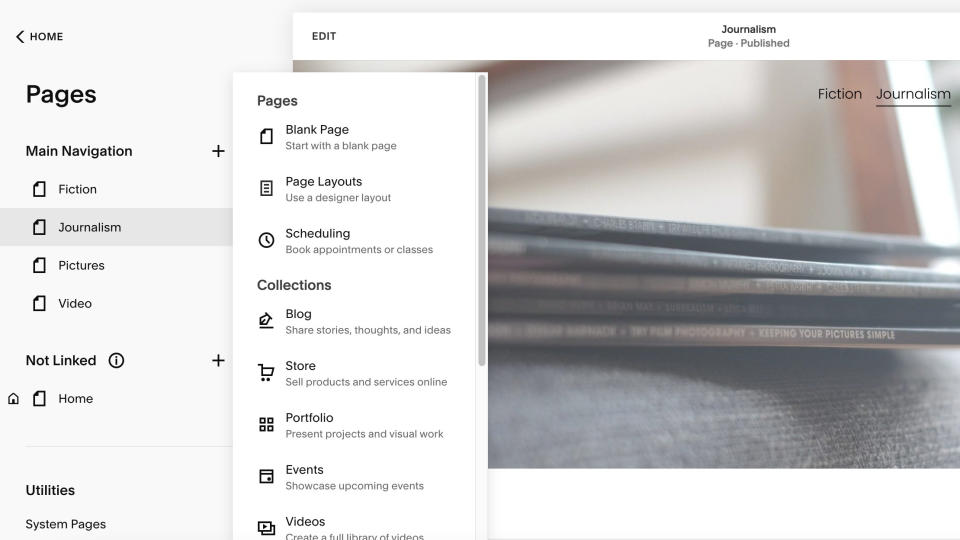
Don’t worry too much about adding a page for everything – less is more when it comes to making your site easy to navigate.
3. Populating with content
Squarespace uses a block-based system for populating pages that’s intuitive to work with – it calls its blocks ‘sections’. When you add a section, you can select from a number of templates, so it’s worth looking through them to check if the section you want to add has a premade template. If you’re adding an ‘About’ section, some FAQs, an address or whatever else – there’s likely a template for that.
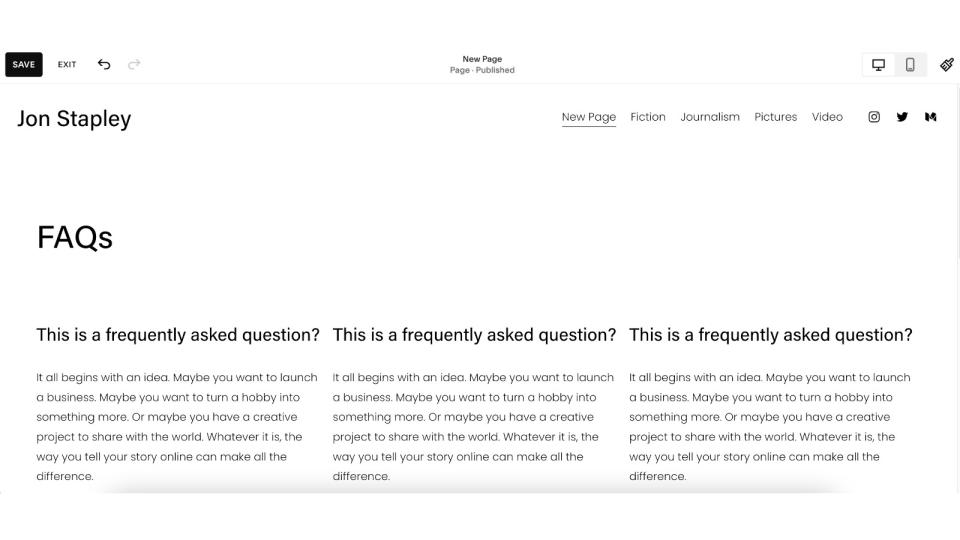
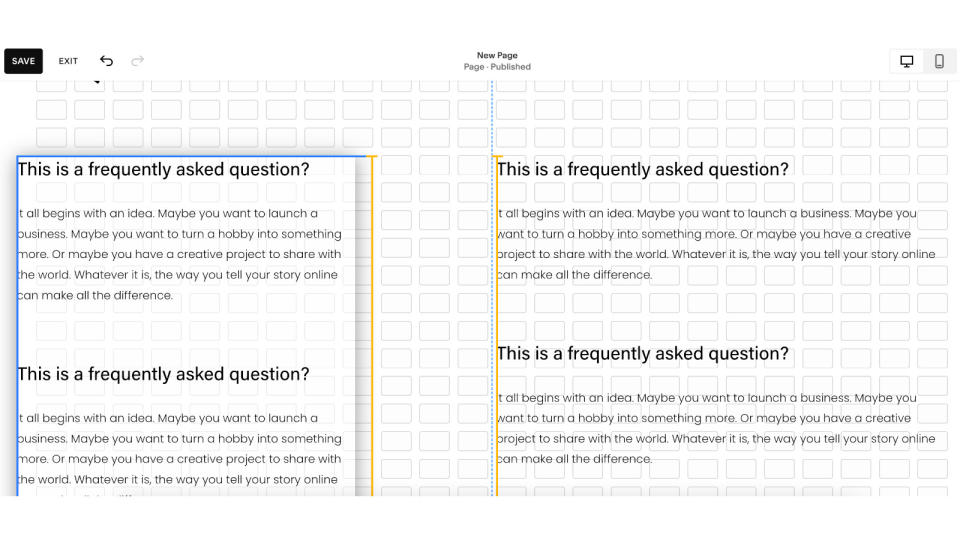
Don’t worry if the templates aren’t exactly what you’re looking for – they’re easy to edit. For instance, in the above example, I’ve added FAQs. But say I only want two columns rather than three. I can simply delete the rightmost column, then click and drag the edges of the other two to widen them to fit. Squarespace uses a grid system for its pages that makes it easy to line up different elements. Play around and see what works.
You can write your own text directly into the editor, and upload your own images. If you need imagery for your site, check out our guide to the best stock photo libraries.
4. Final stage

Edit header/footer
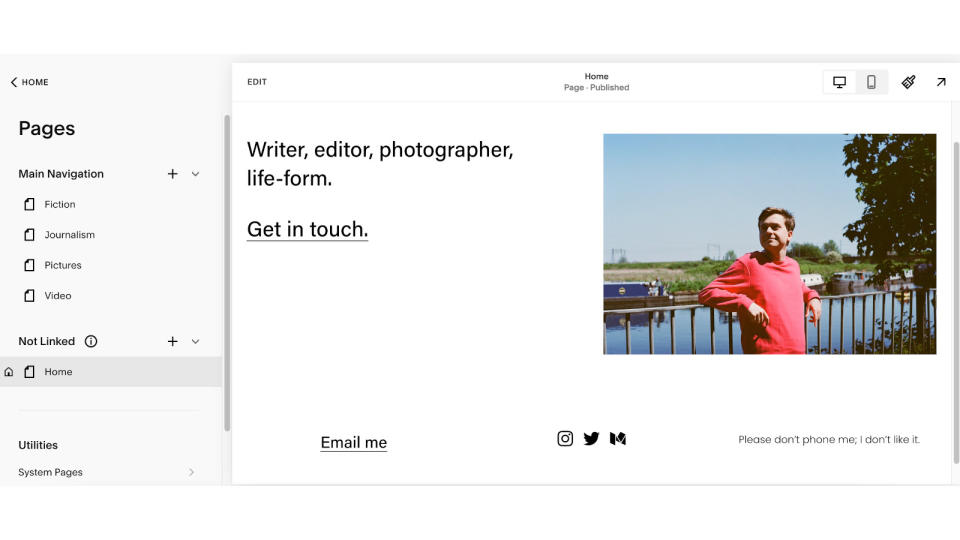
As well as containing your navigation menu, your header can also be customised with links to your social profiles or anything else you find useful. Click ‘Edit’ from your homepage in the main dashboard, then click ‘Edit Header’. You can use a pre-made social links block and enter your handles – Squarespace is pretty good at pulling through the appropriate logos.
You can also add a footer – this is generally a good place to put contact details, if applicable.
Set up a blog
If you’re going to be continually adding content to your site, you can use the ‘Collections’ function to add a blog. This will create a blog homepage that will automatically display and link out to all your latest posts. Like with any good blog, you can add categories and tags to make it more navigable, as well as enabling comments and email subscriptions.

Publish your site
Once you’re happy with what you’ve got, you can release your site out into the world! This is the moment where you’ll need to sign up to a subscription tier if you haven’t already – though you can always cancel within if you reconsider.
Don’t worry too much about getting everything perfect – Squarespace makes it very easy to jump in and edit pages whenever you please.


