This Beloved Ingredient Is the Secret to My No-Bake Cheesecake Bars
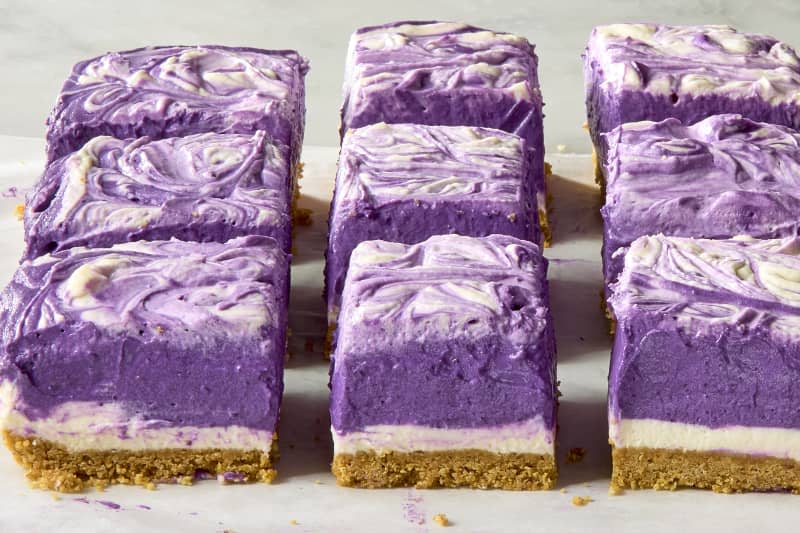
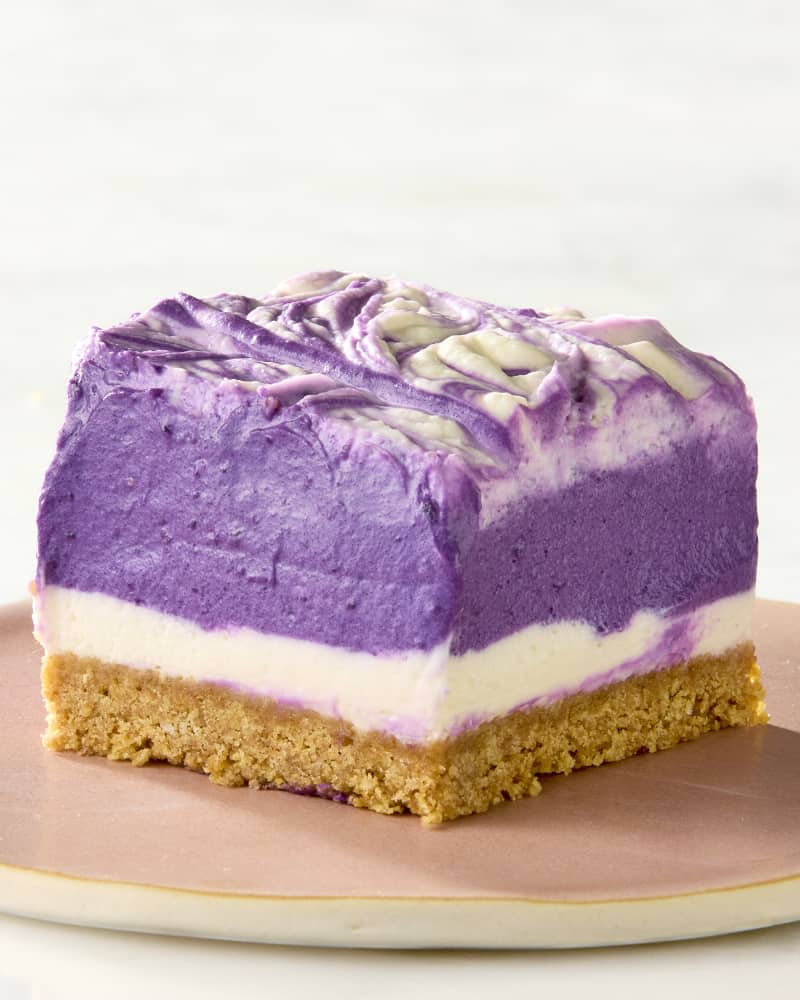
One of my favorite dessert flavors is ube (purple yam). Its unique, vanilla-like, and slightly earthy flavor works perfectly in many not-too-sweet desserts like ube tiramisu and ube ice cream. So, of course, I’ve been thinking about the next dessert to get an ube upgrade. Enter: Ube cheesecake bars! Here, a creamy, wonderfully airy cream cheese base gets flavored with ube and paired with a graham cracker crust for a stunning, crowd-pleasing dessert.
Many of my friends tried these no-bake bars, and all of them were surprised by how beautiful they looked and how balanced the flavors were. And of course, they’re not too sweet. Trust me — they’re even better when slightly frozen, creating a nice ice cream bar-like texture. So, if you want a firmer bite, freeze it for about an hour before serving.
Why You’ll Love It
By using both ube paste and ube extract, the flavors of ube come through in a wonderfully delicious way.
Pairing a slightly salty graham cracker crust with an airy, creamy cheesecake filling delivers a dessert that isn’t too heavy.
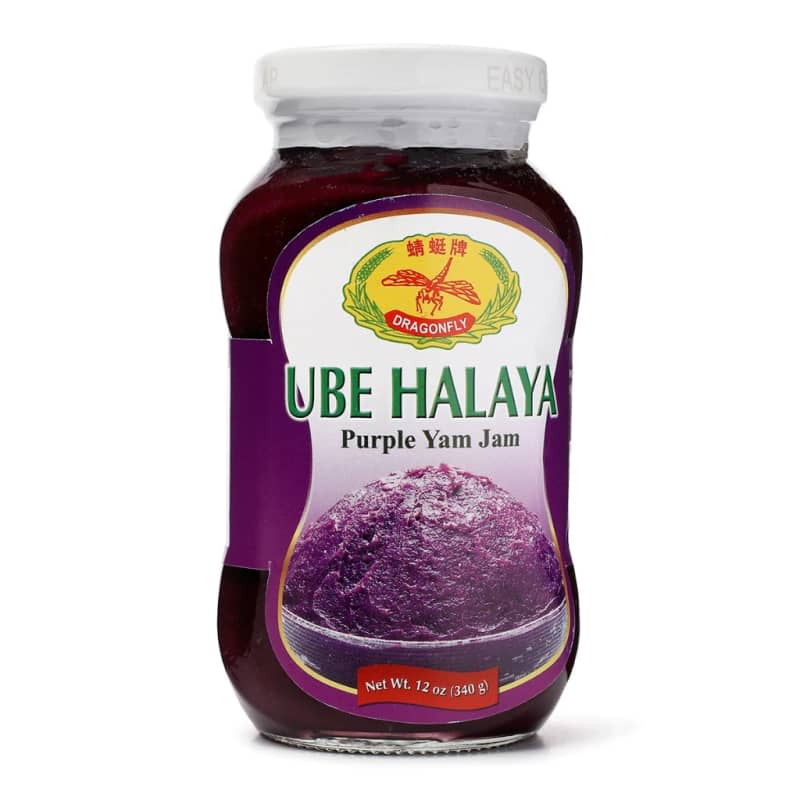
Dragonfly Ube Halaya Purple Yam Jam
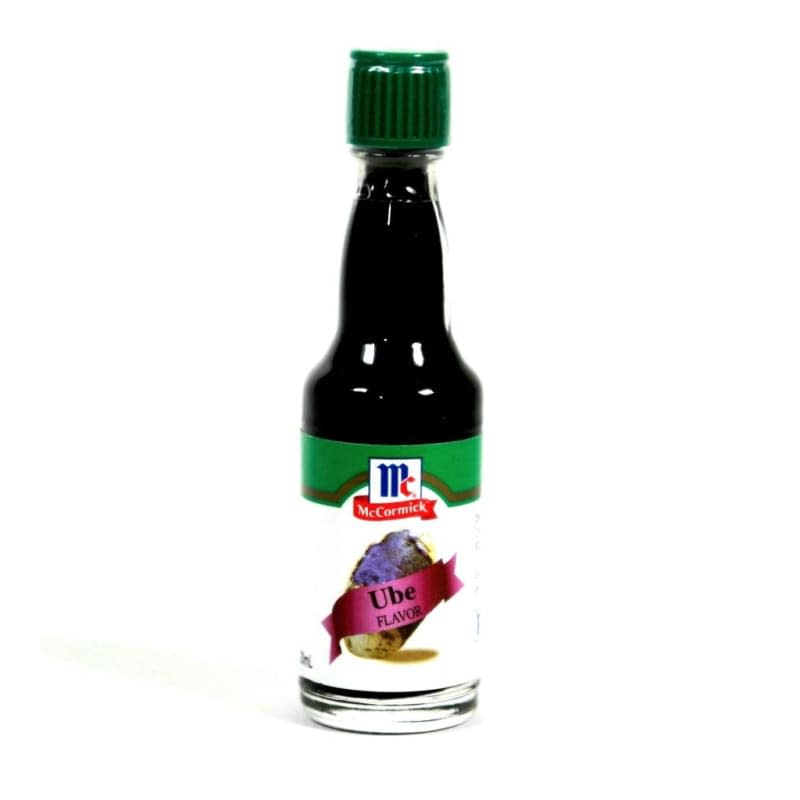
McCormick Ube Flavor Extract
Key Ingredients in No-Bake Ube Cheesecake Bars
Graham crackers. It’s important to make the crust slightly salty so it balances the cream cheese filling.
Cream cheese. The main ingredient in the cheesecake filling. Take your time when whipping to ensure it’s airy.
Heavy cream. Whipped heavy cream not only keeps the cheesecake filling airy, but also helps it set up in the fridge.
Sour cream. Adds a wonderful tang to the cream cheese mixture.
Ube extract. This liquid extract has the essence of ube with a deeply purple color. It’s slightly thick and turns the white cheesecake filling into a gorgeous purple color instantly while adding an earthy, vanilla-like flavor.
Ube halaya. Known as ube jam, it’s made from boiled and mashed ube. Ube halaya is already sweet, but the earthiness of boiled and mashed ube balances it, while turning the texture slightly thick. It gives a nice body and firmness to the cheesecake filling.
How to Make No-Bake Ube Cheesecake Bars
Make the crust. Make the crust by adding melted butter, graham crackers, light brown sugar, and kosher salt to a food processor. When processing, you’ll want to keep it pretty coarse for a nice texture (don’t turn it into a paste!). Freeze it while making the filling, for at least 10 minutes.
Make the filling. Whip the heavy cream first until it’s stiff. Then, make a cheesecake filling by mixing cream cheese, granulated sugar, powdered sugar, sour cream, vanilla extract, and kosher salt until it’s fully incorporated. Divide the filling and save some for the swirls on top.
Make the ube filling. Add ube extract and ube halaya into the halved cream cheese filling until it’s fully incorporated.
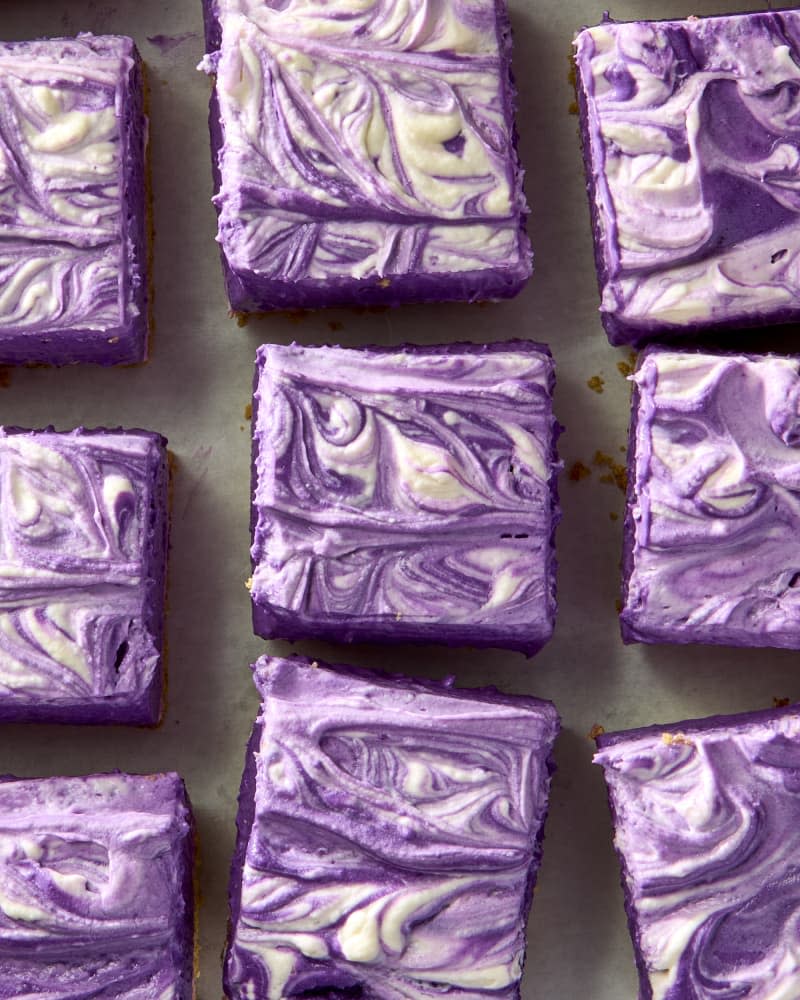
Layer the fillings and swirl. Add the layer of cream cheese filling, followed by ube filling. Add dollops of reserved cream cheese filling on top of ube filling. Using a chopstick or small thin knife to make swirls.
Refrigerate until set and serve. Keep the cheesecake bars in a refrigerator until set, for at least 8 hours, and serve cold. Once it’s set, freeze for an hour or so before serving if you want a firmer texture.
No-Bake Ube Cheesecake Bars Recipe
These easy, no-bake cheesecake bars get a flavor upgrade with ube extract and ube jam, making it an ideal make-ahead dessert.
Prep time 40 minutes to 45 minutes
Serves 16
Ingredients
For the crust:
8 tablespoons (1 stick) unsalted butter
16 full-size graham crackers (8 1/2 to 9 ounces), or 2 cups graham cracker crumbs
2 tablespoons packed light brown sugar
3/4 teaspoon kosher salt
For the filling:
1 1/2 pounds (24 ounces) cream cheese
2 cups cold heavy cream
1/2 cup granulated sugar, divided
1/2 cup powdered sugar
1/2 cup sour cream
1 teaspoon vanilla extract
1/4 teaspoon kosher salt
1/2 cup ube halaya (purple yam jam), such as Dragonfly Ube Halaya Purple Yam Jam
1 tablespoon ube extract
Instructions
Let 1 1/2 pounds cream cheese sit at room temperature until softened.
Make the crust:
Line a 9x9-inch, 2-inch-high square baking pan with 2 sheets of parchment paper, positioning them perpendicular to each other so that the parchment hangs about 2 inches over all 4 sides of the pan to form a sling.
Melt 8 tablespoons unsalted butter in the microwave or on the stovetop.
Roughly break up 16 full-sized graham crackers with your hands and place in a food processor fitted with the blade attachment. Add 2 tablespoons packed light brown sugar and 3/4 teaspoon kosher salt. Pulse until fine crumbs form, 10 to 15 (1-second) pulses. Drizzle in the butter and pulse until combined, 6 to 8 (1-second) pulses. The mixture should hold together in your hand when squeezed, resembling medium-coarse wet sand. (If using graham cracker crumbs, just stir 2 cups crumbs, the sugar, salt, and melted butter together in a medium bowl.)
Transfer the mixture to the baking pan. Use the bottom of a measuring cup or your fingers to press the crumbs into an even layer, making sure to reach the edges and fill the corners. Freeze while you prepare the filling.
Make the filling:
Place 2 cups cold heavy cream and 1/4 cup of the granulated sugar in a stand mixer (or large bowl if using an electric hand mixer). Beat with the whisk attachment on medium-high speed until stiff peaks form, 3 to 4 minutes. If using a stand mixer, transfer the whipped cream to another bowl.
Place the cream cheese and remaining 1/4 cup granulated sugar in the now-empty stand mixer bowl (no need to clean; use a second large bowl if using an electric hand mixer). Beat with the whisk attachment on medium speed until fluffy and creamy, 4 to 5 minutes. Scrape down the sides and up the bottom of the bowl with a flexible spatula as needed.
Add 1/2 cup powdered sugar, 1/2 cup sour cream, 1 teaspoon vanilla extract, and 1/4 teaspoon kosher salt. Beat on medium-high speed until combined and smooth, 2 to 3 minutes. Add the whipped cream and gently fold together by hand with the flexible spatula until combined and no streaks remain; do not overmix or it will deflate. Transfer half of the mixture back to the whipped cream bowl.
Add 1/2 cup ube jam and 1 tablespoon ube extract to the stand mixer bowl. Beat with the whisk attachment on medium speed until evenly combined, 1 to 2 minutes.
Set aside 1/2 cup of the white cream cheese mixture. Transfer the remaining white cream cheese mixture onto the crust and spread into an even layer. Dollop the ube mixture over the white cream cheese mixture and spread into an even layer.
Gently tap the bottom pan against the counter a few times to remove any air bubbles. Using a small spoon, dollop the reserved 1/2 cup cream cheese mixture evenly over the top. Run a chopstick or small thin knife through the white dollops to make a swirl pattern in the ube mixture.
Cover the pan tightly with plastic wrap or aluminum foil. Refrigerate until firm, at least 8 hours or preferably overnight. (The longer it is refrigerated, the firmer it will set. For an even firmer texture, freeze for 1 hour more after refrigerating before serving.)
Grasping the excess parchment, lift the slab out of the pan and place on a cutting board. Cut into 16 squares with a long, thin knife, dipping it in hot water and drying the knife between each cut to get the cleanest-looking slices.
Recipe Notes
Storage: Leftovers can be covered and refrigerated for up to 5 days.

