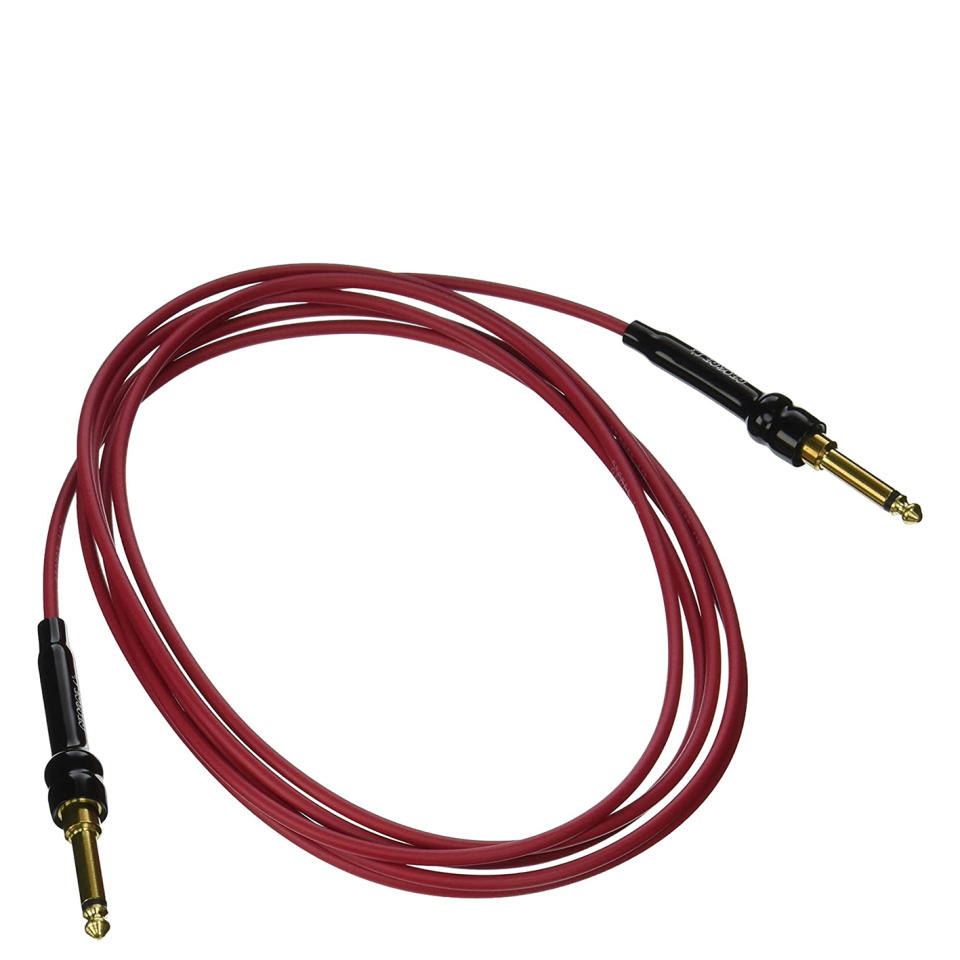
5 signs your guitar cable needs replacing (and 6 ways to make it last longer)
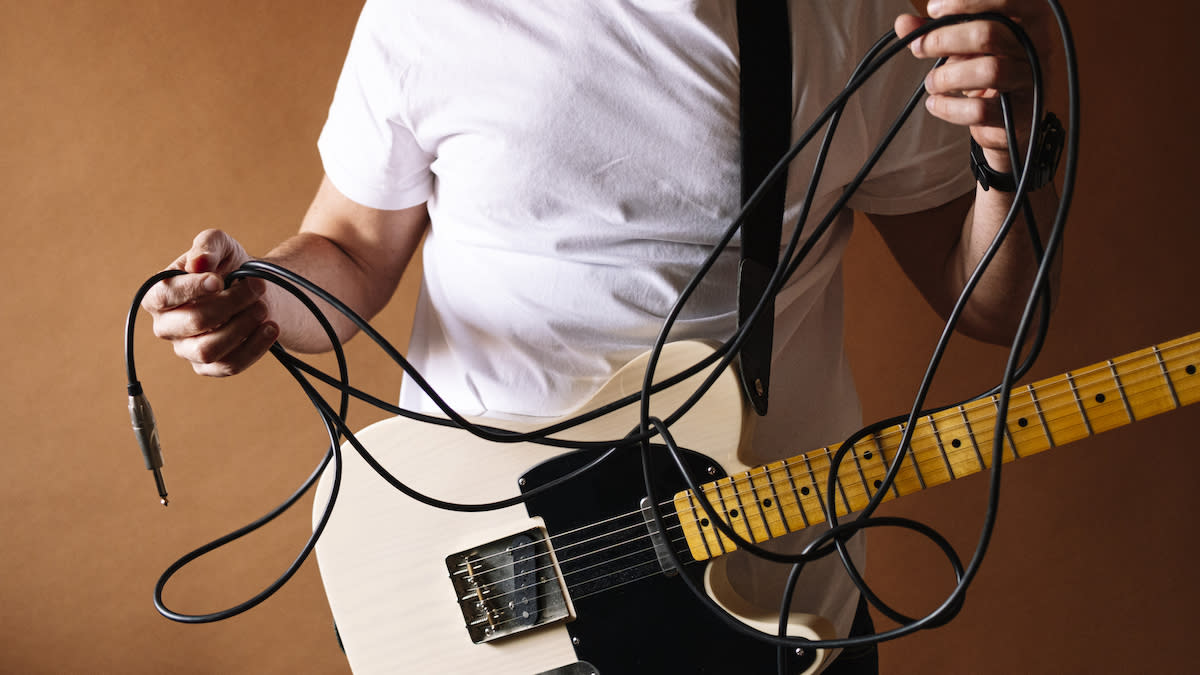
Today, let's do a bit of housekeeping and talk about guitar cables. After all, a cable is one of the most crucial components of your guitar rig. Without it, your tasty chops will never be set free through your blasting Marshall stack. And if you've ever suffered a gig-ruining signal dropout from a dodgy cable, you'll understand the need to keep your cables in top condition. If you’ve never experienced anything like this, congratulations – keep up the good work. Take it from us, this is definitely something you'll want to avoid.
Recognizing the signs that your guitar cable needs replacing is crucial for preventing on-stage or rehearsal room drama. Moreover, there are tried and tested methods for keeping your cables in optimal condition.
Although cables are a necessary purchase, even the most guitar-obsessed fanatic would agree that purchasing cables isn’t the most exciting of gear acquisitions, so keeping them in good condition will mean you’re not spending out more than you need to. So, let's delve into the telltale signs of a faulty cable and explore the best maintenance practices to help you save a few dollars.
The warning signs
1. No signal coming through your amp
Let’s start with the most obvious sign. If you've plugged your guitar into your amplifier and there's no signal coming through at all, chances are your cable is completely dead. Either that or you’ve not turned it on at the mains (we’ve all been there before). While it's true that your guitar and amplifier are also part of the equation, the cable, being the most exposed, tangled and coiled component, is often the culprit. And of course, it’s the cheapest thing to replace, so a good first port of call.
If your guitar has never shown signs of signal breakup, it's less likely to be an issue with the guitar itself. Of course, guitar components can deteriorate over time, but if you’re lucky enough to own more than one, testing your set-up with a different guitar can help rule out this possibility as the source of any issues.
If you don’t have additional cables or guitars for testing, you can perform a simple check using your amplifier. Turn your amplifier on and crank it up; if your amp is working fine you should hear an electrical buzz, especially on a high-gain or overdrive channel. Next, plug the cable into the amplifier, leaving the other end exposed. If you tap the jack on the end that would typically go into the guitar's output jack, you should hear a clicking noise. If you don't, it's time to retire that cable.
2. Intermittent signal
Intermittent signal is truly frustrating, and it can be more elusive and challenging to identify than a completely dead signal. Unlike a dead signal, intermittent issues may not manifest immediately; the signal may initially appear fine but gradually weaken or drop out sporadically.
An intermittent cable signal often results from a tiny break near the connector tip, a defect in the copper conductor within the cable or even slight oxidation on the connector tip itself. Any of these blemishes can cause the connection to intermittently engage or disconnect.
You may find that the cable may only function depending on how the cable is angled. Think of it like an old smartphone charger – you know the type – where you’re precariously balancing it to get a sliver of charge before that 1% of battery vanishes. There’s nothing more annoying and, if you’re in doubt, be safer than sorry and replace your cable.
3. Snap, crackle and pop
It goes without saying that if you are hearing any popping, crackling, buzz or unwanted distortion when using a specific guitar cable, it may be time to chuck it in the garbage. It’s sometimes tempting to jump to the worst possible conclusion; is it a bust preamp tube? Have I bought a dodgy Chibson? Are my expensive Seymour Duncan Zephyr pickups faulty?
However, more often than not, your guitar cable is the primary suspect. Considering the constant bending and coiling our poor cables endure during weekly rehearsals and bar gigs, it's no surprise they often exhibit faults. Plus, considering the price of Zephyrs, a cable replacement isn't the worst outcome.
4. The outer casing is coming apart
This can particularly be a problem with braided cables. While a braided cable offers fantastic protection to the sensitive innards and reduces the chances of kinking, there are instances where the braiding can unravel. This shouldn't affect functionality, as the braiding is typically wrapped around a rubber inner casing that will cover any exposed wire.
However, it drastically increases the chances of the cable breaking as the braided layer of protection is gone. Plus, if like most guitarists, your stage image is high up on your list of priorities, you don’t want to look scruffy with frayed cables now, do you? For gigging musicians, these are risks you won't want to take. If the braiding has unwound, it's certainly worth considering getting a few replacements. Both for longevity and aesthetics.
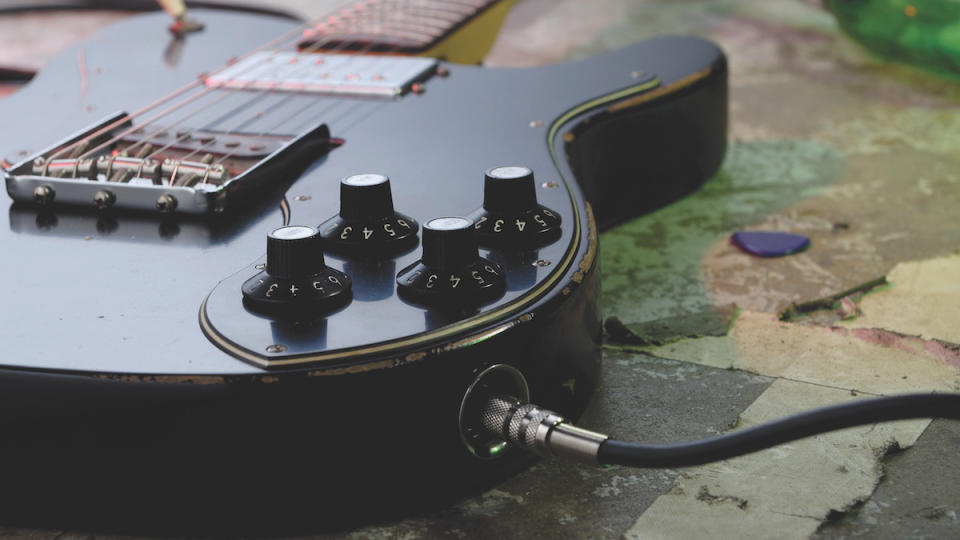
5. Damaged jack connectors
Jacks, ¼-inch tips, connectors, plugs – whatever term you prefer, it’s important to keep an eye on them. This side of your cable undergoes the most physical contact, and the jack connector is prone to easy damage or bending.
Whether you've accidentally stepped on your cable mid-performance, yanked it too hard from the amplifier, or inadvertently hit the control panel while connecting to your amp, a bent connector tip is a surefire way to end up with a faulty cable. Where the cable’s wire meets the connector tip is the most sensitive part of the whole set-up, so if this has been compromised and bent out of shape, if it’s not already faulty, chances are it will soon be.
Also, since the jack connectors are metallic, they can be prone to oxidation. Particularly if you’re keeping cables in damp environments or have been using the same cable for centuries. An oxidized jack connector will interrupt your guitar’s signal and can lead to audio spikes through your amplifier or simply weaken the volume. Either way, if you notice rust, it’s important to nip this problem in the bud.
Cable care tips
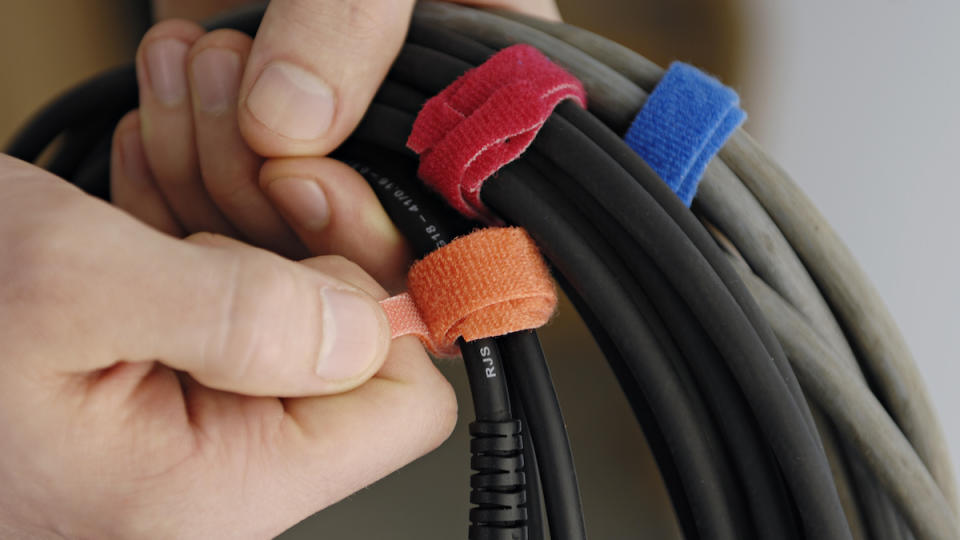
1. Don’t tie your cables into a knot
While this may seem obvious to some, many players are still guilty of tying their cables into knots after they've finished playing. Although it may offer a quick way to tidy up, it poses a risk of damaging the sensitive wires inside. Instead, try the over-under method of wrapping your cables, which can help extend your cables’ lifespan as it doesn’t cause any unnecessary strain. Once you get the hang of it, it will become muscle memory and will be way more efficient, tidy and safe.
2. Loop your cable through your strap
You'll often see guitarists do this on stage: they'll feed the guitar cable through their strap and into the output jack. It's a brilliant trick because it provides a bit of slack, reducing tension on the jack connector. Plus, if you accidentally step on the cable mid-performance, it won't yank it out of your guitar's output jack. This simple move can help you avoid potentially breaking your guitar, damaging the cable, and bringing your performance to a screeching halt.
3. Keep those connectors clean
If you have a residency at your local venue, constantly travel with your gear, or simply aren't the type to do regular cleanups, it's crucial to keep the jack connectors as clean as possible. Dirt or oxidation on the connector tip can cause your signal to break up, start crackling, or even result in shorts in the system. So, every now and then, wipe the connector tips down with a microfiber cloth to keep those metallic tips nice and shiny. If you’ve performed at a sweaty venue, accidentally spilled a drop of beer, or left your cables in a particularly damp environment this is especially crucial. It’ll take five seconds but will prevent any musical mishaps further down the line.
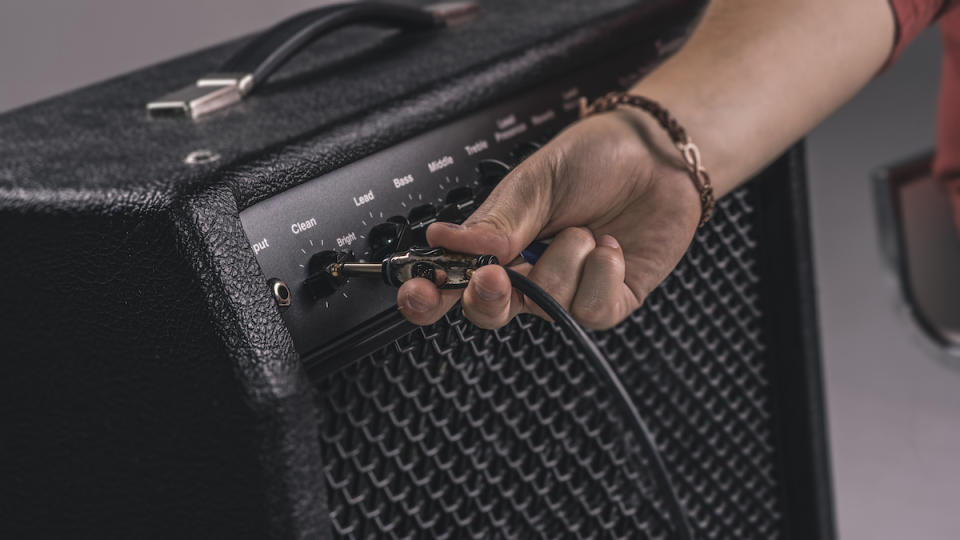
4. Never yank on the cable itself
After you're done playing and it's time to pack up, don't just yank on the cable to unplug it from your amp or guitar. Grab hold of the plastic or metal casing around the jack plug and give it a firm but gentle pull. This simple move not only saves your cable from snapping but also keeps your guitar's output jack and amp input safe from any accidental damage. After all, a broken instrument or amplifier is a much bigger headache than a guitar cable replacement.
5. Get a cable holder for your studio
If you have a studio or even a little corner of a spare room where you play guitar, it would be worthwhile to invest in a cable holder. You've probably seen these in your local guitar store, and for good reason. Cable holders are incredibly handy accessories that allow you to neatly store cables, keeping them out of the way and protecting them from unnecessary damage. A cable holder is a fairly primitive device, consisting of multiple prongs that are usually attached to your wall. By coiling your cables using the over-under method, you'll not only improve their longevity generally, but also be able to hang them up on a cable holder.
6. Choose the correct cable length
Choosing the right cable length for your application can significantly reduce the chance of straining your cables over long stretches. If you've bought a short 1-meter cable you may quickly run into some length issues, particularly if playing live. It’s imperative you avoid stretching the cable to its maximum capacity, as this can cause unnecessary strain and potential damage. While using what's available is sometimes necessary, particularly in local venues, accumulating cables of various lengths for your collection can help prevent this issue. Always be prepared and consider how much cable length you need before leaving for band practice.
Our top picks
Best premium
George L’s .155 guitar cable
Praised for their ultra-low capacitance, excellent shielding, and remarkable frequency response, these pre-made .155 cables, known for their small diameter and lightweight design, are ideal for people with bigger budgets. There are also slightly thicker .255 guitar cables on offer if you’d prefer something a little chunkier.

Best mid-price
Mogami Premium instrument cable
Japanese company Mogami offers a plethora of superb cables, none more so than its Premium Instrument Cable range. Featuring a heavy gauge, oxygen-free copper core and an ultra-high density spiral shield, interference is held to a minimum. With a lifetime warranty to boot, this isn’t just one of the best mid-priced guitar cables on the market, it’s one of the best overall.
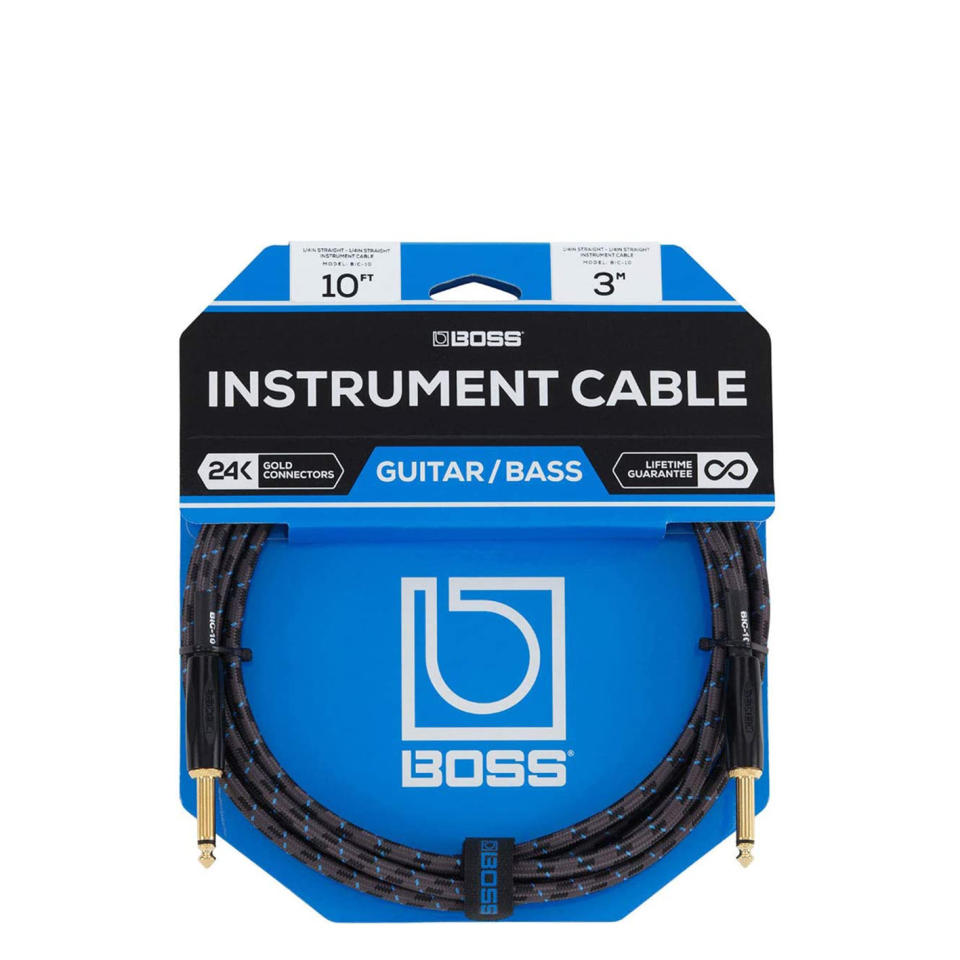
Best budget
Boss Braided instrument cable
Boss’s affordable braided cable range provides excellent value for money, boasting a heavy-duty braided outer jacket for protection and anti-kink capabilities. Plus, with 24K gold-plated connectors, you'll never have to worry about signal integrity. Available in a variety of lengths, a standard 3-meter instrument cable can be yours for under $20.

