10 mistakes everyone makes with a domestic pizza oven
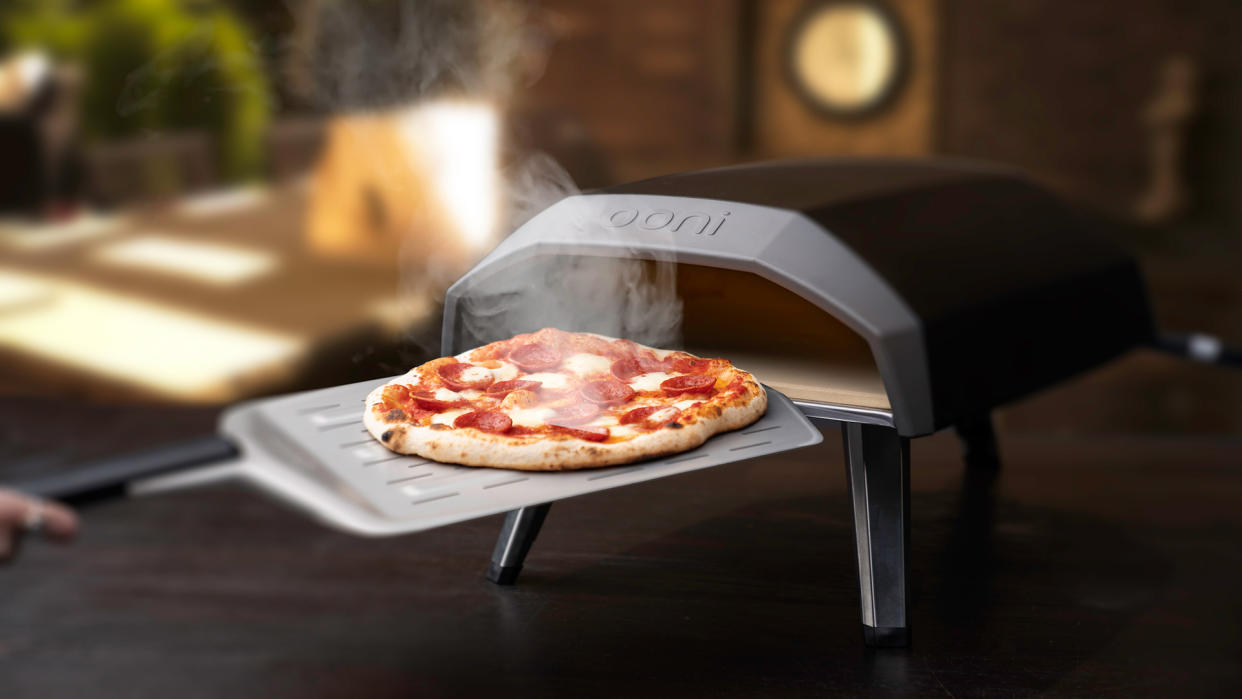
So, you want to buy yourself the best pizza oven to make your own delicious pizzas instead of having to rely on shop-shelf products that in no way resemble proper freshly-made pizza like the pros make. ‘What could go wrong?’, I hear you ask.
From my experience a lot can go wrong at any time during the lengthy process of making and proofing the dough, preparing the ingredients, launching the pizza into the oven and removing it as a perfectly baked example of what a pizza should be. For example, it should have a tall, light, airy, salty upper crust with obligatory spots, a perfectly baked bottom that has a slightly grey, dirty appearance and stupendously cooked ingredients replete with lots of yummy melted mozzarella (cheddar is not an option) and good quality tomato passata.
Pizza making is nothing like grilling on the best barbecue. In fact it’s a totally different ball game and one that’s open to a lot of cockups on the way. But fear not, because T3 is here to steer you through all the pitfalls of pizza making. Read these sage words, dear pizzaiolos and pizzaiolos, and ensure that your first pizza-making foray goes with a swing and not a bumpy ride.
1. Choosing the wrong type of pizza oven heat source
When it comes to domestic pizza ovens, you have a choice of three heat sources – wood, gas and electric. Wood is considered the most authentic method but it’s also the type that requires the most input by the user. Wood-fired pizza ovens also take much longer to reach optimum temperature.
The most popular heat source is gas and that’s the method I would go for since the oven – and therefore the stone – heats up much more quickly, there isn’t any maintenance required during the cooking process and you’ll be hard pressed to tell the difference in texture or flavour between wood and gas.
However, both wood and gas-fired pizza ovens can struggle to maintain internal heat if the outdoor temperature is low, like in winter. And who wants to stand outdoors in freezing weather anyway? Which is why I would also recommend an electric pizza oven as a possible choice. Electric pizza ovens provide two sources of heat in the form of two heating elements, one above the stone and one below. This method ensures a perfectly cooked top and bottom and the best thing of all is that electric pizza ovens can be used indoors all year round – and even outdoors if the weather’s nice.
2. Not proofing the dough for long enough
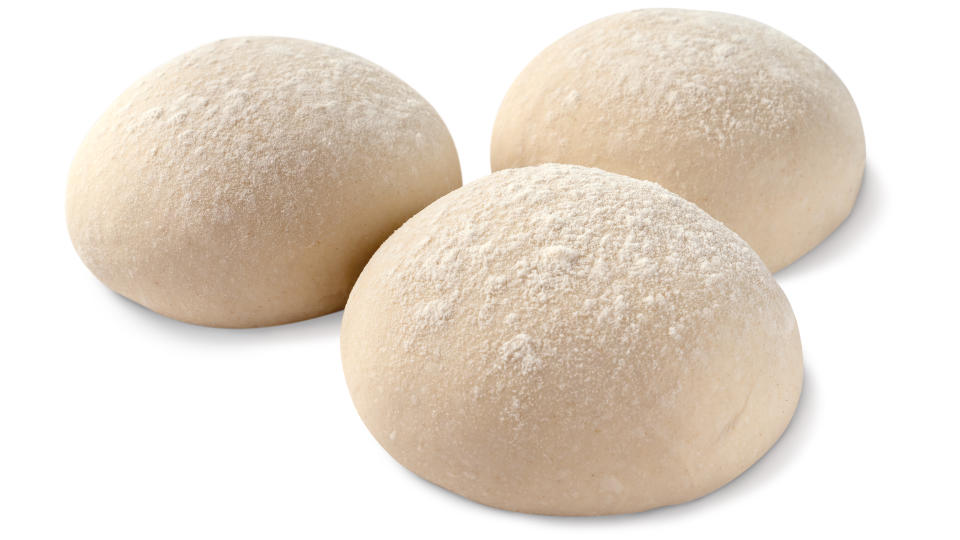
I personally gave up making my own pizza dough after my first attempt didn’t taste or look very good. Since then, I've simply ordered frozen dough balls online, popped them into the freezer and removed them the night before a pizza session. In my opinion, professionally-made pizza dough balls are far and away the best I’ve ever used, especially if bought from a reputable dough manufacturer. You can find out more about my favourite pre-made pizza dough balls by dipping into T3’s very handy how to make pizza at home feature.
Whatever type of dough balls you use, the number one rule is to allow them to proof for a minimum of two to four hours at room temperature or slightly higher. If the dough has just been taken out of the fridge, let it rest for several hours first.
Proofing (or proving) is an essential process in baking and one that cannot be missed. In essence, proofing allows the yeast to ferment and produce gases, which expands the size of the dough ball giving it great elasticity when stretching. Correct proofing also ensures that the final pizza has an enormous outer crust that’s as airy on the inside as a slice of ciabatta bread. Oh, and by the way, as a precaution it’s always best to have at least one extra dough ball to hand in case there are any major mistakes along the way.
3. Not preparing ingredients in advance
Make no mistake, pizza making makes more kitchen mess than almost any other form of cooking which is why it’s always advisable to wear an apron. But more than that is the importance of having all your ingredients prepared in advance. This is because once you’ve stretched the dough ready for loading ingredients, you don’t want to be suddenly hunting around for the pepperoni and jalapeños.
The secret it to place several bowls on the counter in front of you and load each one with your ingredients of choice. Then, Pizza Express-style, you can quickly grab handfuls of toppings and throw them on in quick succession. Tip: if you’re using fresh mozzarella – the kind that comes in a bag of liquid – make sure you slice and dry it on paper towel at least an hour or two before you start baking. If you don’t do this, the excessive moisture in the mozzarella will seep and cause the top of the pizza to look like a pink swimming pool. Alternatively do what many pros do and use low-moisture blocks of mozzarella or shop-bought grated mozzarella instead.
4. Not allowing the stone to get hot enough
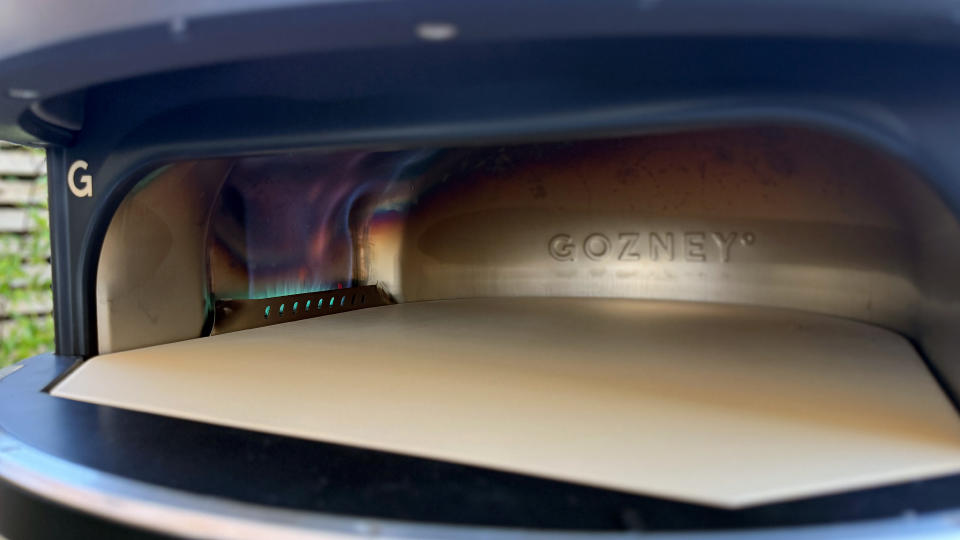
If using a wood-fired pizza oven, start preparing it at least an hour before to allow the stone to get hot enough. Gas ovens are much quicker – around 20 minutes in warm weather – and electric ovens about the same.
The best investment you can make is to buy a laser thermometer that you point at various areas of the stone. This is so you can get a much more accurate stone temperature reading rather than a general oven reading. You’re looking to reach between a bare minimum of 420˚C to 500˚C (788˚ to 932˚F) for perfect pizza making with 450˚C being a very good place to start. Any lower than 400˚C and chances are the base won’t cook as well as the top and that would be a disaaaaaster! In other words, be patient while the oven heats up and don’t rush in too early.
5. Not stretching the dough wide enough
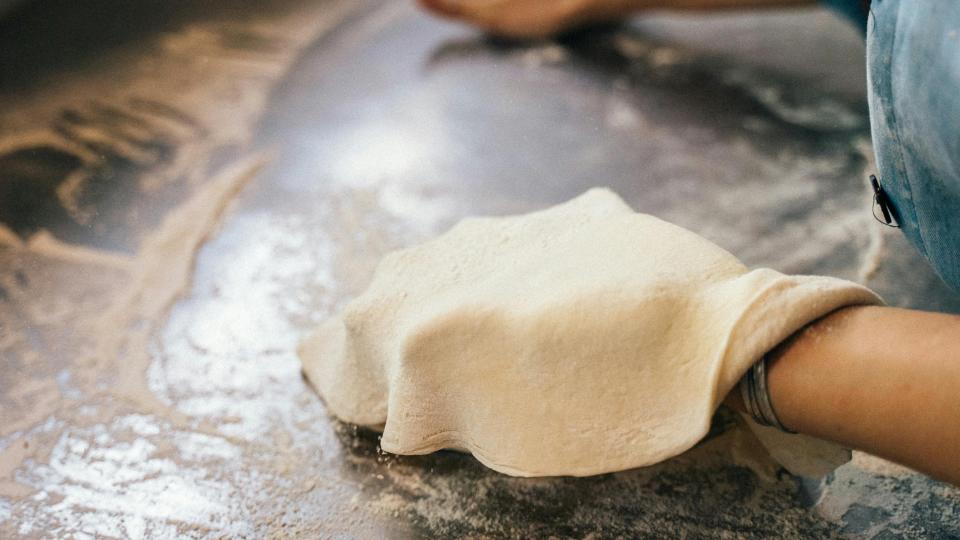
There’s an art to pizza dough stretching but generally the thinner the base the better. This is to ensure that the base isn’t too doughy and that it cooks as well as the top of the pizza. I’m still no expert at this but I learned a lot through watching YouTube videos.
The secret is to get as even a stretch as possible and this involves using the back of your hands to carefully stretch the dough until it’s almost translucent. I even hold the edge of the pizza base and let gravity do its job while I shuffle the base around quickly with a circular motion. Get this part right and your baked pizza will provide plenty of firmness and crunch. In fact, you should ideally be able to hold the edge of a cooked slice without the tip collapsing too much. Oh, and unless you want a flat style of pizza, avoid using a rolling pin or it will squeeze all the air out of the dough.
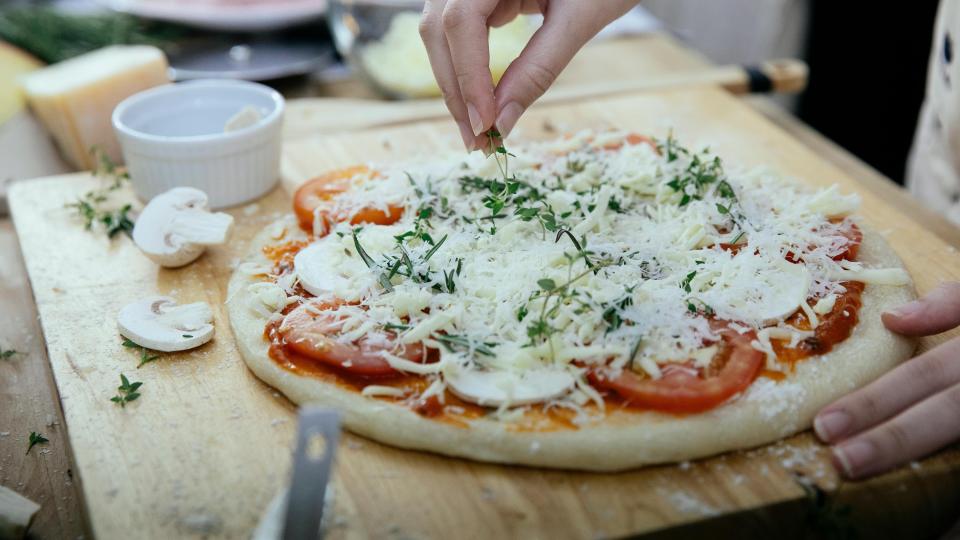
6. Not loading ingredients onto the pizza fast enough
Now that you’ve successfully stretched the dough, the next thing to do is ensure that the peel (the tool for holding and launching a pizza into the oven) has a light dusting of normal flour or preferably Semola flour which consists of millions of microscopic balls that allow the pizza to leave the peel without any sticking. Having a light dusting of flour on the peel all the way to the edges is an important step that must not be ignored, especially if you're a first timer!
Once the raw pizza base is in place, it’s time to load it with ingredients – and this should be done as quickly as humanly possible. No time for chit-chat so quickly spoon on the tomato passata, sprinkle a good dose of mozzarella and, if necessary, add your other favourite ingredients like pepperoni, jalapeños, anchovy, raw sliced onions and/or mushrooms, etc. But never tamp the loose ingredients down with your fingers. Just drop them on and leave well alone.
7. Loading the pizza with too many ingredients
If you're a beginner, I would recommend keeping ingredients to a minimum because the more stuff you put on, the greater the weight on the raw pizza base and a much higher chance of the damp base soaking up the flour on the peel which may cause the base to stick to the peel when launching. In fact, this launching moment is arguably the most critical in pizza baking (see below) and the one scenario that causes the most grief. Keep it light and, again, load the ingredients as quickly as possible.
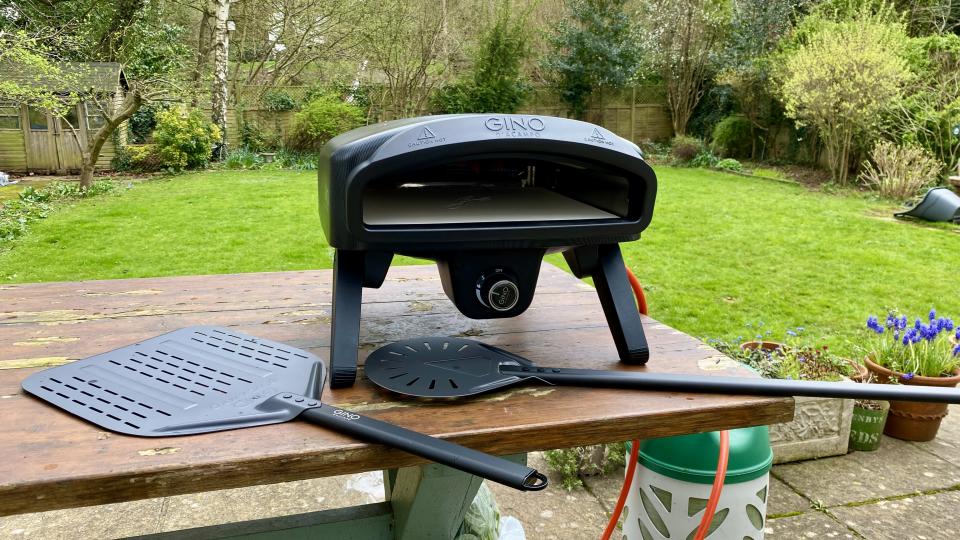
8. Not turning the gas down or off when first loading a pizza
This tip applies to gas-fired pizza ovens. Just before launching your first pizza, turn the gas off completely. I learned this tip when reading the manual to the Gino D’Acampo pizza oven I recently reviewed and it’s the best tip ever for ensuring that the base is given a decent amount of time to bake properly without burning the ingredients and upper crust. As soon as you see the rear of the pizza start to bubble, grab your circular turning peel and turn the pizza. Now turn the gas back on to its lowest setting. Presto, pizza perfecto!
9. Launching the pizza too enthusiastically
Many first timers get this part wrong but it doesn’t have to be that way. Place the peel about three-quarters the way in and perform a short forward jerk motion. As the pizza base leaves the tip of the peel, slowly pull the peel backwards, ideally stretching the remaining pizza base on the peel as it comes into contact with the oven stone.
What you don’t want to do is shove the pizza base in too enthusiastically with too jerky a motion or any loose ingredients like fresh mozzarella balls will likely roll off the top of the pizza towards the rear of the stone where its hottest. I can guarantee that said ingredients will immediately ignite, causing a dirty great clump of burnt food on the stone that will be impossible to remove while the oven stone temperature is equivalent to that of the surface of the sun. This major howler happens most often with pizza bases that have been too heavily loaded on pizza peels with not enough flour to the very edge – which takes us back to tips number 6 and 7.
10. Not keeping your eye on the ball
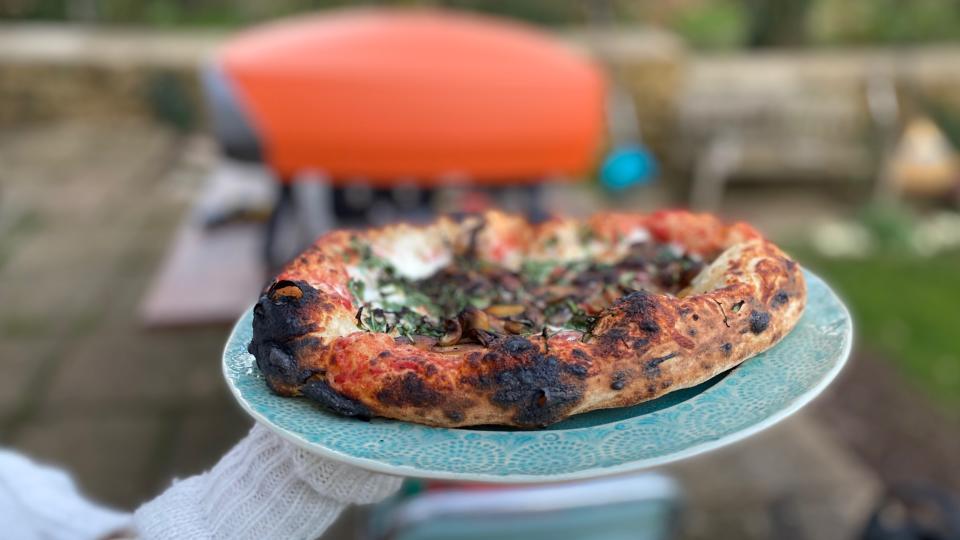
Now you’ve finally got the pizza in the oven and it’s all gone tickety-boo, there is absolutely no time for idle chat. In fact, you should be peering into the oven every few seconds because pizzas cook really quickly – like 90 seconds – and if you take your eye off the ball for more than, say, three seconds, there is a very high chance that the rear of the pizza – where most of the heat gathers – will burn.
In general, I would suggest watching it like a hawk for the first 20 seconds, then turn it. And then keep on turning it a regular 10- 15-second intervals until the outer crust achieves even browning. It’s not a problem if an inch or so of crust looks a bit burnt – most people like it that way – but if you leave that burnt section hanging around for just five seconds longer, chances are it’ll burn too much and your guests will never come to one of your pizza parties ever again.

