How to remap any key on your keyboard in Windows 11 or 10

Even if you have one of the best gaming keyboards or best mechanical keyboards on the market, you may not have all the keys you want or need. For example, my 96 percent keyboard has a number pad, arrow keys and a function row, but no print screen key.
I do have an insert key, but let's be honest — the last time I needed the insert key was in the 1990s. Fortunately, it's easy to remap any key to become any other key so I can turn insert into print screen or turn my numpad into a series of media buttons.
On some fancier keyboards, you can remap keys at the firmware level; these boards usually have either QMK or Via firmware. And, once you remap it there, the new key assignment will apply across computers and operating systems.
However, most keyboards don't have customizable firmware so the easiest way to remap a key is to do so by tweaking a setting in the OS. In Windows, it's really easy to remap a key by modifying the registry. And you don't even need to go into the registry, because there's a utility called SharpKeys that will write your remaps to the registry for you.
How to Remap a Key Using SharpKeys
1. Install SharpKeys from the Microsoft Store.
2. Launch SharpKeys.
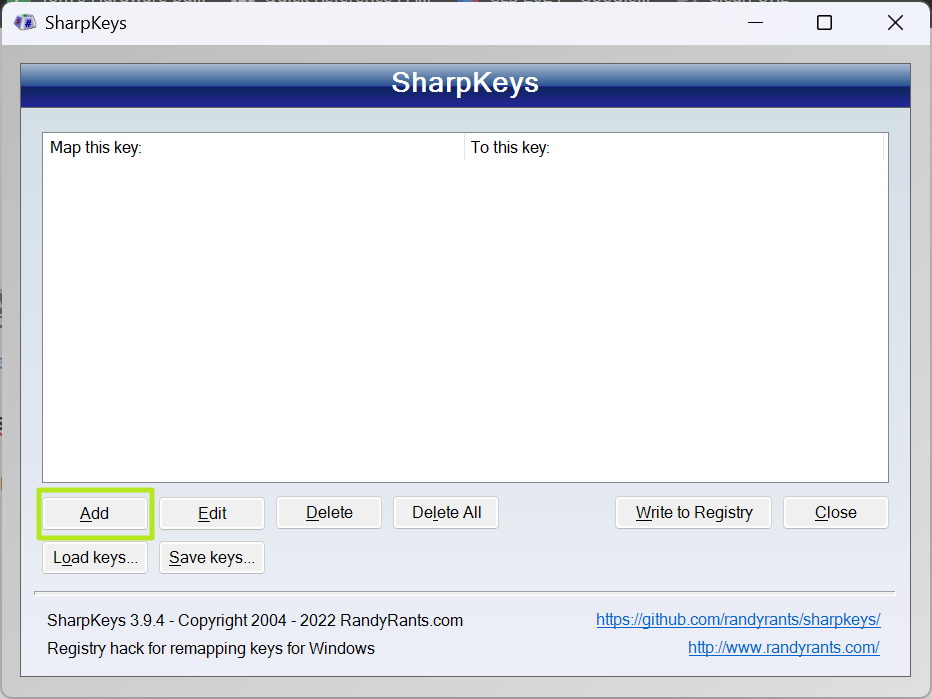
3. Click the Add button.
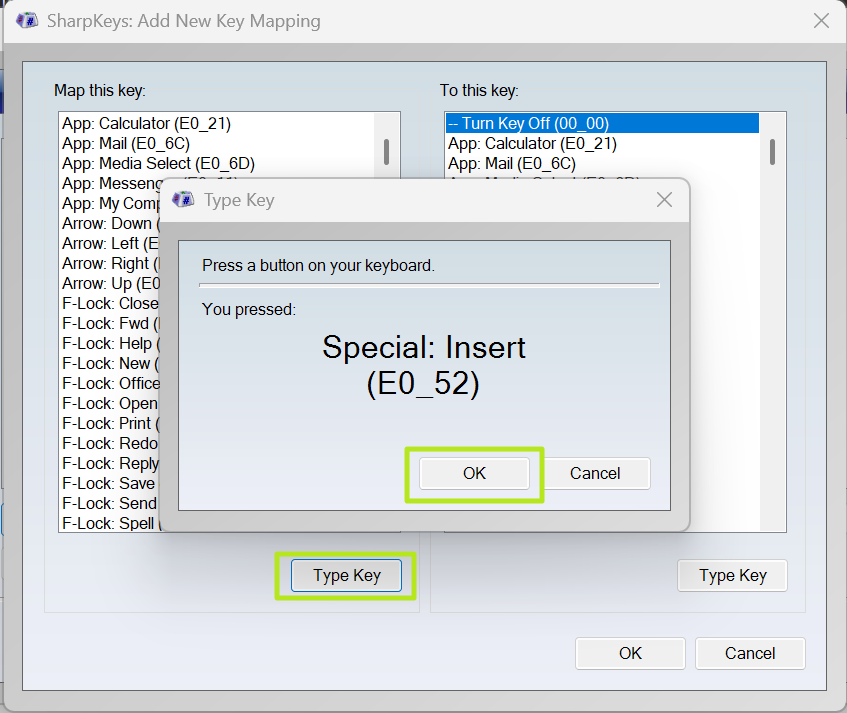
4. Select the key to remap by either picking it in the left-side menu or clicking Type Key and typing it.
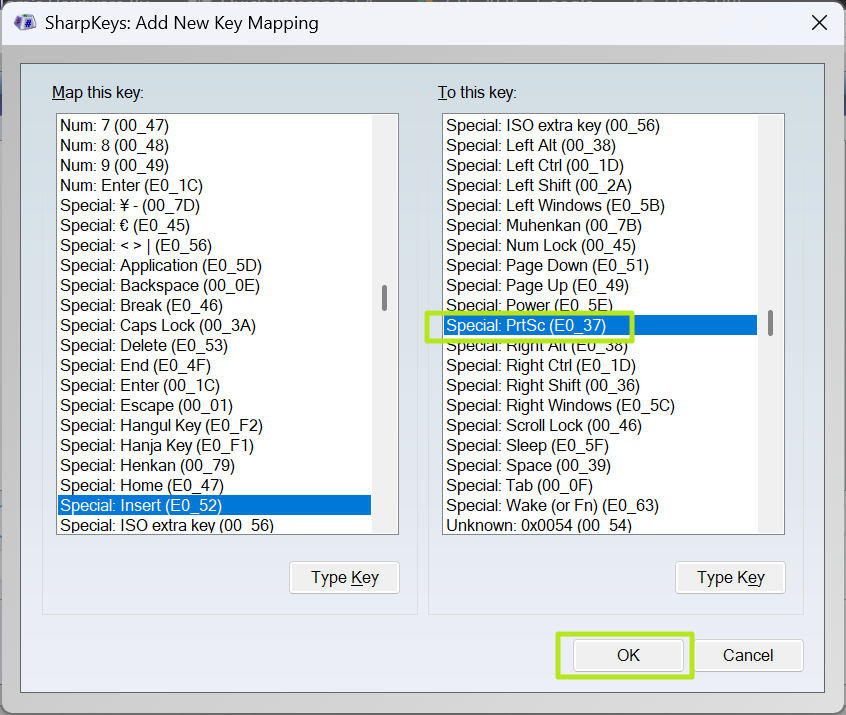
5. Select the key to remap to from the right-side menu and Click Ok.
6. Repeat steps 3 to 5 for additional key remaps if you need them.
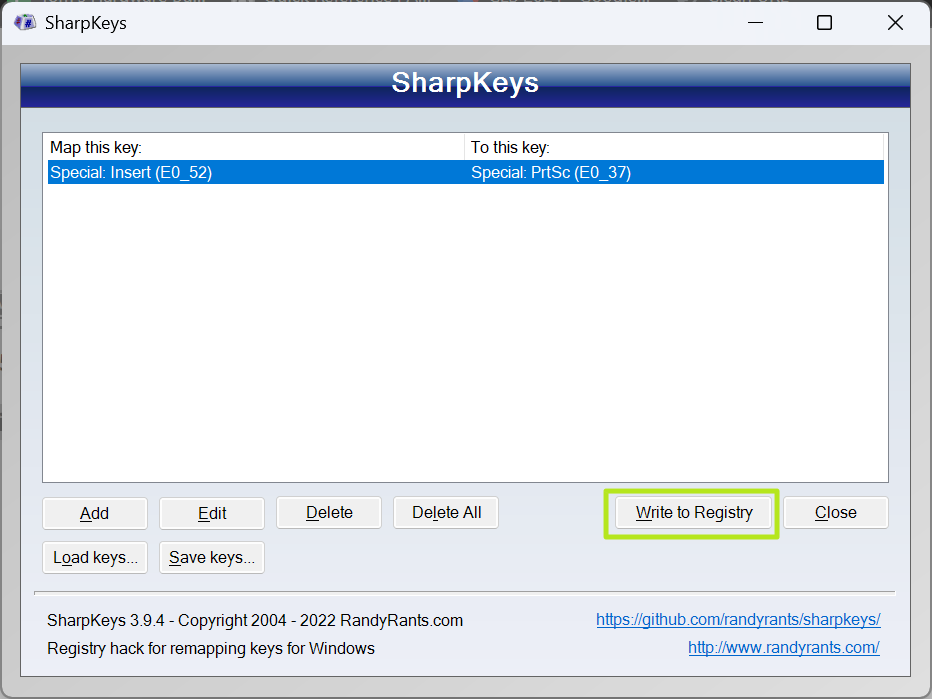
7. Click Write to Registry.
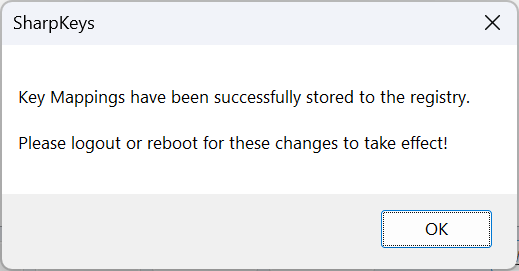
You'll get a confirmation message.
8. Close SharpKeys then reboot your PC or log out then in again.
The new key mappings should work in Windows from now on and you won't need to run SharpKeys again unless you want to do more remaps.

