How to create realistic game interiors in Unreal Engine 5
Welcome to my tutorial on how to create realistic environments using Unreal Engine 5. It can be tricky to give living spaces in hyper-realistic video games a grounded look. You have to find the right balance between enriching a place with details that make it believable and interesting to explore, and not making it overly grungy, unless that was the ultimate goal. To engage with the player, these environments need to have an instantly readable atmosphere and cohesive look throughout.
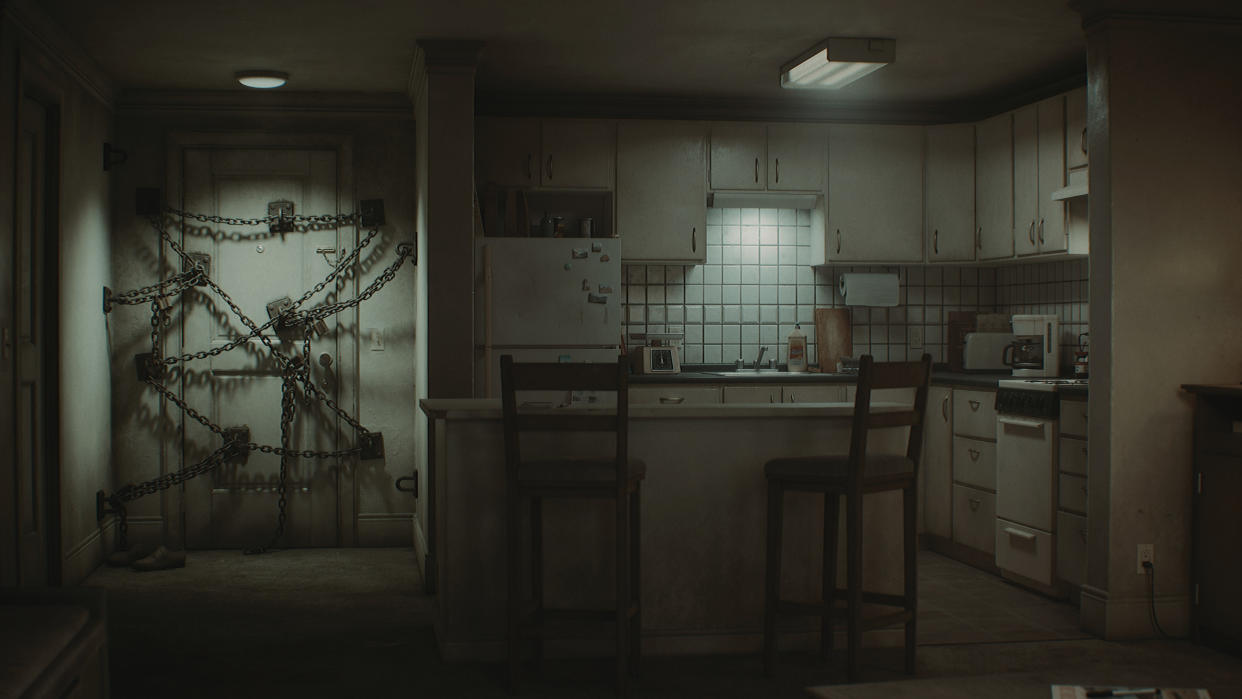
In this article I’ll walk through my process for recreating the apartment from Silent Hill 4: The Room, originally released back in 2004, with Unreal Engine 5. I’ll discuss the different steps that go into creating a detailed cinematic look for an environment like this. I’ll share my thoughts on making the geometry, details, textures and lighting, and my approach to building the atmosphere and presenting your work.
If you're fairly new to Unreal Engine, you may want to visit our full breakdown of Unreal Engine 5: everything you need to know, and you can also check out our Unreal Engine 5.3 review to see our take on the latest updates. You may also want to upgrade your setup with one of the best most powerful laptops.
Unreal Engine 5 tutorial: create realistic interiors
Here are the steps I took to recreate a classic horror game environment in Unreal Engine 5.
01. Basic sizes and proportions
(Image: © Maxim Dorokhov)
To achieve a realistic look for your environment, a good starting point is to use real-world references. Online second-hand stores can be a useful resource for finding furniture, appliances and other references for your scene. Try to track down good references and make blockouts that are based on the real-world size of objects. Make sure to pay attention to the proportions and dimensions of your models.
I prefer to make simple blockouts of all the modular objects, and large and medium props first, and place them in Unreal Engine with the draft lighting pass. It will show you which objects are better lit, closer to the camera, or just more important to the story, so they may need more attention to detail.
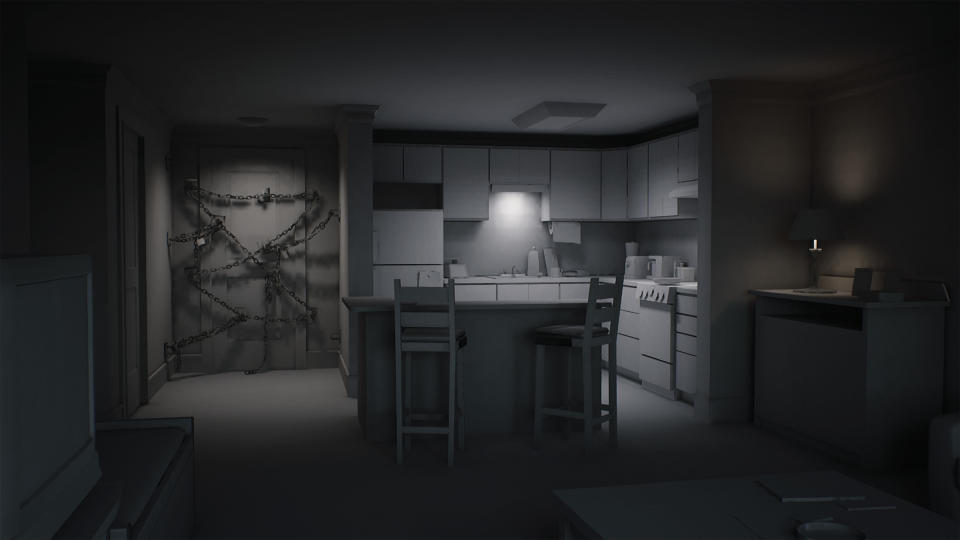
02. Smaller details
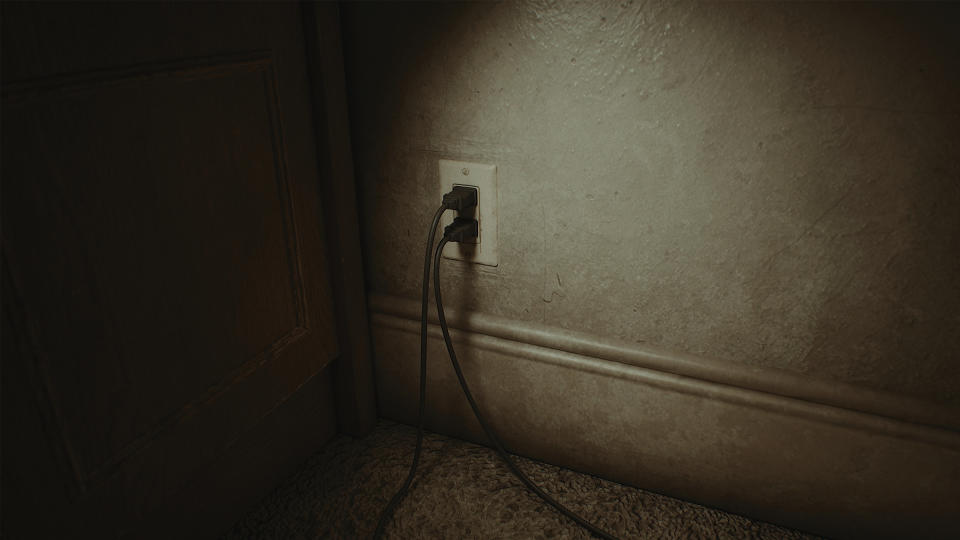
(Image: © Maxim Dorokhov)
It’s always good to add in small, interesting details from the real world as they can help add more information to the scene or just make it look that bit more believable. Try to include small objects such as the wires from the appliances and lights, the borders between two different types of flooring, light switches on the walls, and hinges on doors and cabinets. Photos from property websites or screenshots from movies are usually a good source for reference here.
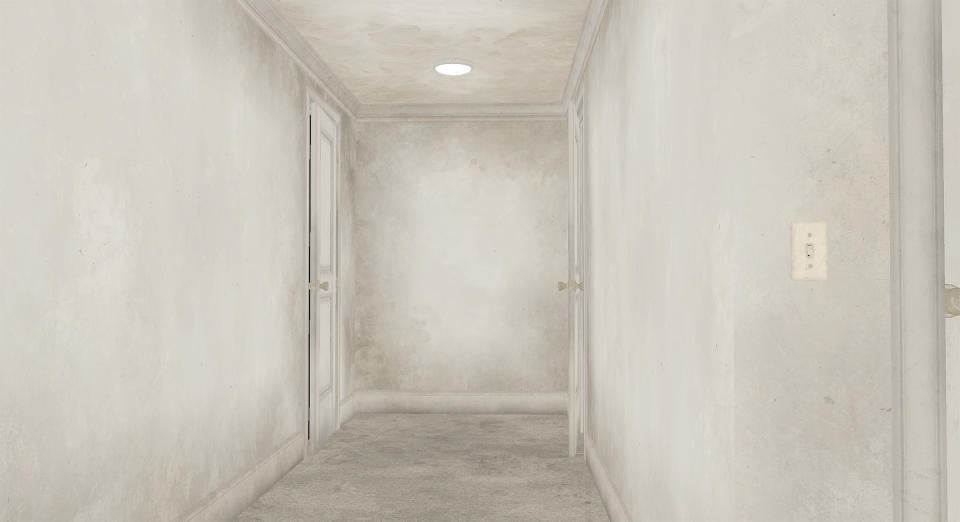
03. Object placement and composition
(Image: © Maxim Dorokhov)
To achieve a more natural looking interior, try not to place objects of the same size at the same distance from each other. It’s often better to visually group several objects together to break up the even rhythm and avoid the feeling of artificial placement. You can also add smaller objects closer to the larger ones to better blend them into the scene, give them a more grounded look, and create a better overall composition.
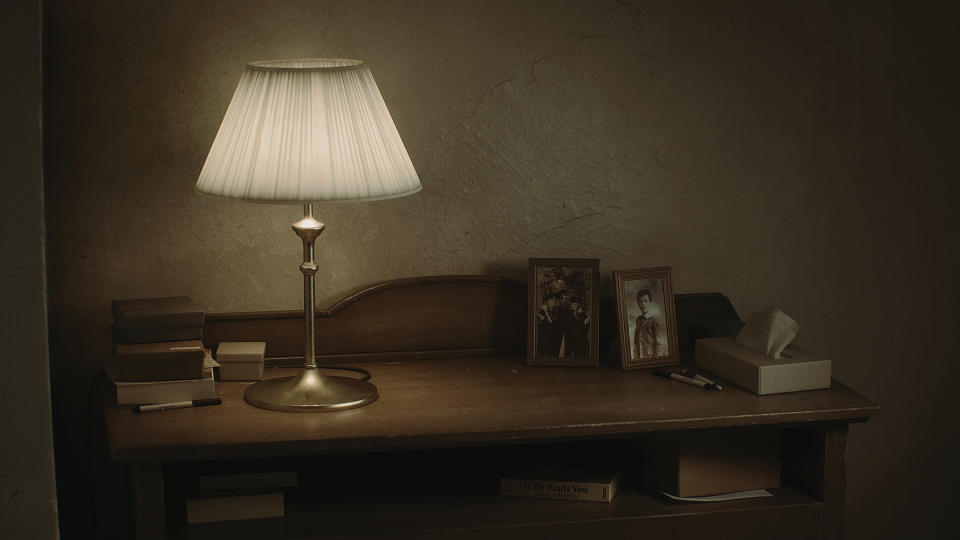
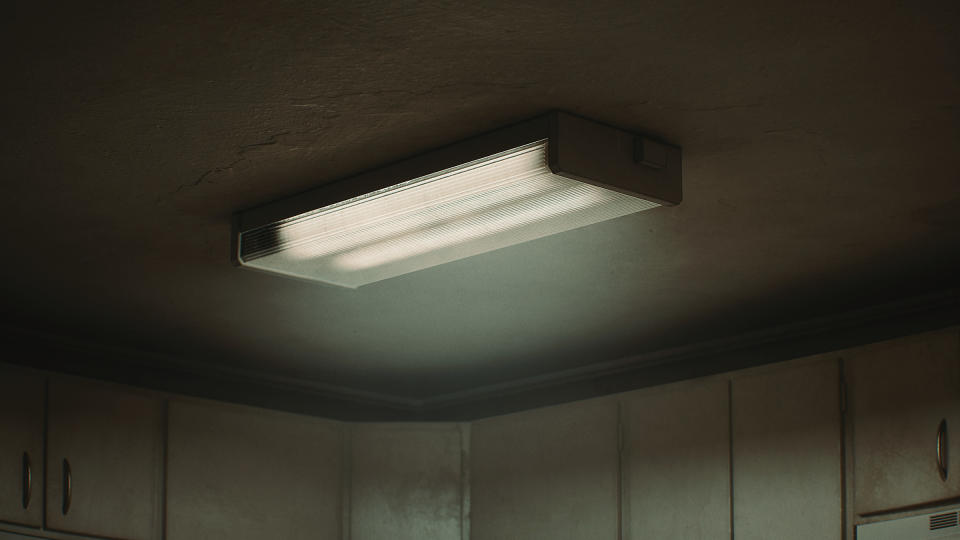
04. First lighting pass
(Image: © Maxim Dorokhov)
Adding a first quick pass of lighting helps to better understand what the final scene will look like. Start off by creating the most significant light sources. The main light source in my scene was the skylight, which I used to light the exterior and to add a first pass of dim, cold light from the windows.
I didn’t use a directional light for the sun because I wanted to get a completely cloudy, foggy daylight feel. I also placed Spot and Rect lights for the lamps that are visually present in the scene and that I want to be on, such as the ceiling lamps and a floor lamp.
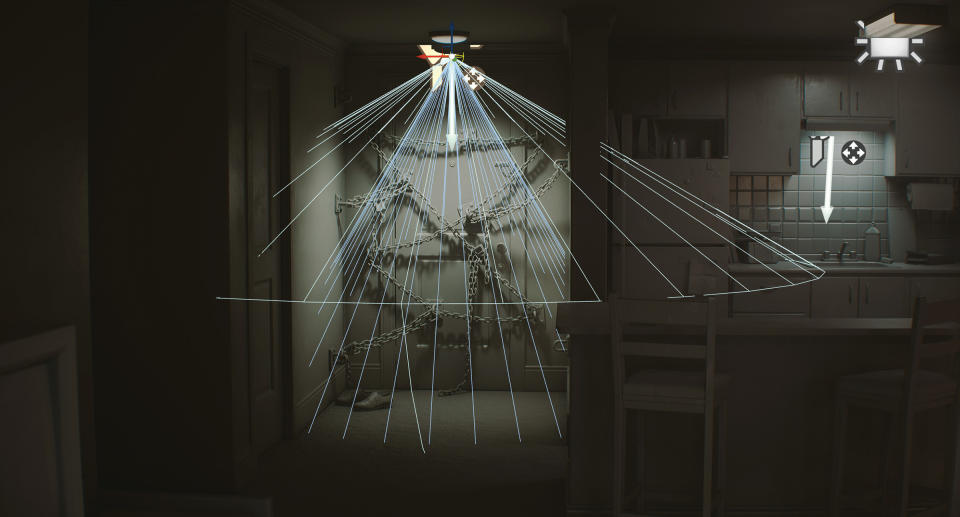
05. Lumen illumination
(Image: © Maxim Dorokhov)
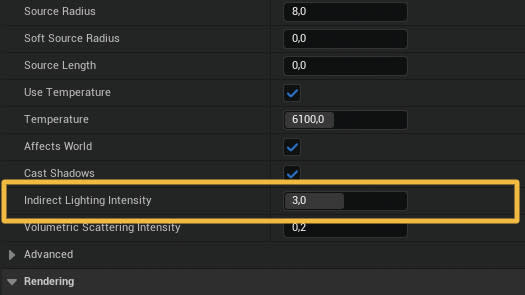
Thanks to Unreal Engine 5’s Lumen system you get the benefits of global illumination (GI) lighting without having to bake it. You can tweak the indirect lighting intensity option to change the power of the GI lighting for each lighting actor, without having to change its basic intensity. This way you can fill the space more with reflected light and reduce the contrast between areas that are lit with directional light and the darker areas.
06. Volumetric fog
(Image: © Maxim Dorokhov)
For this particular scene I used Exponential Height Fog as a source of captured information for the Sky light, and to add a fog effect to the exterior and interior. Using it with the Volumetric Fog option turned on will help you get haziness from all light sources and change the colour of the fog based on the colour of the lights. Depending on the mood that you want to achieve, you can change the amount of light haze by adjusting the Volumetric Scattering Intensity option in each light actor’s parameters.
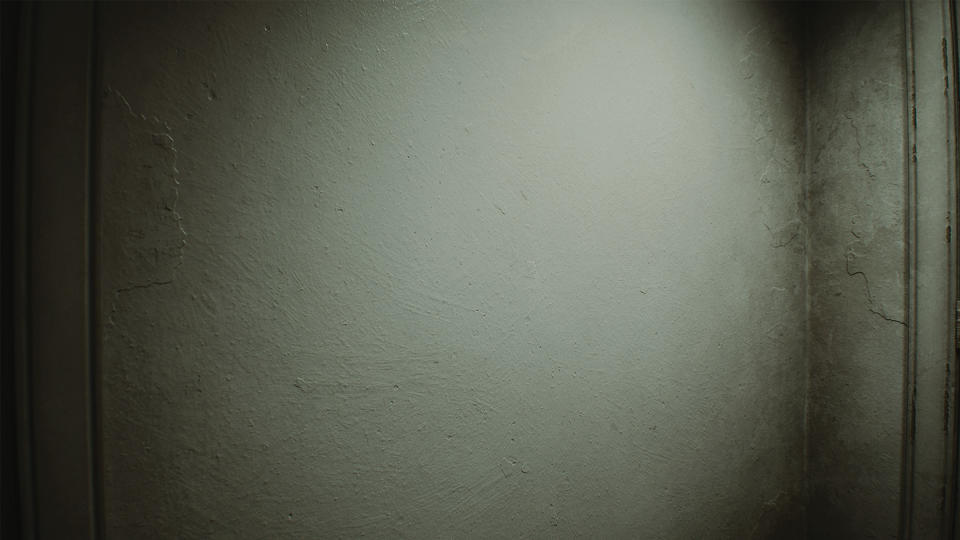
07. Shadow atmosphere
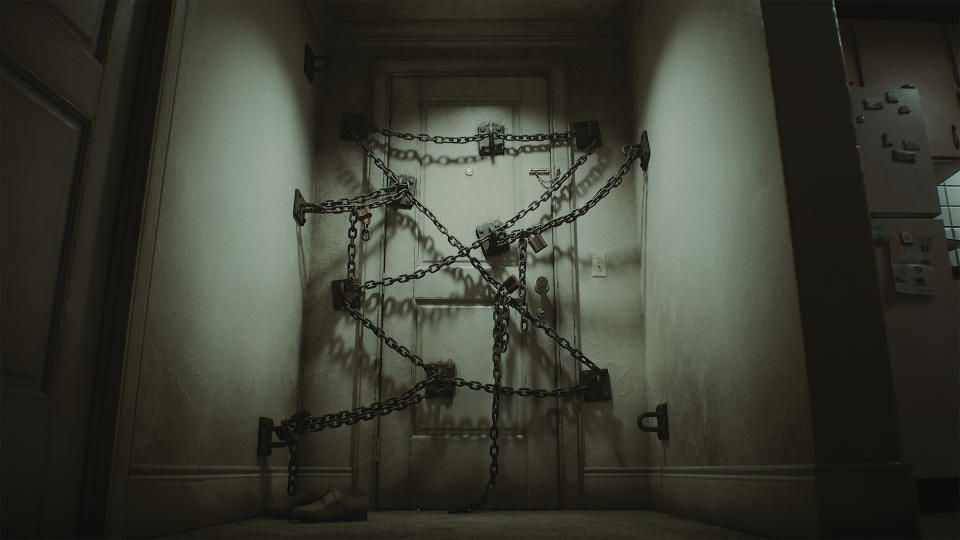
(Image: © Maxim Dorokhov)
Shadows can be a powerful addition to the atmosphere in your environment. For my scene, I was looking to create an atmosphere of discomfort and fear. I worked with the light sources and objects to achieve the effect of long, dramatic and contrasting shadows that add to these unsettling feelings.
Using ray-traced shadows rather than Shadow maps will give more detailed soft shadows, even from the smallest objects in the scene. Keep in mind that while this offers a better look, it’s more expensive on the performance side.
08. Create materials
(Image: © Maxim Dorokhov)
Using correct PBR values for material parameters will help to avoid areas that are too dark or too bright, and maintain the visual consistency throughout your scene. It’s good to pay special attention to the Roughness of the materials, as it can provide more information about the material than the Base Color, especially in dark scenes.
Adding storytelling elements is an important part of selling your materials. It can be something as subtle as adding wipe marks to the Roughness of your tile material, or strokes specific to the brush used to paint the wall in the Normal map of your paint material. Study the references to find the details that are unique to certain materials.
09. Vertex colour blend
(Image: © Maxim Dorokhov)
It’s always good practice to have several versions of the tiling materials and blend them through Vertex Color masks to add more variety to your surfaces. I often start off with two versions of the material: the clean one, and the version with more damage and dirt. Additionally you can add layers of scratches, stains, cracks and so on to cover the needs of your environment.
10. Use decals for extra details
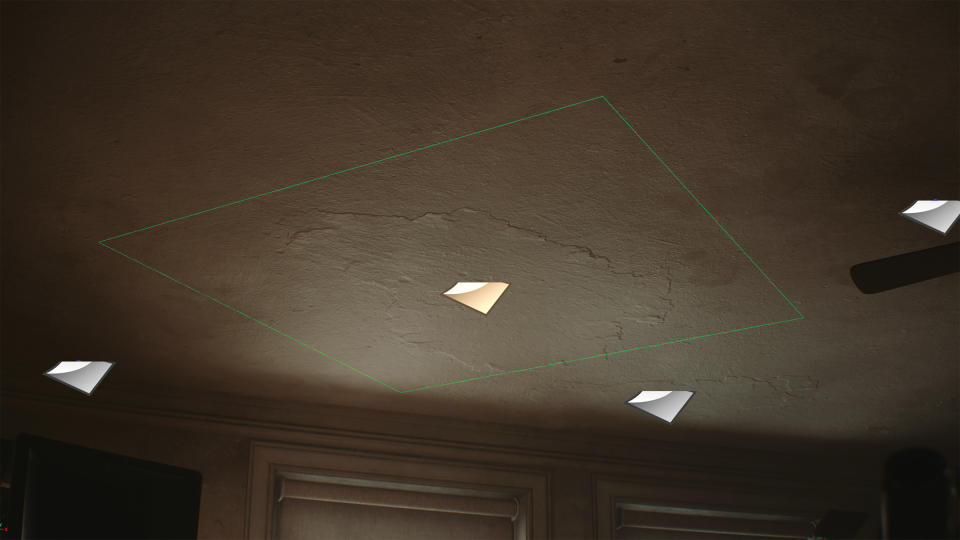
(Image: © Maxim Dorokhov)
To add unique details to the surfaces and break the repetition of the tiling textures even more I used decals. For the carpet, I added in stains and changed the direction of carpet piles in high-traffic areas where it would logically be flattened down the most.
For the painted walls and ceiling, I used large painted plaster patches, frames around power sockets, and some mould, mostly on the ceiling, as if water had been leaking in from the upper floor at some point. I also made a few decals with crumbs and spots, and used them mostly on the kitchen countertop, and some other horizontal surfaces throughout the apartment interior.
11. Make mesh decals
(Image: © Maxim Dorokhov)
Mesh Decals are a great tool to add more details to curved surfaces. In my case, I used them to provide a more natural look to the painted wall corners and to add limescale around the sink.
In order to create a Mesh Decal, you first need a mesh with an offset from your base model for which you want to place extra details. Then, in Unreal, create a material and change the Material Domain option to Deferred Decal, and the Blend Mode to Translucent. Next up, add any textures and parameters you need for your Decal material. I used a Normal map and Opacity textures for the corner Decal material.
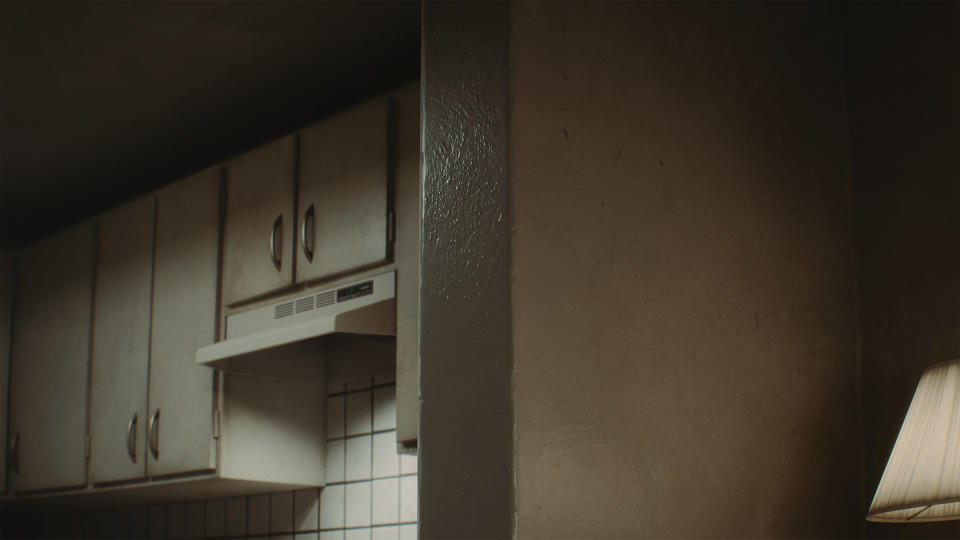
12. Complete a final lighting pass

(Image: © Maxim Dorokhov)
If you find that some of the most important areas in your environment are still too dark and the main light sources can’t add enough light, you can bring in extra lights to brighten them up. The same goes for areas that are too flat with just the base lighting. Build volume by adding spot lights that will better highlight material definition and accentuate the shape of objects.
I used the Emissive parameter in materials such as the lamp shades to simulate light scattering, as well as to add a little extra light to the scene with GI. Using dark cubes around the interior will prevent light leaking from the exterior when using flat geometry for the walls.
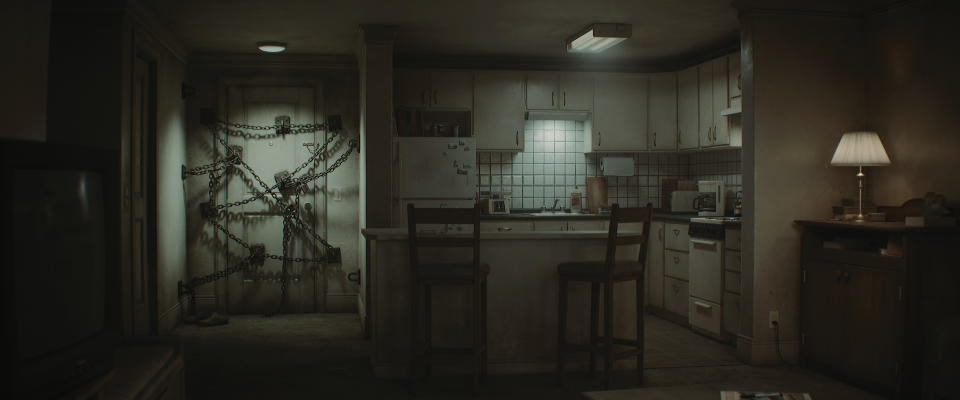
13. Set up a camera to capture the scene
(Image: © Maxim Dorokhov)
To replicate a real-world movie camera’s behavior you can use the Cine Camera Actor, which has additional options for just that. For most of my shots I wanted a wider cinematic look, so I used a 2.4:1 camera ratio, given that it’s one of the widescreen cinema standards currently in use.
You can use lower values for the Focal Length option to replicate the wider lens and capture more information for a spacious and open feeling. Or alternatively you can use higher values and make your room look more flat, closed and cramped. For the depth of field setup, use the Draw Debug Focus Plane option in the Cine Camera Actor properties.
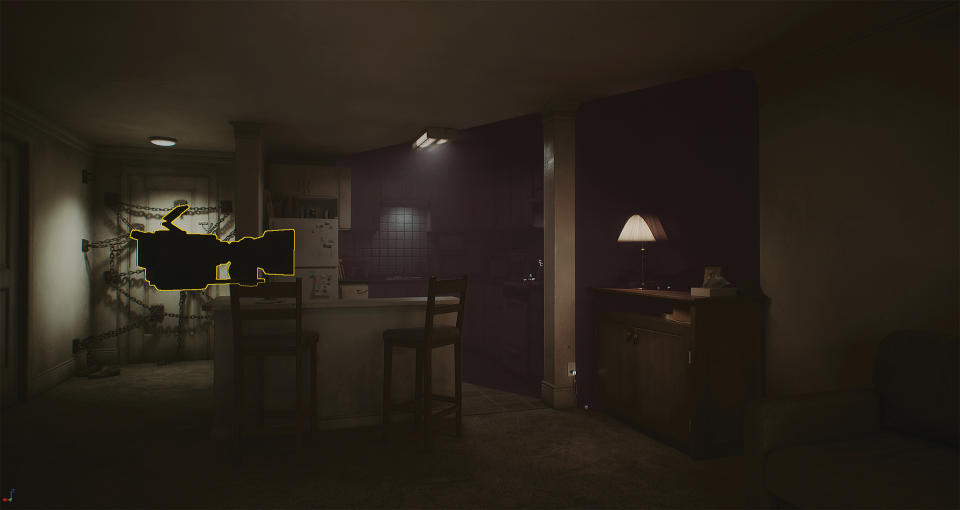
14. Realistic camera lens distortion
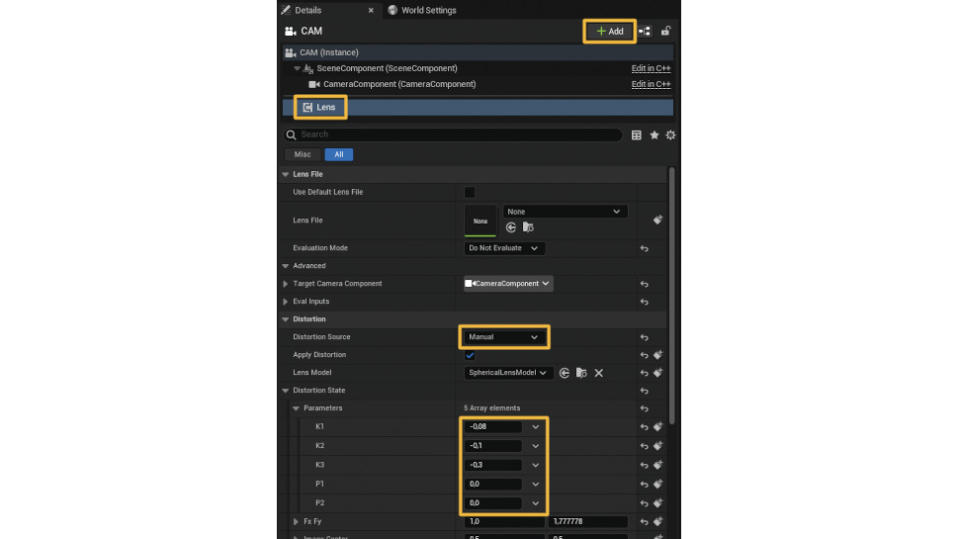
(Image: © Maxim Dorokhov)
To create realistic lens distortion you’ll want to enable the Camera Calibration plugin in Unreal Engine, which can be found at Edit>Plugins, and add a Lens component for the Cine Camera within the Details panel. With that step done, you can then either apply camera lens files or set up the Distortion options manually if you wish.
15. Colour grading

(Image: © Maxim Dorokhov)
You can use Unreal Engine Post Process Volume tools to fully colour grade your image. However, I prefer to only change a handful of the colour options so that it’s easier to make a LUT file in Photoshop later on. You can change the Slope and Toe values under the Film tab to help flatten out the image a little before diving into the actual colour grading work.
The next step is to colour grade the default LUT file in Photoshop, or any other colour grading software of your choice, and use it as an LUT preset under Post Process Volume > Color Grading > Misc. This way you can quickly and simply change all of the colour grading settings for the scene by swapping out one LUT file for another.
Unreal Engine 5 tutorial: quick tips
Here are a few more quick tips and things to think about when crafting realistic interiors in Unreal Engine 5.
01. Kelvin colour temperatures
When working with lighting, I prefer to use light temperature in kelvin and intensity in lumens as it gives me a better idea of what a light source would look like in the real world. The value for a warm incandescent lamp is around 3,000K and below, for a neutral white around 5,000-6,000K, and above for colder colour temperatures. Use the Light Color option to manually add colours out of Kelvin range.
02. Detail textures
Add small details to the materials by using additional Normal maps with more frequent tiling. Use the ‘BlendAngle CorrectedNormals’ function to add just the Detail Normal map, or the advanced Detail Texturing function to add Detail Normal and Base Color textures. This lets you bring in small details like scratches and specks on the paint, giving the impression of a more detailed surface even with the lower resolution of other material textures.
03. Post Process Volume options
In addition to colour correction, Post Process Volumes have other settings that can give your image a cinematic look. You can find some under the Lens tab. Bloom, Chromatic Aberration and Vignettes can add a natural look, but use relatively low values to avoid ruining your image. You could also add Film Grain and change its intensity independently for shadows, mid-tones and highlights. The Post Process Sharpen option enables you to add extra sharpness.
Get more Unreal Engine 5 tutorials in 3D World
This article originally appeared in 3D World. Subscribe to 3D World at Magazines Direct. If you've missed this issue or other editions of 3D World start a subscription.

