Spoil Your Kitty By Making a DIY Cat Scratching Post

Brie Passano
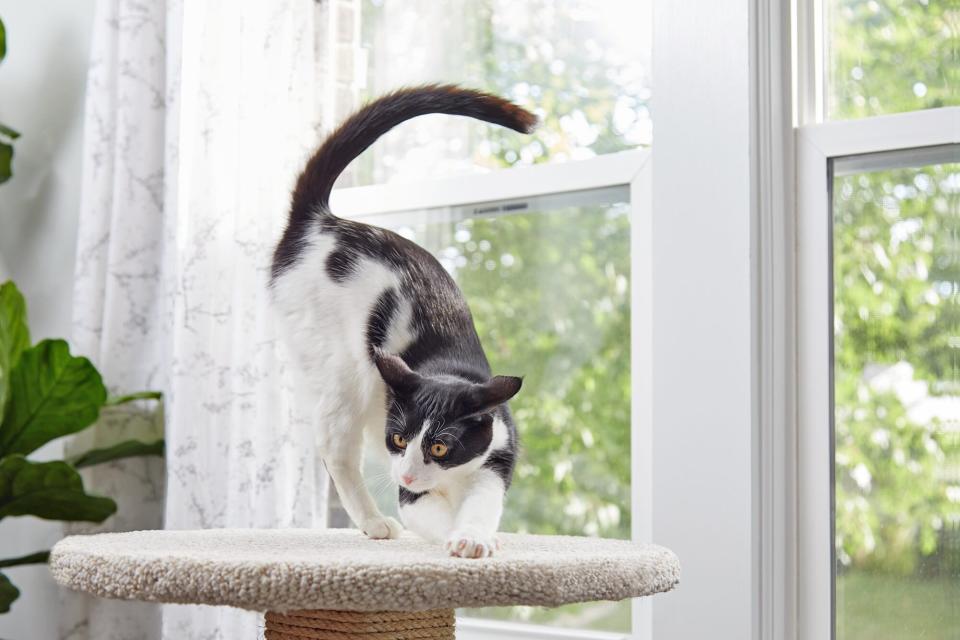
Cats like to watch. Whether its supervising your cleaning activities or keeping tabs on the wildlife outside your window, cats are known for their desire to spy on the world around them. The other things cats like to do? Scratch. Using their paws and claws is a natural instinct that helps them express emotion, remove dead nails, and get a bit of exercise.
You'll be your cat's bestest bff if you provide them with a place to do both of these things—perch and scratch. And maybe even nap. With our custom DIY cat scratching post instructions and plans, you can easily make this post with just a few materials and basic tools. The top platform gives your fluffy housemate a spot to lounge, and the sturdy base makes sure it won't topple easily. In between the platforms: a sisal-wrapped post that your cat can scratch to her heart's content.
RELATED: What to Know Before You Build a Cat Tree That's The Cat's Meow
Our step-by-step instructions even tell you how to personalize your cat scratcher based on your cat (or cats!) and your available space. Cover your post with a bit of carpet that matches your decor, and you'll have a piece that's better than any cat scratching products you might buy.
Brie Passano
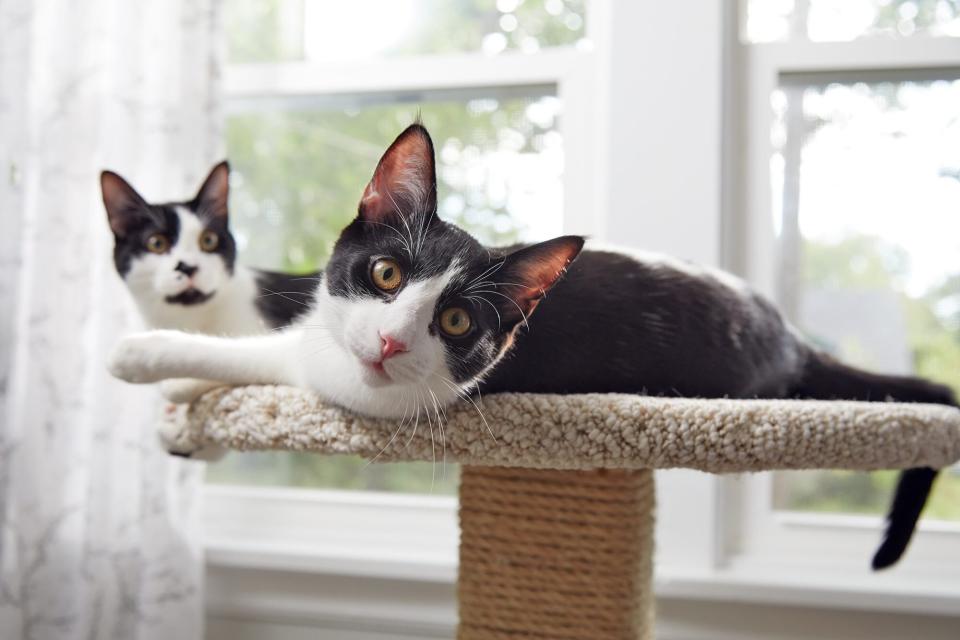
At about 2x2 feet wide and 32 inches tall, this scratching post is sized for multiple cats and to be placed at a windowsill that's well off the floor. For a space-saving version, you could cut an 18-inch base and 14-inch top, for example. For scratching posts this size or smaller, consider replacing the post that we've constructed using 2x4s with a 4×4 cedar post section instead. Just avoid a tippy tower that comes from making the top as large or larger than the base.
Because the plywood and 2×4s are all covered, you can save money by using salvaged materials and low-wear carpet scraps. The complete materials list is pretty short.
Materials You'll Need to Build a DIY Cat Scratching Post
2 2'×2' plywood panels, each 2¾" thick
2 2×4 studs
50-foot coils of 3⅜" sisal rope (number of coils depends on post height)
2 4'×4' pieces of carpet (jute-backed)
3" deck screws
¾" carpet tacks
1½" common nails
Wood glue
Cyanoacrylate adhesive, also known as a quick-drying super glue
Tools You'll Need to Build a DIY Cat Scratching Post
Tape measure
Saw
Screwdriver or screw-driving bits
Drill and bit set, countersink bit
Jigsaw or coping saw (optional)
Utility knife and blades
Pencil
Brie Passano
Step-by-Step Instructions for How to Make a DIY Cat Scratching Post
Step 1: Cut and Prepare the Top and Bottom Platforms
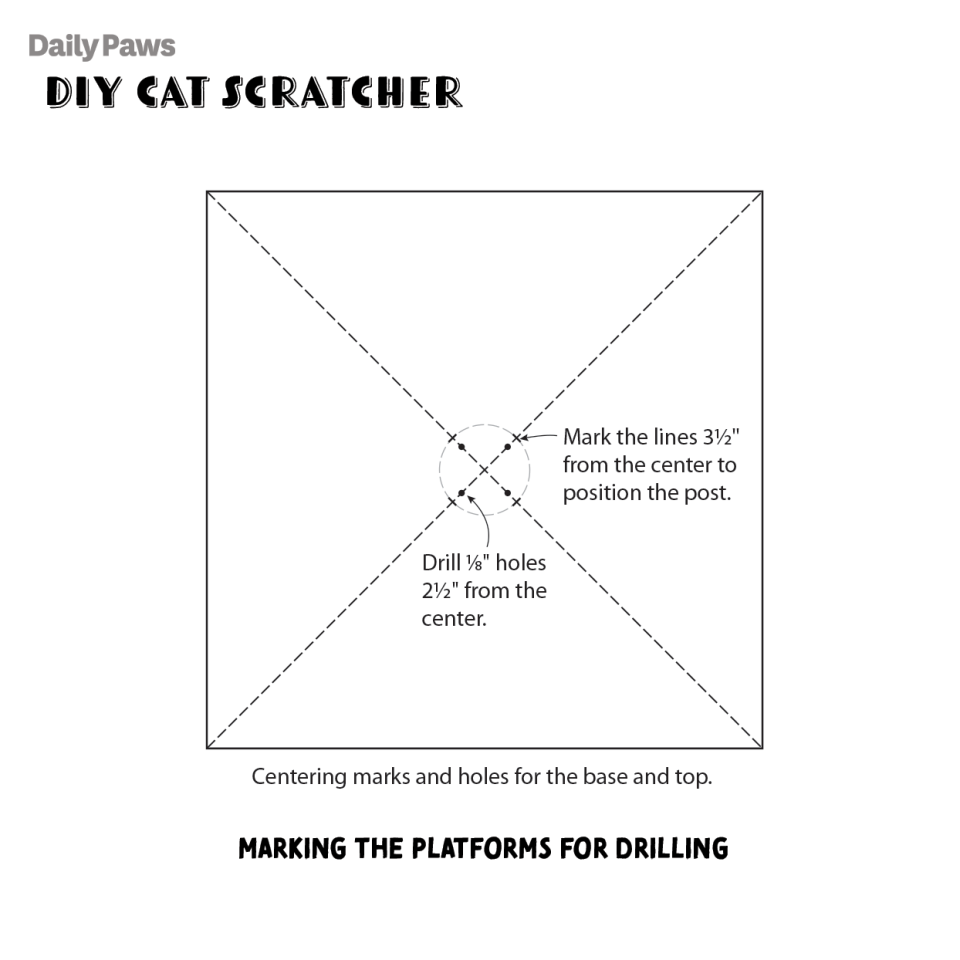
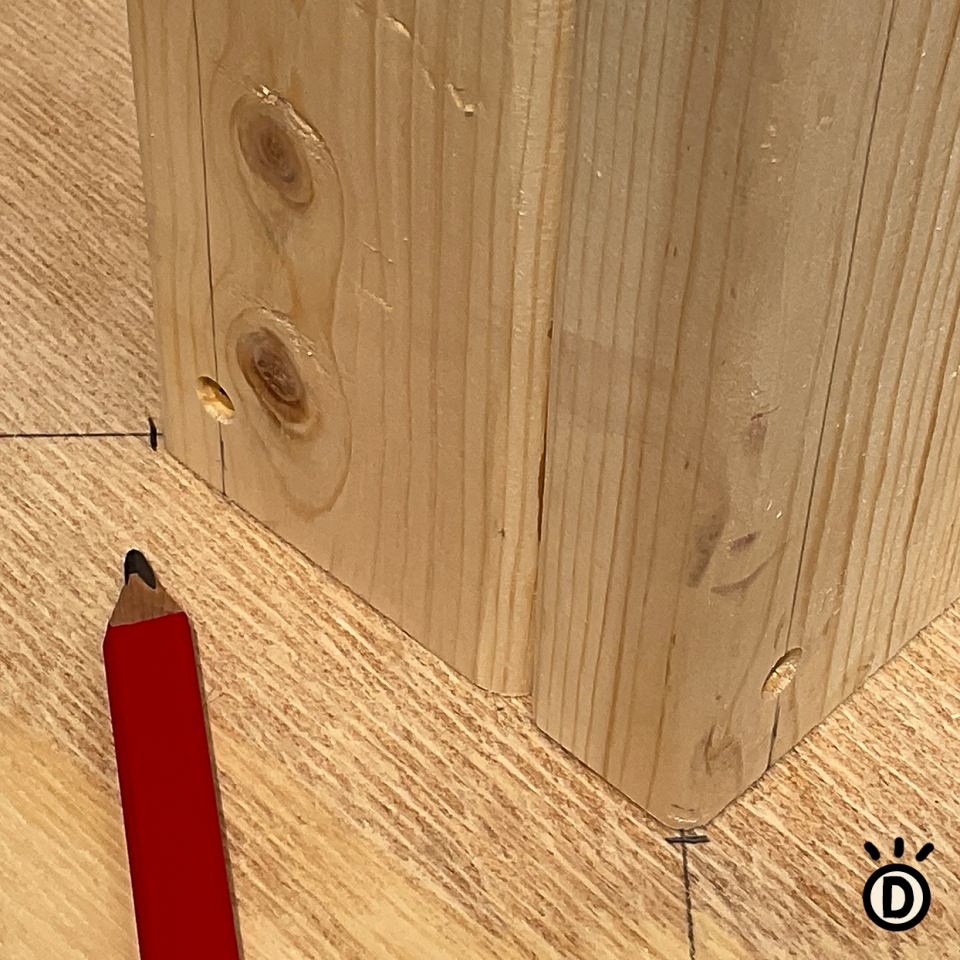
On one side of each 4x4-foot piece of plywood, draw diagonal lines between the corners. Mark the lines at 2½" and 3½" from the center [see the "Marking the Platforms for Drilling" illustration, below]. Drill ⅛" holes at the four 2½" marks. Then flip each panel over and drill countersinks at each hole. (If you don't have a countersink bit, use the tip of a ⅜" drill bit to recess the screw heads.) These holes will be used to attach the post to the platforms later on.
Robert Wilson
To cut the round top, draw a circle on one piece of plywood to indicate the cutting line. Tie a string to a nail on one end and a pencil on the other—spaced 12 inches apart or less. Drive the nail tip into the center of the panel and mark a circle around the panel [Photo A, below].
Use a jigsaw or coping saw to cut the circle [Photo B, below].
If you're making a square top, or adjusting the size or shape of your scratching post, be sure to cut the top at least 4 inches smaller than the base. This will help prevent it from toppling over when your cat is climbing on it.
Step 2: Create and Attach the Center Post
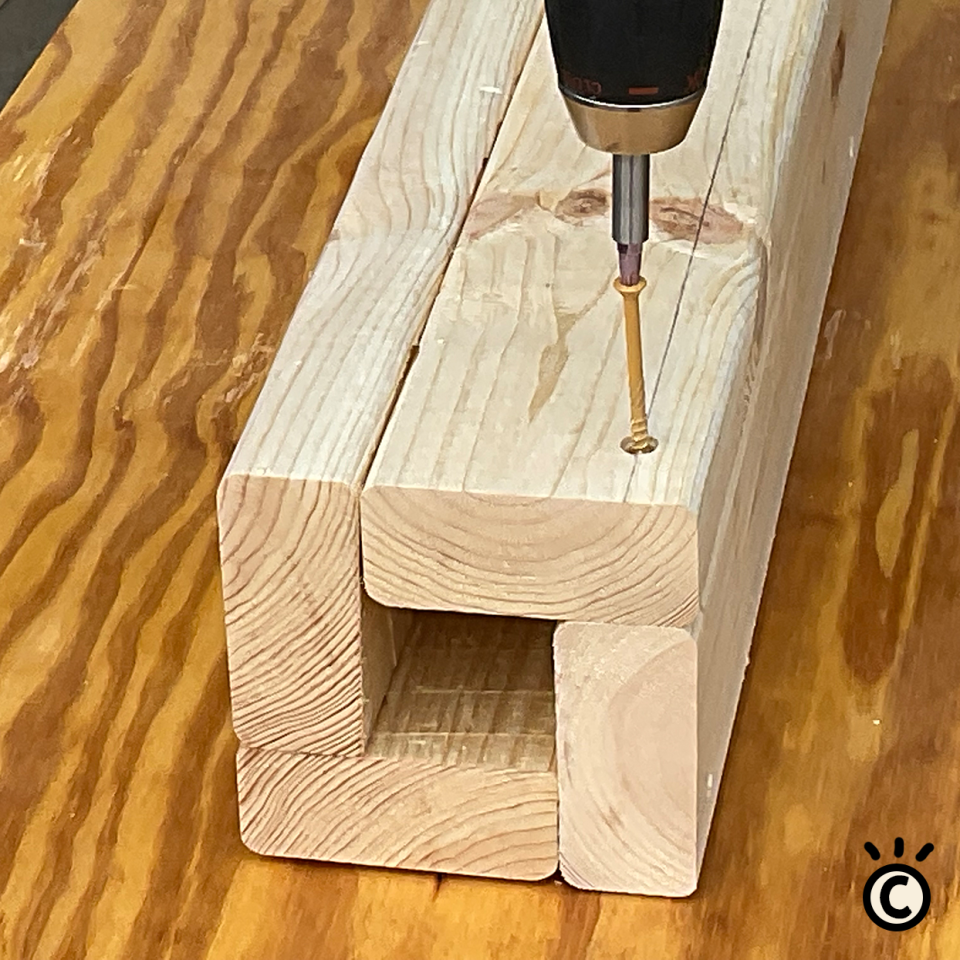
From the 2x4 studs, cut 4 post pieces of equal lengths—equal to the height you want your post to be. We cut ours 31½" long, but you can adjust them to suit your needs. (This height uses exactly three 50-foot coils of rope.)
With the ends flush, use wood glue and screws to attach the face of one piece to the edge of another. Repeat for the remaining pieces to create a square post [Photo C, below].
Robert Wilson
Center the post among the 3½" marks on the bottom platform [Photo D, below] and screw the post to the base, through the holes you created in Step 1.
Robert Wilson
Step 3: Cover the Bottom Platform with Carpet
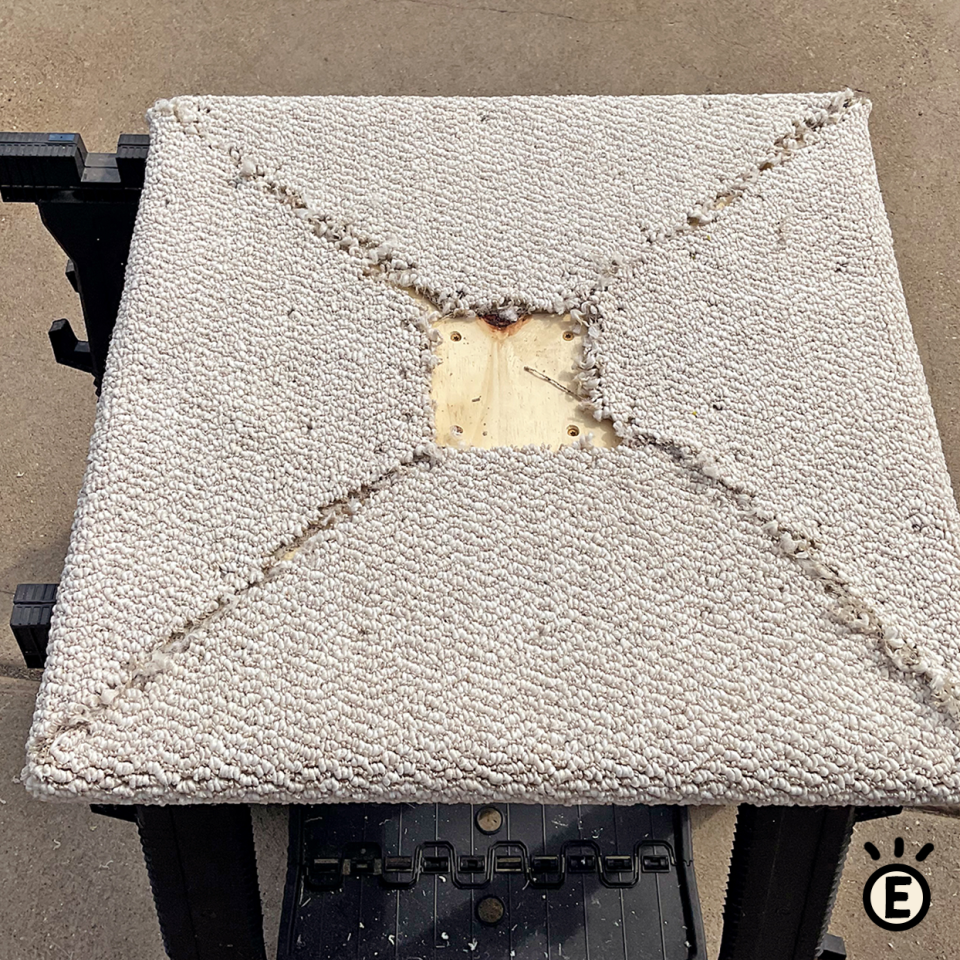
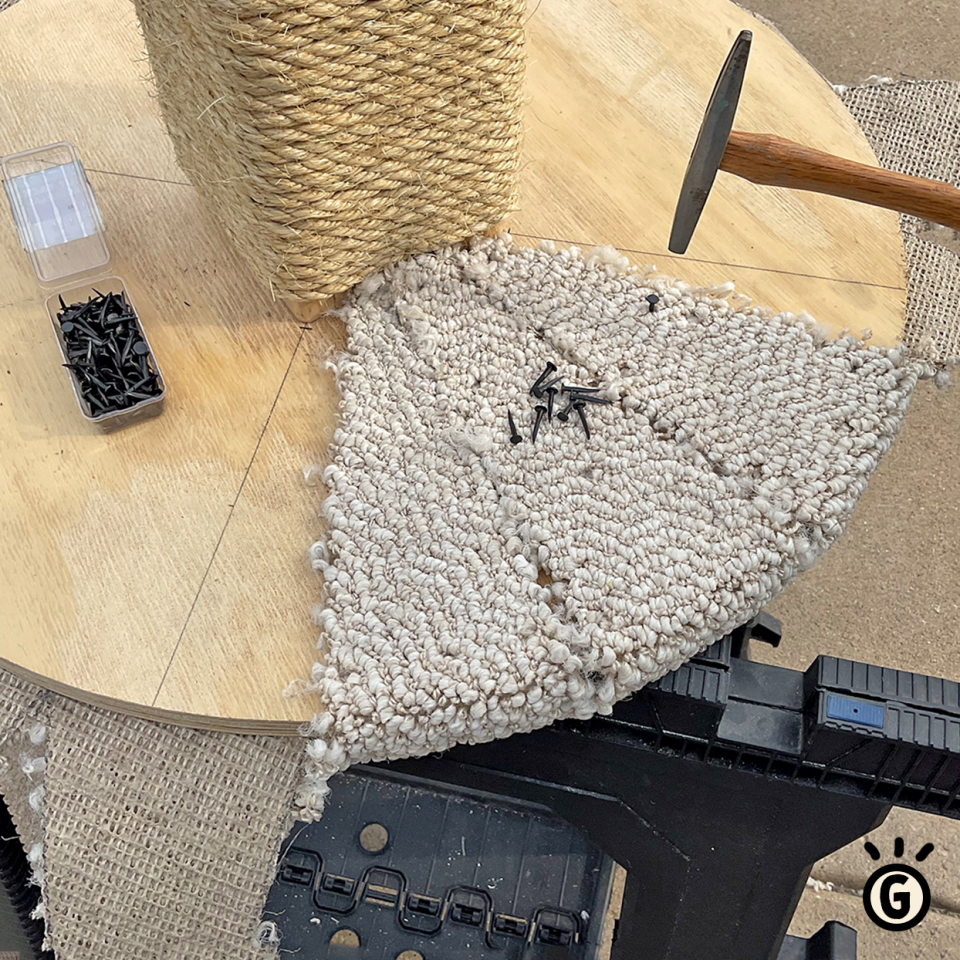
To cover the bottom platform with carpet, you'll need a scrap that's twice as big as the platform. Our 2'x2' platform requires a carpet piece that's 4'x4'. No matter the size of your carpet, at the center of the scrap, cut a 5"×5" opening with the edges parallel to the edges of the scrap. Slide the carpet down the post and tack it in position on the bottom platform. Fold the overhanging carpet over one edge of the platform. Working from the underside of the platform, trim off the surplus carpet at 45-degree angles using a utility knife with a fresh blade [Photo E, below]. Tack the carpet in place. Repeat for the remaining three sides so the carpet doesn't overlap and create bulges.
Robert Wilson
Step 4: Cover the Post with Sisal
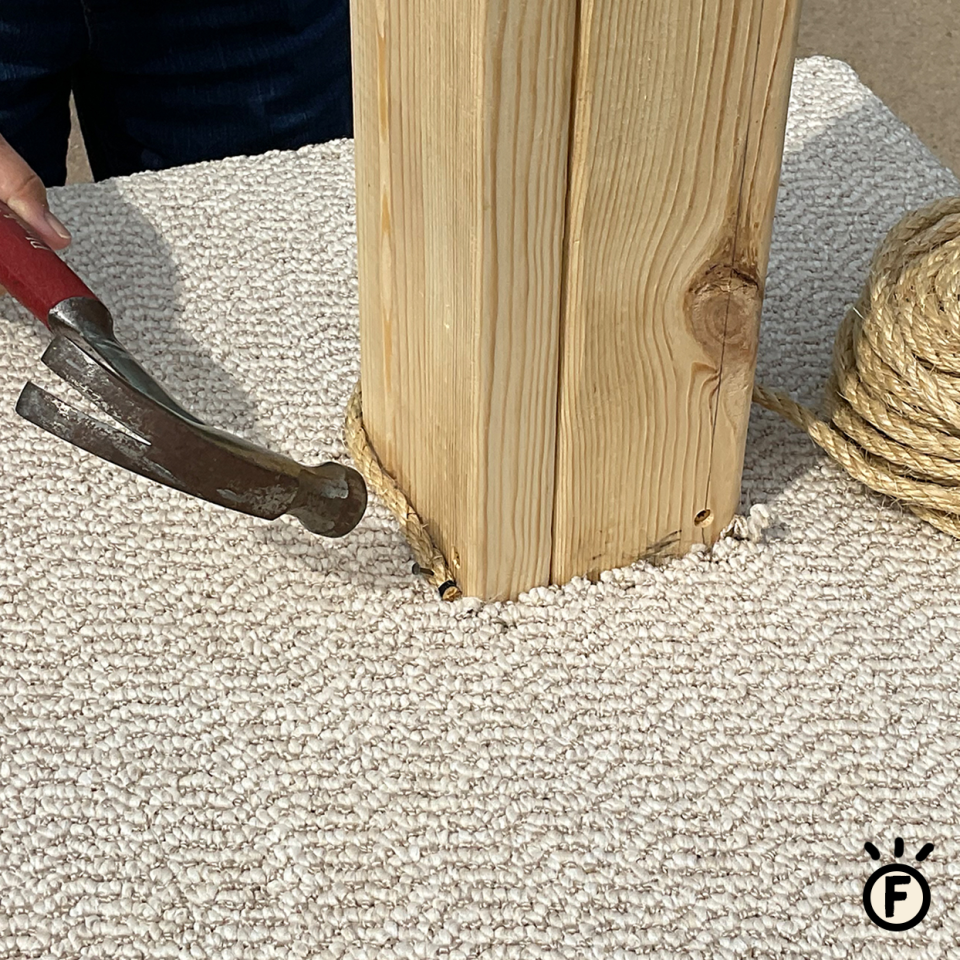
Seal one end of the sisal rope using a quick-drying super glue. After the rope dries, nail the sealed end to the bottom of the post where it meets the bottom platform [Photo F, below]. Wrap the rope tightly around the post, pressing the coils together as you go so that none of the wood underneath shows. This creates a tight sisal surface your cat can scratch to her heart's content.
Robert Wilson
If you reach the end of your roll of sisal before your post is covered, just seal the end, wait for it to dry, and nail it to the post. Then seal the end of your next roll, layer it over the previously wrapped sisal, nail that end to the post, and keep wrapping. Cover the nails as best you can. When you reach the top of the post, cut the rope and seal the end. Then nail the end of the rope to the post.
Step 5: Add and Cover the Top Platform
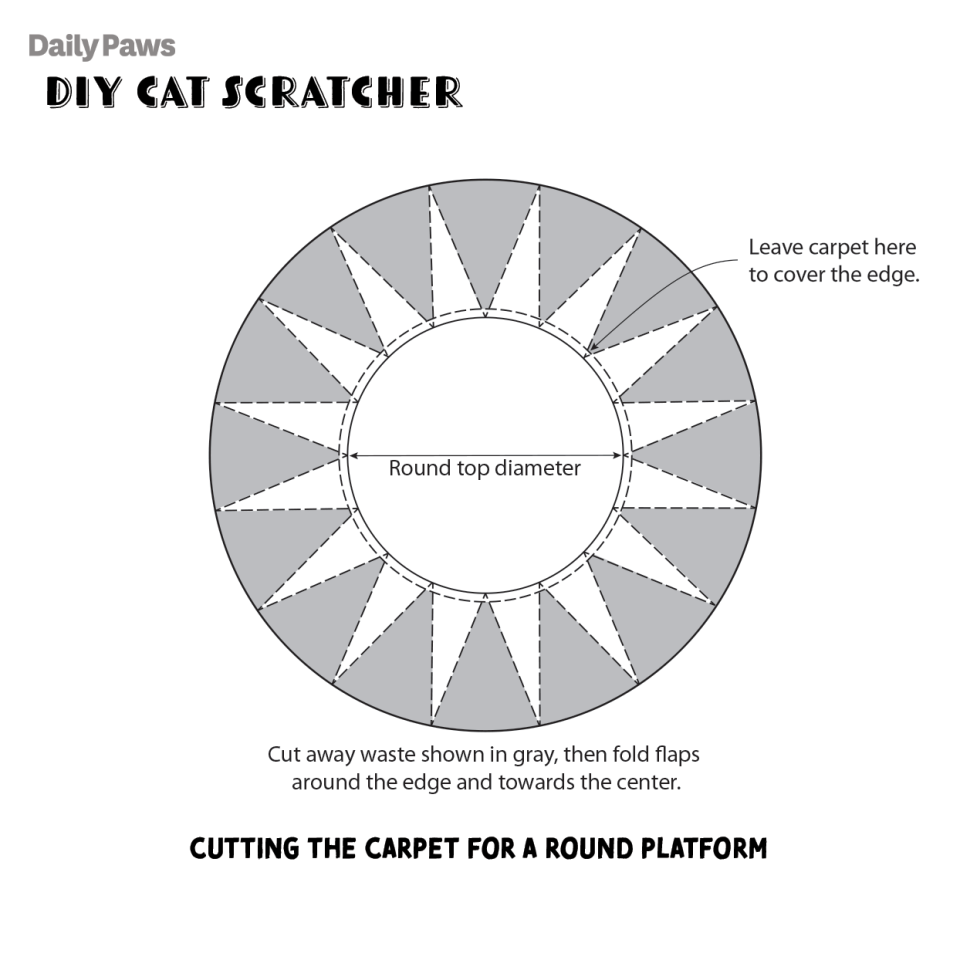
Center and screw the top platform to the post, using the predrilled holes. To cover a 24-inch-diameter round top (like ours) with carpet, find the center of the carpet square and draw circles 12" and 24" from the center. Mark the circles into 16 segments [see "Cutting the Carpet for a Round Platform" illustration, below]. Cut along the outside circle, then cut out the triangles between the circles, stopping your cuts ¾" from the 12" circle.
Robert Wilson
Center the carpet on the top platform. Fold a flap around the edge to the underside, pull it tight, and trim off the tip where it meets the post. Tack the flap in place and repeat for the remaining flaps [Photo G, below]. (Don't worry about any loose strands—cats love those.)
Robert Wilson
If you're making a square top platform instead, center the second carpet scrap on the platform and tack it in place around the edges. Fold the overlap around the edges and trim it as you did on the bottom platform. Then tack the carpet in place on the underside.
For a happy cat, place the scratching post in front of a window where your sleepy fur-friend can catch some rays when they're not scratching up a storm.
Project designer: Robert Wilson

