Get the Best Results From Your Bread Machine With These Tips
If you're one of the many people who've recently bought a bread machine, congratulations! You're about to enter a whole new world of freshly baked, yeasty goodness. Fresh-baked bread is so much better than the shelf-stable, store-bought kind!
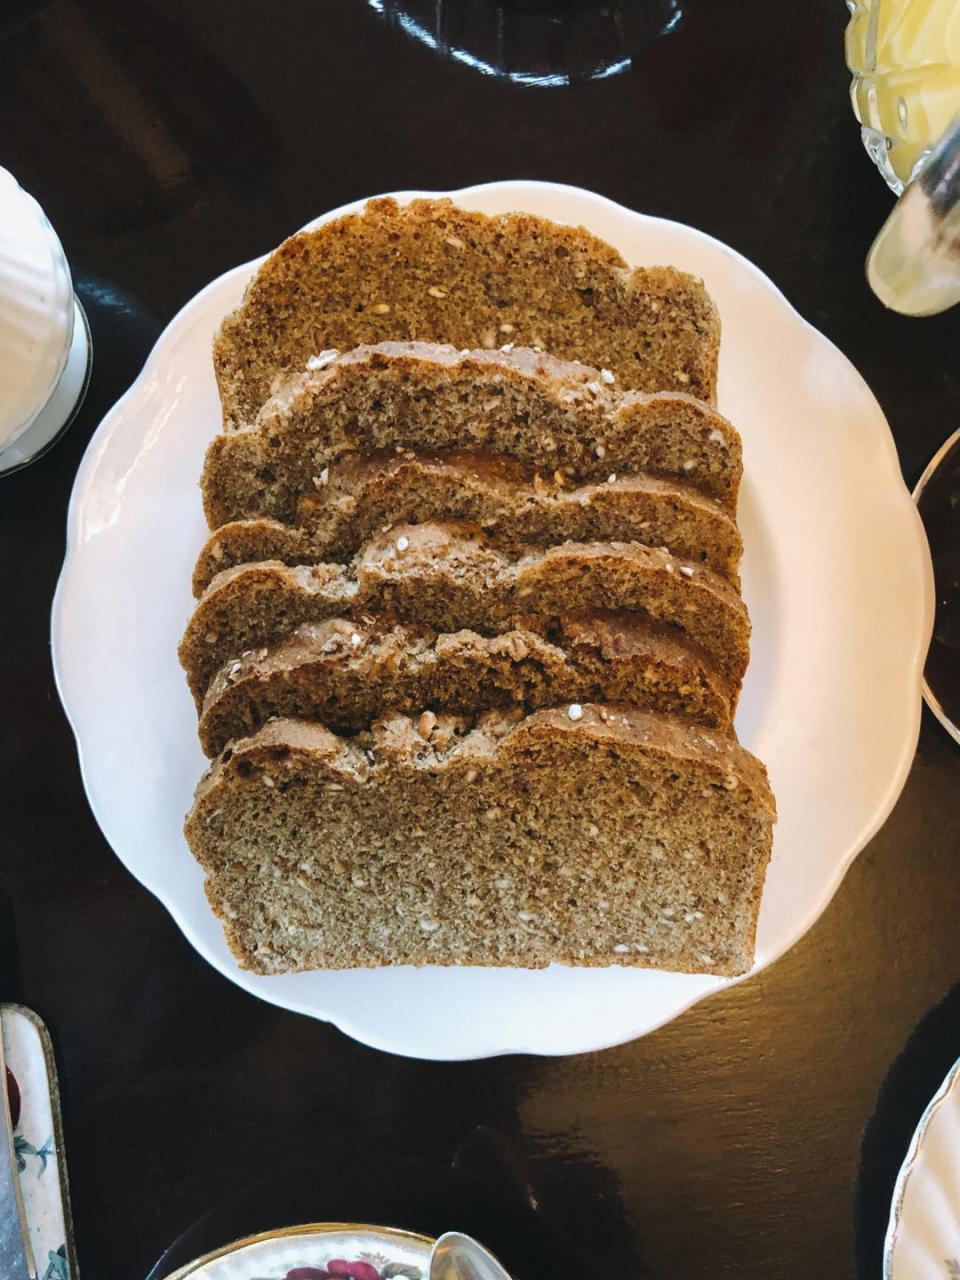
There's a lot of joy to be found from slicing off a piece from your still-warm loaf, slathering it with butter, and munching away right at the counter. (Bonus points for making homemade butter to go with it!) Fresh bread is also fantastic for making summer sandwiches for lunch and dinner, dipping into healthy soups, or toasting with a little garlic salt and butter as an accompaniment to healthy pasta dishes.
If you've just removed your bread machine from the box, you may be wondering how it works and what to do to get the best results. Not to worry! We've got you covered with answers to some of the most frequently asked questions, plus some tips and tricks. Of course, every bread machine is slightly different, and you should always read the manual before using any appliance. That said, it can be helpful to have a few extra pointers. Here are the most important things to know about your bread machine.
Is a bread machine worth it?
This depends on a number of factors, including how much bread you eat, how much time you want to spend making bread, and what kind of bread you want.
If you're looking for a good crusty loaf of rustic-style bread—something thick and hearty—a bread machine may not be your best bet. Countertop machines don't get as hot ovens, so most machines tend to make something closer to a sandwich loaf.
However, if you find yourself buying several loaves a week, and would love to spend less money, or have fresher bread without the hassle and time involved in making a classic sourdough, a bread machine, even a relatively nice one, can end up paying for itself in a short time.
How do you make bread in a bread maker?
Although your ingredients vary depending on different types of bread, basic bread only needs four things: water, flour, yeast, and salt (or a sourdough starter instead of yeast, but we won't get into that here). Some recipes will advise adding sugar, which, in addition to making the bread a little sweet, helps the yeast to rise better. Others also suggest adding a little oil, such as olive or vegetable oil. This helps the dough form, preventing it from sticking to the sides of the pan, and makes the bread more tender. However, you can make good bread without sugar or oil.
Begin by reading the instructions for your bread machine. One of the most important things to remember is that you shouldn't overfill it. Bread makers come in several different sizes and are typically distinguished by the weight of the loaf they can handle, from 1 to 2 pounds or larger.
Your machine's instructions will give you the proportions for a basic loaf. When you start, it's important to measure your ingredients as accurately as possible. Too much water, and your dough will fail to rise—or will rise and then collapse, creating a crater. Too little water, and the bread will be tough.
It's also essential to use water that's the proper temperature: The water has to be warm enough to "activate" the yeast and cause the dough to rise, but not so hot that the water kills the yeast. The ideal range is between 105º and 110ºF.
After you get comfortable with a basic dough, you can start experimenting! Try using different kinds of flours, such as whole wheat or rye. Add nuts, dried fruit, or even olives.
How do you use the dough setting on a bread maker?

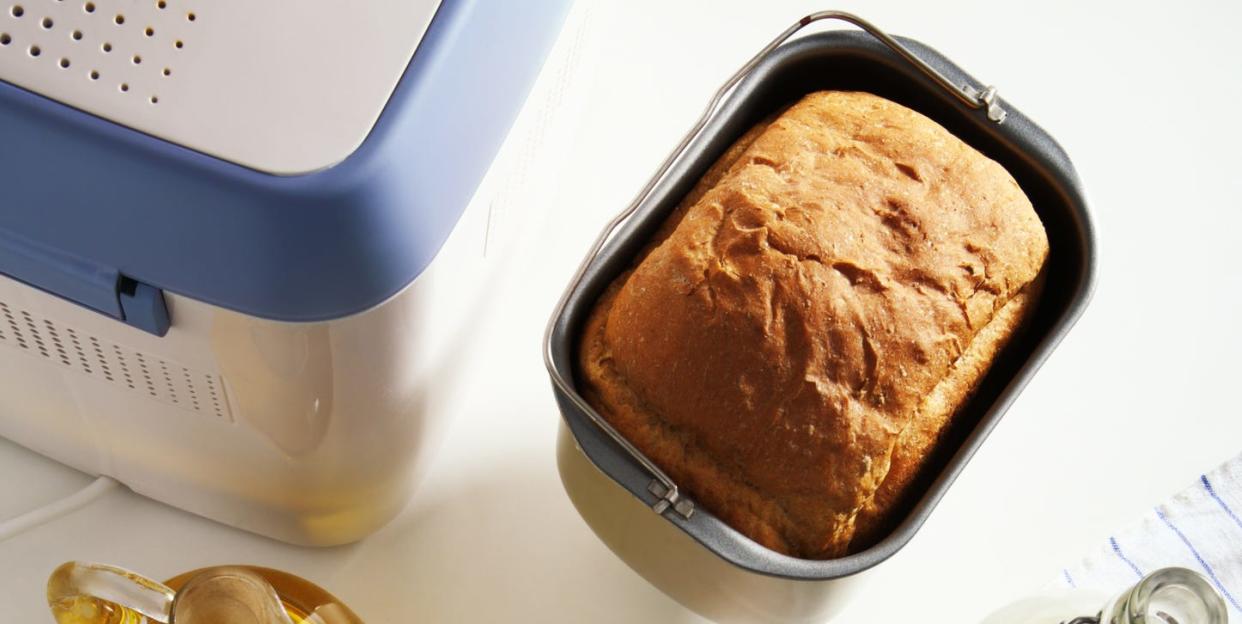
Though the bread is undoubtedly tasty, if you're looking for an Instagram-worthy loaf of bread, using your bread maker to bake is not the way to go. There are two main reasons for this. The first is that a bread machine just doesn't get hot enough to create a delicious, crackly crust. The second is that many bread machines have odd shapes (think tall and skinny), and all of them, after mixing the dough, bake the bread with the paddle still inserted, which leaves a big hole in the bottom of the loaf.
This is where the dough setting comes in! If you want a loaf with a crispy crust and an overall prettier look—and are willing to do a little of the work yourself—many machines can do the mixing and proofing, and then stop. At that point, you'd just need to open the machine, take out the dough, put it into a pan or a tray, and bake it in a preheated oven. You can have the best of both worlds!
The dough setting is also the route to go if you are using your bread maker to prepare a dough for shaped or rolled breads, such as knots or cinnamon rolls.
What order do you put ingredients in a bread machine?
It depends. Some instructions tell you to put wet ingredients in first, followed by dry ingredients. Others suggest you put the flour in, followed by salt and sugar, then wet ingredients, and finally the yeast. Almost all recipes will suggest you add the yeast last, otherwise, the dough won't rise quite as well. For best results, start by following a recipe that comes with your machine, once you have the hang of that, start experimenting!
What types of flour can I use in a bread machine?
You can actually use lots of different kinds of flours in a bread machine! Bread flours tend to have more gluten—the stuff that makes flour stick together—so breads made with it will rise better and be chewier. All-purpose flour works fine, although you'll need to adjust your ratios slightly (King Arthur Flour recommends 2 1/2 to 3 cups flour to 1 1/4 cups liquid if you're using all-purpose). Whole grain flours like whole wheat or rye will be smaller and denser, so you'll need more flour and more yeast to make similar-sized loaves.
One flour you'll want to avoid is cake flour, unless you're actually making cake. It has much less gluten than most other flours, and a bread made with it will be cakey, of course, and crumble apart.
I made bread, but it is dense and heavy, why?
There are several things that may have happened! If your bread started to rise, but then collapsed, then you likely used too much liquid. Try cutting back a little at a time and see if you can find a better ratio. One good rule of thumb: Once it's all mixed together, raw dough should resemble a shaggy ball, not a liquid soup. (As long as you open it before it starts cooking, it shouldn't be a problem to look into the machine while it's mixing.)
If your bread didn't rise at all, there might be something wrong with the yeast. Either the yeast you used was past its expiration date, you used too much salt, or the water you used had too much chlorine or it was too cold or hot. Either of those last two can kill yeast. Double check the salt amount, and try using filtered water.
If it rose but was just very dense, you may either want to try a higher-protein flour, such as bread flour, which will hold the gas from the yeast better, or adding a little more yeast.
Once you get the hang of it, you'll be on your way to a kitchen full of delicious smells, and warm loaves of bread at the ready whenever you need them. Enjoy!
You Might Also Like

