We Reno'd a 900-Square-Foot House to Feel Way Roomier (and Succeeded!)

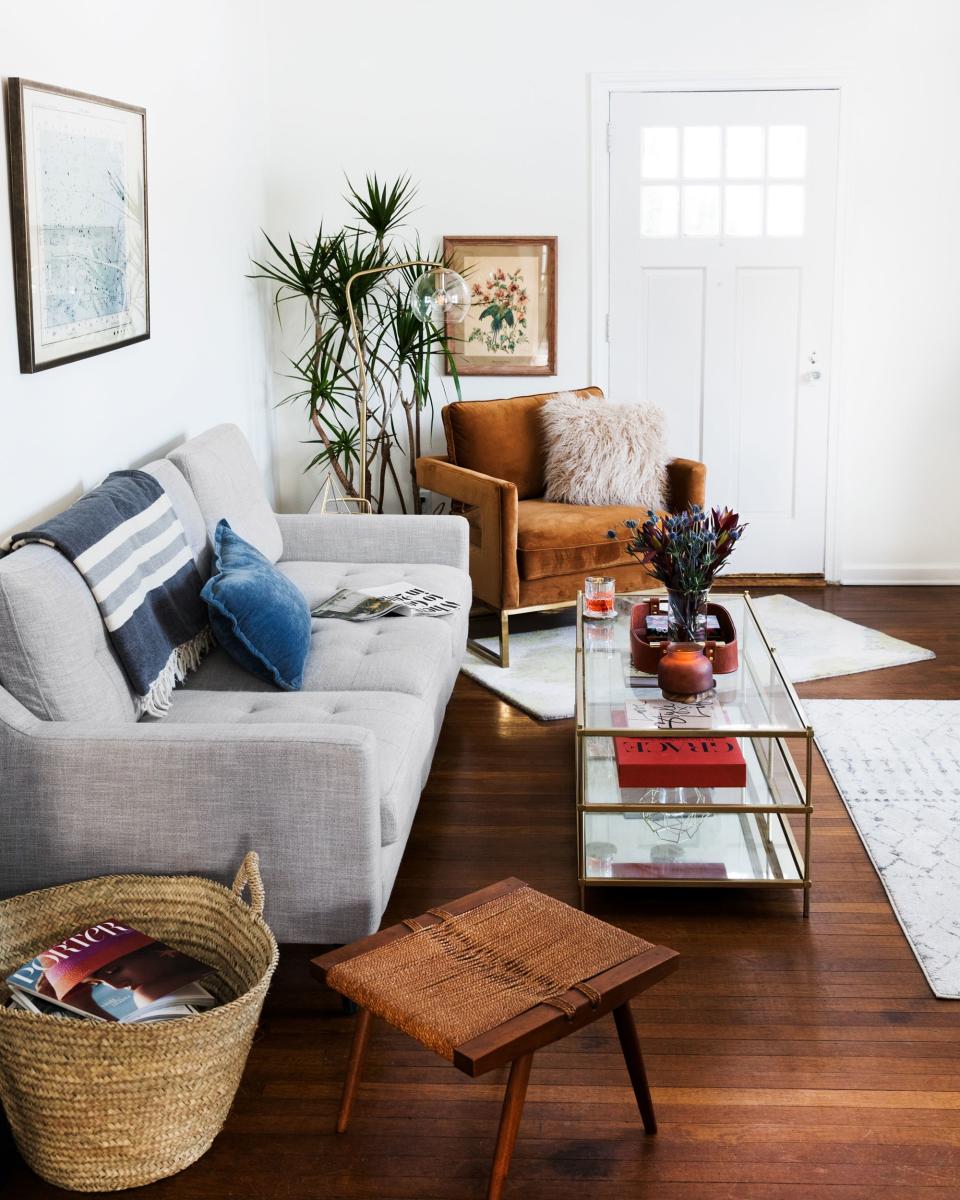
When my husband and I rather unexpectedly purchased a 900-square-foot fixer-upper last year, we learned one thing very quickly: Small spaces work best if you make them functional for your needs. We started demo all over the house, but the kitchen is where we first addressed how two people who love to cook were going to navigate a lack of counter and storage space. From there we tackled a bedroom, a bathroom, a living room, and a studio for our photography. Nine months later and all of the big renovations conquered, we're now happily living in a home that I lovingly call "the shoebox," with only a couple of projects still waiting in the wings.
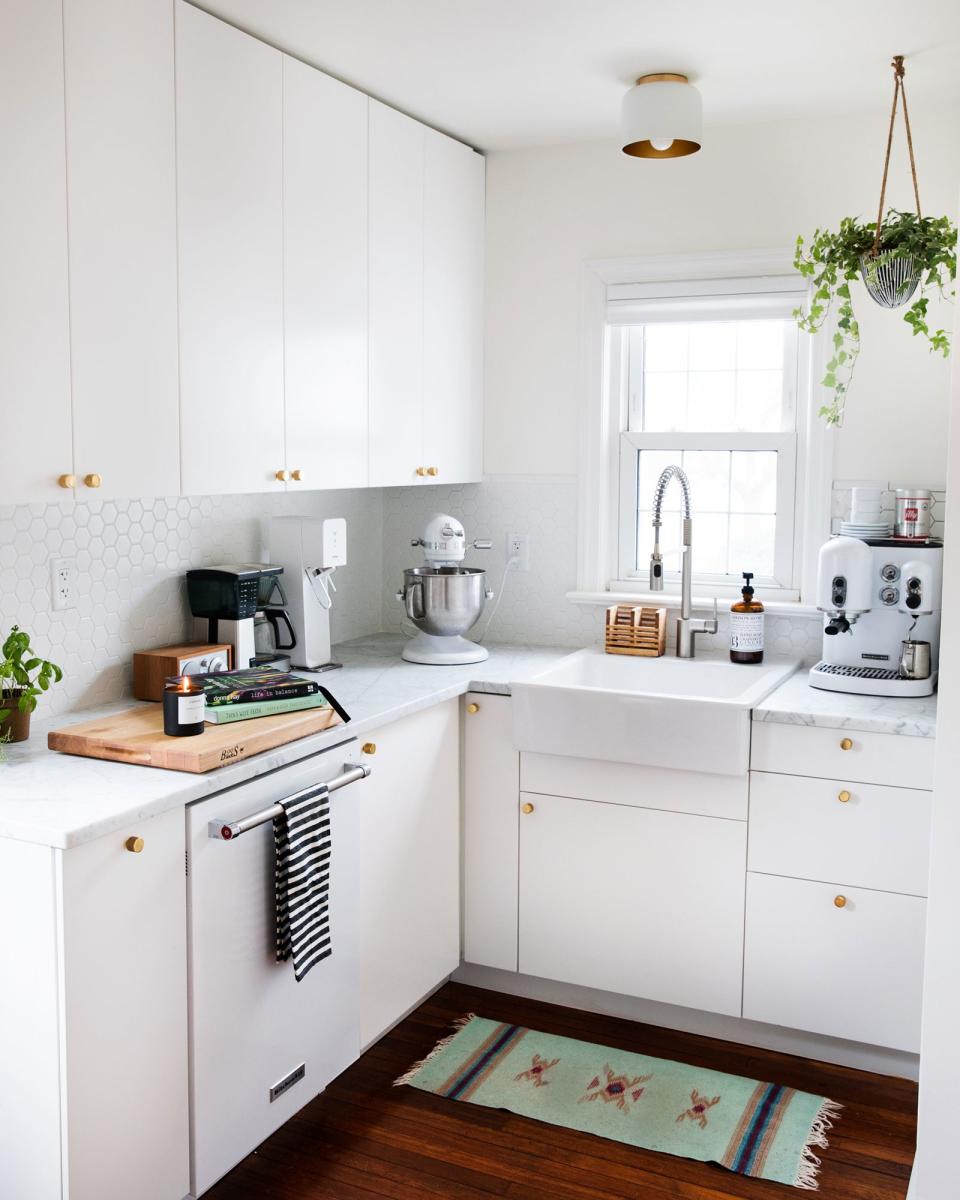
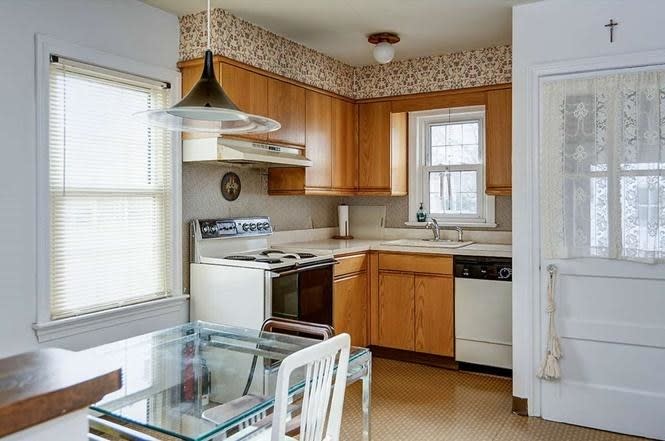
Sorting Out a Small Kitchen
Storage hack number one was turning the guest room’s closet into a pantry. The bedroom is on the other side of the kitchen wall and its closet lines up perfectly with where a pantry would be, if we were to design it from scratch. So we cut a door out of the kitchen wall, purchased a pantry system from IKEA to build into the closet, and maximized storage with pull-out drawers. Prior to changing the layout, though, we had to deal with the placement of the range. Originally right in the middle of the existing counter, it was taking up far too much precious room. We decided after considering every possible configuration that it made sense to remove it from that counter completely. We only had one other option for where it could go: The kitchen had one of those very 1950s half walls on the dining room side that served no purpose whatsoever other than acting as a divider. So we sledgehammered it to make way for a kitchen island with storage on the side facing the living room, formerly the dining room, leaving the other side that faced the kitchen wide open for a range to slide in. Now, that island also functions as our table. This was a necessary trade-off to maximize the kitchen space. We love having the stool setup, which makes entertaining and cooking for people more interactive and personal. Currently, we have a plywood island top as a placeholder. We’ll be making the butcher block top ourselves soon!
Making All Sorts of Things Feel Bigger
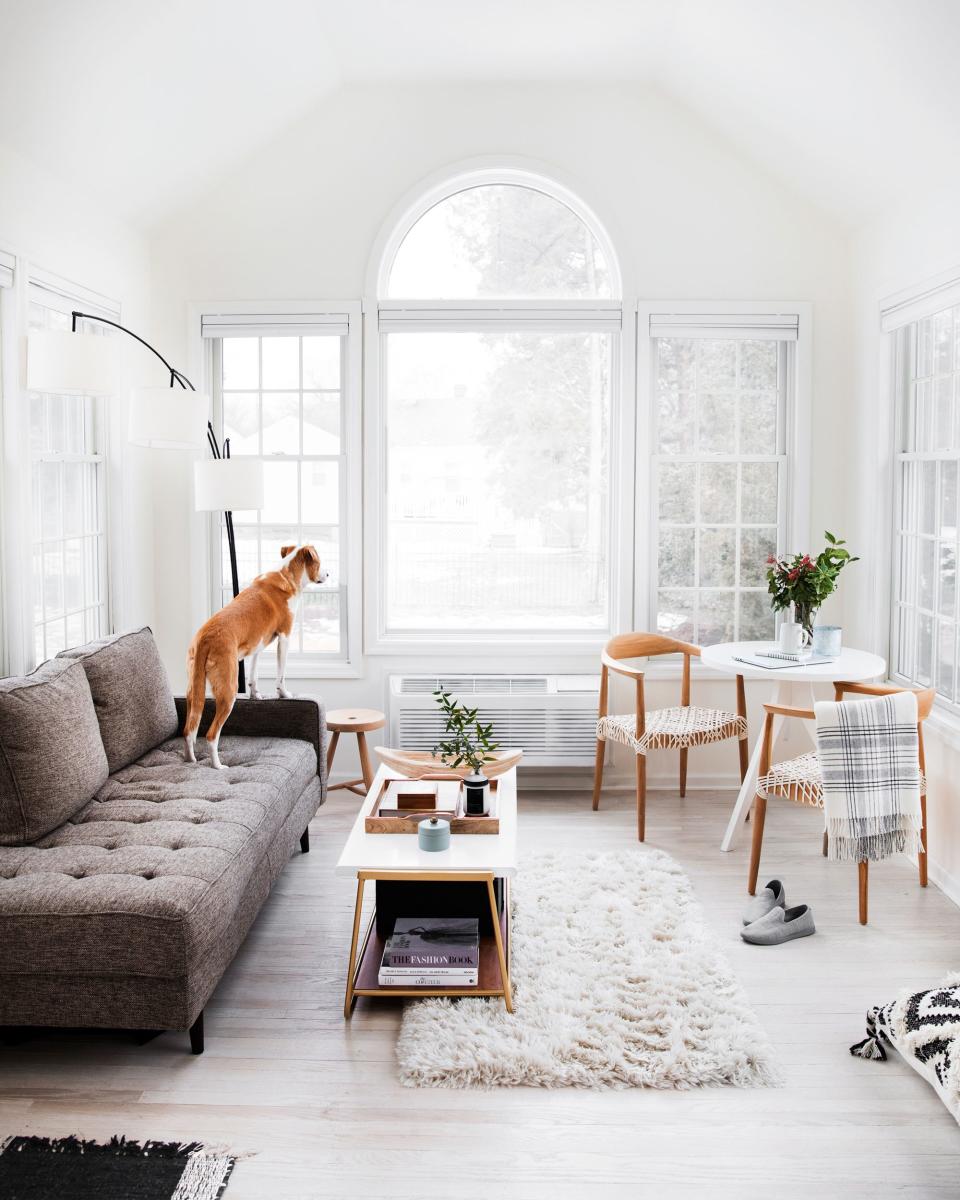
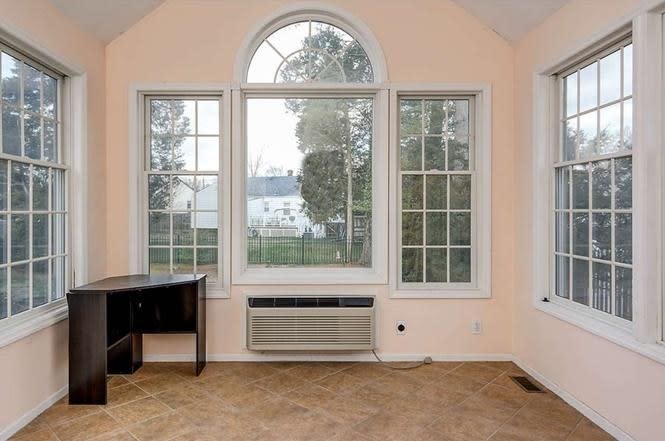
Our bedroom isn’t necessarily small in terms of square footage, but it felt small because of the limited light it gets. We removed what seemed like a dozen layers of wallpaper and then opted to enhance the moodiness of the room by painting a very dark accent wall behind the bed. I left paint swatches up for months, and while the darkest swatch scared everyone at first, the more it sat there the more we realized it was perfectly bold—and it made the room feel bigger. Paint worked other small miracles for us, too: Apart from being deceivingly narrow, like many parts of the house, my current workspace was in decent shape when we began. The walls were a salmon pink, with outdoor tile on the floor. Since I needed the room to be multifunctional (but mainly a space for photoshoots), we painted the walls a bright, clean white. We then replaced the tile with the same type of wood that was originally in the house and whitewashed it by hand. Switching the palette of the room to all white made it feel enormous.
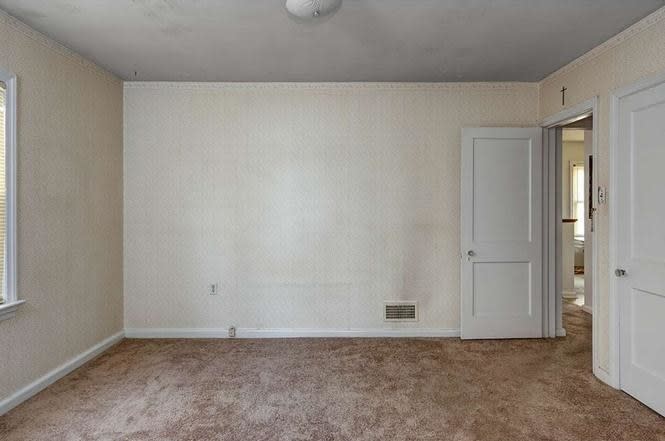
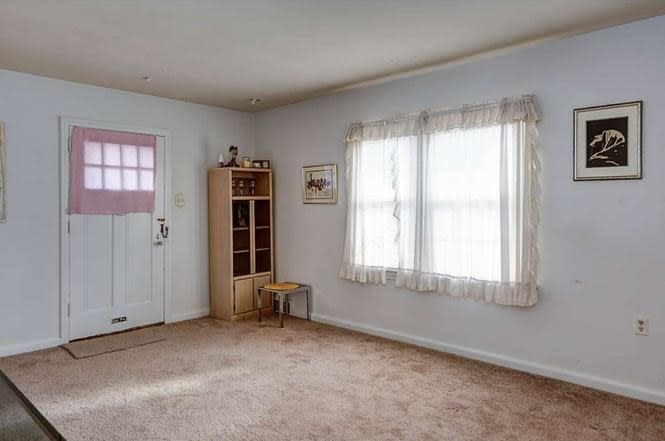
There are things you don’t think of immediately that can be done to make a small house feel bigger. For this house, that meant widening doorways. We increased the size of the doorways that lead from the living room into the hallway, as well as the side-entrance doorway. We also replaced the single door that led from our bedroom to the back room with built-in pocket doors. So much more light can get through now, and everything feels less cramped.
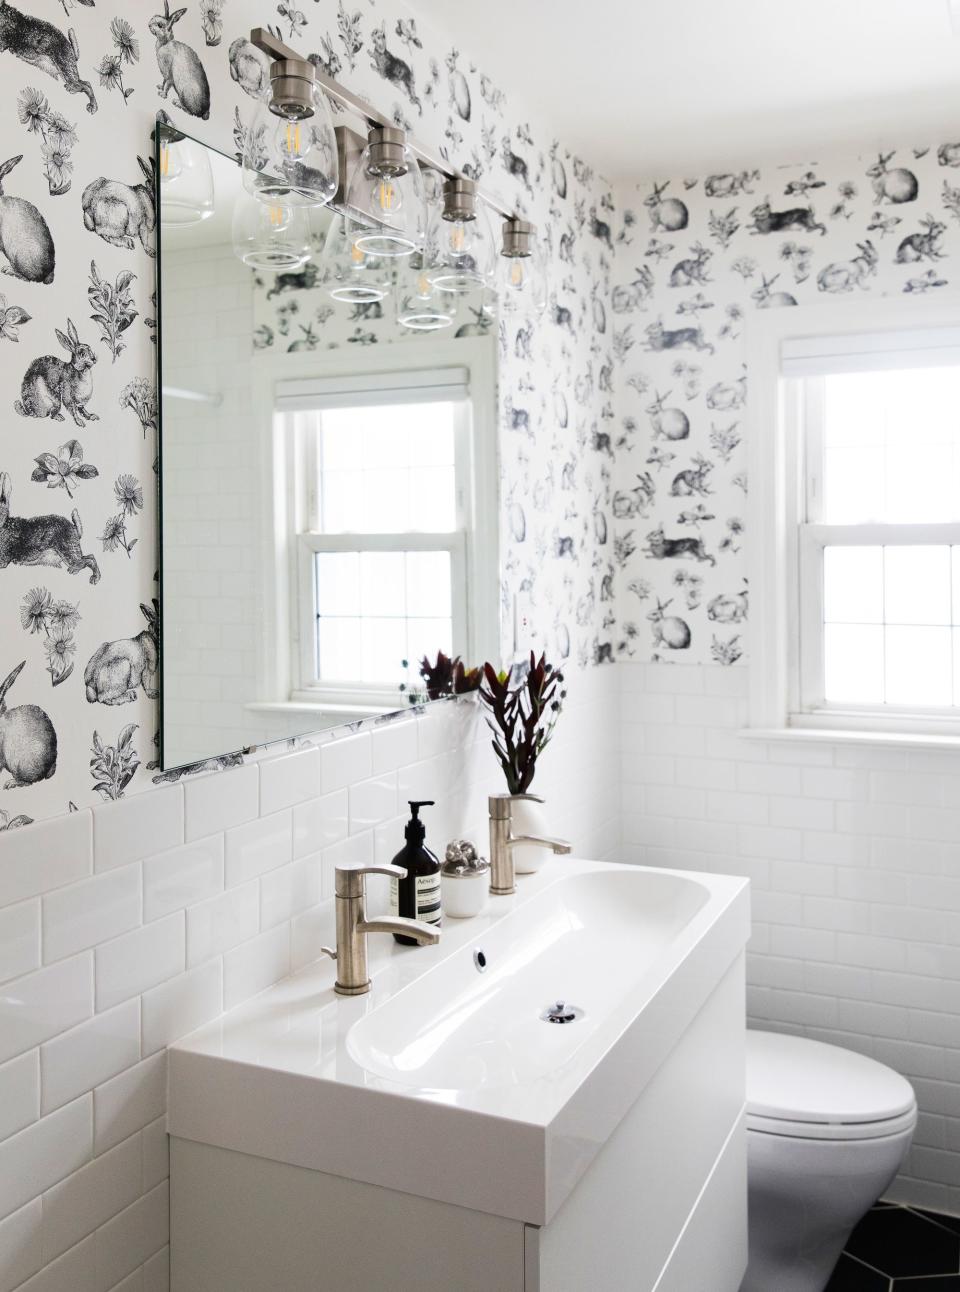
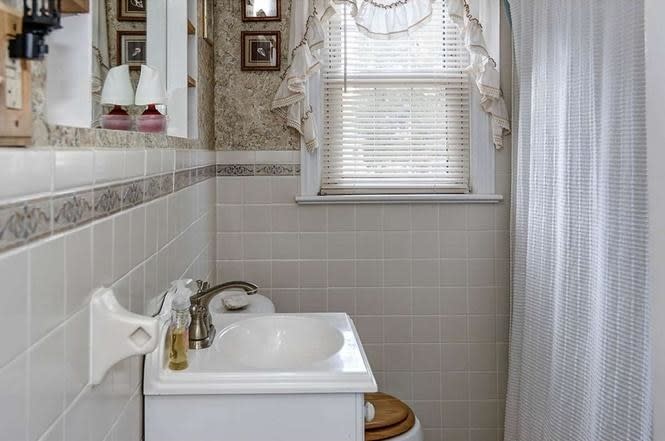
The other major structural doorway change was made in the bathroom. True to the era, the bathroom originally had a wall that bumped out to house a built-in closet. We realized that wall could be made flush and the doorframe could be moved over to increase the overall width of the room (the closet we turned into a large medicine cabinet). It’s the smallest bathroom we’ve ever shared, but now it's also the most functional. We installed a double vanity from IKEA that’s not very wide but has tons of storage, with two large pull-out drawers. Keeping the bathroom monochromatic has made it feel much larger, with large hexagon black tile floors and black-and-white bunny wallpaper.
Making the Old Hardwood Work
The thing that was most important to me in terms of preserving the original history of the house? Its hardwood floors. I fought hard for this one, knowing it would be a pain to restore and fill in the floor where it was either too damaged from years of linoleum coverage or had water damage. There was a lot of robbing Peter to pay Paul to fill in the gaps. To make sure the floors were consistent, we removed the hardwood from the closets to make up for what we needed for repairs in the bedroom. My favorite part of this hardwood-swapping process was when we ended up being short of usable wood in the kitchen. After a moment of panic, my father-in-law suggested we remove part of the hardwoods that are underneath our bed, put those in the kitchen, and replace what was under the bed with a new version of the same wood that was used when the house was built in 1941. This scared me at first, but it turned out to be a lifesaver for the kitchen floors.