You Can Make Over Your Blah Fireplace Surround for Less Than You Think
A working fireplace (or even a nonworking one) is a feature we'd all be lucky to have in our homes at some point—there's no arguing that—but sometimes its design doesn't match up with the warmth and coziness of your living room. The fireplace surround is lackluster or disproportionate or both, and it's just sad. So why not give it a face-lift, and a relatively inexpensive one at that? Design-savvy Erin Kleinberg, cofounder of marketing agency Métier Creative crafted a dreamy, rustic facade for the fireplace in her Toronto living room out of an unexpected, totally free material: rocks from the shore of a lake in northern Ontario. "The beauty, at least for me, is in their irregularity, which provided a really natural and outdoorsy feel," she explains. Ultimately, the surround cost Kleinberg just $3,000: $2,000 for the tile work and $1,000 for the paint job. Had Kleinberg gone with Statuario marble instead, she would've spent $50 to $75 per square foot for a whopping total of about $15,000. Talk about some serious savings. Here's how she did it:
1. She didn't go on some willy-nilly hunt for stones
"Each of the rocks we used ranged from three to eight inches high and five to 12 inches in length," Kleinberg explains. "Variety in size was key—some of the stones had more depth in the belly of the stone and some were more flat, which ultimately created the dimension and texture that I wanted." Poking around in the far reaches of your backyard or neighborhood park would unearth a similar selection. (P.S. In case you're a numbers person, Kleinberg collected 250 rocks to cover 200 square feet.)
2. She took the gallery wall approach
Kleinberg mapped out the stones on the floor first, just as you would art, to make sure the pieces would fit together well. "You don’t want too many large ones together and vice versa, so we focused on using the smaller stones to space out the large ones and make it feel cohesive," she says, adding, "Keep in mind the corners! We had corner pieces cut specifically for either side of the fireplace build out."
3. She handed everything over to her tiler and painter
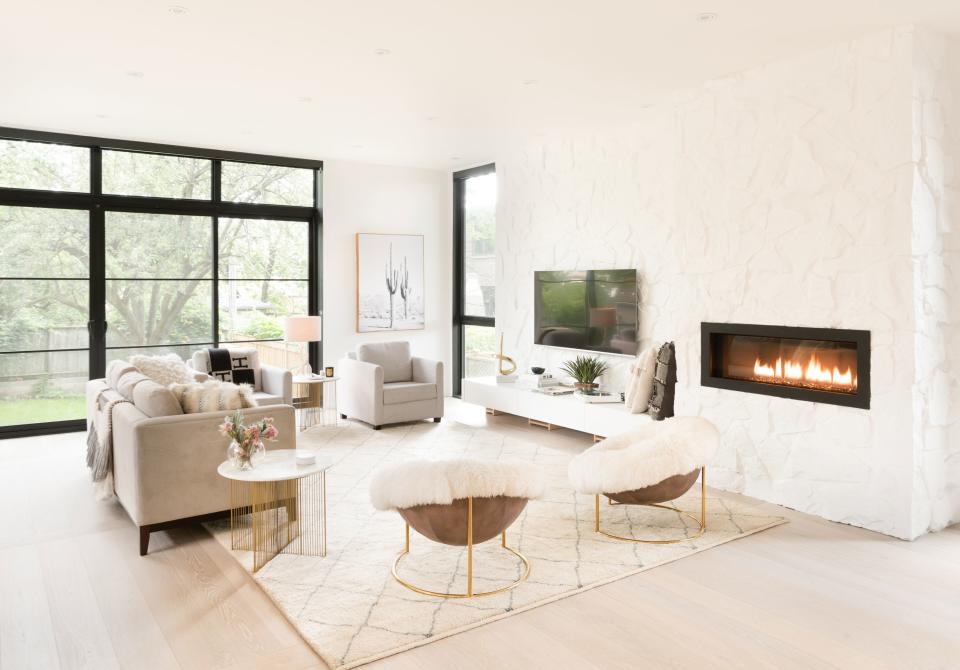
Kleinberg worked with Izen Architecture and builder Rothcon Fine Homes on her entire home renovation, including this project. Once the rocks were ready to go, the next step was a trip to the hardware store for cement and grout; cement for attaching the stones to the wall, and grout for filling in any gaps between rocks at the end. Then there was the paint. "You could paint the stones or leave them natural—we chose white for a cleaner finish," says Kleinberg. (They used Benjamin Moore's Chantilly Lace in a satin finish.) But be warned: "If you choose to paint, you will need to prime the wall and paint multiple coats," she says. "In my case, it took three coats before we finally got good opaque coverage of the stones."
4. She ended up saving money elsewhere
"Because the texture is quite grand, there really is no need for art or photos around the TV," says Kleinberg. Now, all that's left to do is grab the fixings for s'mores.

