You're Probably Doing These 5 DIY Jobs Wrong
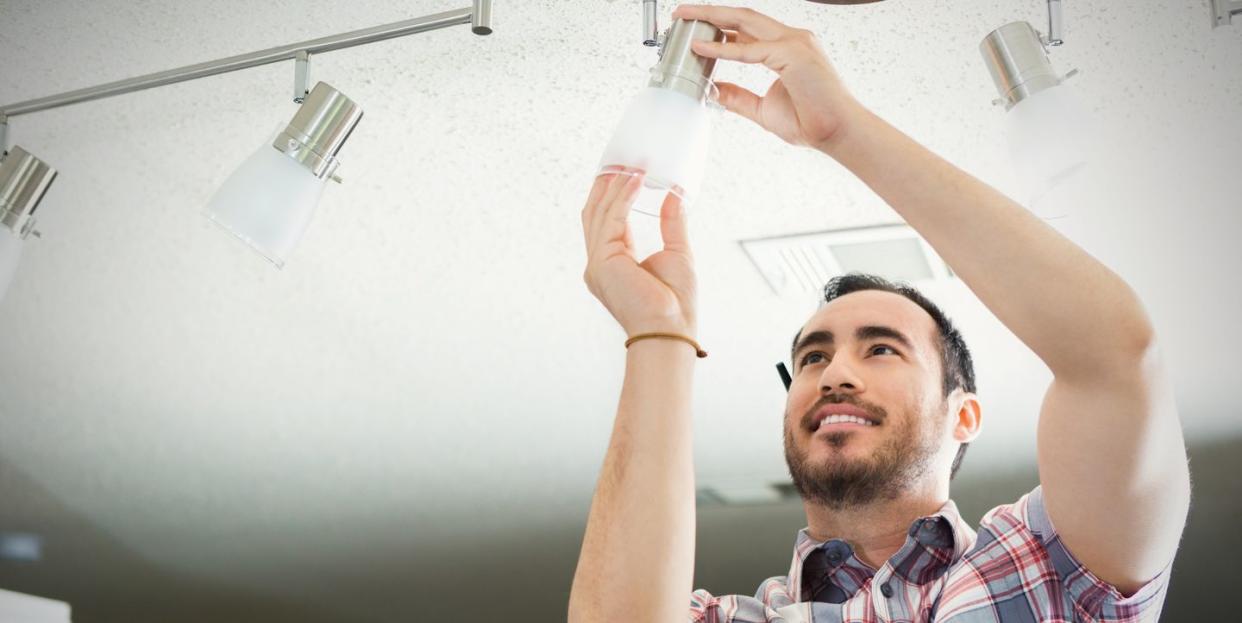
Changing a Light Bulb: Not Using Grease
No, this isn't the start of a "how many does it take" joke. I'm thinking of the countless times I've unscrewed a light bulb only to have the bulb twist off in my hand while its base stays put. That’s especially likely if the bulb has been overtightened.
The solution is to apply a little dab of bulb grease on the threads when you're screwing in a new one. This will help the next person remove that bulb years down the road, which is especially important with today’s long-lasting LED bulbs.
Plumbing: Over-tightening That Fitting
You want to know what ruins more plumbing connections than rust? Over-tightening. Invariably it leads to a slow leak. If you really overdo it, you’ll crack the part and cause a gusher.
The right way to do this is to keep tightening a fitting by hand until it's tight, then make one more turn with a wrench. For a full explanation of making a good threaded connection, go here.
Electrical: Wrong Connectors
It’s not unusual to start an electrical repair and find out the person who was in there before you used the wrong size wire connector. These are the little plastic caps that cover the bare copper ends of a splice and twist them together, often incorrectly called a Wire Nut (which is a trademarked product owned by Ideal Industries).
Wire connectors are designed to fit a specific size of wire and a given number of wires. Violate this rule and you’ll cause a loose electrical splice. If you’re lucky, this will be no more harmful than a light that doesn’t light. On the other hand, a loose splice can cause a fire. A dead giveaway that the wrong connector was used is if there’s a big bunch of wires that the connector can’t properly fit over.
To find the correct wire size and number, look no further than the package they came in. Here's a good example:
Woodworking: Wrong Glue Boo-Boos
Over the years I've heard all manner of woodworking horror stories from friends, colleagues, and readers. One common error that ruins a project: using the wrong adhesive.
Not to beat the proverbial dead horse here, but read the product package. It'll tell you whether the glue is suited for outdoor applications. For example, a woodworking project that will be used out-of-doors but under a cover-for example, a small table or ottoman-can use water-resistant interior-exterior glue:
However, if the project will suffer full exposure to the elements all year and could come in contact with standing water, you need waterproof (not water-resistant!) glue:
For anything stronger, use a two-part glue rated as waterproof and structural.
Painting: Primer Hype
The paint industry didn’t do DIYers any favors when it began marketing paints called “paint and primer in one.” Frankly, that’s nonsense and you shouldn’t believe it. Simply stated, use primer when you’re applying paint over a fresh, uncoated surface or a painted surface that has deteriorated somehow from weather, time or wear. You can skip the primer for interior and exterior uses only when the existing surface is sound (meaning no cracks or chips or peeled areas), and is thoroughly cleaned and dull (no shine).
When in doubt, apply primer. The worst that can happen is that you’ll build the thickness of the film (always a good thing) and improve the look of the top coat (an even better thing).
Finally, match the paint and primer. They should be from the same manufacturer and of compatible chemistry. If the manufacturer says you can, you can use an oil primer under a latex top coat and vice versa. But only if they say so. Remember, they know their product better than you do. Here's an example of matched primer and top coat:
Primer
Top coat
('You Might Also Like',)

