How to use yoga blocks to alleviate wrist pain, improve your stability and get a deeper stretch
- Oops!Something went wrong.Please try again later.
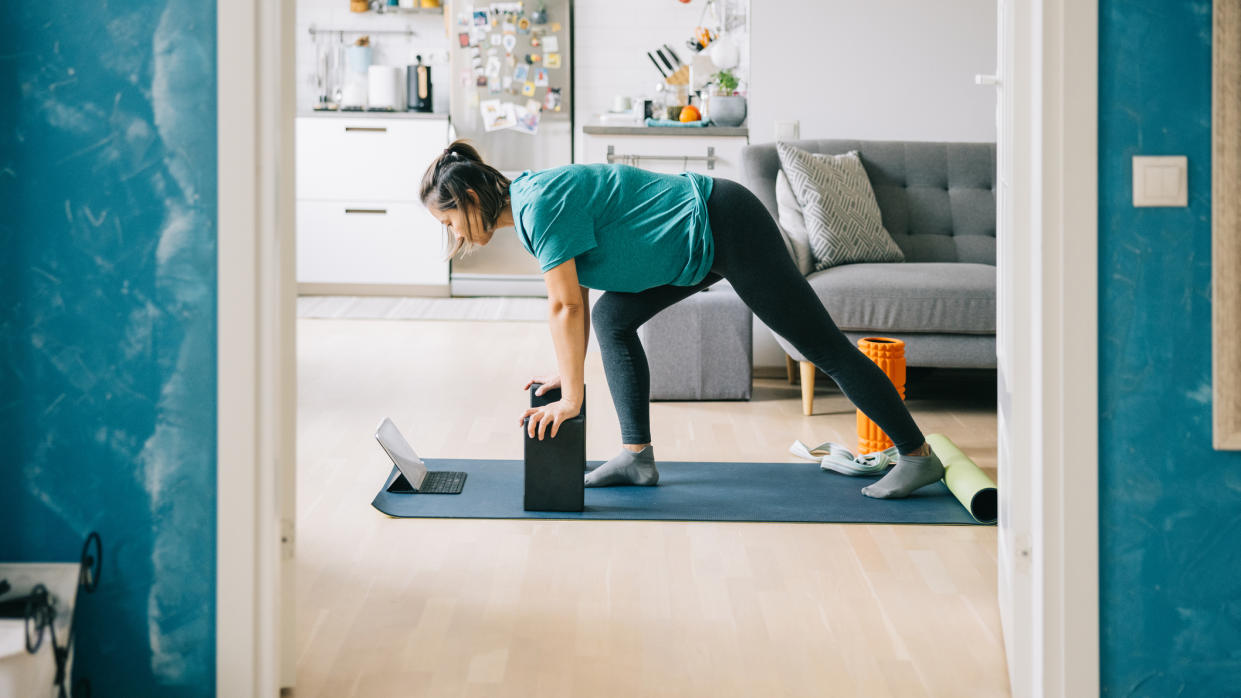
Yoga blocks, also known as yoga bricks or wedges, provide extra support during your practice and help you maintain proper alignment. They're useful if you don't have the flexibility to reach the ground during certain poses, as they can provide an elevated, stable platform that you can grip with your hands.
“I love the fact that those who can’t get into correct alignment in certain yoga moves can use the blocks to understand the correct position and learn what they have to do to get into the pose and hold it correctly,” says Kristina Rihanoff, a professional dancer and founder of sooyoga.com.
“They’re also great for those with injuries or issues, such as arthritis, and who can’t put so much pressure on their wrists. The blocks aid positions like downward-facing dog, among others, to release pressure on the wrists because they bring the floor that bit higher.”
With that in mind, here's an eight-move yoga block flow for you try. All you'll need to get started is a yoga mat (we've rounded up the best yoga mats here, if you're lacking this vital bit of kit) and a pair of blocks for balance.
1. Lotus pose
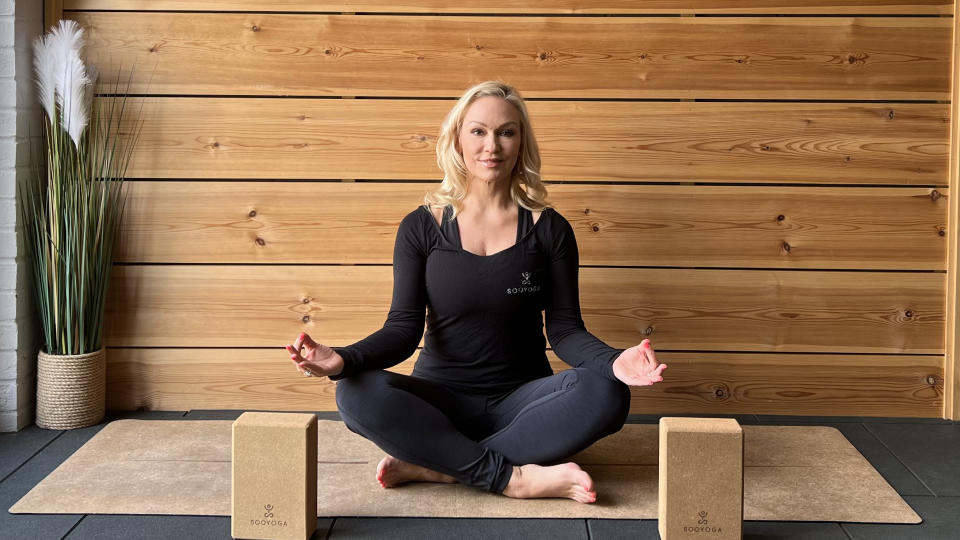
Time: Hold for six breaths
Sit on the floor with your legs crossed and back up straight, and start by taking deep pranayama breaths by breathing in through the nostrils for six counts and then back out through the nostrils for six counts.
“The Lotus pose helps prepare your body and mind for your session,” says Rihanoff. “It also helps to warm up the body and lungs.”
2. Thread the needle
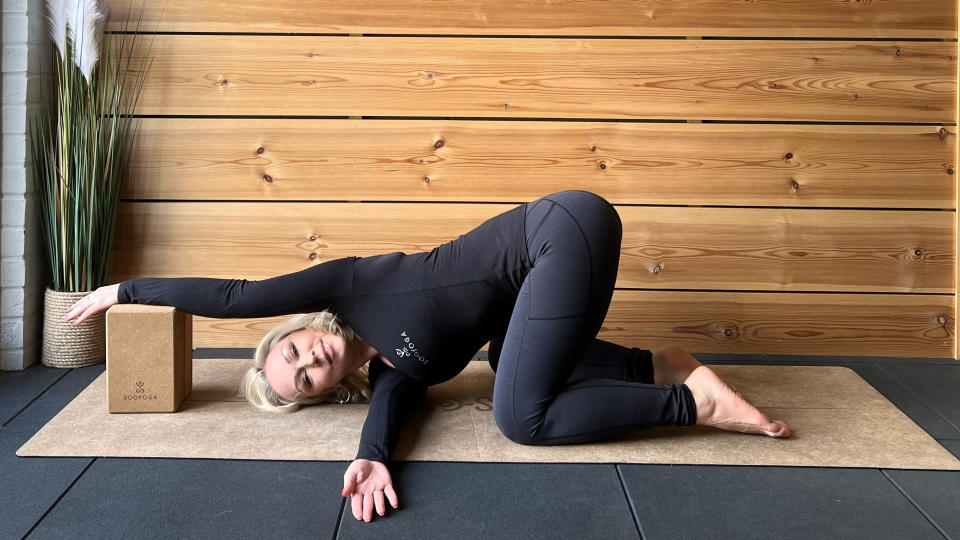
Time: Hold for two to three breaths on each side
Start in a kneeling position, with yoga blocks in front of you, and elevate one of your arms on top of your block. Stretch the other arm to the side as you take a deep inhale and then on the exhale, twist the torso and thread the arm underneath the elevated side. Try to fully relax and breathe through the stretch.
“This move opens your shoulders, the front of the chest and neck area,” says Rihanoff. “The block will take pressure off the wrists and head to provide support until you develop the flexibility to lower your shoulder and head to the ground safely and comfortably.”
3. Puppy pose
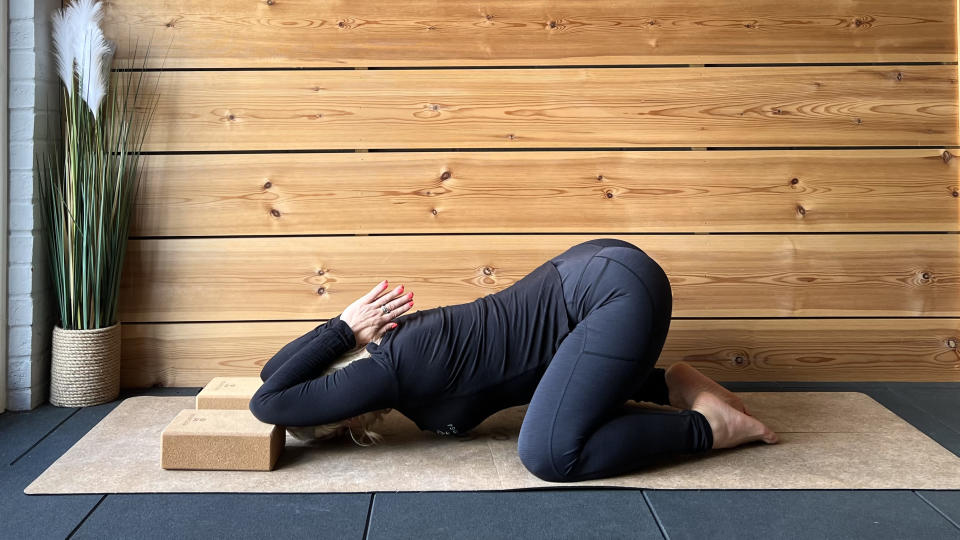
Time: Hold for five breaths
From thread the needle progress into puppy pose by propping yourself up on the blocks on your elbows, one at a time. Bring your palms together in a prayer position and draw your palms behind your head, allowing them to rest toward the back of your neck.
“This is an incredible pose to open your chest collarbones,” says Rihanoff. “The blocks also help deepen the stretch in your shoulders, biceps and triceps.”
4. Assisted crescent lunge
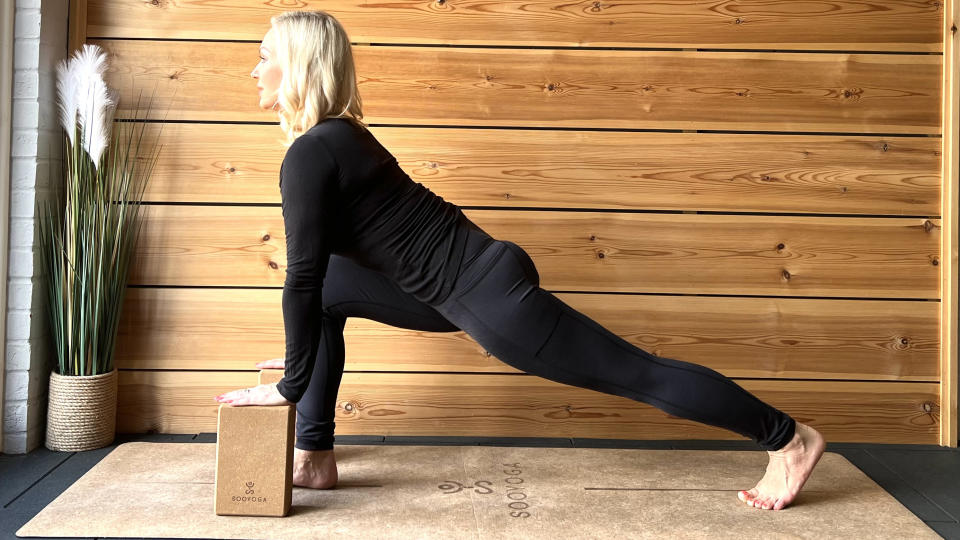
Time: Hold for two to three breaths on each side
With a block placed on either side of your feet, step your left foot back so you are in a deep low lunge with your back leg straight out behind you and your hands resting on your blocks. Breathe deeply as you feel the stretch in your hip flexors. To deepen the stretch further, press firmly into your feet as you allow your hips to shift forward.
“This pose will help to open up your hip flexors and hamstrings. It is also helpful with glute and core strength,” says Rihanoff. “The block will help with your balance and flexibility until you are ready to progress and hold the move with your hands overhead.”
5. Plank
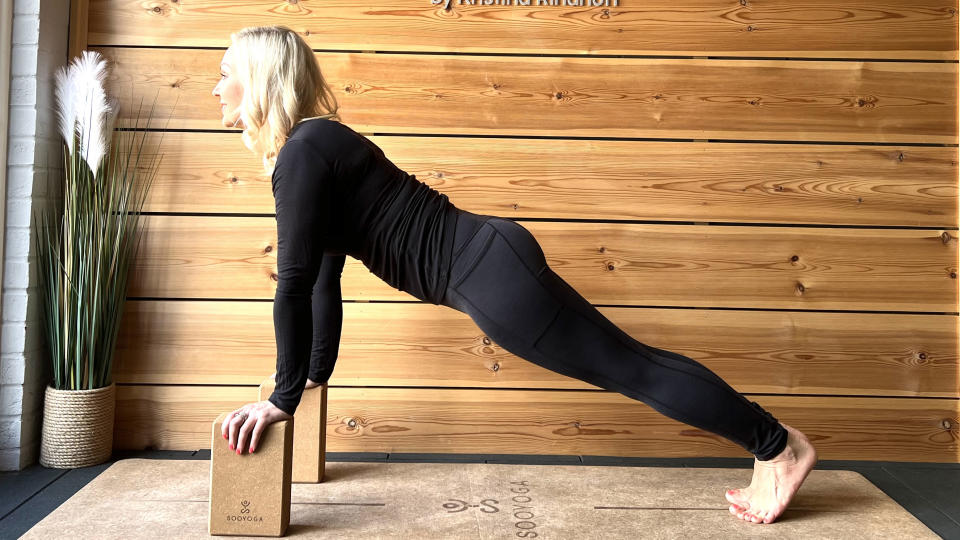
Time: Hold for three breaths
Move into a high plank position with both hands resting on a block positioned directly below your shoulders. Keep your body as still as possible as you maintain a straight line from the back of your head to the back of your heels. Hold still as you look ahead and keep your core tight.
“Performing a plank on your blocks is an amazing way to activate the muscles in your chest, core and glutes, as well as all the tiny stabilizing muscles in your wrists, shoulders and elbows. It also reduces load on your wrists, making it helpful for anyone with wrist sensitivity,” says Rihanoff.
6. Twisted dragon variation
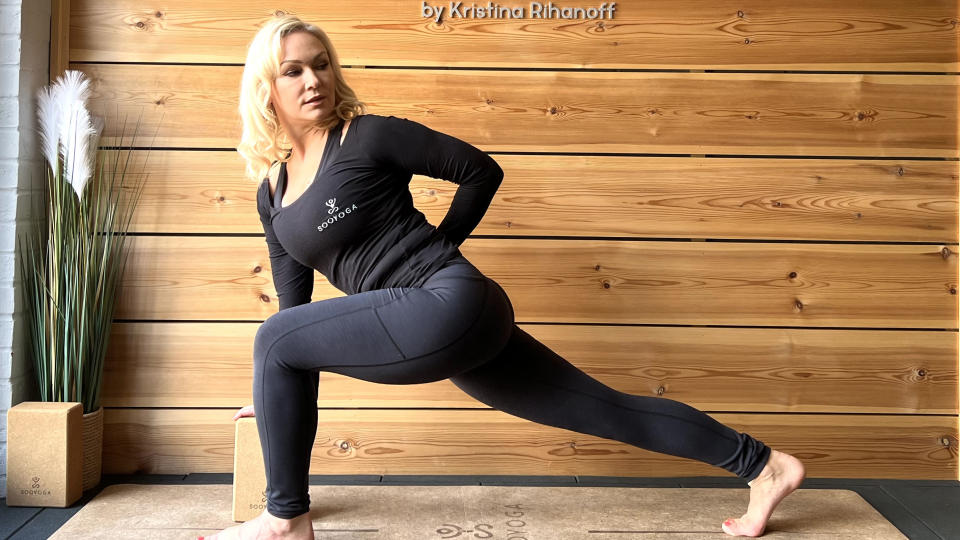
Time: Hold for three to five breaths on each side
Relax down from the plank hold and move into tabletop position, on all fours. Step your right foot up between your hands and position your left leg behind you, so you're in a lunge position. Move your block to the outside of your right foot, place your hand on it for support and lift your torso up. Gently press your front foot into the floor as you twist your torso and place your left arm behind your back. Look over the left shoulder and hold.
“This is great for stretching out the hip flexors while helping to release tension in the lower back,” says Rihanoff. “Use the block to help ease the stretch until you become more flexible in your lower body.” When you feel more flexible, you can bring that back knee down to the floor.
7. Boat pose
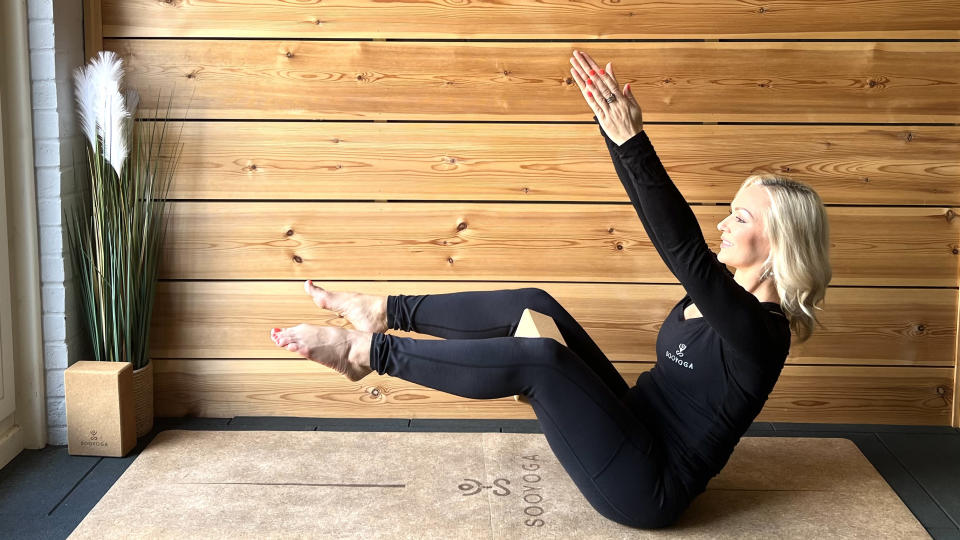
Time: Hold for five to seven breaths
Sit with your knees bent, feet on the floor. Place your hands behind your knees, lift your chest and engage the back muscles as you inhale. Place your yoga block between your inner thighs then tip back on the back of your sit bones and lift your feet to knee height, bring your arms up so they are parallel to the floor and squeeze your block as hard as you can.
“The boat pose is all about working deep into the core muscles and spine,” says Rihanoff. “By squeezing your block you’ll engage even more muscles in your inner thighs and abs.”
8. Reclining butterfly

Time: Hold for four to six breaths
Begin sitting on the floor, legs extended. Bring the soles of the feet together with the knees out to the side, making a diamond shape with the legs. Place one block between your shoulder blades and one block under your hips then slowly lie back so the blocks are supporting your body weight. Take a deep breath in as you place your hands on your belly or out to the sides.
"This restorative pose will help open up your shoulders, hips and chest," says Rihanoff. “The block behind your hips also helps deepen the stretch in your hips and groin.”

