Yeah, You Want To Be That Person Who DIYs Nut Butter
The only thing better than a good recipe? When something's so easy to make that you don't even need one. Welcome to It's That Simple, a column where our staffers talk you through the process of making the dishes and drinks that they can make with their eyes closed.
If you’re only going to transition from buying to making one kitchen staple, let it be salad dressing.
But if you’re ready to DIY two food items, try your hand at nut butter. Leaps and bounds more delicious than the store-bought alternative, it's also infinitely tweakable. Think chocolate hazelnut, spicy cashew, cinnamon almond, lemon pistachio. Better yet, making a batch is as simple as hauling out your food processor.
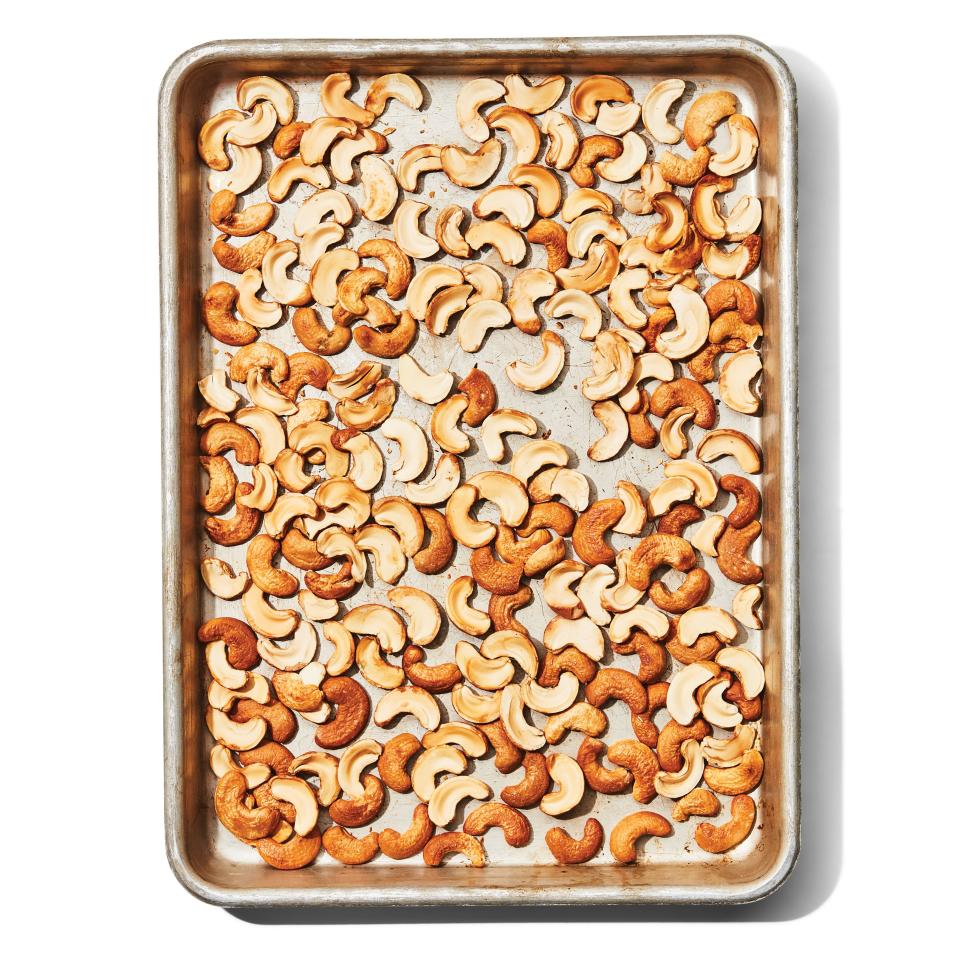
Here how to make nut butter at home. First thing's first: Start with roasted nuts. Roasted nuts are not only more flavorful than their raw brethren (they just taste nuttier), but they're also less spongy-chewy, which makes for a finished product with a better texture. You can buy roasted nuts from the store, but we prefer to do it ourselves since pre-roasted nuts are never quite as toasty or crisp as we'd like. The smoothest nut butter will be made from skinless nuts, so if you're in it for a silky, velvety spread, take the extra time to remove the skins from almonds, walnuts, and hazelnuts. Simply bundle the just-roasted nuts in a kitchen towel and then rub vigorously until you've...well, denuded...them.
You can combine multiple types of nuts (and seeds, like sunflower, pumpkin, and sesame) in the same batch of nut butter, but keep in mind that they'll roast at different rates and that bolder-flavored nuts might overpower milder varieties.
Now that you've roasted your nuts, let them cool slightly, then toss them into a food processor (you can also use a high-powered blender, if you have one). Grind until finely chopped, then scrape down the sides of the bowl and continue to process until the mixture is as smooth or chunky as you’d like it. If you’re aiming for a Santana ft. Rob Thomas-smooth spread, add a splash of neutral oil as you grind. Or use this opportunity to add a non-neutral oil—like toasted sesame oil or peanut oil—for extra flavor.
On to the fun part: seasoning! Add salt to taste, then unleash your creativity with vanilla extract, cocoa powder, sweeteners (honey, maple syrup, agave, brown sugar), spices (cayenne, ancho chile powder, cardamom, Aleppo-style pepper), or wildcards like a teaspoon of miso, gochujang, sriracha, date syrup, or lemon zest. Stir in crushed coriander seeds, or a tablespoon of poppyseeds, or a handful of toasted coconut. This is your chance to experiment (but go slowly).
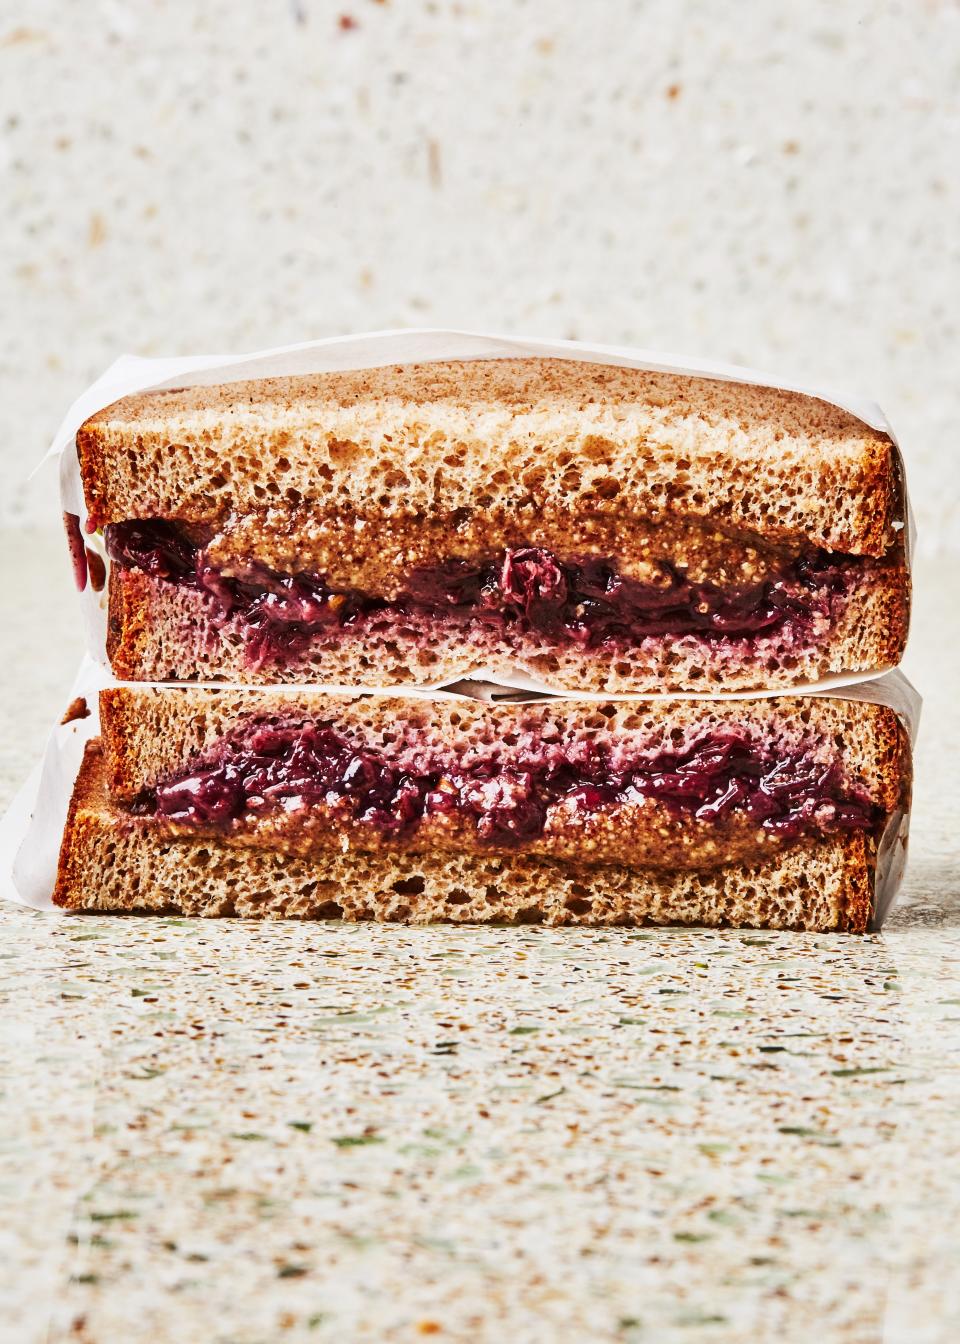
Keep your nut butter in a jar in the fridge for 3 weeks, during which you’ll make the best PB&Js of your life.
Still want a recipe?
Pecan-Miso Butter and Jelly Sandwiches
Originally Appeared on Bon Appétit

