Yayoi Kusama-Inspired Nails Are Dotting Our Feeds
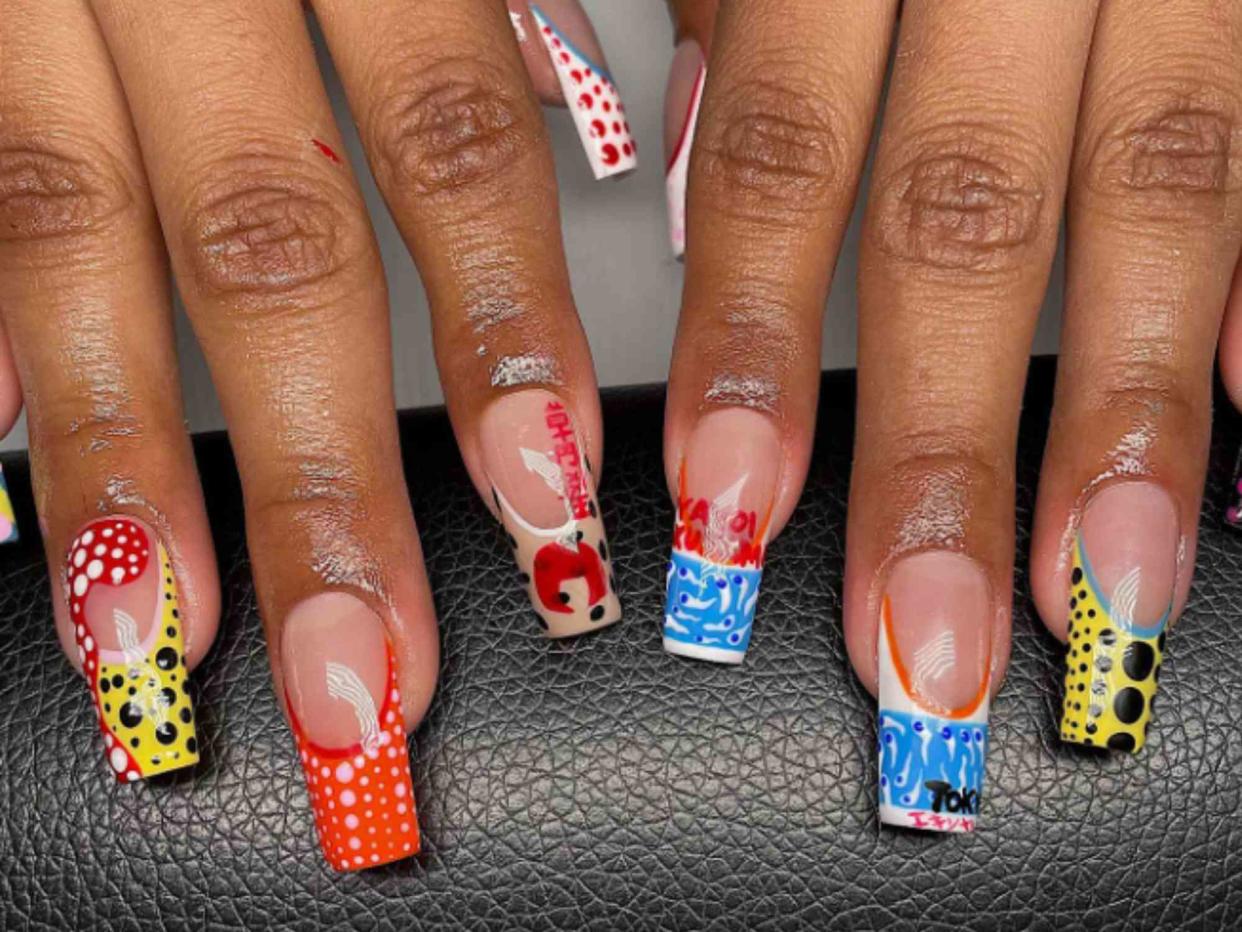
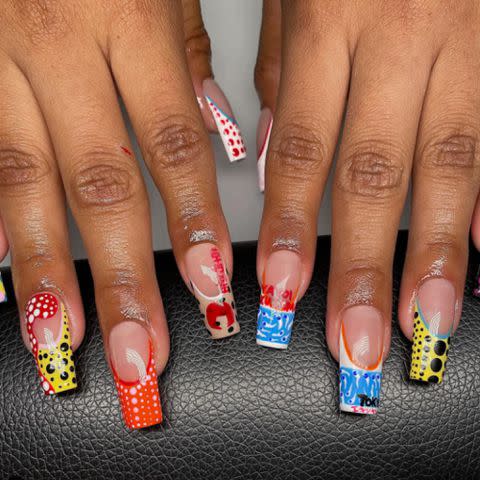
@myprettyset / Instagram
- Oops!Something went wrong.Please try again later.
You may not recognize Yayoi Kusama's name, but we're willing to bet you know her work. Often called the "princess of polka dots," the contemporary Japanese artist is known for her avant-garde and innovative pieces featuring bold colors and plenty of polka dots. And now, she's seemingly entered the world of nail art, with Kusama-inspired, polka-dotted manicures popping up everywhere we turn.
It's a trend we can seriously get behind—and the bold look is surprisingly easy to achieve. After all, if art imitates life, why can't nails imitate art? Ahead, we spoke with nail artists Juanita Huber-Millet and Zola Ganzorigt to find out how to achieve the undeniably alluring look.
Meet the Experts
Juanita Huber-Millet is the founder and creative director of U.K.-based nailcare brand Townhouse.
Zola Ganzorigt is a nail artist and OPI global ambassador. Her clients include Hailey Bieber and Sydney Sweeney.
What Are Yayoi Kusama-Inspired Nails?
Yayoi Kusama is known for her avant-garde and innovative works featuring bright, bold colors and patterns, particularly polka dots. Her art has permeated virtually every aspect of culture: She's collaborated with Louis Vuitton twice (designing interior store spaces and capsule collections alike), spent three years working on a park-wide exhibition at the New York Botanical Garden, and has had her iconic Infinity Mirror Rooms installed all over the world.
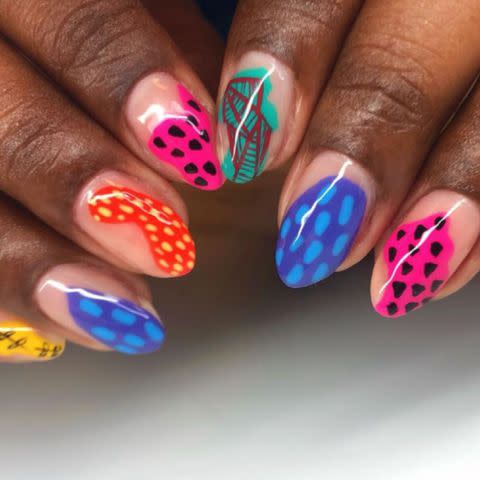
@thenailboxxchi / Instagram
Manicures inspired by her work are just that. "Think vibrant polka dots and cheerful colors adorning your fingertips, a playful homage to the iconic artist's boundless creativity," Huber-Millet explains. "It's like wearing a mini Kusama masterpiece, where art and style collide in delightful harmony and add a touch of cheeky flair to your everyday look."
In essence, it comes down to those vibrant hues and polka-dotted patterns. They're instantly recognizable and reminiscent of Kusama's work and are endlessly customizable within those confines. Ganzorigt is a big fan of the trend, particularly how it intertwines art, fashion, and self-expression—all in an easy-to-replicate design.
@myprettyset / Instagram
How to Wear Yayoi Kusama-Inspired Nails
Like Kusama's work, the look is super versatile—play it up with bright and daring tones or dial things down with more minimal dots in soft, subtle hues. Best of all, it's easily adaptable to any nail shape or length, so there's a low barrier to entry.
For Huber-Millet, bold colors are key to a true Kusama-inspired manicure. "I would suggest embracing the vibrant energy of sunshine yellow, the dreamy allure of lavender, and the bold confidence of magenta or cherry red," she shares. "These colors not only evoke the essence of Kusama's dynamic work but also ensure your manicure is both fashionable and fun."
Meanwhile, Ganzorigt focuses on contrasting color combinations and multi-sized dots. She suggests opting for pairings like yellow and black, red and white, and orange and blue.
For even more visual interest, consider getting three-dimensional with your polka dots. On the other hand, you can also keep things minimal by sticking with complementary hues and shades of the same color family to create more harmony.
How to Get the Look
While you can certainly add more advanced techniques and elements, the skills needed to create a standard Kusama-inspired manicure are quite basic. Huber-Millet suggests prepping the nails beforehand—remove any existing nail polish, file to your desired length and shape, and gently push back the cuticles.
Next, apply a clear base coat and allow it to dry. This will help protect the nails and create a smooth surface for the nail polish. Then grab your preferred base color—we love something bold and bright like the OPI Nail Lacquer in Exotic Birds Do Not Tweet ($12). Apply two coats, allowing each to dry completely before applying the next. Feel free to switch up the base color on each nail.
Byrdie Tip
To perfectly lay down that base color, Huber-Millet suggests covering the nail in three paint strokes. Start down the middle of the nail from base to tip before painting the right side of that nail with that same downward motion. Finish by doing the same on the left.
Once the colors are dry, it's time to create the dots. While black and white are classic options, you can get creative with the tones as you see fit. Use a nail-dotting tool (like the multifunctional Londontown Dot & Detail Nail Art Tool, $12), dipping the end into your chosen color and pressing onto the nails repeatedly to create Kusama's iconic dotting pattern. To create different-sized spots, use varied pressure when stamping onto the nail. Lighter pressure will yield a smaller circle, while heavier pressure will make a larger one.
Clean up any polish on the fingers and along the cuticles (here's where the other side of that Londontown tool comes in handy). Allow the polish to fully dry before applying a top coat; Otherwise, you'll risk smudging the design.
New to DIY nail art? Huber-Millet has some tips. "Nailing the look is all about getting your dots looking right," she says. "So skip straight to that step and practice a few on your nails before you start. Simply wipe [them] off when you are ready to go."
Read the original article on Byrdie.

