xTool S1 review: an impressive laser cutter and engraver, but not without its faults
xTool S1 specs
Price $2,293.90 / £1,799 xTool S1 20W Basic Kit (RRP), $3,351.60 / £2,629 xTool S1 20W Rotary Kit (RRP)
Size 765 x 561 x 183 mm (excluding riser base), 765 x 561 x 268 mm (including riser base)
Workspace 498 x 319 mm/19.6" x 12.5"
Materials Cardboard, paper, wood, leather, MDF, felt, some dark opaque acrylic. Engraving only: Bamboo, Fabric, Dark glass, Ceramic, Jade, Marble, Shale, Cement, Brick, Plated metal, Painted metal
Features Class-1 Certified Safety, Dynamic-focus, Smart Air Assist, Autofocus
Laser 20W, Diode. Also available: 40W diode & 2W 1064nm Infrared laser modules
Engraving speed 600 mm/s
Spot Size 0.08 x 0.06mm
Compatibility Android & iOS, Windows 10 or above, macOS
Software xTool Creative Suite, Lightburn
Supported files SVG, DXF, JPG, JPEG, PNG, BMP, TIF
Positioning system DualPin-point Positioning System
There is no doubt that the xTool S1 is capable of high-quality cutting and engraving. During testing it performed well with a range of materials, however, the lack of a camera and reliance on manual positioning let it down. If you’re looking to cut single pieces of material at a time then there’s no reason why the xTool S1 wouldn’t be an asset to you, but if you intend to engrave large batches of items then a laser engraver with an integral camera would likely be better suited.
Whilst there are some great open frame laser cutters on the market, like the IKIER K1 Pro Max, they can’t compete with a well-designed enclosed laser cutter, such as the xTool P2, when it comes to aspects like convenience, air quality and safety.
Whilst it’s good news that there is an ever-growing range of affordable options to consider these days, which laser cutter should you choose? Finding the correct balance between output quality, safety, and cost-effectiveness is key. Why not take a look at our best laser cutter and engravers guide to learn which machine may be best suited to you.
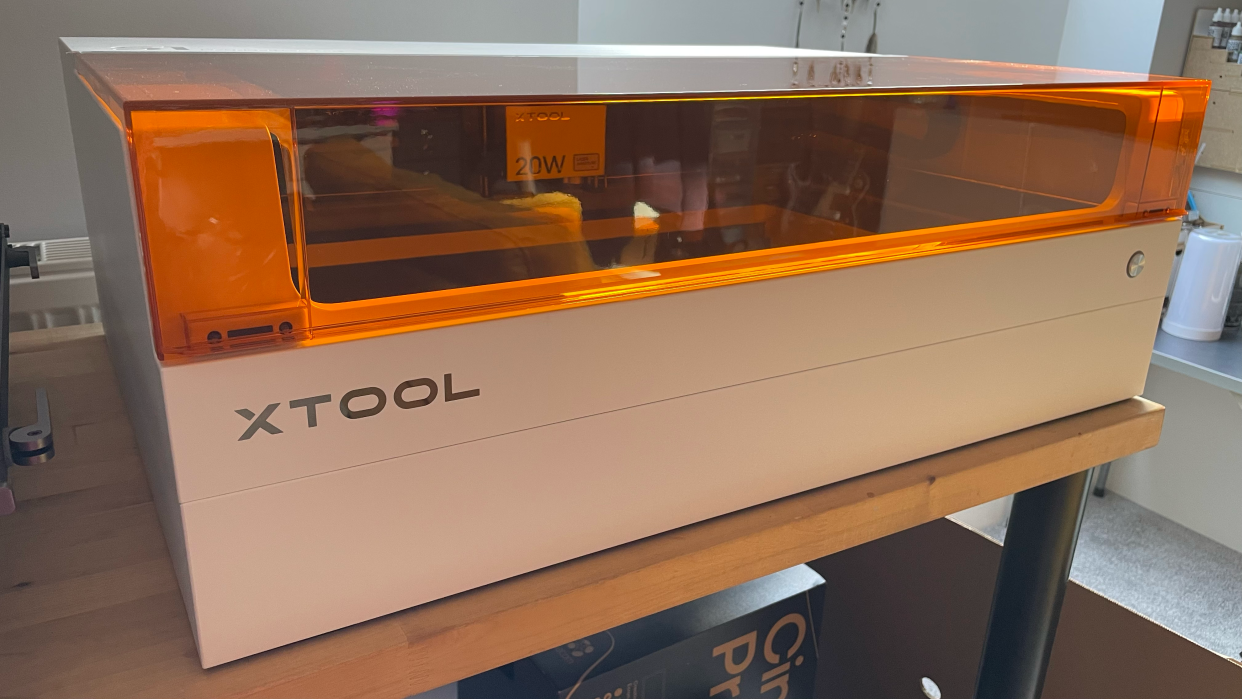
In this review I will provide an insight into the xTool S1, which is an Enclosed Diode Laser Cutter, and its xTool's smaller, neater machine aimed at crafters. You may feel spoiled for choice when it comes to the different options available with the xTool S1 as it is compatible with a variety of xTool laser modules and a range of accessories, allowing you to fine-tune the process to suit your project requirements.
I’ve been putting the xTool S1 with 20W laser module through its paces over the last few weeks. It’s a fantastic choice whether you have a dedicated studio space or if you plan to use it at home thanks to its enclosed design and decent fume extraction.
Whilst this is a lower-cost machine when compared to the xTool P2 and the Glowforge Pro, it is missing a key feature, as it does not possess an internal camera to help with the positioning of materials and designs. I’ll elaborate further on this in the Performance section.
xTool S1 review: in the box
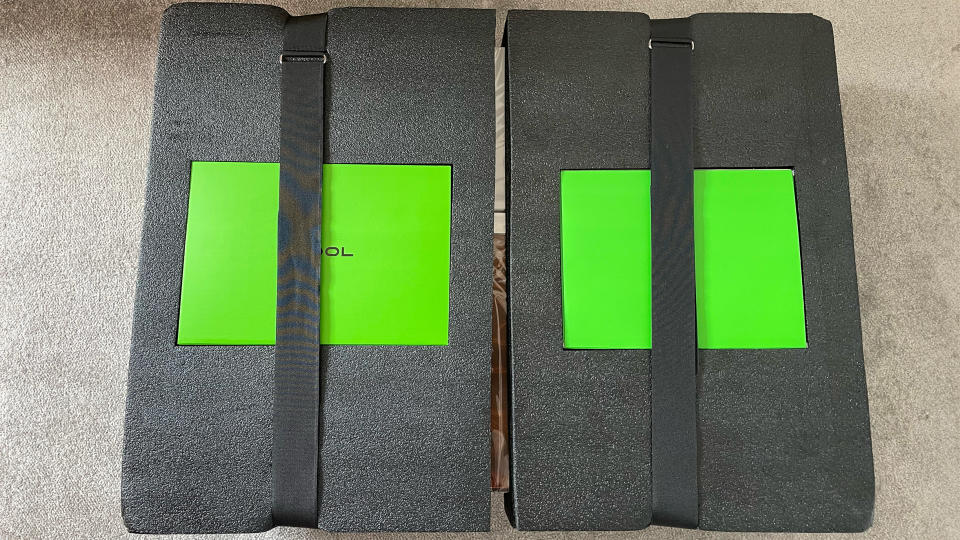
I was provided with the xTool S1 20W Rotary Kit, so I received some additional accessories along with the laser cutter itself. The kit comes in one large box, everything is well packaged, with handy straps to help you with the heavy lifting.
In the box, there is the Riser Kit, which raises the working height of the laser, allowing you to work on larger objects, the 20W laser module, the RA2 Pro rotary attachment, for engraving bottles, vases and more, a Smart Air Assist unit, to adjust airflow for cleaner cutting, an exhaust hose, connection and power cables, a Honeycomb Base Panel for better air circulation during processing, a mini toolkit including an organisation box, an instruction manual and a range of different test materials.
This set is the premium collection of additional parts and tools, so you'll need to pay extra for everything I have been sent. You can often find bundle deals on the xTool website to save money, or simply but the xTool S1 alone (though the Smart Air Assist unit is recommended).
xTool S1 review: the setup process
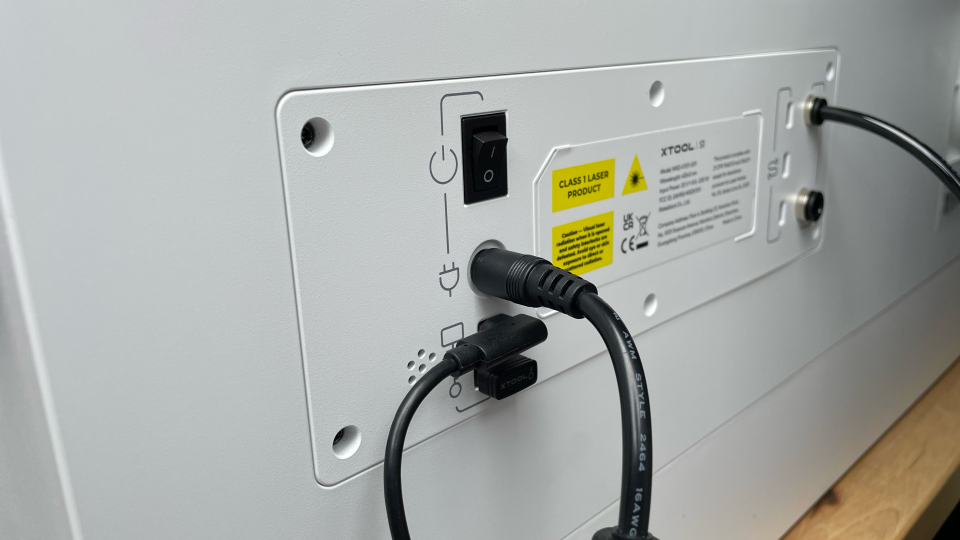
The physical setup took me around an hour and was pretty straightforward. It comes out of the box pretty much ready-assembled. You simply need to remove a few screws that hold things in place during transit, install the laser module and depth gauge, attach the exhaust hose to the back, connect up the cables and air assist hose, and insert the little USB key.
There are a few more screws to contend with if you are using the riser base too, as you will need to remove the base from the laser cutter enclosure and screw it onto the bottom of the riser instead.
Connecting the xTool S1 to my Macbook Pro via USB was fine other than a small issue with the USB-A to USB-C adapter, the xTool S1 didn’t agree with it, but when I switched to an alternative adapter it worked fine.
There was, however, a big issue when it came to connecting the xTool S1 to WiFi. You are supposed to be able to connect to WiFi via your laptop when the xTool S1 is connected via USB. Despite several attempts, the xTool S1 would not connect. After reading up on it I discovered that a few users have had this problem. One user found that they were able to connect to WiFi via the mobile app. I attempted this, but even after spending a couple of weeks troubleshooting and following the instructions given by xTool support, the xTool S1 was still unable to connect.
The WiFi antenna is connected properly, so I’m hoping that this is perhaps a firmware or software issue that will be resolved in the next update, but for now, I am only able to operate the xTool S1 whilst connected via USB. On that note, be warned that when connecting and disconnecting the xTool S1 via USB it emits an obnoxiously loud and high-pitched beep, so you may want to consider offering ear defenders to any nearby dogs.
xTool S1 review: design and features
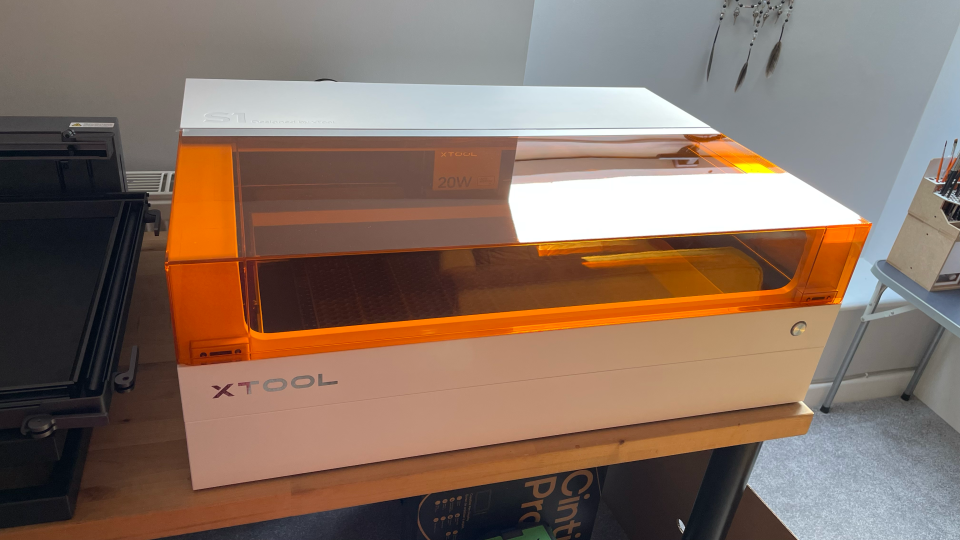
The xTool S1 is available in black and green or white and orange. The materials look and feel high-quality, and the machine shell is fire-resistant. The lid is easy to lift but feels sturdy, whilst offering dual-wavelength filtering capabilities, meaning that you can operate it without the need for goggles.
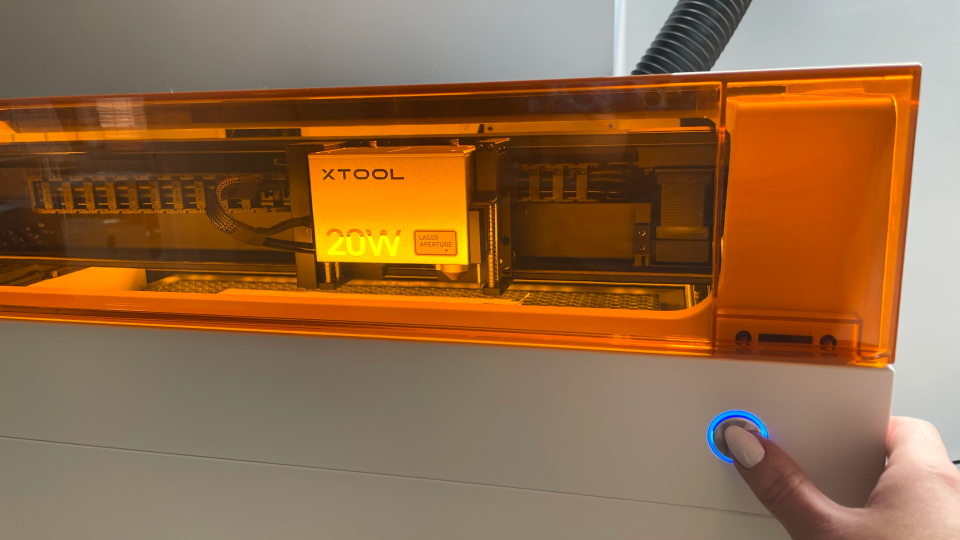
I had no issues at all watching the machine run through its processes, whereas some other laser cutters have caused me eye ache in the past, even though they also claimed to be safe to use without goggles. The button on the front of the machine feels solid and has a coloured illuminating ring around the outside to indicate different modes or errors.
There are a few important safety features including a processing halt that occurs whenever the lid is opened, five flame sensors, plus an emergency stop button situated on the side of the machine. Whilst this is a great safety feature, it is situated right towards the back of the machine, meaning that it’s not the most accessible.
Although this could be considered a 'desktop' laser cutter, it will take up the vast majority of the average desk. The main unit is 765 x 561 x183 mm, rising to 268 mm high when paired with the Riser Base. If this sounds too cumbersome for your working area, then perhaps the Glowforge Aura Craft Laser might be more convenient, as this is only 521 x 556 x 127 mm, but naturally you will then be more limited with the size of materials you can work on.
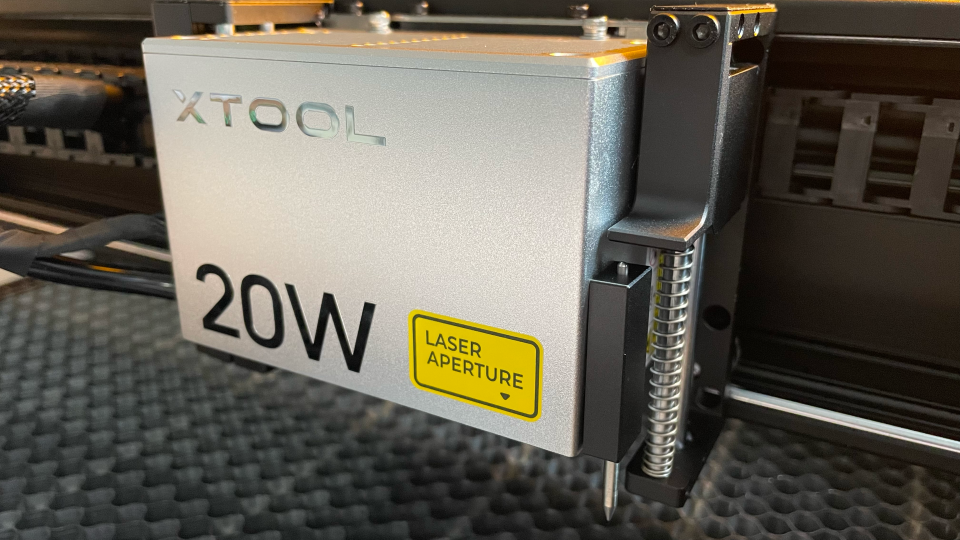
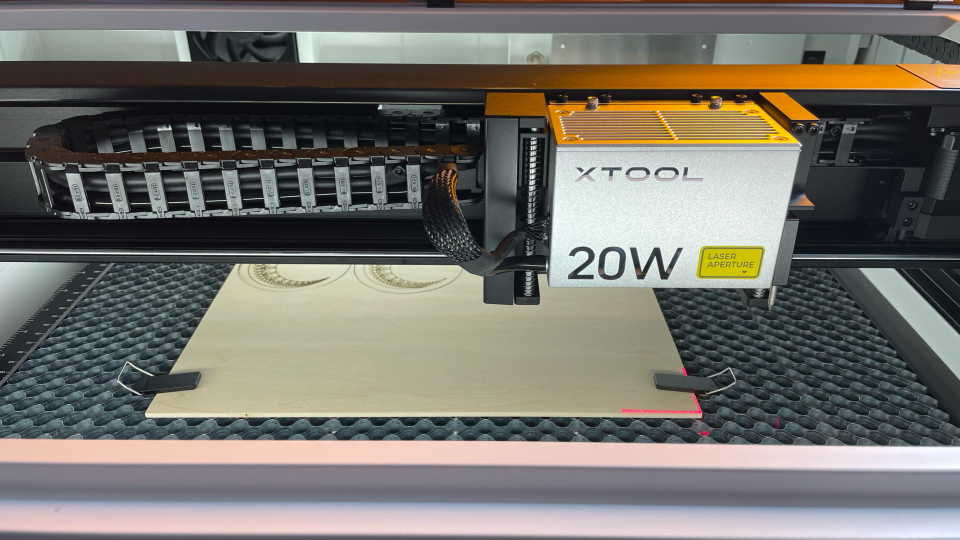
On that note, the xTool S1 offers a decent-sized working area of 498 x 319 mm, and it has a One-click Auto-focus feature which uses the gauge attached to the side of the laser module to determine the depth, removing the need to do any manual measurements. This gauge is also used for its Dynamic-focus, allowing it to engrave items such as curved hip flasks. Unlike some other branded laser cutters, you have to manually pull the laser head over the material in order to start the auto-focus process, which isn’t ideal.
This is also the case when it comes to communicating the material dimensions to the XCS (xTool Creative Space) software. The xTool S1 uses its Pin-point Positioning System to determine the perimeter of the material on the bed. Some people have said that they think that the Pin-point System is better and more accurate than a camera. Whilst this may be the case if some cameras are warping the image a bit, the Pin-point system certainly has an impact on the speed of production.
With a good quality camera, you are able to easily view a batch of material pieces and simply arrange your designs over the top using the associated software, whereas you would have to manually pinpoint several areas of each piece of material for the S1 to get an idea of the material area.
This isn’t so much of a problem if you are regularly working on single, straightforward pieces of material, or a couple of round coasters at a time for example, but I think that for working on large batches or complex-shaped materials this system and the xTool S1 would become tedious.
xTool S1 review: performance
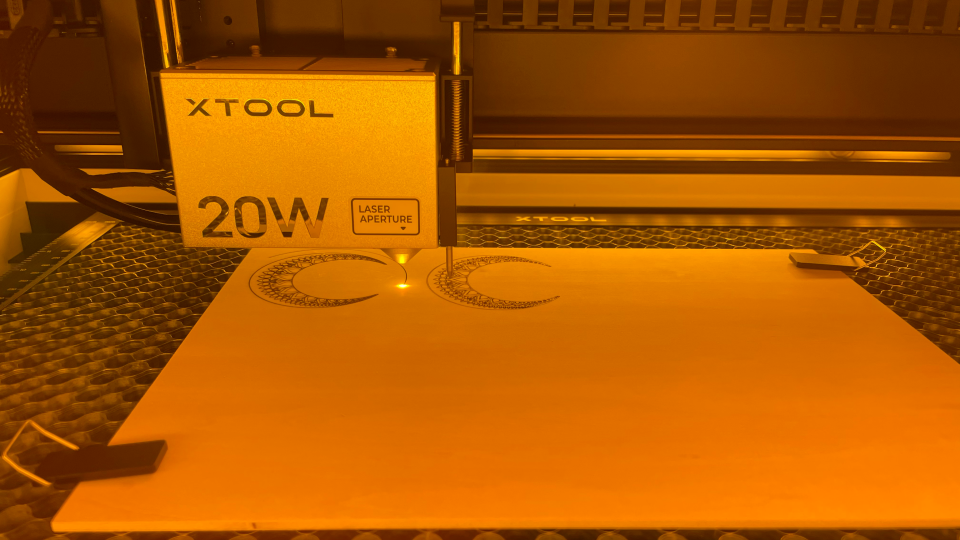
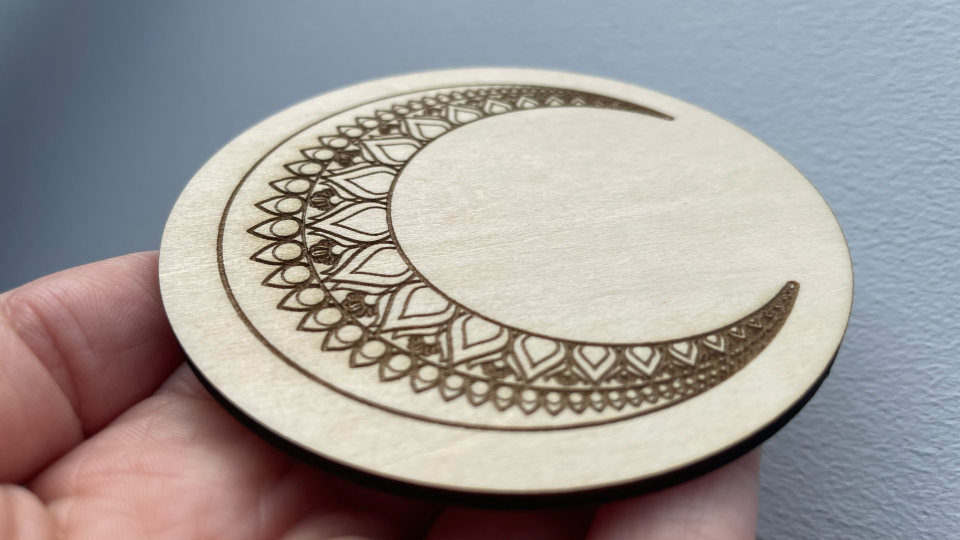
I have been very impressed with the performance of the xTool S1. It is quick and simple to import vectors into XCS. The first vector I import is my moon design. It is really easy to add additional shapes, for this example I add a circle around the design.
The different XCS functions are easy to navigate, it is easy to alter the settings so that I can set the vector design to engrave and the circle to cut. There are three different laser functions to choose from with the xTool S1 - Cut, Engrave and Score. The XCS software also offers image editing features, such as different bitmap effects for engravings, cropping and erasing, and the Trace function, which takes seconds to translate my solid-lined design into separate inner and outer lines, creating a more delicate effect that I could score into the plywood.
I want to see how well-calibrated the machine is straight out of the box, so I leave all settings at default after selecting the 3mm Basswood Plywood preset. The outcome is impressive, there are no scorch marks, both designs are crisp and clear and the cuts are perfectly round and cut through on the first attempt.
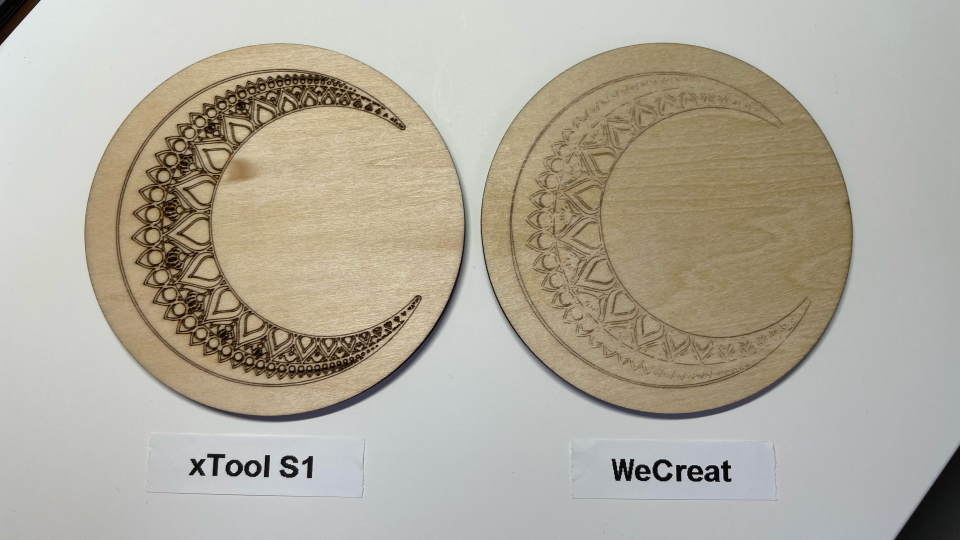
Whilst you may consider a cheaper alternative, such as the Wecreat Vision, which is currently around £860 cheaper for a similar bundle, during testing I’ve found that you do indeed get what you pay for.
To compare, I run both designs on the same material using each machine’s default settings for the 3mm plywood material. The xTool S1 gets the job done noticeably quicker, too. Of course, it may well be the case that the settings can be tweaked for the WeCreat to get a result closer to the Xtool S1’s, but you’d hope that the default settings for the sample material would give better results.
As previously mentioned, there is a fair bit of manual movement required when using the xTool S1, for the auto-focus and Pin-point positioning, but also at the end of the process, the laser does not move itself away from the material, so you need to move it away by hand once the job is complete. It would be useful if xTool could add directional controls on the XCS software and app, to reduce the need to touch the working parts so often.
xTool S1 review: should I buy one?
WiFi issues and manual positioning aside, the xTool S1 delivers impressive results. If you’re looking for a tool to efficiently batch-produce a large number of small items such as keyrings or dog tags, then this may not be the laser cutter for you.
If you plan to work with single sheets of material, smaller batches, cylindrical items or curved surfaces however, this could prove to be an invaluable machine, whether you have a workshop or you plan to laser cut and engrave at home.
This is undoubtedly a machine that’s suitable for beginners. Its enclosed design and simple fume extraction system mean that you can set up anywhere where there’s easy access to a window, or even if not, as xTool also sell a desktop Smoke Purifier.
Plus you don’t have to invest in additional software if you don’t want to, because xTool provides free access to their easy-to-use xTool Creative Space software and app, which isn’t too dissimilar to the Cricut Design Space.
At $2,905.99 / £2,399 for the 20W xTool S1 (RRP) this package may not be as cost-effective as the 20W WeCreat Vision Rotary Pack at $1,999.99 (RRP) the difference in the output quality, the larger working area and the ability to purchase 40W and 2W IR modules for additional cutting or delicate engraving capabilities make it a higher-quality and more versatile machine.

