The Worst Thing You Can Do When Painting Ombre Shelves—And What You Should Do Instead
Hint: paint chips are key.

Photography by Murray Hall / Prop Styling by Sophia Pappas
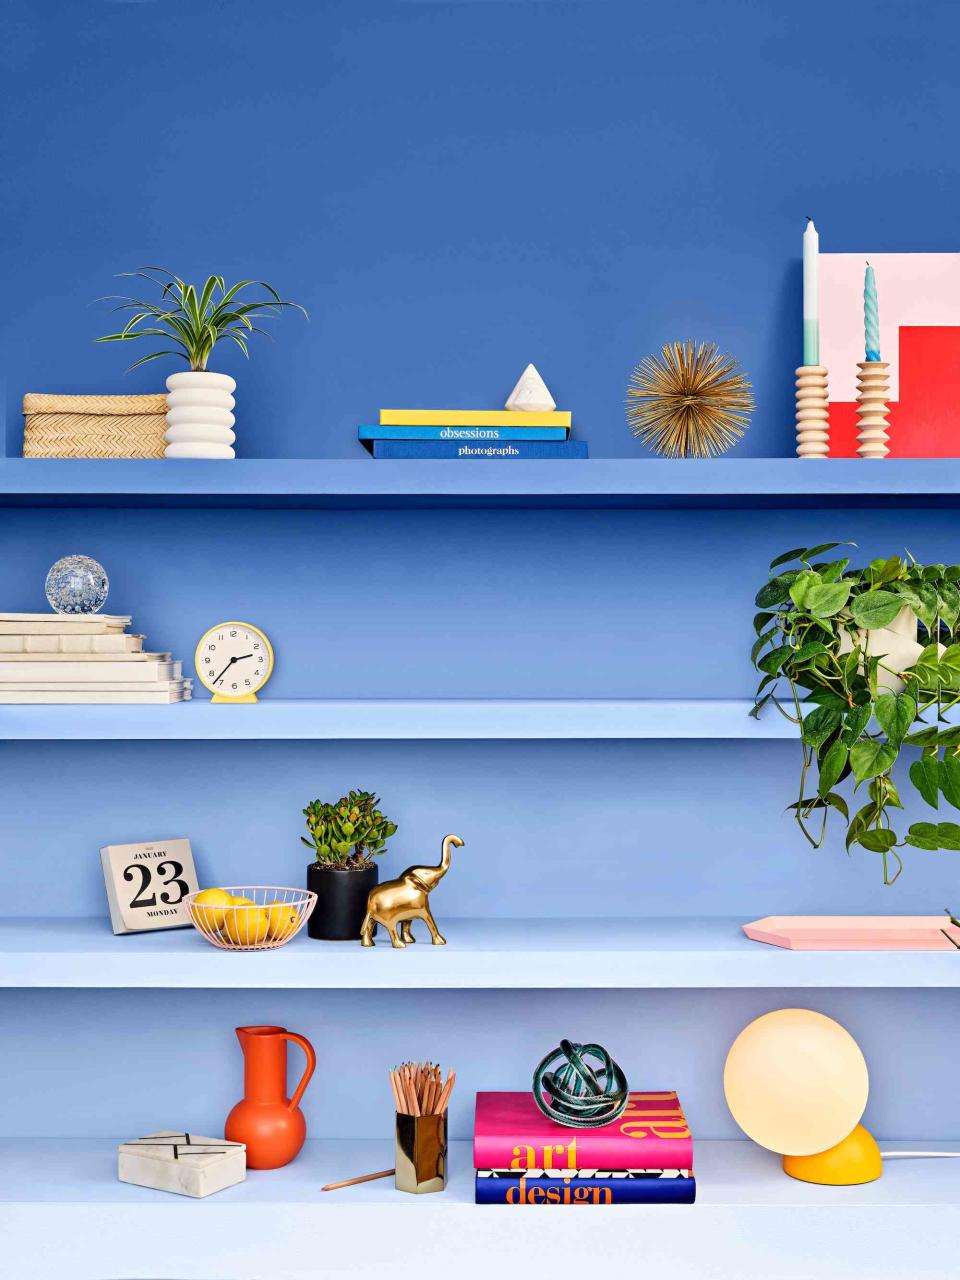
If you spend any time Googling for ombre shelf tutorials, you will surely find quite a few websites that promise the easiest hack: “Pick a color and then just add a little bit of white to create lighter shades,” they’ll tell you. The idea is that you start with the darkest color, paint your shelf and wall, then add a splash of white to lighten the hue…and repeat for the ultimate gradient effect. But that is not the best way to go! In fact, Sophia Pappas, the professional stylist who built the shelves on the cover of our January/February issue (on newsstands now), strongly recommends against it. “It would be extremely difficult to mix more paint if you ran out or had to add more coats,” she says. “It leaves too much room for error and honestly sounds incredibly messy!”
What does she suggest instead? A fun afternoon session of playing with paint chips! “When building this set, I found the darkest shade of cornflower blue that I knew I liked and then worked around it,” she explains. She simply picked her start color and then played around with sample cards within the same family—looking at options that were multiple shades lighter than the blue she started with. “It took some time to get it right, but through the process of elimination, I found a combination that worked.”
The key to Pappas’ method is the whole “multiple shades lighter” part. While it might be tempting to work down the row of a single paint chip, that gradient will likely be too subtle and your final result won’t be all that dramatic. If you want to use a chip as a guide, shoot for at least every other color (you may have to include the next chip in the lineup) for a more noticeable fade. Feeling daring? Cut up a bunch of paint chips and play around. “I placed the colors side by side to get a better idea of how they would look together as an ombre. After some trial and error, I found four colors that felt right together,” Pappas says. Once you get your ideal lineup, the pros can mix up your paint and you can get to work. No awkward pouring or endless stirring necessary!
How to Paint Ombre Shelves:
Pick out a paint chip for your base color. This will be the darkest shade of the ombre, so be sure to select a color that isn't too light.
Select a paint chip that's two to three shades lighter than your base color.
Select a paint chip that's two to three shades lighter than the second color. Continue selecting as many paint chips as you need. If you want each shelf to be a different shade, select as many paint chips as you have shelves.
Line up the paint chips to make sure they work well together and form a beautiful (and noticeable) ombre effect.
Depending upon how large your shelves are, buy a sample pot or quart of paint for each color you selected.
Paint each shelf (optional: and the wall behind) a different color to create the ombre look.
For more Real Simple news, make sure to sign up for our newsletter!
Read the original article on Real Simple.

