Why You Have Lower-Back Pain After Cycling Class — Plus, How to Fix It
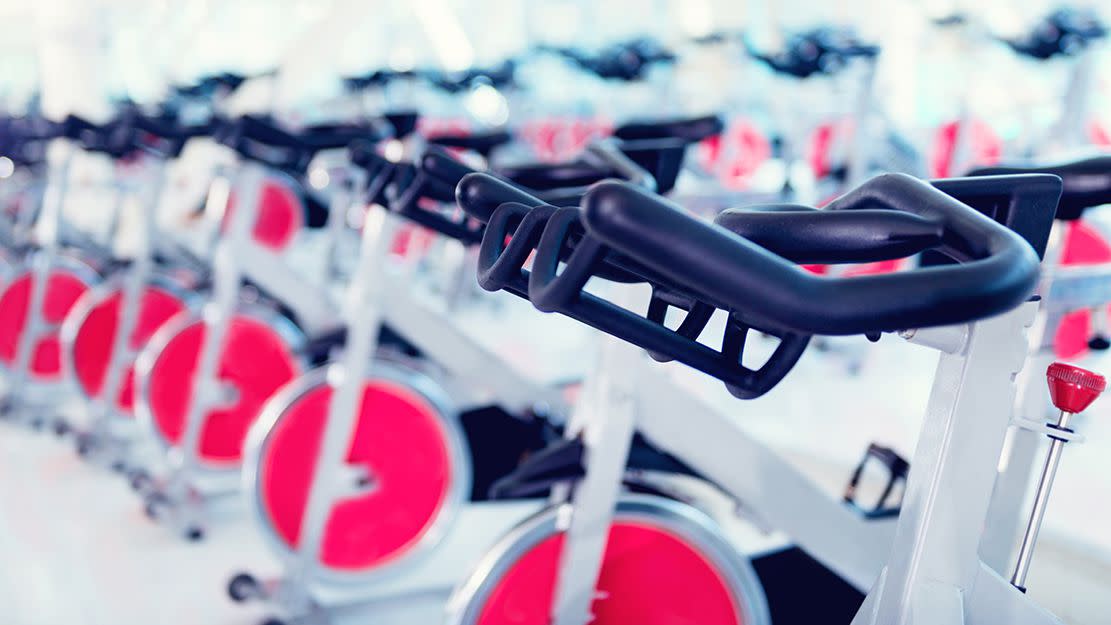
Photo: andresr/Getty Images
Pushing through the intensity is part of a good, sweaty cycling class. But there's a big difference between that 'hurts so good' feeling and real pain. So, if you've ever left the studio with a killer workout on the books but an achy lower back to show for it, here's how to stop the pain ASAP —and why it happens in the first place.
What Might Be Causing Your Lower Back Pain
Since everyone's body is different, low back pain during or after a cycling class happens for many reasons — and sometimes, multiple forces are at play. "Lower back pain from cycling can be related to several different factors including improper bike setup, poor form, the muscles used in the workout itself, overuse, or a combination of these factors," says Aylon Pesso, an ACE-certified orthopedic exercise personal trainer based in Boston.
Related: The Worst Mistakes You Can Make at Your Indoor Cycling Class
In part, blame the standard cycling position itself — strapped in and leaned forward. It innately stresses your lumbar spine (aka the lower back), especially if you're already injured, says Scott Weiss, C.S.C.S., a New York–based sports physical therapist. Because you're not outdoors on the road or the trails and using your core to turn, steer, or coordinate the bike, you can wind up putting even more pressure on your discs in class, he explains. Also, if you're vying for that top spot on the leaderboard in every class, you're probably working dominant muscles past the point of fatigue — which can cause other muscles to overcompensate, straining your lower back, says Pesso. (These are the muscles that cycling works.)
Adding insult to injury, since most people spend their days sitting, your hip flexors are already predisposed to shortening and tightening, says Pesso. Then think about the actual workout, which includes a form of sitting as you bring your knees up and down. "While we may not be actively engaging the hip flexors throughout the movement, they are still shortening and contracting," he says. These tight hip flexors? Yep, you guessed it. They, too, can contribute to that lower back pain.
Related: The Best (and Worst) Exercises for Tight Hip Flexors
How to Stop the Pain and Prevent It from Returning
You don't need to hop off the saddle for good. Sidestepping pain comes down to mastering good form — the fundamental aspect of which is a straight spine, says Weiss. "As we push through a hard class, we have a tendency to slump and crunch down," explains Pesso. But if you bend your lower back, you'll feel it in your lower back, he says. Pretty straightforward.
This is why instructors urge you to push your chest forward, pull your shoulders back, and keep your arms long and straight, adds Pesso. Feel free to readjust during class if needed. "Lift your butt off the seat for a second, and tilt your hips forward to keep a straight line from your hips to your head," he suggests.
A proper bike setup also sets you up for pain-free success in the studio, says Weiss. What to check for? Make sure your knees aren't coming up too high and aim for a 90-percent extension in your leg at the bottom of the pedal stroke, suggests Jess Bashelor, owner of the Handle Bar Indoor Cycling Studios in Boston. As for the bike itself? "The handlebars should be a few inches higher than the saddle, but ultimately the height should be based on comfort and posture," she says. (Whatever will get you to a straight spine!)
How far forward or behind you are from the pedals is also crucial. "When you're at the front of your pedal stroke, your knee should be positioned pretty much directly above the ball of your foot," notes Bashelor. (See also: 10 Ways to Have a Better Indoor Cycling Class)
A lot of the stretches your instructor already does at the end of class can help mitigate pain, but flexibility is the key to longevity in cycling, says Weiss. So, consider tacking on these three stretches to your cool-down routine.
Related: The Best Lower Back Stretches to Try ASAP
Kneeling Hip Flexor Stretch
A. Kneel on right knee with toes down and place left foot flat on the floor in front of body with knee bent and in line with ankle. Place hands on left thigh.
B. Press hips forward until tension is felt in the front of right thigh.
C. Extend arms overhead, with elbows close to head and palms facing each other, and slightly arch back while keeping chin parallel to the ground.
Hold for 30 seconds. Switch sides; repeat.
Doorway Stretch
A. Stand slightly in front of a doorway. Place arms on either side of doorway or adjacent wall.
B. Bend elbows at 90 degrees, keeping upper arms parallel to the floor. Lean forward.
Hold for 30 seconds.
Modified Lizard Pose with Quad Stretch
A. Start in lizard pose, then come up off forearms and onto hands. Turn left foot out at a 45-degree angle and roll onto the outer edge of foot.
B. Use left hand to push against inner left thigh, opening up hip. Hold for a few breaths.
C. Bend right knee and catch the pinky toe edge of right foot with left hand. Pull to stretch the quad.
Hold for 30 seconds. Switch sides; repeat.

