Why You Should Consider Window Flashing for Your Home
Huntstock / Getty Images
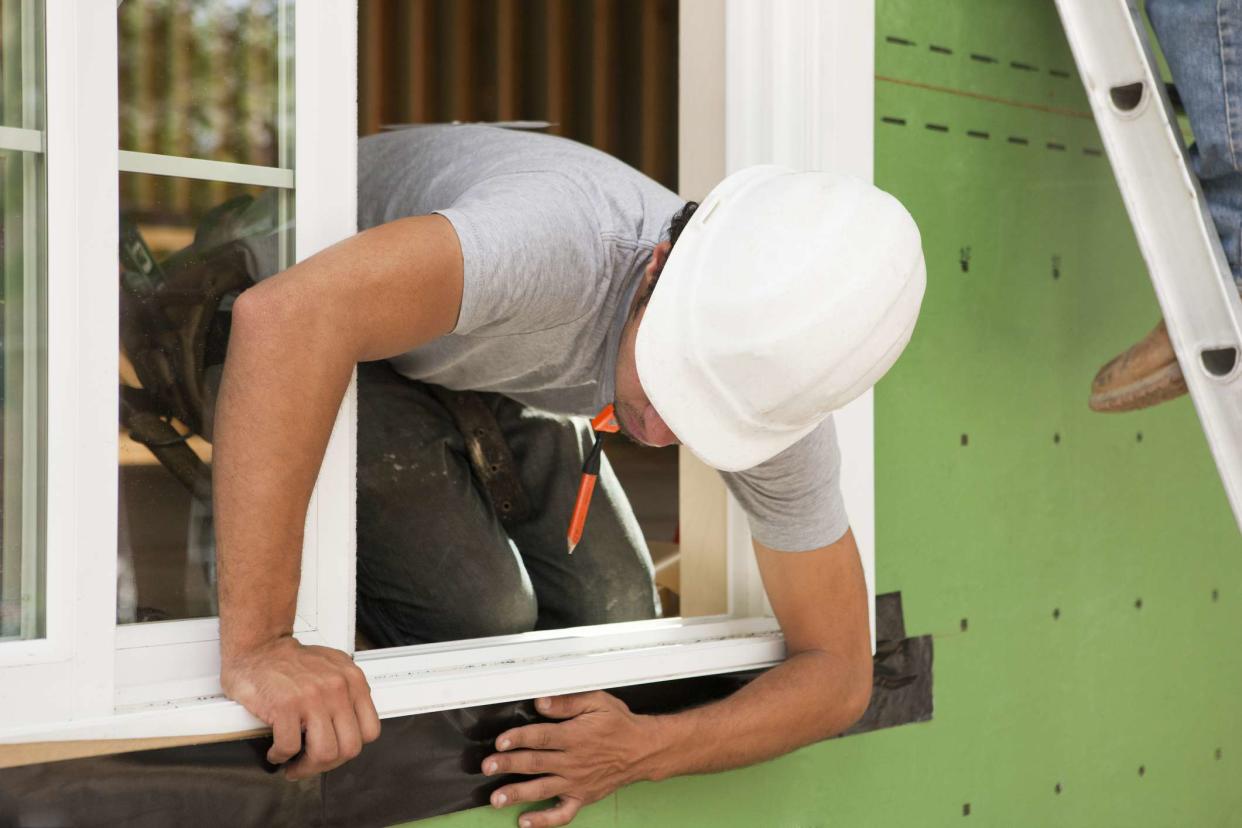
Without the right precautions, air and moisture can pass through the gaps around window units and doorframes. To prevent this from happening, it's recommended to seal, insulate, and install flashing around the window units and door frames.
Window flashing is designed to prevent water from seeping into the home, protecting the home from developing mold and mildew inside the walls. This preventative measure also reduces heat loss through the windows and doors while protecting against wood rot. Find out more about why you should consider window flashing for your home.
What Is Window Flashing?
Flashing is a type of waterproofing used around windows and doors to cover upward-facing seams, crevices, gaps, and spaces where moisture could collect. There are three main types of window flashing, including tape, sheet metal, and vinyl, though there is some variability within these categories.
Tape window flashing is easy to use, flexible, and durable. This option is essentially a self-adhering membrane that is commonly used in both new construction and renovations.
Sheet metal flashing is often used with brick and stucco. It's made of thin, but flexible pieces of sheet metal that create a waterproof barrier around the window unit or door frame.
Vinyl flashing is one of the more affordable options. It's flexible and relatively durable, though it isn't the best choice for locations that experience freezing winters. This window flashing is generally used with vinyl siding.
Why Do I Need Window Flashing?
The main reason to invest in window flashing is that it helps to extend the life of the home by protecting against mold, mildew, wood rot, and structural damage caused by water. Window flashing also reduces the flow of heat through the gaps around the windows and doors, helping to keep the home warm in the winter and cool in the summer.
The waterproof seal around the window keeps water from seeping into the walls of the home, preventing damage to the building, and reducing the need for future repairs. The better the home is protected, the less money you will need to spend to keep it in good condition, so it's recommended to install flashing whenever there is a risk of moisture or condensation seeping into the building through the windows or doors.
How to Install Window Flashing
Cut the Weather Resistive Barrier
The weather resistive barrier, or house wrap, is a thin sheet of material that is wrapped around a new home prior to the installation of windows. Use a utility knife to carefully cut and peel back the weather resistive barrier to expose the top, sides, and bottom of the window sill. Use tape to hold the weather resistive barrier in place.
Install the Sill Pan Flashing
The sill pan flashing is the flashing that is installed at the bottom of the window. You can use an adhesive sill pan or go with a pre-shaped sill pan wedge. If you are using peel-and-stick adhesive flashing for the sill pan, make sure the the flashing extends the full length of the sill. It should also extend up either side of the window at least six inches.
If you are using a pre-shaped sill pan wedge, simply slide the wedge over the window sill. Once the sill pan flashing is in place, wrap the side pieces of the weather resistive barrier around to the interior of the rough opening and secure the barrier with seam seal tape.
Apply Sealant and Install the Window Unit
The next step is to use a caulking gun to apply a bead of sealant along the top and sides of the rough window opening. Start the bead about 3/4-inches from the corner on each side, this gap will allow any water that enters the window unit to escape, instead of becoming trapped and causing mold and wood rot.
Windows can differ from product to product, so to install the window unit, it's recommended to read and follow the directions provided by the manufacturer. Ensure the window is plumb and square, then insulate around the window unit with expanding spray foam or fiberglass insulation.
Install the Window Jamb Flashing
Window jambs are the sides of the window, while the head jamb is the top of the window. Measure, cut, and apply adhesive window flashing to each window jamb, ensuring that the flashing extends slightly beyond the window sill and about four to five inches above the head jamb.
Install the Drip Cap
If your window manufacturer provided a drip cap or you purchased a drip cap for the window, now is the time to install it. The drip cap should be fastened to the sheathing directly above the window so that it protrudes slightly from the window unit. This allows the drip cap to prevent water from entering the window unit.
Install the Head Jamb Flashing
Apply the adhesive window flashing horizontally across the head jamb or top of the window unit. It should extended at least six inches beyond the window jamb on each side. Finally, add small flashing strips over the gaps at the corners.
Read Next:How to Install an Insert Replacement Window in 12 Steps

