It's 2021, Ppl—Here's How to Bake Your Makeup the *Right* Way

You already know how to contour and highlight TF out of your face, but one technique that'll really level up your makeup game (especially if you're dealing with humid temps or oily skin)? Baking makeup. As a refresher, "baking"—a technique and term that has been used in the drag community for years—refers to letting a thick layer of translucent powder sit on your skin for 5 to 10 minutes, so your body heat can set or "bake" your foundation and concealer underneath, leaving you with the creaseless, flawless makeup of your dreams.
Because this technique requires an alarming-seeming amount of powder on your face, you might be a little intimidated to give it a try yourself, but don’t worry! With the right tips, even a beginner can bake their makeup and make it look profesh. Ahead, we, along with help from this video by YouTuber and makeup artist Heidi Hamoud, break it down into a few simple steps. But first, let's go over a few baking basics and answer any questions you most definitely have.
Is baking your makeup necessary?
Think of baking your makeup like setting your makeup times a million. If you're someone who just wears a little bit of concealer here and there and generally skips full-coverage makeup, then (1) I'm jealous, and (2) no, baking is not for you. But for all those who wear full-face makeup and want to make their foundation to stay transfer-proof, budge-proof, crease-proof, and sweat-proof all day long, then baking is a super-excellent step.
What can I use to bake my makeup?
A finely milled, translucent, loose setting powder blends very easily into the skin, and for that reason, it would work best for baking makeup. Don’t try to substitute it with a mineral foundation or pressed powder foundation (too heavy) or an HD powder (ever heard of the dreaded flashback?). The goal is to make your makeup look seamless and filtered, not obvious and cakey, so the lighter the powder, the better. For applying the powder, you'll need a damp makeup sponge or a wedge sponge, along with a fluffy powder makeup brush to gently sweep it away afterward.
Do you bake before or after foundation?
Because baking is all about setting your base makeup underneath, you’ll def want to do this after applying your foundation and concealer. Although you might've seen a TikTok makeup hack for applying powder before your foundation, that trick is primarily for soaking oil throughout the day, not baking your makeup underneath. If you're looking to set your makeup so that it stays put all day long, you'll want to go with baking instead.
How do you bake makeup properly?
Let’s walk through each step together, shall we? Here’s how to get skin that looks like you actually put an Instagram filter over it:
Step 1: Eye Cream
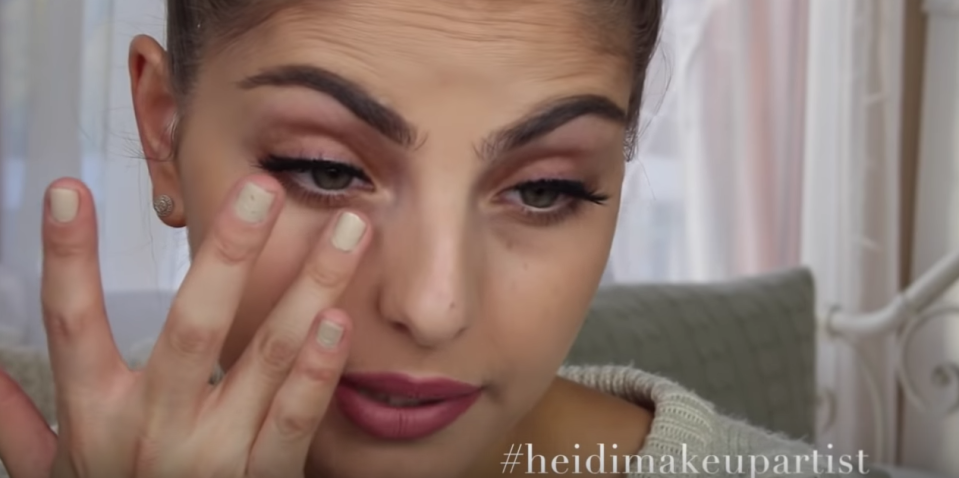
Layer on a hydrating eye cream before you start putting on your makeup. It’s always important to have a smooth, moisturized eye area to plump it up and minimize the appearance of fine lines or wrinkles, but it's especially important for those with dry skin for avoiding a crepe-y under eye.
Step 2: Thick Layer of Concealer
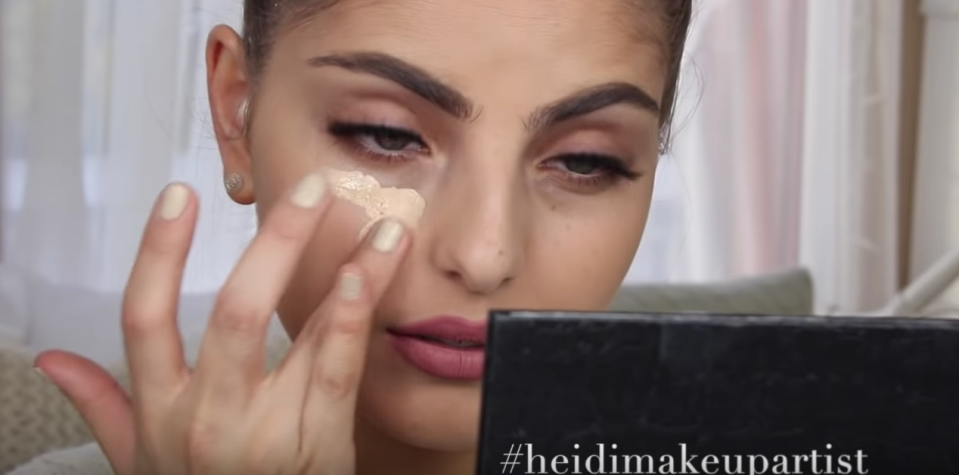
After you put on your foundation, swipe on a thick-ass layer of liquid concealer under your eyes—you’re going to need it, I promise. Then blend it with a damp makeup sponge.
Step 3: More Concealer
At this point, you might be thinking: This is a shit ton of makeup, and yes, it is. So you can skip this step and still get amazing results, but for lasting power, a sheer second coat can lock in the first one. Don’t forget to blend it in and smooth everything out. You want to make sure to have absolutely no creases before piling the powder on top.
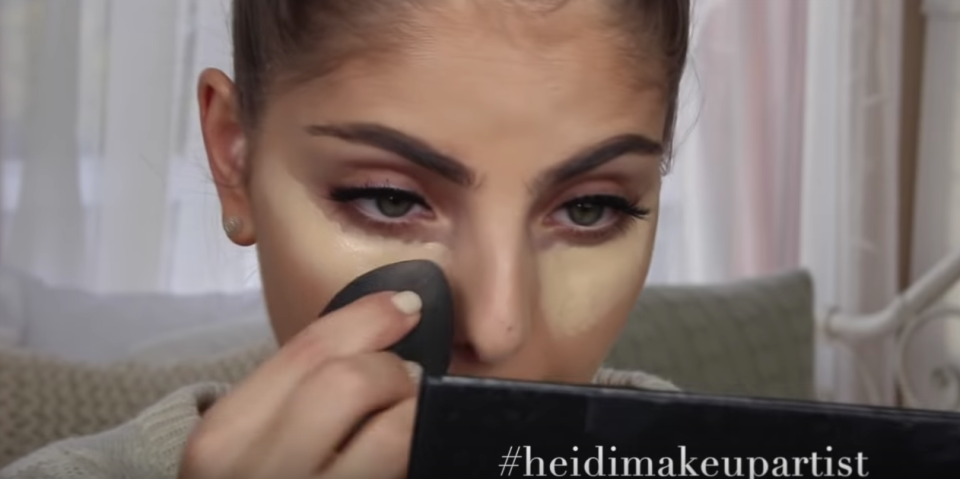
Step 4: Translucent Powder
Grab a fluffy powder brush and dust a light dusting of translucent powder over all the concealer you just put on. This will set your makeup and prepare it for baking in the next step.
Step 5: Bake Your Makeup
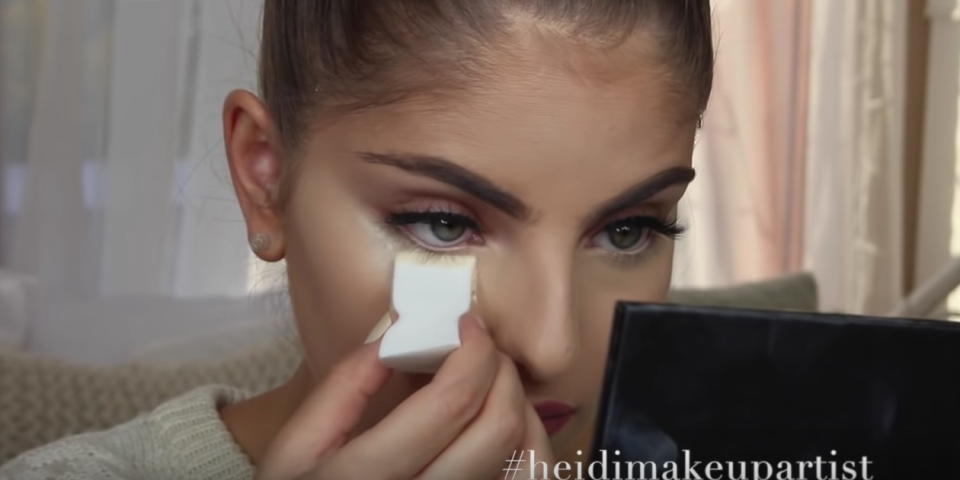
Now, it’s time to bake. Wet a wedge-shape makeup sponge with setting spray, then dip into into the powder. Stamp the product generously over the area where you just applied your concealer, and I mean pack it on. If you look like you've rolled your face in baking flour, you're doin' it right.
Leave it on for 5 to 10 minutes so the powder has plenty of time to absorb excess oil and "bake" the makeup underneath. To time it just right, apply the powder before you move on to your eye makeup so you're not just sitting around twiddling your thumbs for 10 minutes. Bonus: The loose powder from baking will also help catch eyeshadow fall out so you can easily sweep it away without staining your under-eye area.
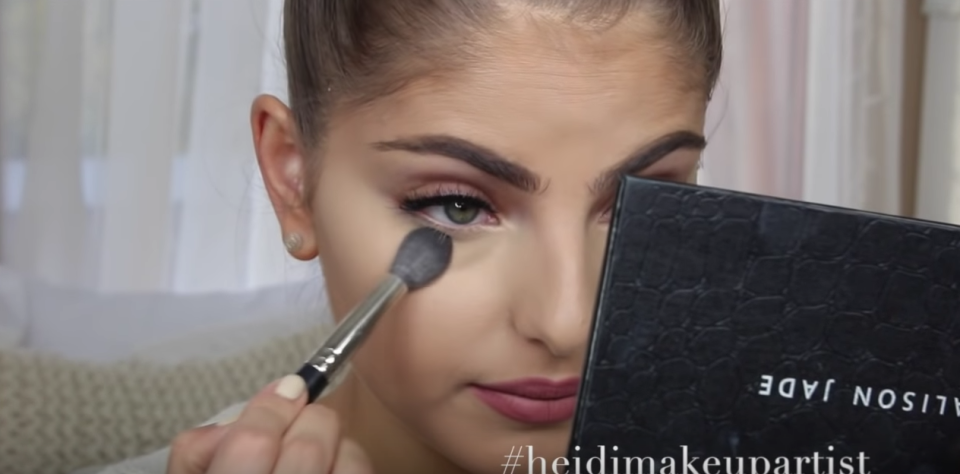
Step 6: Dust It Off
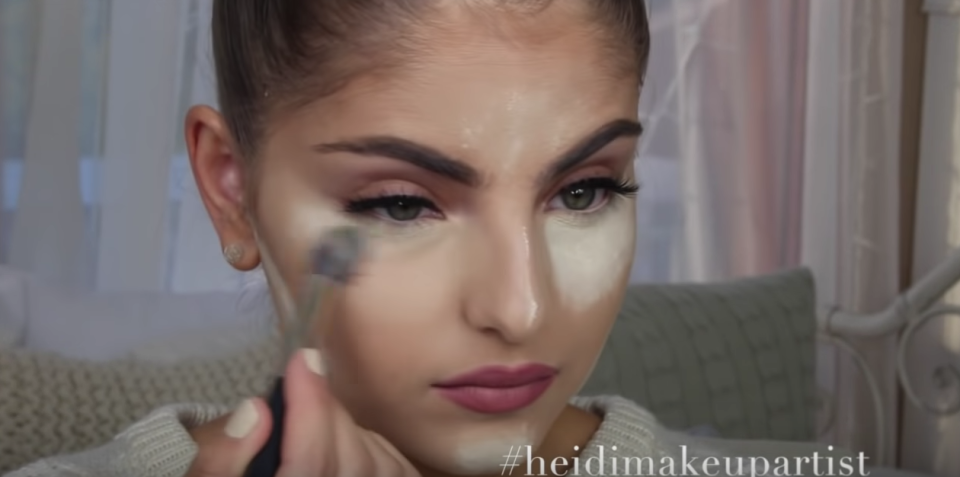
The main event is over—aka waiting for the powder to set—so now it’s time to dust it all off. At this point, you can use the same fluffy powder brush to sweep away the powder and go about your life, or you can try this YouTuber's trick: Swirl the brush in a pressed powder foundation first, then dust away the powder on your face. This technique will allow you to add some more coverage while you blend away the excess powder.
And boom, you’re baked. Now snap a couple of selfies and admire your work—promise you won't even need a filter.
You Might Also Like

