How to Whitewash Wood to Lighten Up Your Interior
Raquel Langworthy
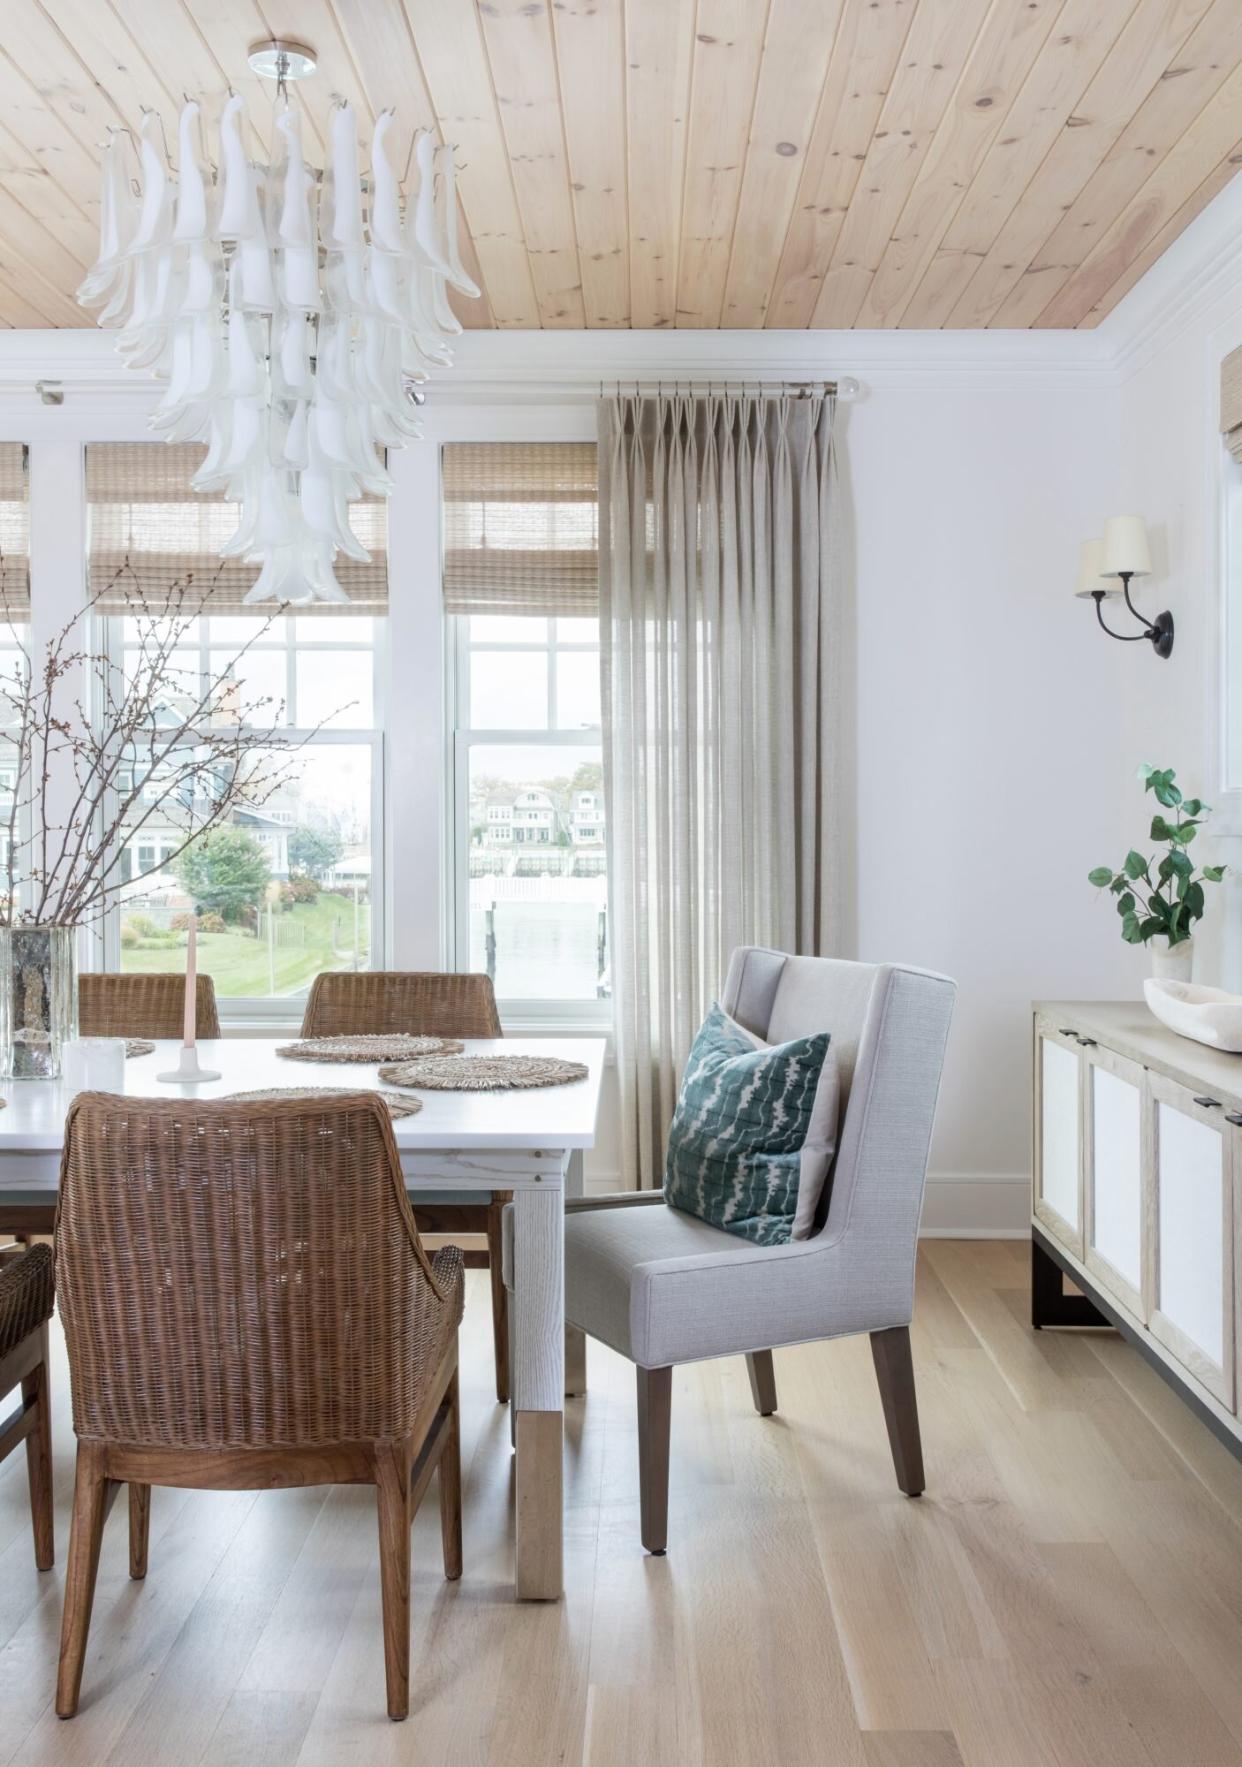
Make no mistake, wood in all its forms will never go out of style. After all, it's Mother Nature's number-one material and it's highly unlikely that its presence will be taken for granted. But every now and then—whether you want to embrace today's neutral-toned interiors or are in desperate need of a pick-me-up—the wood in your home might feel a little ho-hum. If you're looking for an easy-yet-effective way to spruce up your home's grain, you might want to consider whitewashing your wood.
For the uninitiated, whitewashing is exactly what it sounds like: a simple process where you can add a semi-opaque stain to your bare wood, giving it a lighter and brighter appearance.
"It's a simple way to lighten up a space," says New Jersey-based designer Christina Kim. "You can whitewash floors, ceilings, wall planks, or furniture pretty inexpensively and quickly."
But how do you whitewash wood? Kim is here to help with a step-by-step guide to perfecting this DIY process like a pro. All you need to do is grab your materials—the designer recommends a few rags, white paint, as well as water or paint thinner—and get ready to roll up your sleeves.
Related: These Are the Wood Floor Color Trends to Know Right Now
Step 1: Sand Away
Like staining your favorite coffee table or hand-me-down rocking chair, wooden furniture is the most malleable in its natural form. Before you get started, Kim recommends scraping off the piece's existing finish and sand down its surface. "It's super important that the surface is clean, so be sure to vacuum your work area and wipe the wood down with a damp cloth," she adds.
Step 2: Make Your Mix
The difference between painting and whitewashing is that the latter uses diluted paint. If you're working with a water-based paint, you'll need to mix your paint with water. Or, if you've opted for oil-based paint, trade in the water for some paint thinner. But how much of each should you include? Well, it all depends on your preference.
"For a thicker whitewash—which is great for a farmhouse look— you'll mix two parts paint to one part water," Kim says. "I love a thinned-out whitewash for a subtle, elevated look. For this, you'll need one part paint to one part water."
The designer adds that you can also create your own paint mix, adding paint or the diluting ingredient of your choice until you achieve your preference.
Step 3: Get Painting
Sanded your wood? Check. Mixed your whitewash solution? Check. It's officially time to get painting. At first thought, applying your whitewash sounds easy enough—all you need to do is swipe your brush until your entire area is covered. But, according to Kim, it's a little more complicated than that.
"If your whitewash mixture is on the thicker side, use a paintbrush to apply it in long strokes in the direction of the wood's grain," she shares. "For a thinner whitewash, apply the mixture with a rag and wipe off the excess. Use a [smaller] brush to get inside nooks, cracks, and edges."
Your wood might need a few coats before it looks just right. Kim recommends taking pause and letting the mixture dry before going in for a second (or third) swipe. That said, if your coat seems a little too thick, let it dry and lightly buff some of that excess away with your sander.
Step 4: Top It Off
Unless you're whitewashing a low-touch area like a ceiling, you'll want to add a clear coat of water-based polyurethane. Not only will this layer protect your whitewashed wood from nicks and scratches, but it'll also give your setup a nice sheen. But since you are adding yet another coat, remember that you'll need to let the entire piece dry a little longer. Go ahead, read your polyurethane's directions for drying and curing—and follow suit to the letter. In no time, you'll have a beautifully revived wooden wonder that you'll want to show off all the time.

