How to waterproof a backpack: four easy solutions

"There's no such thing as bad weather, only inappropriate kit." We'd argue there is such a thing as bad weather, though we do get the sentiment behind this cliched saying. It's getting at the fact that, if you prepare properly with the right gear, a bit of rain shouldn't stop you from exploring the backcountry.
You can repel the worst of the weather and keep yourself dry with a quality waterproof jacket, decent rain pants and a waterproof pair of hiking boots. But, what about your backpack?
The best hiking backpacks are made using water resistant materials and come with double taped seams that are sufficient against light rain. However, even the very best in the business won’t hold up against a proper, sustained downpour. Knowing how to waterproof a backpack is useful to protect your electronics and lunch on a day hike, and can be life-saving when need to keep your spare clothes and sleeping bag dry in a deluge to avoid hypothermia on a multi-day thru-hike.
Fortunately, there are a few really easy fixes to waterproof your backpack and protect the gear inside it so you can keep getting miles underfoot in your hiking boots. Read on for our four simple solutions for hiking in the rain with a backpack.
Meet our experts
1. Waterproofing spray and seam sealer
In the same way that you can waterproof a tent and other outdoor gear, you can use waterproofing spray on your backpack. You always want to start with a clean item so to begin, follow the steps in our article on how clean a backpack, allow your pack to dry completely, then apply one or two coats of waterproofing spray.
Often, a lot of the moisture gets in through the seams, zips and any holes from wear and tear, so after the backpack has dried you can reinforce your efforts by using a seam sealer on those areas. You’ll want to let the treatment dry completely before using your bag, so this is all work you’ll want to do at least the day before you head out.
This option is definitely the most labor intensive, and requires you to prepare your backpack in advance of getting on the trail. However, if you’re going on a long backpacking trip, or you just live and hike somewhere that gets a lot of rain, it’s a good preventative measure. However, the protection doesn't last forever, so you'll need to reproof fairly regularly.
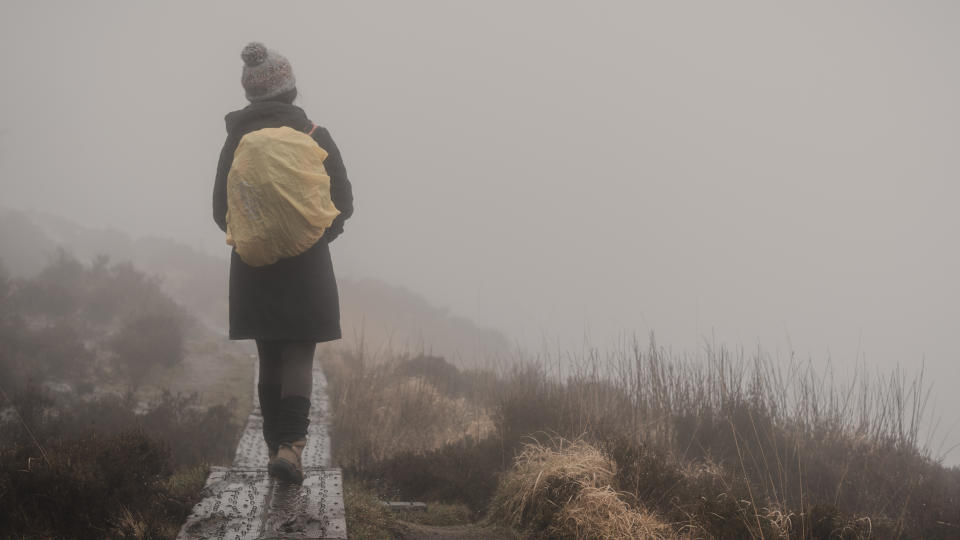
2. Use the pack's rain cover
This option requires no advance preparation other than buying a rain cover that fits your backpack, and remembering to carry it with you. Many modern packs have a raincover bundled in, often in a dedicated compartment towards the bottom. Then, if the skies start to darken while you’re out on a hike, just whip it out, pull it over your backpack and everything inside will stay nice and dry. Rain covers are inexpensive, lightweight and pack down small.
However, this option does have a couple of drawbacks. Firstly, the raincover usually smothers the entirety of your backpack, making it difficult to quickly grab items you may need from its various compartments.
Secondly, the backcountry is littered with covers that have been caught by the wind, blown away and lost. If you think about it, a raincover doubles up as a rather effective, wind-catching sail, something that often happens when you open it up to pop on your daypack. The challenging conditions that often require a cover to be employed in the first place are exactly the kind of wet and windy conditions that will steal them away.
So, there's an argument that these kinds of covers end up being bad for the environment, which makes options 3 and 4 more desirable.
3. Use a pack liner
This option is perfect for those who don’t want to stop on the trail and start fussing around with gear, but also don’t want to spend time with waterproofing spray. Instead of packing your gear directly into your backpack, you can place it all in a sealable, waterproof liner that fits inside your backpack, so even when your pack gets soaked, your spare hiking socks and camping stove stay bone dry. A pack liner is another affordable option and doesn’t add weight, and if you’re on a budget, you can even use a trash bag. When you get home, just remember to let your backpack dry out before you pack it away.
4. Use internal dry bags
This option is similar to the pack liner approach but rather than a single waterproof liner, it uses multiple dry bags of differing size. So, while your backpack itself may get a bit wet, all your clothes, electronics, food and maps will be fine.
The big advantage of this approach is organization. For example, if you have several dry bags, you can use one for electronics, one for food, one for midlayers, one for camping equipment and another for items like hats and gloves. Coming up with your own system is half the... fun. Dry bag sets usually come in different colors, so this will appeal to organized individuals who love a bit of color coding.

