What is Vermicomposting? Plus, How to Start Your Own Worm Bin
Follow these step-by-step instructions to boost your composting game with worms.
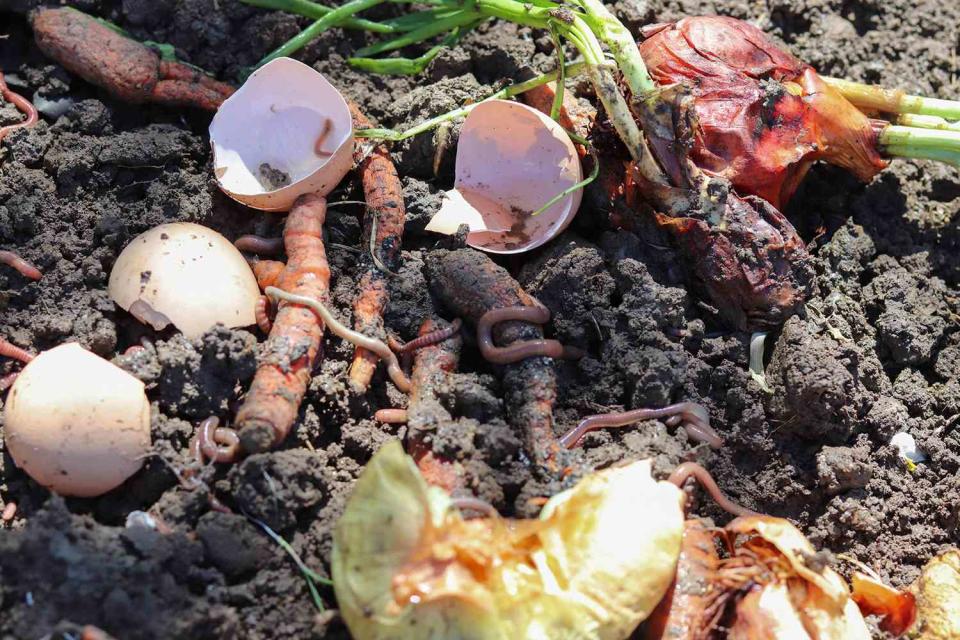
Serhii Ivashchuk / Getty Images
Compost is a terrific soil amendment, but we don’t all have space for a traditional outdoor compost pile. The solution? Vermicomposting, which uses worms to produce a rich organic soil amendment that’s even better than regular compost, and in less space. It can be done in a bin that fits right under the sink or in a corner of the laundry room or garage. Done correctly, there’s no unpleasant odor or mess. Imagine, an army of pet worms that work for you, and all they ask is a diet of the kitchen scraps you were going to throw away. Here's how to get started making your own vermicompost.
What is Vermicomposting?
Vermi is Latin for worm, so vermicomposting is simply the decomposition of plant materials by worms. Worms consume the kitchen scraps that you feed them, and release castings (worm droppings), also called vermicompost. This is recycling at its best, transforming waste into a valuable resource for your garden. Vermicompost not only feeds plants, but it improves your soil’s texture, and may provide some protection against certain pests. It's superior to traditional compost in several ways.
“Vermicompost has higher nutrient concentrations than compost but lesser amounts of soluble salts,” explains Rhonda Sherman, director of the Compost Learning Lab and Extension Solid Waste Specialist at North Carolina State University. “Vermicompost has more nitrogen than compost because hot composting releases more nitrogen into the atmosphere. Vermicompost has lower carbon-to-nitrogen ratios than compost, which makes nutrients more available to plants,” she adds.
:
How to Compost with Worms
One of the best features of worm composting is that it can be done in a small space right in your own home. It can also be done outdoors. All it takes is a bin, some bedding, a bunch of worms, a steady supply of food scraps, and a little time. The worms do all the hard work. Use these steps to set up your worm bin.
Choose a bin. While commercial vermicomposting bins can be purchased, all you really need is a plastic container for a DIY composter. Wood or a Styrofoam box with one- to two-inch thick sides can also be used. The size of your container depends on your available space. if it’s going under the kitchen sink, measure your space first. If you plan to keep it in the garage, a larger container can be used. Keep in mind that worms feed in the top six inches of the bedding, so the bin shouldn’t be too deep. Sherman recommends starting with a container that is 12 to 18 inches deep.
Provide air holes and drainage. Your worms will thrive in moist darkness, so your worm bin will need a lid. But the worms also need air. To provide ventilation, use a drill to make several half-inch holes in the lid of your container as well as along the sides. Also drill holes in the bottom of the container and raise it slightly using bricks or wooden blocks so excess water can drain out. A tray or a shallow, slightly larger bin can be used to collect this moisture. Tape vinyl window screen or cloth over the holes to allow air flow while preventing worms from escaping.
Prepare the bedding. The bedding provides your worms with both moisture and air. Sherman says, “For beginners, shredded paper works best for bedding,” Shredded cardboard, strips of newspaper, or decaying leaves are other options. “Fill the container halfway full with bedding that has been soaked for 10 minutes,” Sherman advises. But first, wring it out so that it’s about as moist as a wrung out washcloth or sponge.
Add composting worms. Once the bin and the bedding are ready, it’s time for adding those hard working worms. Where do you get them and how many do you need? “To begin vermicomposting, order one pound (about 1,000) of Eisenia fetida earthworms–commonly called red wigglers–from a worm grower,” says Sherman. These hungry creatures are efficient compost producers. It takes a while for the worms to settle in, so wait a couple days to start feeding them.
Place your bin in a spot protected from temperature extremes. The ideal temperature range for worm composting is between 60 and 80℉, which is easy to maintain indoors, but more challenging outside. “The farther it gets from those temperatures, the more the worms slow down with eating and producing vermicompost,” explains Sherman. “Lots of people vermicompost outdoors year-round and there are steps you can take to protect the worms from uncomfortable temperatures," she adds. For example, always place the bin in the shade, and provide a little extra insulation, such as blankets or straw, during winter months.
What to Feed Composting Worms
Worms may consume 25 to 35% of their body weight in one day depending on the conditions in your bin. Feed your pet worms vegetable and fruit scraps (they really like cantaloupe, pumpkin, and watermelon), used coffee grounds and tea bags, crushed egg shells, and shredded garden waste. Avoid citrus scraps, which can be too acidic, and never give them meat, fish, or salty or greasy foods.
Start feeding your worms slowly—give them no more than an inch of food scraps to start—and use a small garden fork to cover the food with an inch or two of bedding. A pound of red wigglers can go through two pounds of food scraps in one week, but don’t overfeed them or your bin may start to smell. Wait until the scraps from your previous feeding have disappeared before offering the next meal.
:
Harvesting Vermicompost
“The earthworms will excrete castings that accumulate on the bottom of the worm bin,” explains Sherman, who notes that most people begin harvesting the vermicompost after four to six months. To do so, you can feed the worms on only one side of your bin for a few weeks. Most of the worms will move to that side so you can remove the vermicompost from the other side. Then do the same thing on the other side. Use a soil and compost sifter to separate out any larger pieces that still need more composting time.
Another harvest option is to empty the contents of the bin onto a large piece of plastic sheeting or a waterproof tarp in bright sun or artificial light. The worms move away from the light, so after about five minutes, scrape off the top layer of vermicompost. Repeat at five minute intervals until you see lots of worms. You can then put them back in the bin with fresh bedding to start the process again.
Vermicomposting is a fascinating activity the whole family can enjoy, and your garden will too. Besides creating a super nutritious garden supplement, vermicomposting reduces the amount of food waste that is hauled to the landfill. A win-win for all (including the worms!).
false

