How I used dramatic edge lighting for a beautiful baby bump portrait shoot
Watch video: The beauty of backlighting
Place a light behind a person to one side – or two lights either side and the light glances off the edge of the subject in the most wonderful way. This is one of the simplest, yet most powerful lighting skills you can learn. Get to grips with backlighting and you can craft sensational portraits.
We’ve used a set of lights from a home studio kit here, each fitted with a softbox. But you don’t necessarily need to go and buy a whole load of new kit for this project. Any light source can be used for backlighting. A Speedlite and a cheap white umbrella will give amazing results, but even a household lamp can be used to great effect. Then of course there’s the sun. When it’s low in the sky, it can create an attractive, warm backlighting if you position your subject with the setting sun behind them.
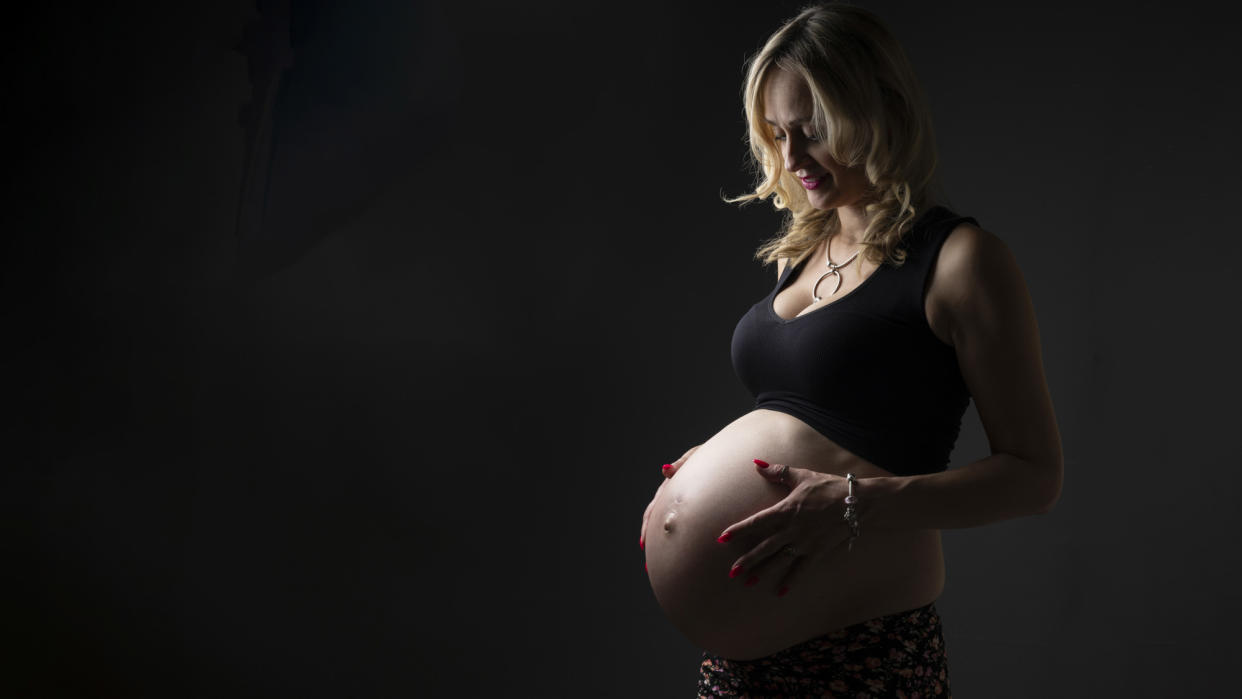
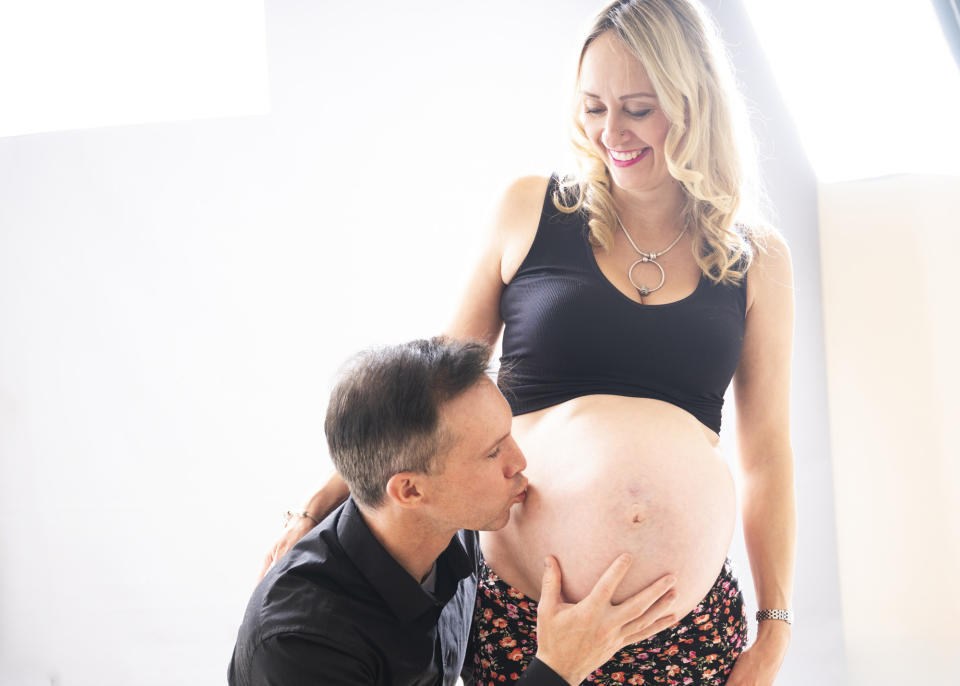
This kind of lighting is ideal for side-on poses because it highlights the edge of the body. As such, it’s perfect for a pregnant subject like Kelli here, highlighting her beautiful bump and glancing off the edge of her face in profile. It’s also ideal when you want your subject to stand out from their surroundings, or to give them a heroic, cinematic impression (backlighting is used all the time in films and television).
1. Hard light vs softbox
In general, it’s better to use a large light source like a softbox over a small light source like a bare flash. Look at the difference here between the bare flash used in this image and the softbox lighting in Tip 3. The larger the light source, the more gentle the shadows will be.
2. Setting the flash power
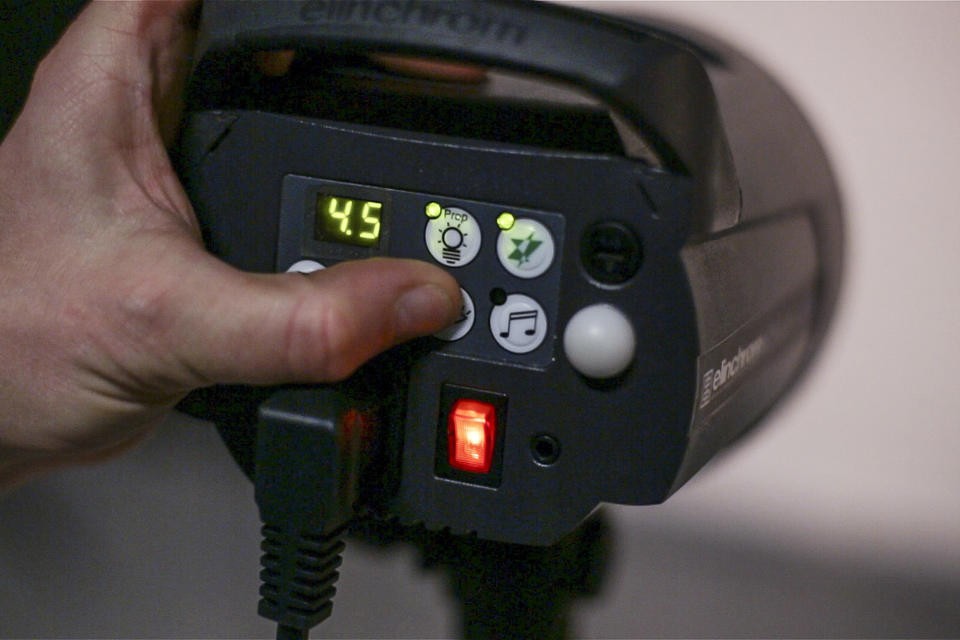
With your camera settings locked in, don’t change them; alter the power of the lights to suit your exposure. With more than one light, turn just one on and work out the right power and position for it using test shots, then add a second light and build it up.
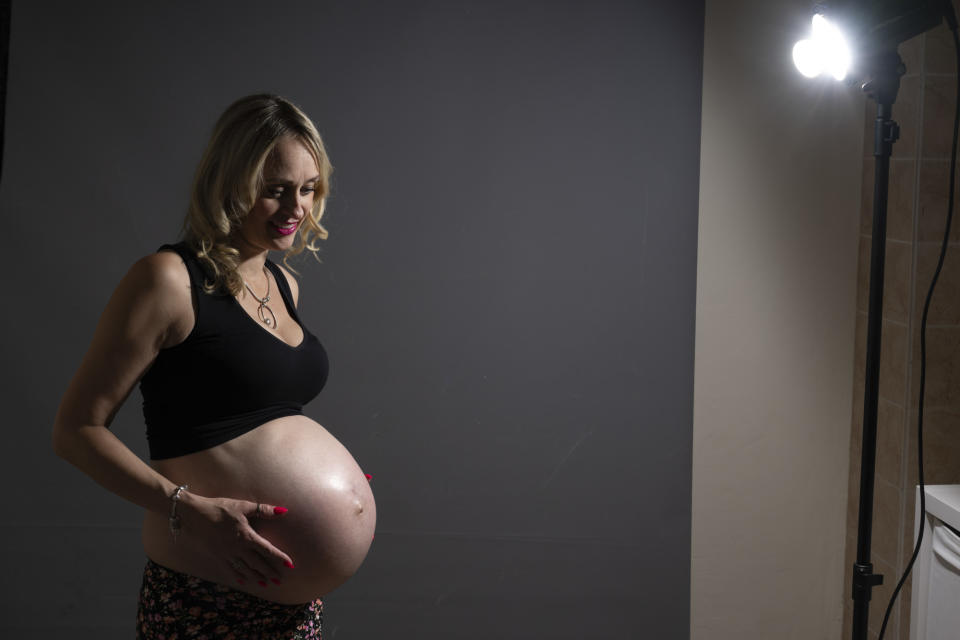
3. Get the light in close

You’ll get the best results if you bring your backlight in close to the subject, making the light larger in relation to the subject, and causes the light to wrap around them. It also means less light will spill onto the backdrop. You can cut out the light later in Photoshop.
4. Work the angles
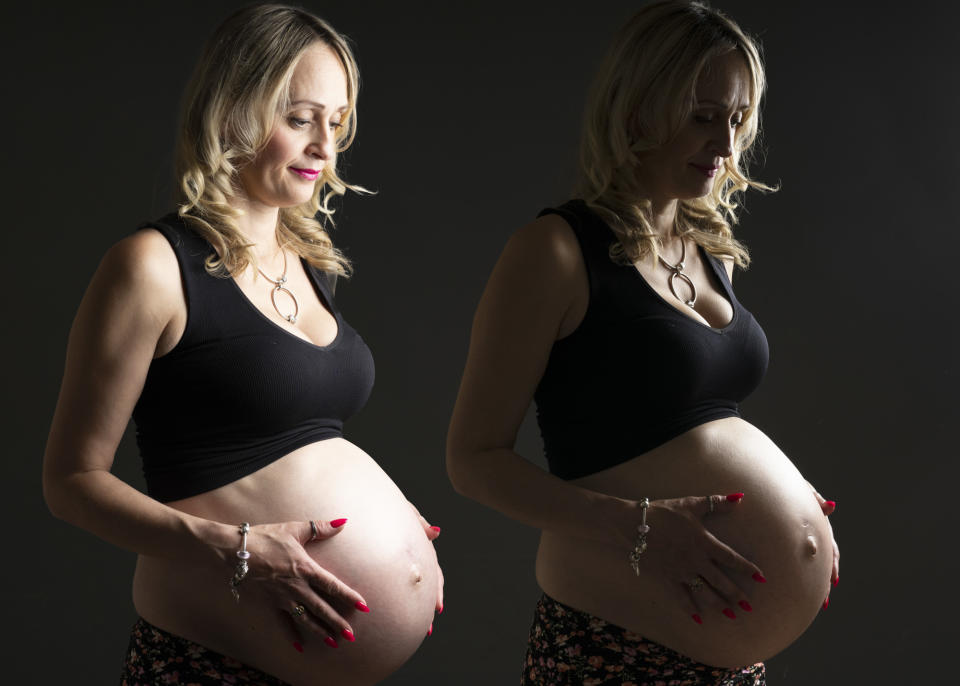
A slight change in the position of the light can have a big impact – look at the difference here, on the left the light is more side-on, on the right it’s moved about a metre backwards, for much more moody light. The further back the light, the thinner the edge highlight.
5. Try opening the aperture
Backlighting can also be used for a bright airy feel. Here, the lighting is the same set-up as the dark shots – all we’ve done is open up the aperture to f/3.2, which blows out the backdrop and creates overexposed edges on the subjects.
6. Build the lighting
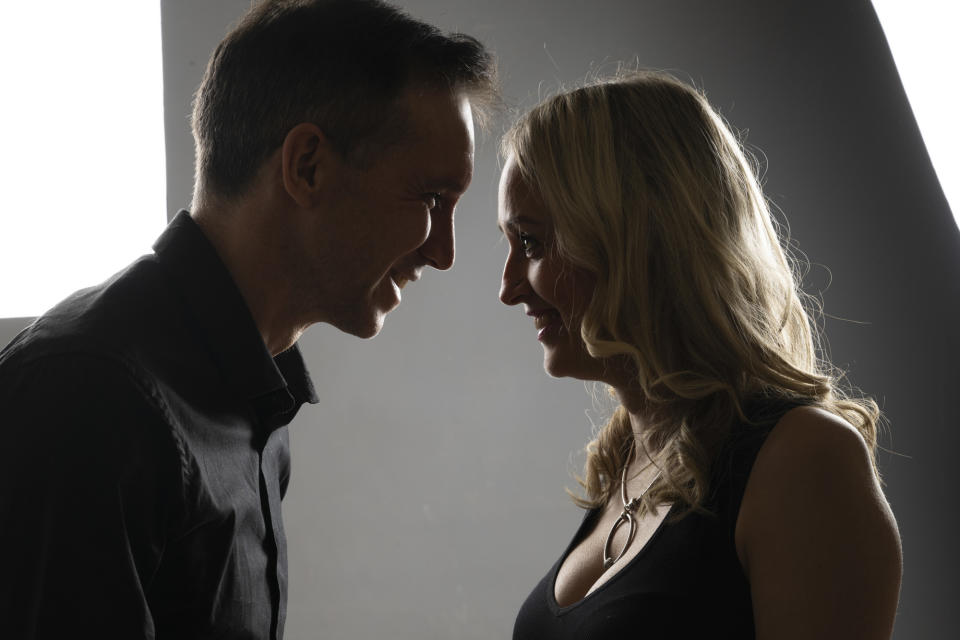
If you want to add in a second light, you can create edge lighting around the subject, or subjects. Here we positioned a second backlight behind and to the left (you can see them in the edges of the frame). Now we have an edge light for each face in profile.
7. Try black and white
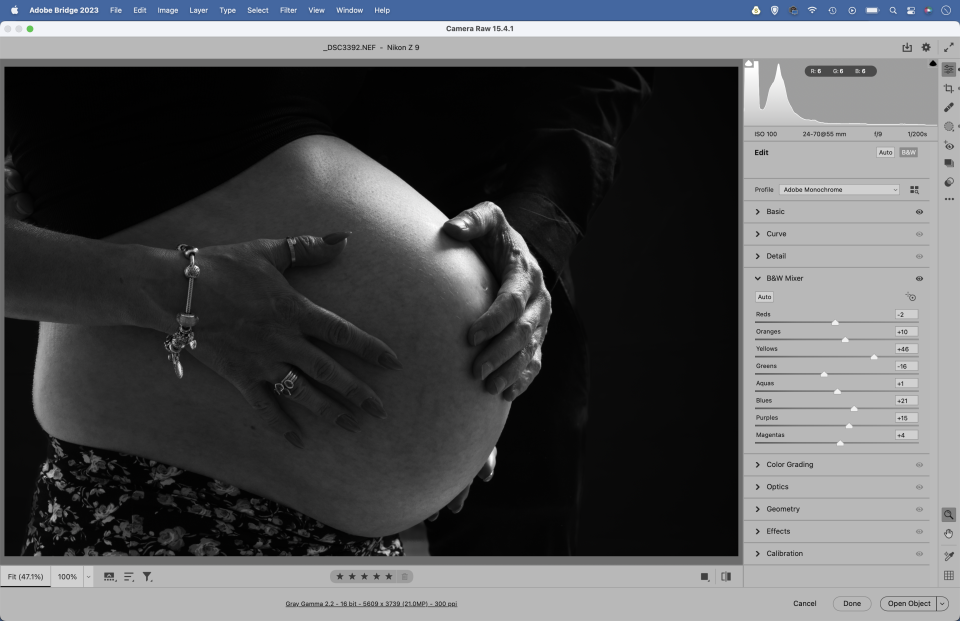
Backlighting creates a wonderful sense of mood and depth, which often goes hand in hand with a black and white treatment. Colour can sometimes be a distraction, and without it you can emphasise the form of the subject and draw attention to the expression. The black and white panel is Adobe Camera Raw and Lightroom is the ideal place to convert to mono.
8. Fix stray hairs
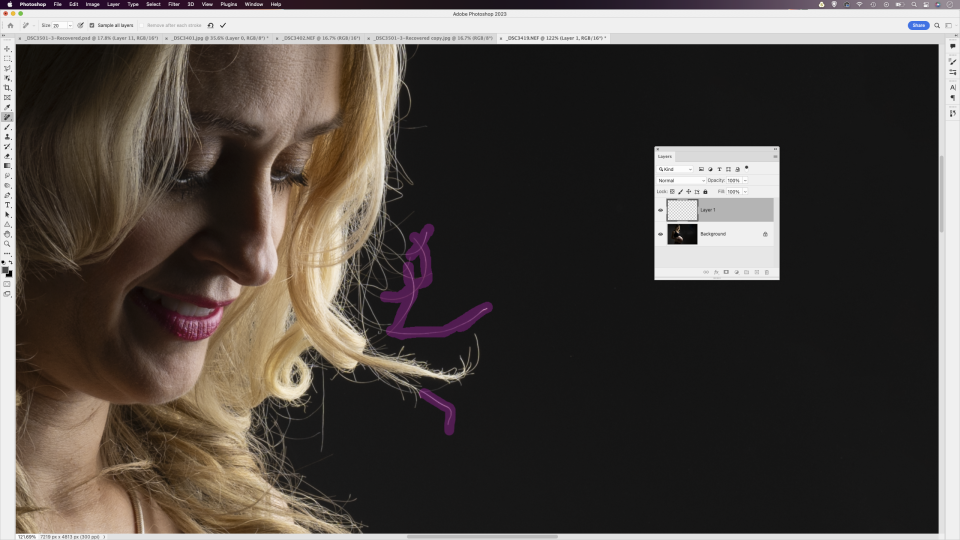
One of the pitfalls of backlighting is that it shows up lots of distracting stray hairs around the edge of the head. Sadly, there’s no quick fix for this in Photoshop CC, you simply have to get stuck in with the Spot Removal tool to remove unwanted hairs. The new Remove tool is great for getting rid of larger objects like lights, and can be handy for extending a backdrop too.
9. Use flare and light leaks
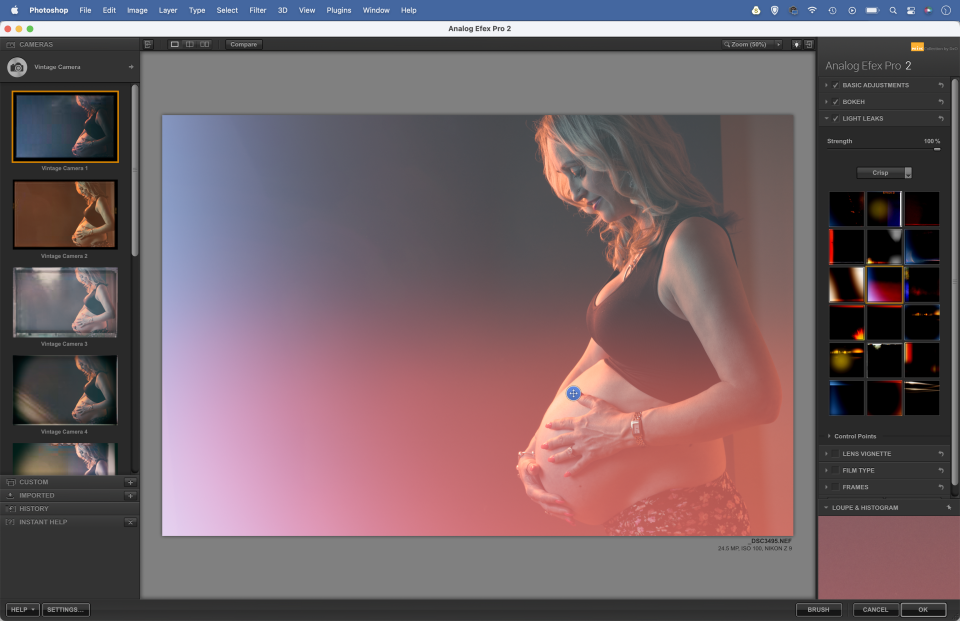
Backlighting can lend portraits a dreamy, thoughtful mood that can sometimes be enhanced with simple post-processing tricks, like adding a flare or light leak effect. We’ve used the Nik Collection, a fantastic plugin for Photoshop. It includes Analog Efex Pro, which offers retro effects including light leaks that you can blend with your photos.
PhotoPlus: The Canon Magazine is the world's only monthly newsstand title that's 100% devoted to Canon, so you can be sure the magazine is completely relevant to your system. Every issue comes with downloadable video tutorials too.
If you're serious about scenery, take a look at the best cameras for landscape photography along with the best lenses for landscapes.

