I Used Cheap Napkins to Give a $12 Target Lamp a Cottagecore Makeover
ABOUT THIS BEFORE & AFTER
HOME TYPE: House
PROJECT TYPE: Furniture
STYLE: Colorful, Cottage
SKILL LEVEL: DIY
RENTAL FRIENDLY: Yes
When it comes to the big light vs. small light(s) debate, I very much adhere to the “no overhead lights!” rule in my house. Because of that, there are quite a few little lamps scattered around.
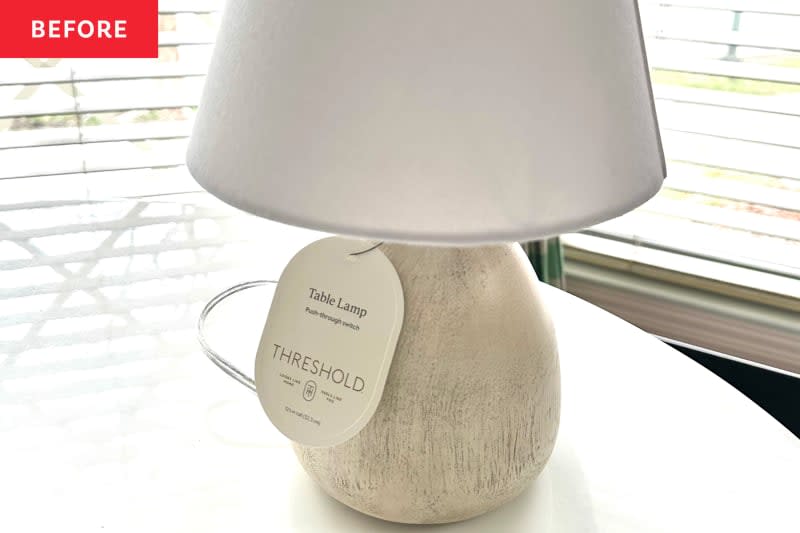
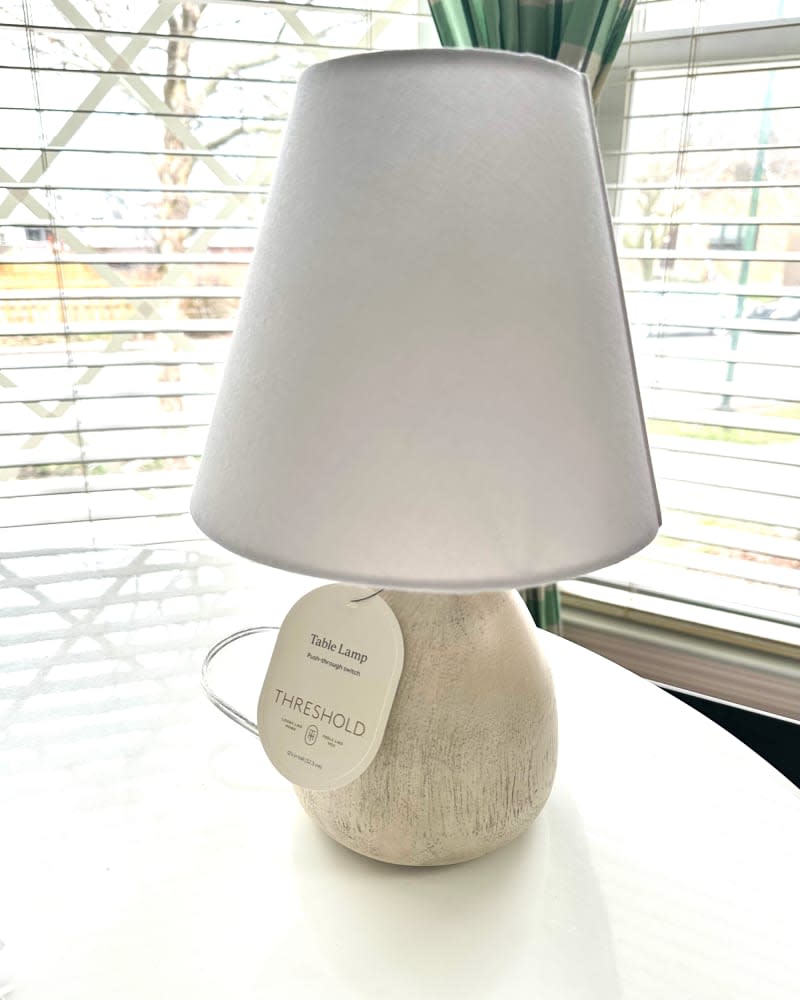
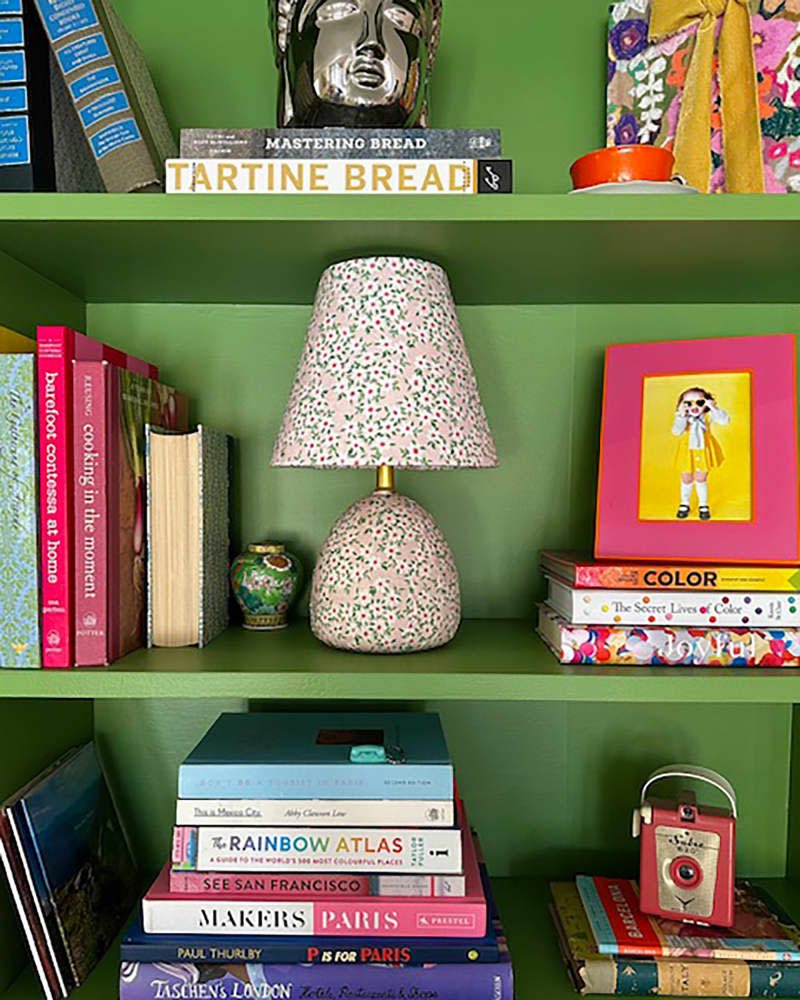
My bookshelf was the one last place in the living room that could use a lamp, so I went looking for one that would fit between the shelves and found this little cutie from Target. The price was right ($12 for the base and the shade!), but it just didn’t feel special enough. To infuse it with a little something extra, I decided to cover it in florals.
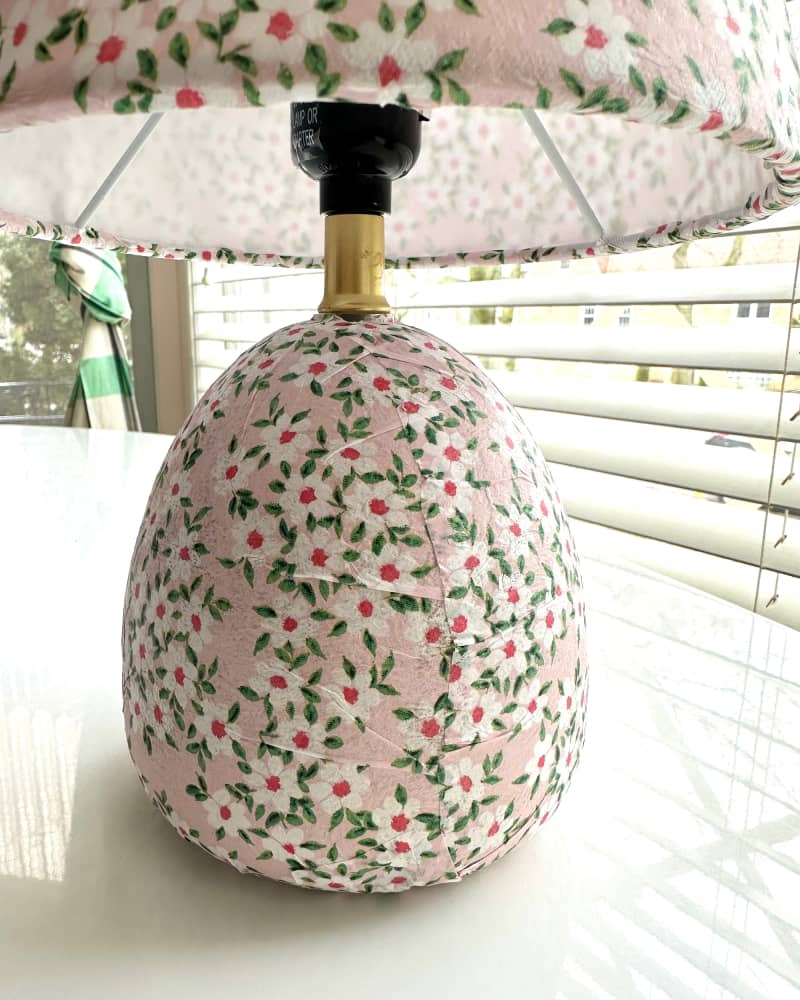
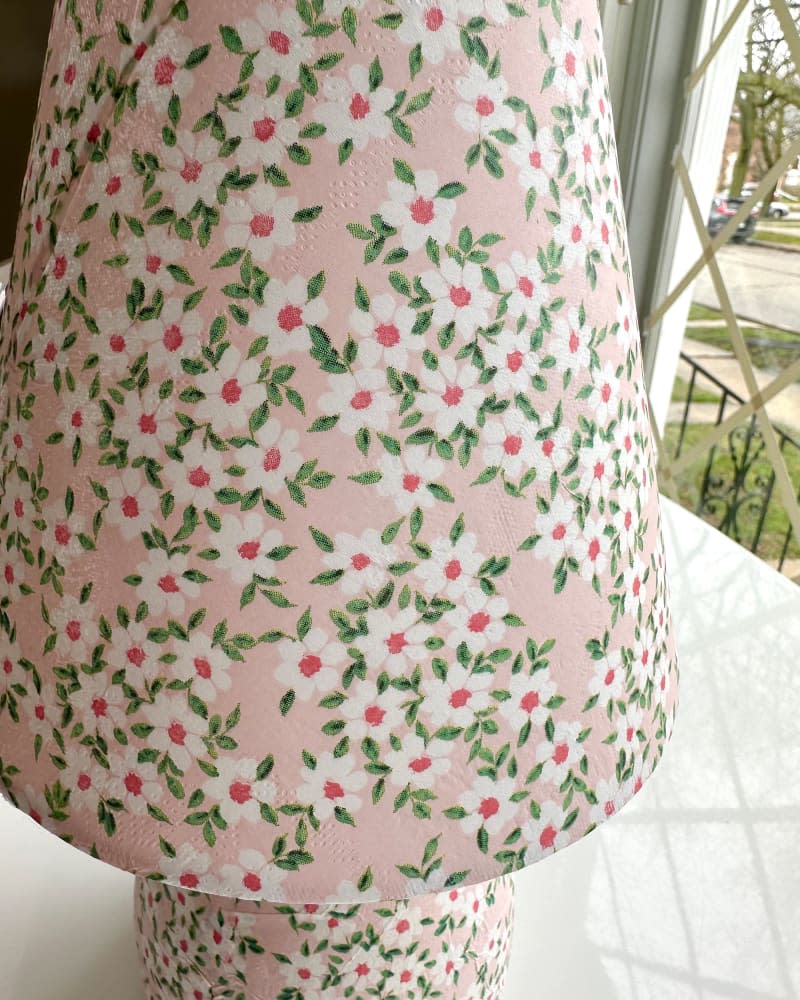
I used cocktail napkins to cover the lamp — yes, really!
Of course I’d love a shirred lampshade in my favorite designer fabric, but I can’t drop hundreds on a single yard. Instead, I went with a pack of pink floral paper napkins from HomeGoods (you can find similar ones from Meri Meri or Rifle Paper Co) and decoupage glue for my lamp. (I used Mod Podge’s matte version.)
I started just by covering the base, and that gave it the special sparkle I was looking after. But it left the lampshade looking naked, so I covered that too, taking the lamp from “forgettable farmhouse” to “custom cottage.”
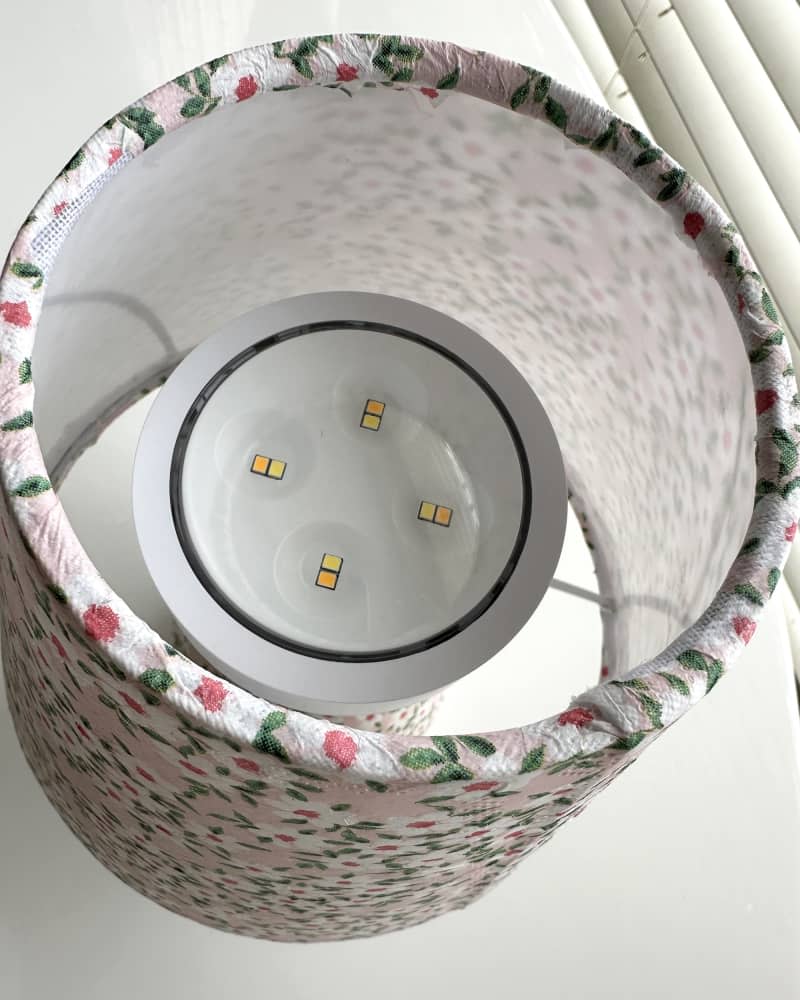
To make the lamp portable, I made two modifications.
Because this lamp was destined for the bookshelf (and because it was super cheap) I didn’t think twice about cutting the electrical cord and adding a battery-operated puck light so it could be easily tucked away. Puck lights are one of my favorite design hacks, as they allow you to put a lamp literally anywhere you want without being limited by outlets.
Plastic wrap and a mini iron made the project look polished.
I watched a few Youtube tutorials before I started this project — and as I went, too — and picked up some tips. The two best are as follows: Use plastic wrap to smooth things down and save your hands from getting covered in glue, and use a tiny craft iron to smooth out the wrinkles in the shade.
I do wish I would’ve thought to paint the base white before starting, as I think the brighter tone would have made the flowers pop a little more. If you try this DIY, that’s a step worth taking, I think!
That said, covering both the shade and base in the same print provides the feeling of satisfaction I get when I look at an outfit that’s completely monochromatic. It’s simple, yet very purposeful and sophisticated. And for me, if I can DIY it and save hundreds, it’s incredibly satisfying. I’ve since done the same to a little vintage lamp I picked up at the thrift store, and to say I’m obsessed with decoupage might be an understatement! You can check out my process here.
Inspired? Submit your own project here.

