The Ultimate Backpacking Checklist
A backpacking trip can be the experience of a lifetime--as long as you're properly equipped. Using a backpacking checklist is the best way to take stock of your kit before heading out. Our handy list covers the essentials for anything from an overnight to a week out in the wilderness. This list is meant for three-season backpacking only--you'll need additional or different gear for special situations, like when snow camping, desert camping, or thru-hiking. Time to get packing!
For a printable PDF checklist, click here
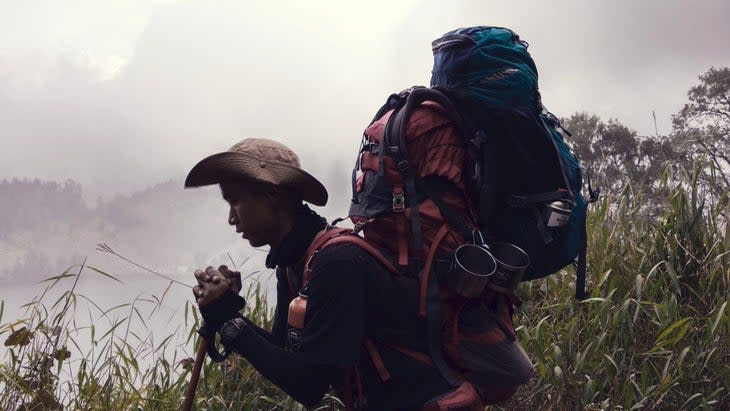
Backpack
– Typically a 50- to 80-liter backpack
– Rain cover or waterproof pack liner
– Waterproof compression sacks or storage sacks (optional)
For three-season backpacking trips that take a weekend or longer to complete, you should carry a pack between 50 and 80 liters in size. If you're simply doing an overnight trip or have an ultralight kit, you can make do with a smaller pack. There are many considerations when choosing a backpack, including carrying capacity, features like sleeping bag compartments and ice axe fasteners, pockets, materials, and overall fit. Read more about properly choosing and packing a backpack here.
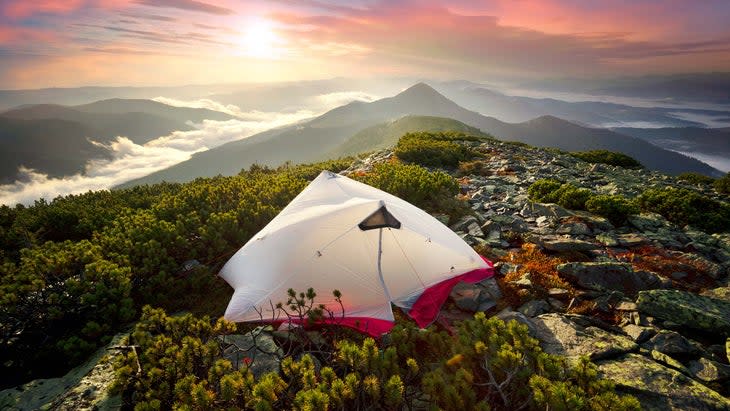
Shelter
– Tent, tarp, or hammock
– Rainfly
– Poles
– Stakes
– Trekking poles (optional, can be used to pitch certain shelters)
– Groundsheet (optional)
Tents are the most beginner-friendly option, and offer the best combination of livable space and protection. Hammocks can be a comfortable choice in warmer weather below tree line but may require extra time for setup and tree selection, along with extra equipment like a tarp to protect against rain or an underquilt to guard against cold. By themselves, tarps are a weight and space-saving option, but lack protection against bugs and take time and consideration to pitch correctly. Make sure to take stock of every pole and stake before setting off. Read more about choosing the right tent here.
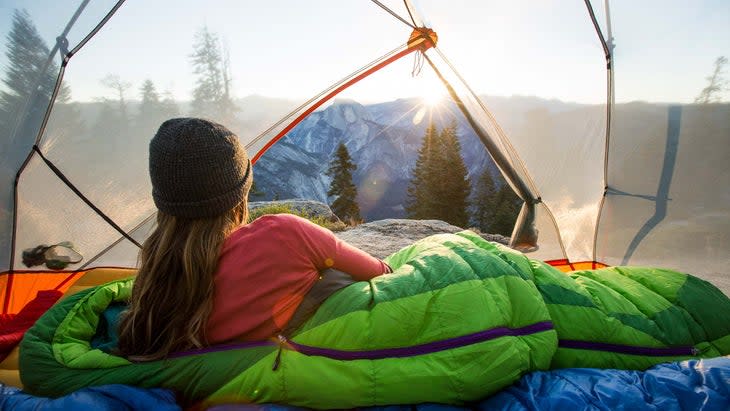
Sleep System
– Sleeping bag or quilt (15degF to 30degF comfort rating)
– Sleeping pad (foam, self-inflating, or inflatable with an R-value of 2 or higher)
– Camping pillow (optional)
Traditional mummy bags offer a good warmth-to-weight ratio compared to rectangular sleeping bags while offering more coverage than quilts. Quilts can provide great weight-savings as long as you bring a beanie or detachable hood for warmth, but can take some getting used to. All sleeping bags have temperature ratings, which indicate the range that the bag is designed to handle. In warmer climates, like parts of the American Southwest, you can get away with a higher comfort rating.Your bag is only as good as your pad, so make sure it has the appropriate insulating R-value for your lowest expected temperature. (Normally 2 to 5 R-value for three-season pads; 5 or above in winter). Read more about choosing a sleeping bag here.
Water Storage and Filtration
– Water bottle and/or water reservoir
– Purification system (squeeze, pump, gravity, or press filter, or a UV purifier)
– Backup filtration system (chemical purification tabs, drops, or small secondary filter)
Every filter or purifier, regardless of style, will eventually clog up; always bring the tools required to clean your filter. If using a UV purifier, bring a mesh pre-filter for sediment if you expect anything but pure mountain water. If there's a chance of freezing temperatures, place your filter in a leak-proof bag and stash it in your sleeping bag overnight--if it freezes it is no longer safe to use. Read about some of our favorite water filters here.
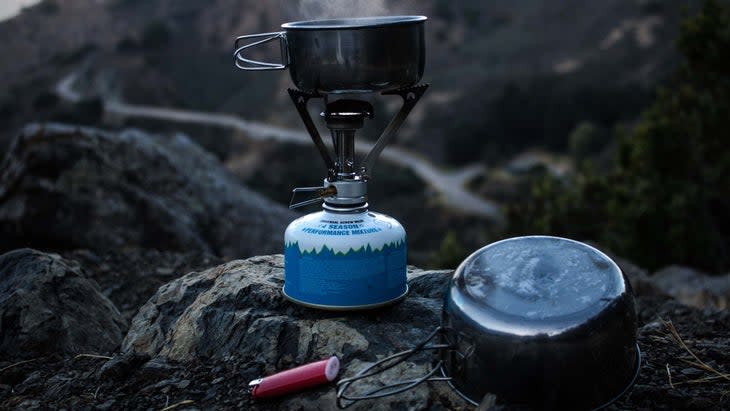
Stove and Cookware
– Stove (canister, liquid fuel, or alternative style)
– Fuel (isobutane-propane canisters, liquid fuel, or alternative fuel)
– Lighter or waterproof matches
– Pots if not integrated into stove system
– Utensils
– Cleaning rag or mini sponge
– Mug (optional)
– Biodegradable soap (optional)
Canister stoves are great for quickly boiling water to rehydrate food, purify water, and make hot drinks. Choose a stove with a wider burner head and a non-integrated pot for easier backcountry cooking. Many backpackers opt for canisters for their ease of use, but liquid fuel stoves can be more efficient in cold temps and higher altitude, and readily accept multiple types of fuel. Read about some of our favorite camp kitchen equipment here.
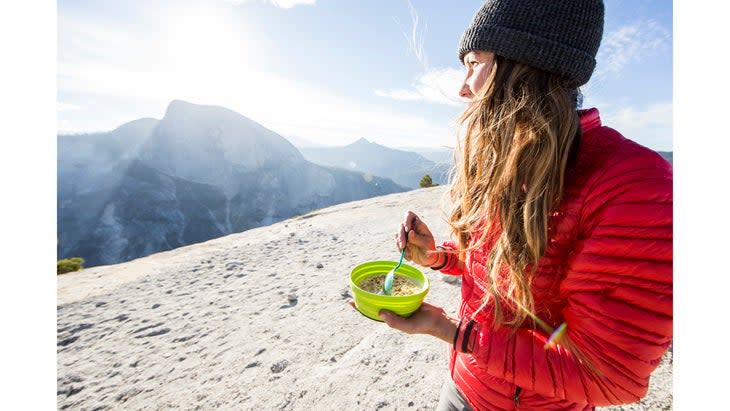
Food and Snacks
– Enough food for each day of your trip based on your caloric needs, plus an extra day's worth of food in case of emergency
– Snacks to stave off hunger and increase your caloric intake while you hike
– Hydration/electrolyte powder or tabs (optional)
– Bear canister (if required), Ursack-type bag, or 50 feet of nylon cord and a carabiner for a hang if you're in bear country
Deciding how much food to bring comes down to personal physiology, pace, and trail conditions, although 2,000 to 5,000 calories per day is a rough range for many people. Packing calorie-dense foods like nut butter, cheese, and olive oil will help you save weight. When in doubt, pack more food than you think you'll need.
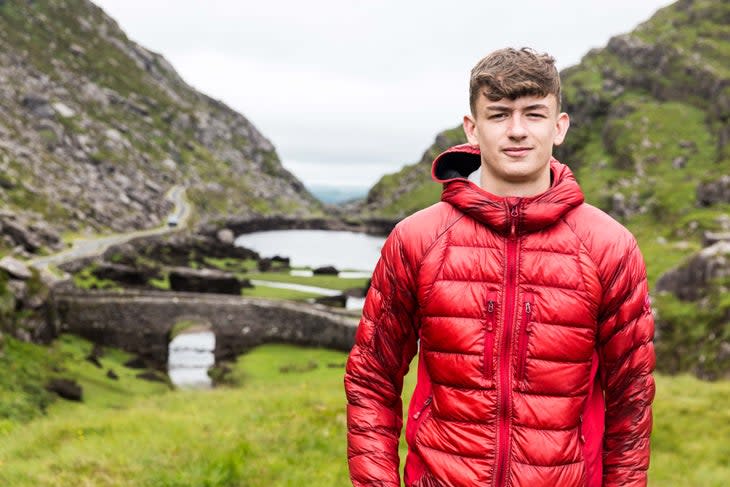
Apparel
– At least two pairs of socks
– At least two pairs of underwear
– Shorts, pants, or other bottoms such as a skirt or kilt
– T-shirt
– Long-sleeve shirt (for insects and sun protection)
– Insulating midlayer, such as a fleece or light puffy
– Packable down jacket
– Hardshell jacket or rain poncho
– Warm beanie
– Sun hat
– Top and bottom baselayers (optional)
– Light gloves or liners (optional)
– Rain pants (optional)
The saying "cotton kills" is popular amongst hikers for a reason: the material holds on to moisture and doesn't insulate when wet--the perfect recipe for hypothermia. Only wear wool or synthetic layers for the best temperature regulation. Baselayers and gloves can be lifesavers in cold or high-altitude climates but overkill in warm, low-elevation climates. Bring adequate rain gear even if precipitation isn't in the forecast, and always stash at least two pairs of socks (wet feet means a miserable trip). Read more about dialing in your layering system here.
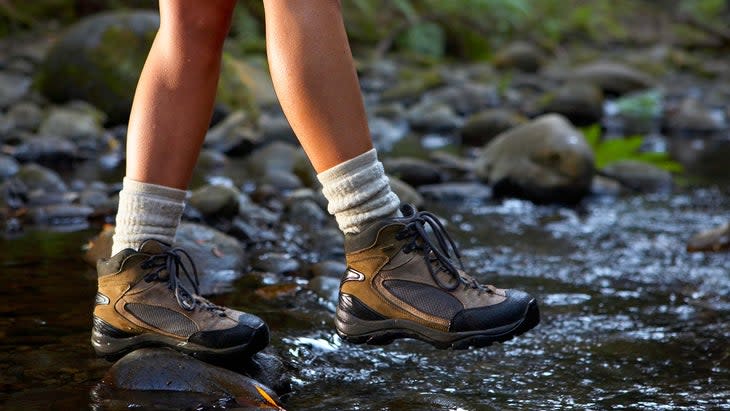
Footwear
– Hiking boots, hiking shoes, trail running shoes, or hiking sandals
– Camp shoes or sandals (optional)
– Gaiters for snow/scree (optional)
Choosing hiking footwear is one of the most subjective decisions a hiker can make--there are fits and options for every hiker and hiking style out there. For stability under heavy loads, rough terrain, and better durability, mid-cut or high-top boots are a safer choice. Trail running shoes will help you move faster (a pound on your feet equals five pounds on your back) and tend to breathe better. Depending on how much weight you're carrying, lighter shoes can be more comfortable over long distances in general. Some backpackers prefer to hike in sandals for breathability, weight, and easy water crossings, but must contend with the potential for cold feet and stubbed toes. Read more about how to choose the perfect footwear here.
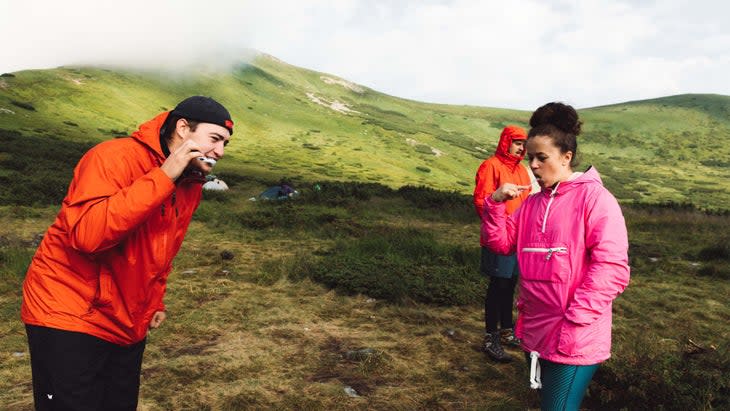
Personal Hygiene
– Trowel
– Toilet paper
– Hand sanitizer
– Sunscreen and SPF lip balm
– Bug repellent
– Toothbrush, toothpaste, floss
– WAG bag (if required)
– Menstrual products and pack-out bags (if not using a menstrual cup)
– Female urination device (optional)
– Pee rag (optional)
How you take care of business in the backcountry depends on the environment. The easiest scenario involves moving 200 feet from a water source, trail, or camping area, digging a six- to eight-inch deep hole, clearly marking your spot, and cleaning your hands thoroughly. In certain environments--such as deserts or tundra--or protected and popular parks, a WAG bag may be required. And remember: tampons are always a pack-out item. Read more about backcountry hygiene here.
Electronics
– Power bank and/or solar charger (optional) with charging cables
– Headlamp with extra set of lithium batteries
– Satellite messenger or personal locator beacon (optional)
Most hikers can get away with a small power bank to charge their phone and headlamp on a backpacking trip. On extended trips with no resupply, a solar charger is the best (albeit slow) solution. Remember to keep batteries (always lithium, never temperature-sensitive alkaloid) in your sleeping bag at night--they lose juice more quickly as the mercury drops. Read more about some of our favorite backcountry electronics here.
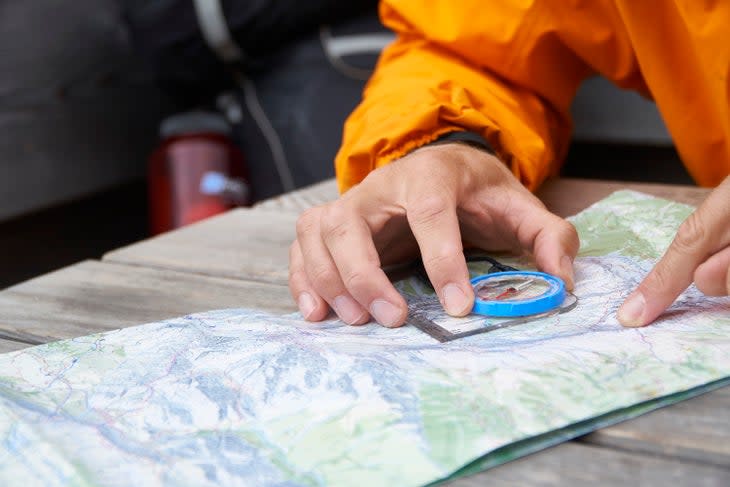
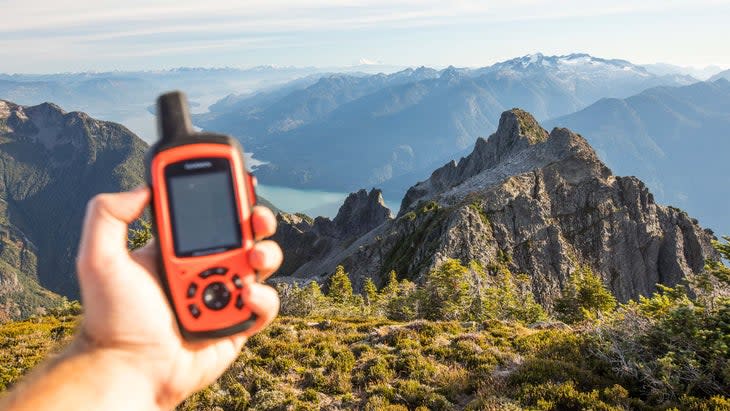
Navigation
– Map, compass, and the knowledge to use both
– GPS device (optional)
– Navigation app, like Gaia GPS (optional)
Always carry a topographic map and compass and know how to use them. GPS devices and smartphone apps are great tools, but can run out of battery or malfunction. Peace of mind requires carrying only a few extra ounces and a quick navigation course. Read more about backcountry navigation here.

Repair and Emergency
– Prescription medication
– Moleskin
– Bear spray (in grizzly country)
– Duct tape
– Sleeping pad patch kit
– Waterproof matches/ firestarter
You can easily buy a first aid kit that has everything you need (and more), or simply grab a waterproof bag and raid your own medicine cabinet or pharmacy for a low-cost alternative. Duct tape is one of the most useful all-purpose tools you can carry, and can help with medical emergencies and gear repair. Sleeping pad patch kits are especially important if you're sleeping on rough ground. Read more about building emergency kits here.

