Trust: DIYing Soap Is Way Cooler Than It Sounds
I know what you're probably thinking—why would anyone want to make soap at home? Especially when you can just run to the store and buy some body wash or bar soap. Well, IMO, the coolest thing about making soap at home is that you're able to customize it—most DIY soap recipes can be completely tailored to your specific needs. You have control over almost everything, including the fragrance, the color, and even the oils in the formula. This also means that you can leave anything out that doesn't fit your vibe.
Homemade soap is also a great option if your skin doesn't react well to the ingredients in conventional soap, or if you want to lather up with an all-natural formula. Down to try it yourself? I had a feeling. Keep reading for everything you need to know about making soap at home.
Can soap be made without lye?
If you take a look around the internet, you'll notice that a lot of homemade soap recipes include lye (another name for sodium hydroxide). But the thing about lye is that it's high-key dangerous to work with at home. You have to keep it stored in a warm and dry place where no one else can access it and you have to be extra careful since it can burn your skin when used incorrectly. Plus, lye can only be used in an area with good air flow, because when it's mixed with water, it creates toxic fumes. Which, uh, not fun.
Thankfully though, you can make soap at home without worrying about any hazardous materials—you just need to buy a soap base. These bases are also called melt and pour soaps, and they're usually made up of a combo of soap, glycerin, and other skin-soothing ingredients (like goat milk or oatmeal) that have already gone through the steps that involve using lye. Translation: These bbs make it easier for you to focus on the design and customization of your DIY soap (aka the fun stuff).
Okay, now that that's all cleared up, it's time to get into the soap-making process. To help you out, I broke down Pro Candle Supply's DIY soap tutorial into six super-easy steps. Keep scrolling to get all the deets.
The supplies you'll need to make soap:
1 pound of melt and pour soap base
2 tablespoons honey
1 tablespoon vitamin E oil
1 tablespoon hydrating oil (Hannah uses sweet almond oil)
Optional: any skin-friendly colorants or fragrance oils, if you want to play around with color and scent
Step 1: Cut your base into evenly sliced cubes

Measure out one pound of your melt and pour soap base, then use a sharp kitchen knife to chop it up into small cubes. Don't worry too much about making sure they're all the same size!
Step 2: Melt the base

Scoop up all of the cubes and drop them into a microwaveable-safe bowl, like a large measuring cup. Then, pop the cup into a microwave until the base melts into an even and creamy consistency. Check in on the mixture about every 10 to 15 seconds, stirring in between each interval.
Looking for even more DIY beauty advice? Click here to join Cosmo Unlocked.
Step 3: Mix the honey and oils into the base

Pour two tablespoons worth of honey into the creamy base and stir it really well. (P.S. The honey isn't mandatory—it just smells nice!—so if you don't want it in your soap, feel free to skip.) Next, mix in whatever oil your heart desires. Hannah adds in sweet almond oil in the video because it's super moisturizing and soothing, but you can also try castor or jojoba.
Step 4: Add in colorants or fragrance oils
This step is completely optional, but if you want to infuse your soap with color or fragrance (like lavender or rose), this is where you'd do so. Mix in a half teaspoon of your colorant and one teaspoon of your fragrance oil into the base, then stir them all together. One thing to keep in mind? Fragrance oils can be irritating on sensitive skin types, so use 'em with caution if you're prone to inflammation.
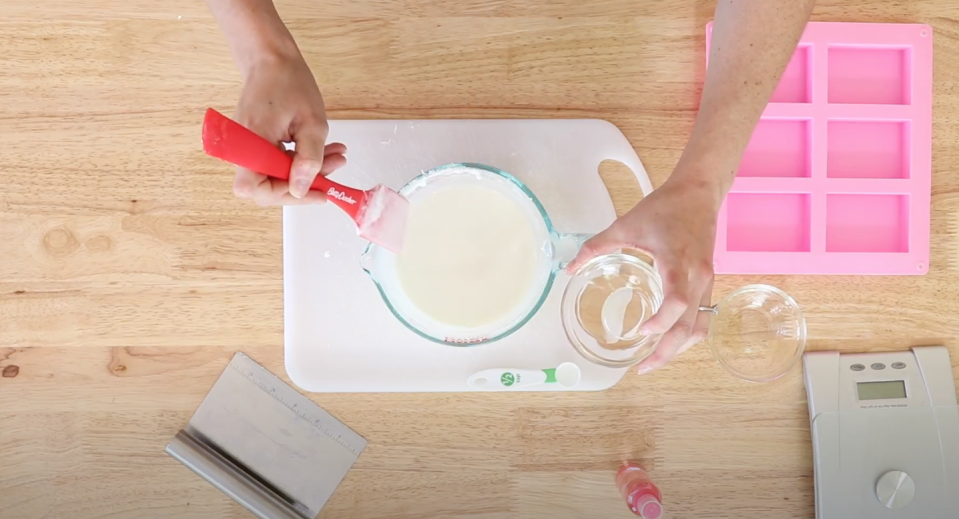
Step 5: Stir the mixture and pour it into the silicone mold
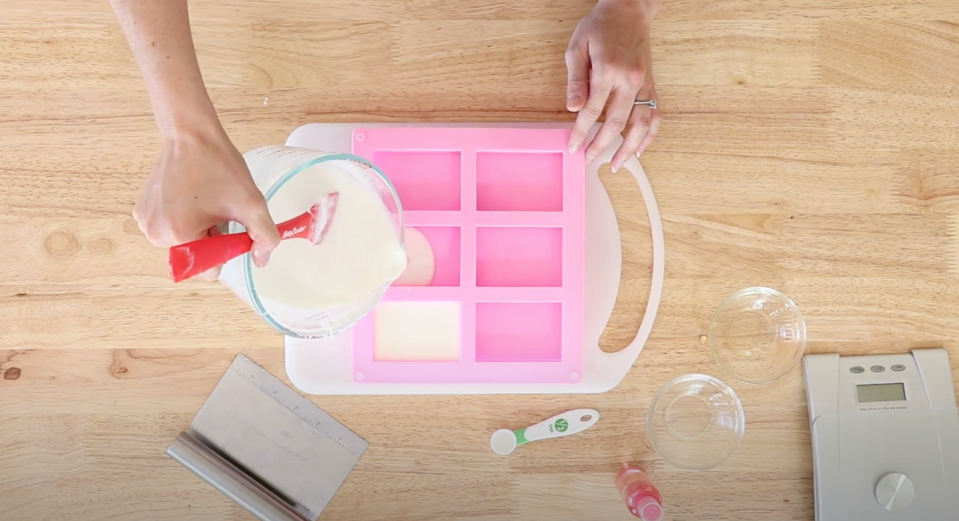
Stir well until everything is one smooth and even consistency, then pour your soap mixture into a silicone mold. The goal is to pour even amounts of your soap into each each section of the mold, but it's no big deal if they're not exactly equal.
If you spot air bubbles on the surface of your soap, you can spray 99% isopropyl alcohol on top of the mixture. It'll get rid of the bubbles and it evaporates, so you don't have to stress about any alcohol making its way into your soap.
Step 6: Let the soap sit for 1 or 2 hours

Set the soap aside for one or two hours until it hardens. Once it's rock solid, pop the soap bars out of the mold and you're all set! Not too difficult, right?
The final word
There are sooo many benefits to making your own soap at home. You basically have complete control over how it looks and what ingredients are included, which is a godsend for anyone with sensitive skin or folks who prefer body care products with as many natural ingredients as possible. Either way, it's a fun activity to do at home if you're bored and have watched everything Netflix has to offer. Just me?
You Might Also Like

