I Tried This Viral Trick That Makes Any Glass Look “Vintage” — And I’m Obsessed
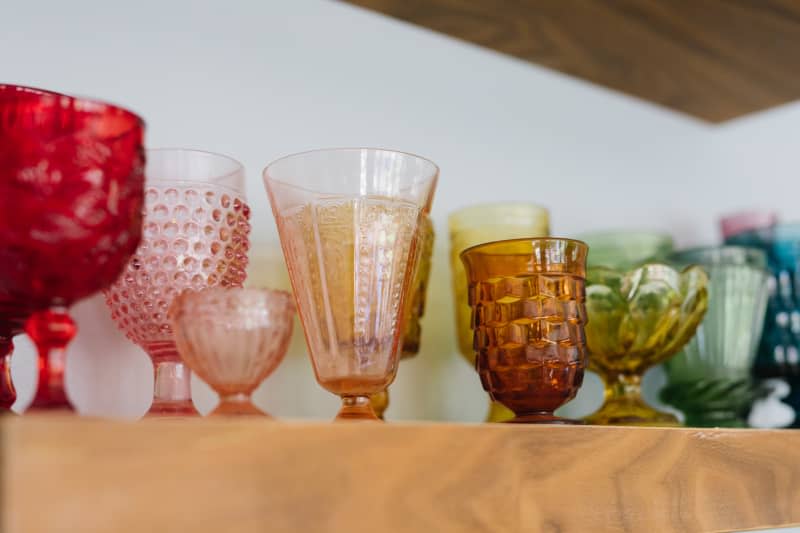
I’m a sucker for beautiful glassware — whenever I find myself in a home decor or thrift store, I make it my personal mission to browse the kitchenware selection for hidden gems. Ever since Mason jars exploded in popularity and became the hipster’s choice for drinking cups, pen holders, and beyond, I’ve been hooked on the glass jar aesthetic. I especially love repurposing food jars for future household needs. So the moment I came across this DIY vintage glass tutorial from Sibia Torres Padilla on Instagram, I knew I needed to try it.
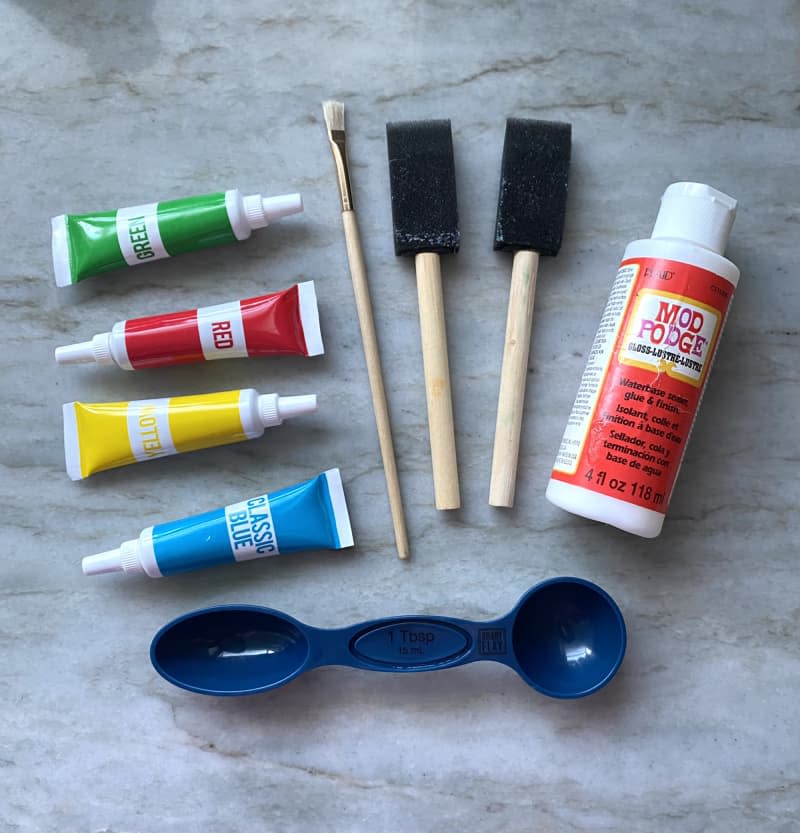
One of the best parts about this glass transformation is that almost all of the items needed can be found around the house — and the rest can be sourced from your local grocery or craft store!
What You’ll Need to Make “Vintage” Glass Jars
Tablespoon measuring spoon
Small containers (for mixing)
Paper bag or scrap paper (for drying)
Oven
Cookie and/or baking sheet (optional)
How to Make “Vintage” Glass Jars
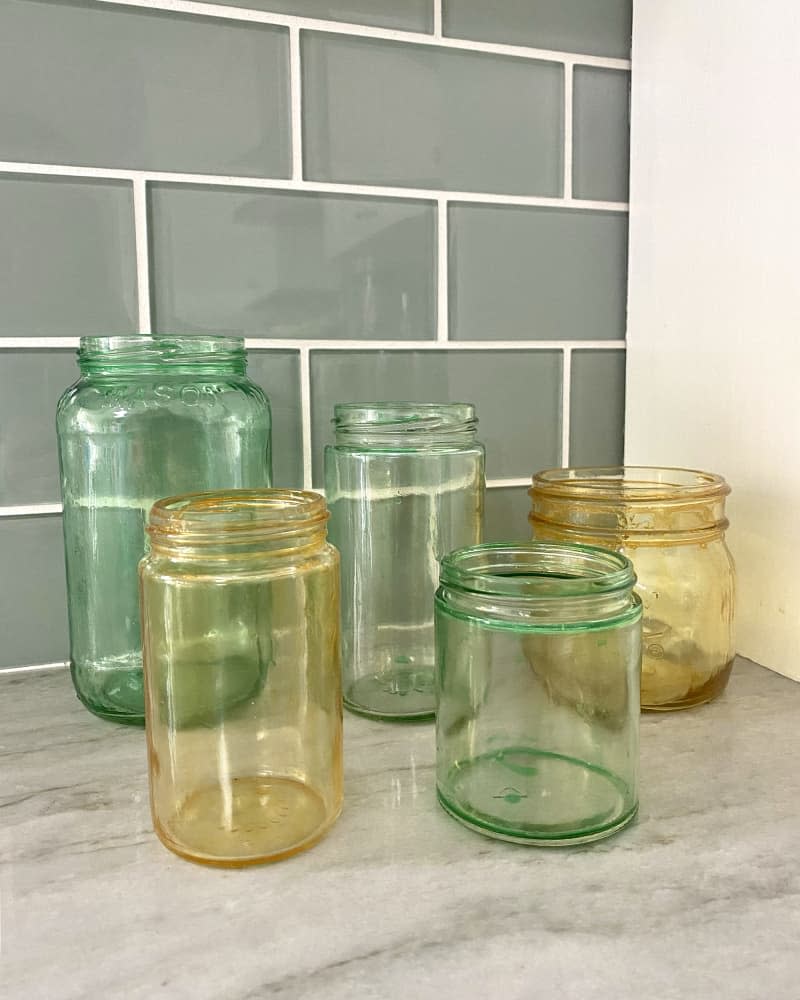
First, you’ll want to make sure your jars of choice are squeaky clean and label-free. (If you need an extra hand scraping out stubborn contents, this $7 Dreamfarm Mini Supoon works wonders.) If you find yourself battling with residual label glue, you can submerge your jars in boiling water and add a drop or two of dish soap or baking soda. I collected five glasses of various sizes to upgrade.
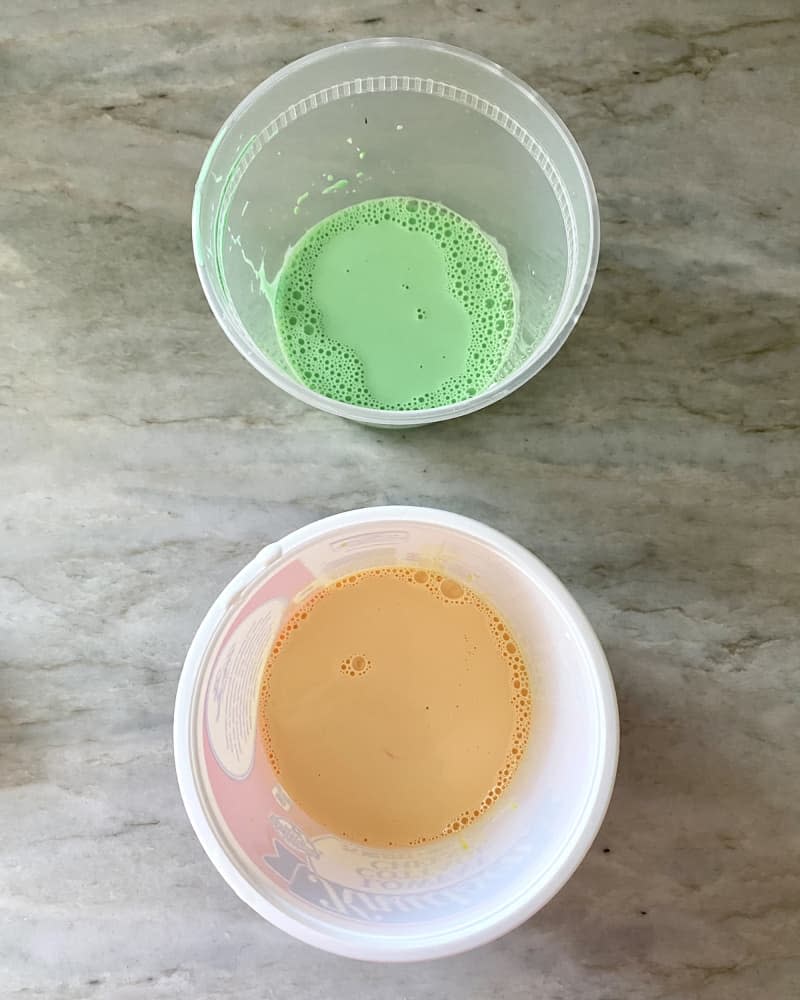
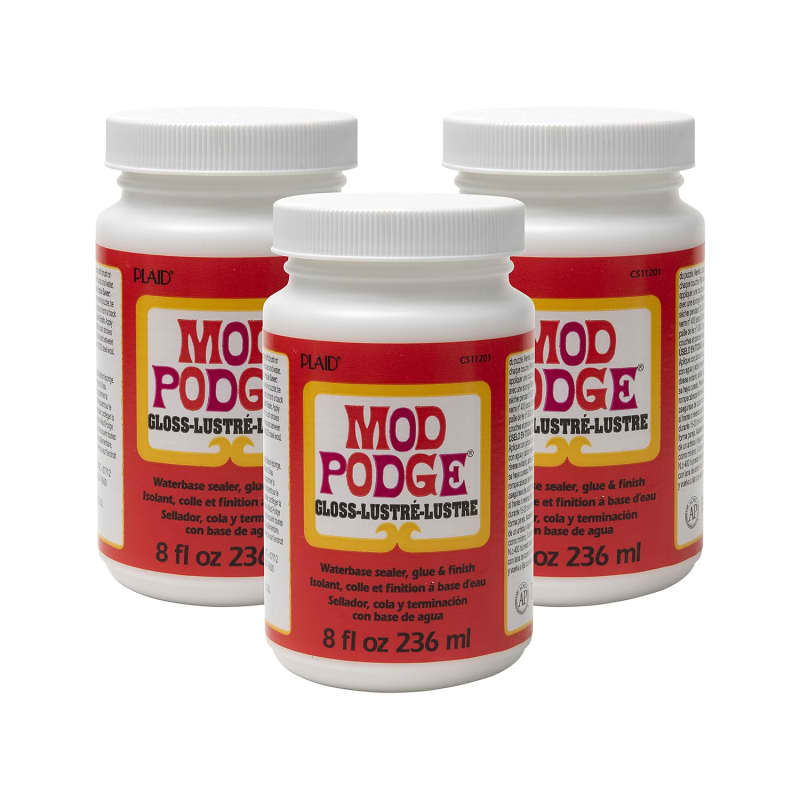
Moving on to the tints, I prepared two mixtures in recycled food containers. For each tint, you’ll want your ratio to be about one tablespoon of Mod Podge for each half tablespoon of water. I doubled this recipe, using two tablespoons of Mod Podge and one tablespoon of water. From there, I added in food coloring to each container, gently blending everything together with a small paint brush. Sibia used 15 drops of food coloring in each mixture, but I had gel tubes and squeezed in color until I was happy with my results: a greenish-blue and a mustard yellow.
In the Reel, Sibia pours the mixture into each jar, carefully turning them until the insides are evenly coated. However, she notes that the final products cannot hold water or else the tint will come loose. I want to use a couple of jars for plant propagations, so I decided to experiment by painting the outside of three glasses with a sponge brush. I went with the aforementioned method for the other two. I laid a cooling rack over a paper bag and sat the jars face-down to drip out tint.
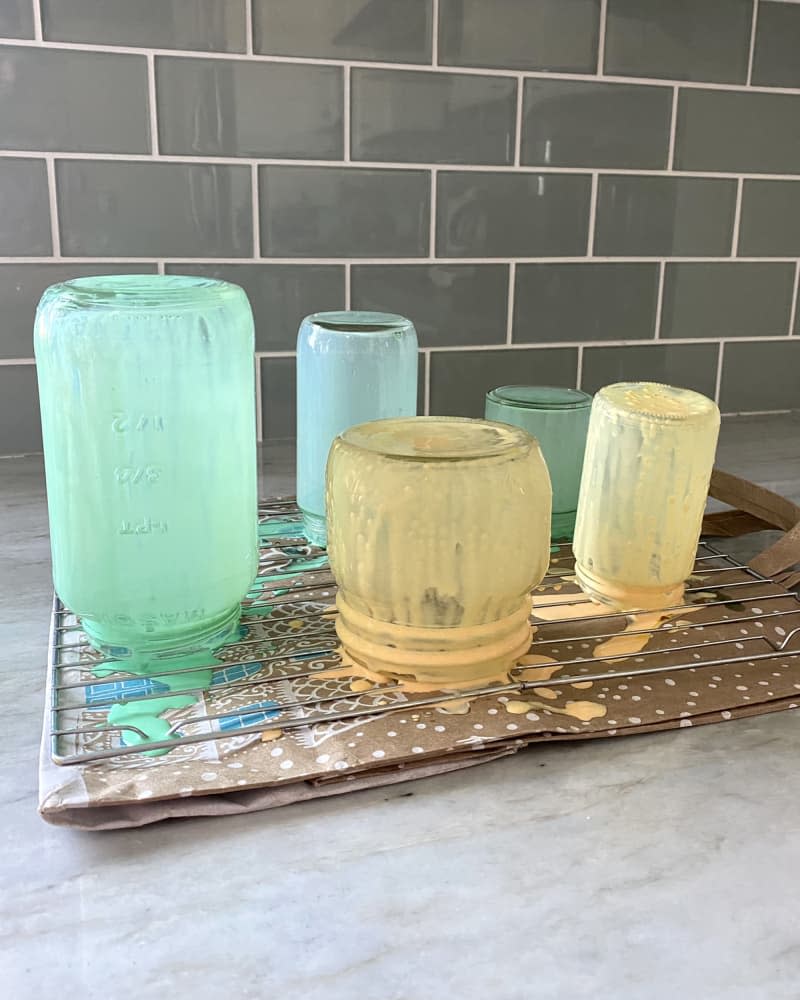
Not yet totally satisfied with my concoctions’ tackiness and pigmentation, I ended up mixing a few extra drops of Mod Podge and food coloring into both containers and applied two to three extra coats to each jar. I used my small paint brushes to smooth out each application job and reapply the mixture to any unconcealed areas. Then, I let the jars sit for about an hour.

At the 45-minute mark, I preheated my oven to bake at 215 degrees Fahrenheit. Once an hour had passed, I was pleasantly surprised to see that the tints had dried nicely, losing their runny appearances. A couple jar rims had gathered extra mixture, so I made sure to wipe all of the excess away. Lastly, in a very DIY fashion, I lined a cooking pan with aluminum foil and sat the jars right-side-up to bake for about 45 minutes until they were streak-free. The results looked just as colorful and antique as I had hoped!
If you have spare jars sitting in your cabinets or refrigerated items on their way out, I highly recommend trying this hack — it’s super simple, sustainable, and kid-friendly, and it’s a fun way to spend an afternoon in the kitchen. And, in the vintage spirit, they’re high-quality pieces that can be enjoyed for years to come!
Have you tried this DIY trick to make your glasses look “vintage”? Let us know how it went in the comments below!

