I Tried the Viral “Fork Method” to Hang Art & Here's What You Should Know

The first thing I saw when I walked into my apartment for the first time was a giant white wall that you can at least glimpse from most parts of the place. I knew I’d have to put my TV there, but I wanted it to be something more, too, so I didn’t find myself staring at a blank wall all the time. I decided on a gallery wall, which would help fill some of that area while still being renter-friendly.
Hanging a lot of artwork at once presents a few challenges: determining layout, for one, and choosing frames and art that feel cohesive. Another tricky part? Getting those darn wires to actually snag on the hooks or nails you put in the wall.

I created my gallery wall earlier this year, and had the fortune of being able to tap my dad in for help. For as long as I’ve been alive, my dad has been the family’s sole picture hanger. My mom loves buying frames, and thanks to that, my dad has become a self-professed “master of hanging frames.” Both of them came over and my mom and I helped determine the arrangement while my dad put each piece up the old-fashioned way — that is to say, by hammering in nails, then sliding the wires on the back of the frames around until they caught.
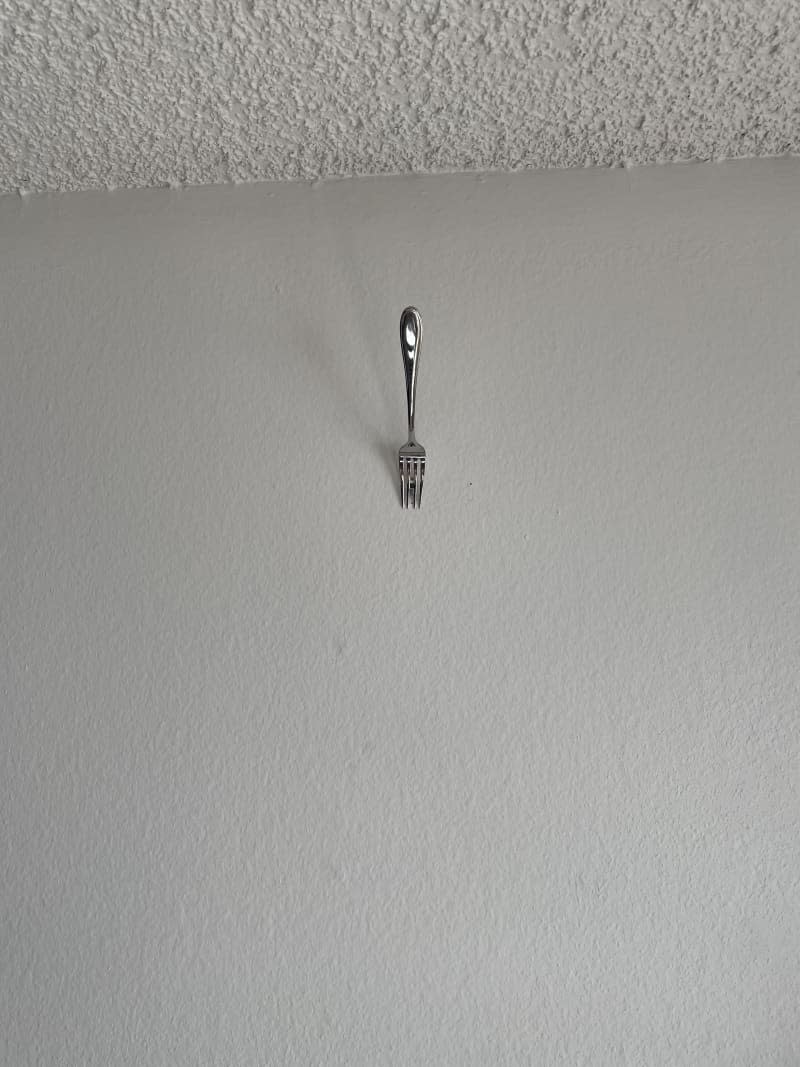
But recently, my editor told me about this viral artwork-hanging trick from @britdotdesign, in which a fork is used to help guide a picture into place. It goes like this: Once you know where to position a frame, put the nail in place by hammering it into the wall — but not entirely! Leave a bit of room for the tines of a fork to squeeze between the nail head and the wall, making the handle of the fork stand steadily upright. The handle makes it easier to know where the nail is in relation to the rest of the frame, and makes it easier to catch a wire and slide it into place. Once that wire is caught on the nail, you can pull the fork out and admire your handiwork.
Because my dad is, of course, the “master of hanging frames,” I wanted to see how his tried-and-true method (i.e., just sliding the wire into place) held up to this new-fangled one. We took down my art — “Why? You already have your frame up,” my dad asked when we started — then got to work testing.
With the nail in the wall already, we could skip straight to adding the fork. This wasn’t quite as easy-breezy as it seemed it should be; it took us a minute or two to get the fork to actually stay in place once we hooked its tines onto the nail. I wondered if my fork, from Target, was especially heavy or had especially wide tines, but it seems average enough to me. Once we did get it to stay, we were able to move on to the good stuff: sliding the wire in place.
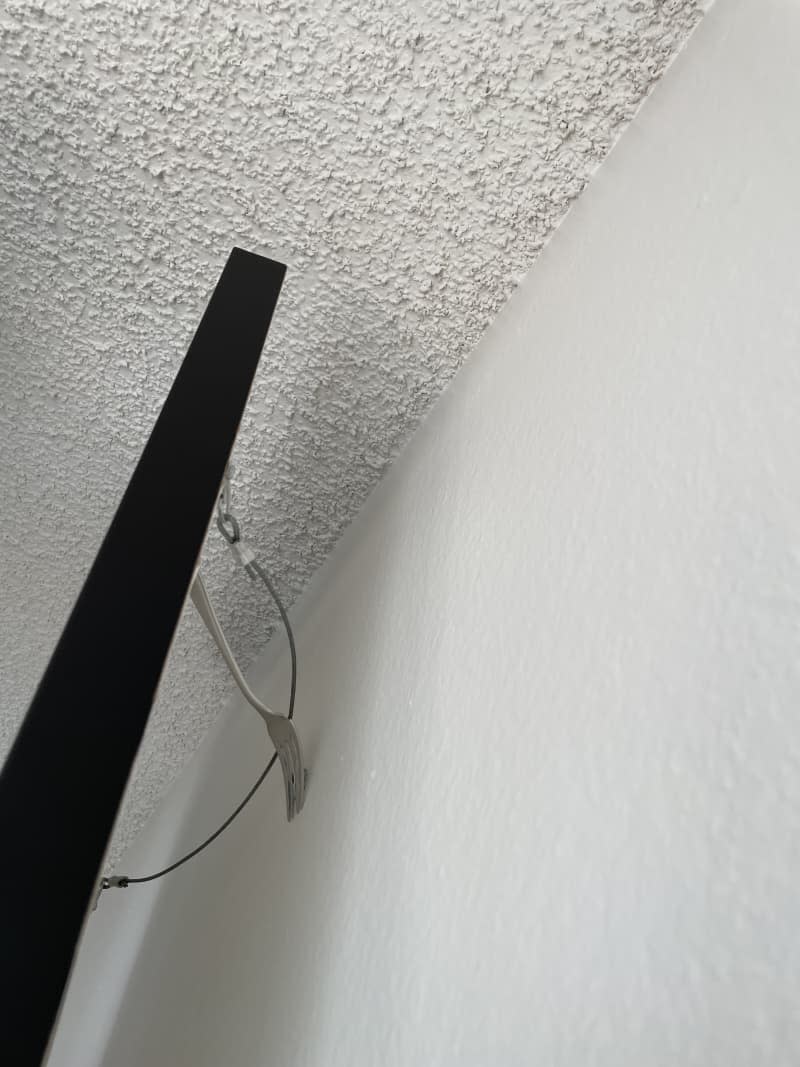
We struggled with this step, too, and found it tricky to get the wire to catch on the fork so that it could hang on the nail. I had to spot my dad from the side as he did the swooping motion to make sure the wire hit the right spot, and even then, it took us a few tries to get the frame to stay. Maybe with a bit of practice, though, the whole thing could be done seamlessly. (If you have an entire wall to hang, I’d bet the final piece takes a lot less time than the first few.)
My dad, master art hanger, wasn’t sold on the fork hack — but he has a lot more experience than the average user and has developed a steady hand for sliding a frame’s hanging wire in exactly the right spot. For someone with less practice, this might be a handy trick to try — even if it takes you a bit to get the frame to catch, the project will probably still take less time than if you did it without any assistance.
A few things to note: This trick only works on a wire-hung frame, so if you’re working with D-rings or sawtooth picture hangers, I’m afraid you’re out of luck. Also, this trick doesn’t help you with determining where your nail should be, so you’ll have to take that part on by yourself.
I have a word of warning for you, too: It’s a really good idea when doing this hack to keep a secure hold on the frame even after you think it’s in place — if the wire doesn’t settle onto the nail, the whole frame will come down when you remove the fork. Working with a partner will allow one of you to spot from the side, but if you’re doing this project solo definitely proceed with caution in removing the fork. Making sure there’s enough room between the nailhead and the wall is another thing that will help ensure success.
So, was the fork trick as magical for hanging art as it seems? That depends a little on how skilled you are with the task to begin with, I think. But because it requires only items you already have and costs nothing to do, it’s worth a try the next time you hang a new piece of art.

