I Tried My Mom’s DIY Solution For Getting Rid Of Bugs On My Climbing Roses And Here’s What I Learned
First off, I should have asked more questions.
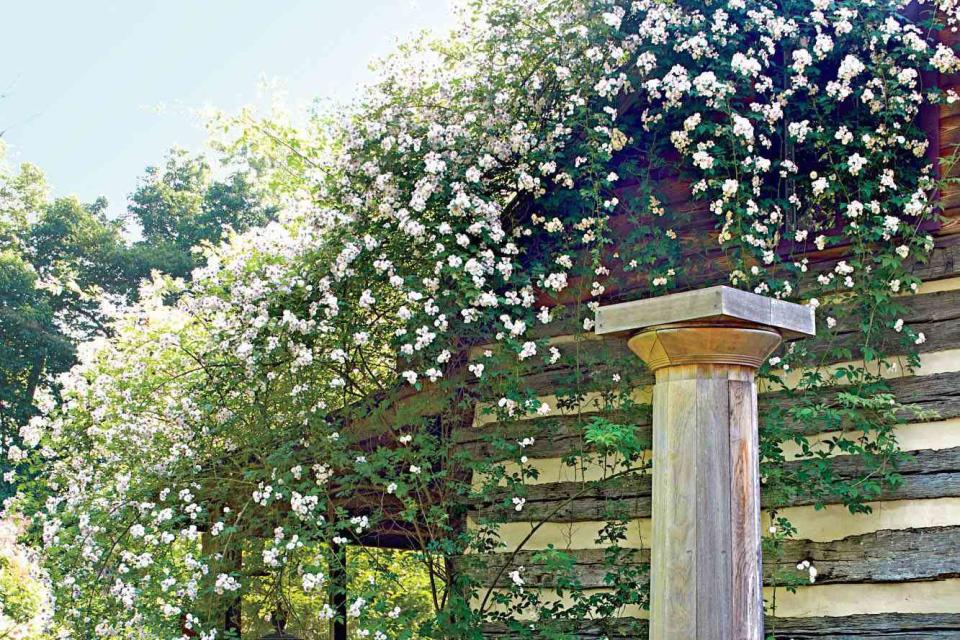
Alison Miksch
My mom is the plant whisperer, but I took her advice, and my climbing rose ended up on death’s doorstep. Who was to blame? Well, after consulting a professional, it turned out to be yours truly (probably a surprise to no one).
Meet The Expert
Trae Crocker, Plant Protection Manager at Monrovia
Trae Crocker, Plant Protection Manager at Monrovia sounded off on where I went wrong with this DIY pest solution that, it turns out, even the pros rely on. When you spray, how much you mix the solution, and more can affect the results. The variability of factors when it comes to a DIY solution is why many home gardeners opt for store-bought formulas instead. Get the mix and elements right though, and you’ll have success just like my mom—and hopefully me too, even though it may have taken a practice round.
Related: How To Grow And Care For Climbing Roses
How To Identify Problems On Your Climbing Roses
The first step that I failed to do was even notice the problem with my climbing roses. My mom was over one afternoon and noticed my sickly plant. On closer inspection, I saw the white specks and black leaves that caught her eye. Crocker says these were most likely the exoskeletons of aphids, a common rose pest, and the bugs’ sugary byproduct called honeydew. The honeydew causes the leaves to turn black due to a fungus that then morphs into a sooty mold, which is exactly what stage my plant was in when Mom swooped in.
Related: Can You Help Save My Sick Roses? Grumpy Weighs In
While Mama was able to quickly identify the issue, Crocker says a concise web search also works. “While searching the Internet, try to be as simple as possible with the descriptors of the bugs or leaf spots and you should be able to diagnose the problem pretty quickly,” he advises. Not only can identifying the problem be helpful in determining the appropriate solution, but it can also help you avoid a recurrence in the future. For example, Crocker says that one way to avoid general leaf spots is to reduce elongated periods of moisture. Avoiding late-in-the-day waterings where leaves remain wet into the night hours can ensure leaves dry efficiently.
Once you’re sure of the problem, the next step is to settle on a plan of action. “There are a few different sprays made from household items that can be effective in battling small pest outbreaks, but depending on the degree of the pest infestation it may take multiple sprays and very thorough spray coverage,” Crocker explains. For that reason, a general systemic insecticide (ideally one without neonicotinoids, which are harmful to bee populations) from a local garden center might be your preferred method, though going the DIY route like I did still gets Crocker’s stamp of approval—and Mama’s too.
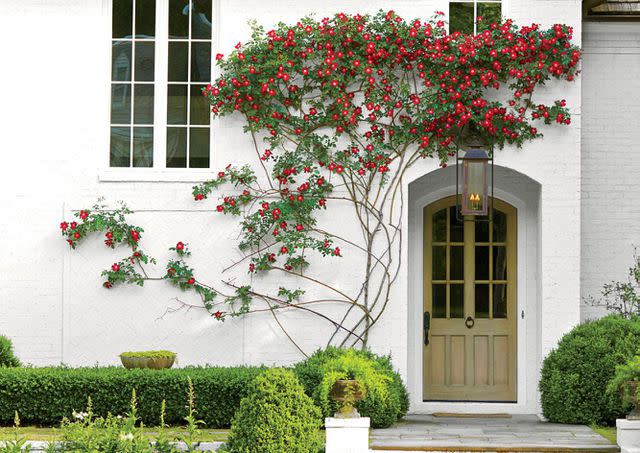
Alison Miksch
Are Insecticidal Soaps Really Effective?
When asked whether insecticidal soaps, like my mom’s solution, can be effective, Crocker gave a resounding yes. “Even on a big nursery like Monrovia, we use insecticidal soaps when the opportunity is right,” he says. That being said, special care should be taken to ensure your plant doesn’t end up clinging to life all in the name of getting rid of pesky bugs the DIY way. “The environment is a major factor to consider when using soap, because high heat and humidity can cause adverse effects with several different sprays, not just soaps,” Crocker explains. It turns out, the singed-looking leaves that started to appear in the days after I initially sprayed my roses with the DIY soap solution was in fact a phytotoxic effect that arises when the temperature is too warm. It burns the leaves and causes them to fall off the plant, which is exactly what occurred to my climbing rose.
How To Make An Insecticidal Soap Solution
If you want to make an insecticidal soap solution that actually works, the trick is to get the formula right and then properly mix it. Yet two more pitfalls my poor little shrub fell prey to. Crocker suggests a ratio of two tablespoons of Dawn dishwashing soap per one gallon of water. For a little “extra kick” he says you can also add 2 tablespoons of vegetable oil to the mixture. From there, ensure the solution is properly mixed, then add it to a spray bottle.
Crocker advises starting small, spraying just a tiny portion of your garden before committing to the solution. This will ensure it’s safe for your plants and environment. “Sometimes the best thing to do when trying a new spray is start at half the rate, so only use 1 tablespoon, and gradually increase the concentration, that way you will have much more confidence in the safety of what is being applied to your garden,” he suggests.
Mistakes To Avoid With DIY Pesticides
While my plant has since regrown much of its fallen foliage and seems devoid of aphids and their byproducts, there are plenty of takeaways that I’ve learned for the next round so my plant can stay healthy and thriving even throughout pest treatment. The first thing to do is make sure your solution is thoroughly mixed. While I believe I made my mixture far too potent (using nearly quadruple the amount of soap Crocker suggested) I certainly didn’t mix it as well as I should have. Crocker says this can lead the first half of the spray to be mostly water while the second half is highly concentrated.
What’s more, your DIY solution doesn’t come with a troubleshooting manual or any other helpful hints, so you’ll have to rely on any research you do and experts who you poll in the process. “While it does take a little extra work to test your DIY pesticides, it can be fun and rewarding to make it all at home and observe the effects in the garden,” says Crocker.
For more Southern Living news, make sure to sign up for our newsletter!
Read the original article on Southern Living.

