We Tried 6 Ways to Hack Pillsbury Cinnamon Rolls
The alluring aroma of cinnamon rolls is guaranteed to rouse even the crankiest teenager out of bed. The promise of digging into a soft, bready treat glazed with frosting will bring people out from under the covers and into the warmth of the kitchen. Homemade cinnamon rolls are a special kind of delight, but they require too much time (yeast dough, you know?) to be in regular rotation for most folks.
Cue: those cans of refrigerated cinnamon rolls! They scratch the same itch in a fraction of the time, delivering tender baked goodness with ease. Recently, a few viral recipes have touted different ways to zhuzh up store-bought rolls to purported spectacular results.
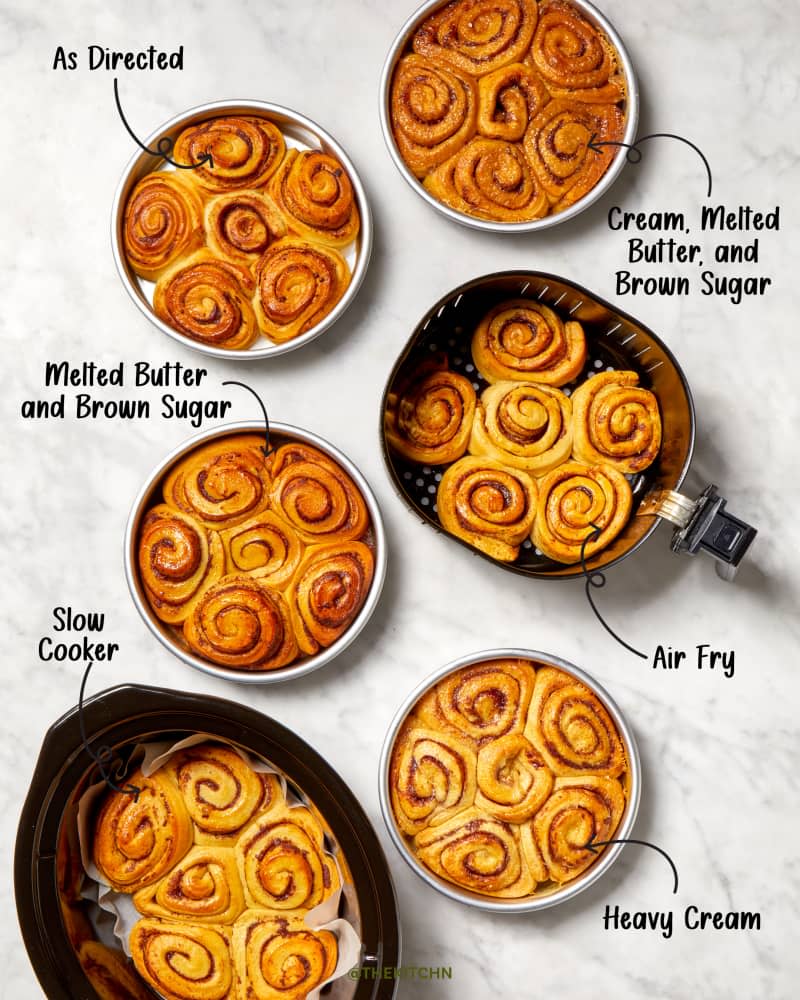
So that got us thinking: How many ways can you prepare refrigerated cinnamon rolls — different cooking methods and/or add-ons — and what difference do those techniques make on the final product? We uncovered six unique methods and put them to a side-by-side test to find out.
A Few Notes on Methodology
The cinnamon rolls: While we’ve reported on our favorite canned cinnamon rolls in the past, I had a hard time finding enough tubes of those brands to do my testing. So I went with what’s probably the most readily available and plentiful brand: Pillsbury. I used regular-sized rolls (the 8-count can) and did not test jumbo-sized rolls.
The tests: I cooked all of the cinnamon rolls on the same morning, timing it so that I could taste them all side-by-side while still warm. I used different cooking vessels based on what each method calls for (all noted below).
Ratings: I judged each method on a scale of 1 to 10, with 10 reserved for absolute perfection. My main considerations for rating were flavor and texture, with time and ease (or difficulty) of the method in mind as well.
Cinnamon Roll Method: As Directed
Rating: 5/10
About this method: I preheated my oven to 400°F, arranged the rolls in a 9-inch round cake pan, and baked them, uncovered, for about 12 minutes. After cooling them for a couple of minutes in the pan, I then spread on the icing included in the can.
Results: I find it hilarious that my least favorite method is to follow the package instructions. Before embarking on this test and tasting, I would not have predicted that. Because that’s the way I grew up eating canned cinnamon rolls, I assumed the nostalgia factor would make this method a favorite. But the rolls simply didn’t hold their own against the others in this showdown. They were very underwhelming, coming across as dry and a little tough.
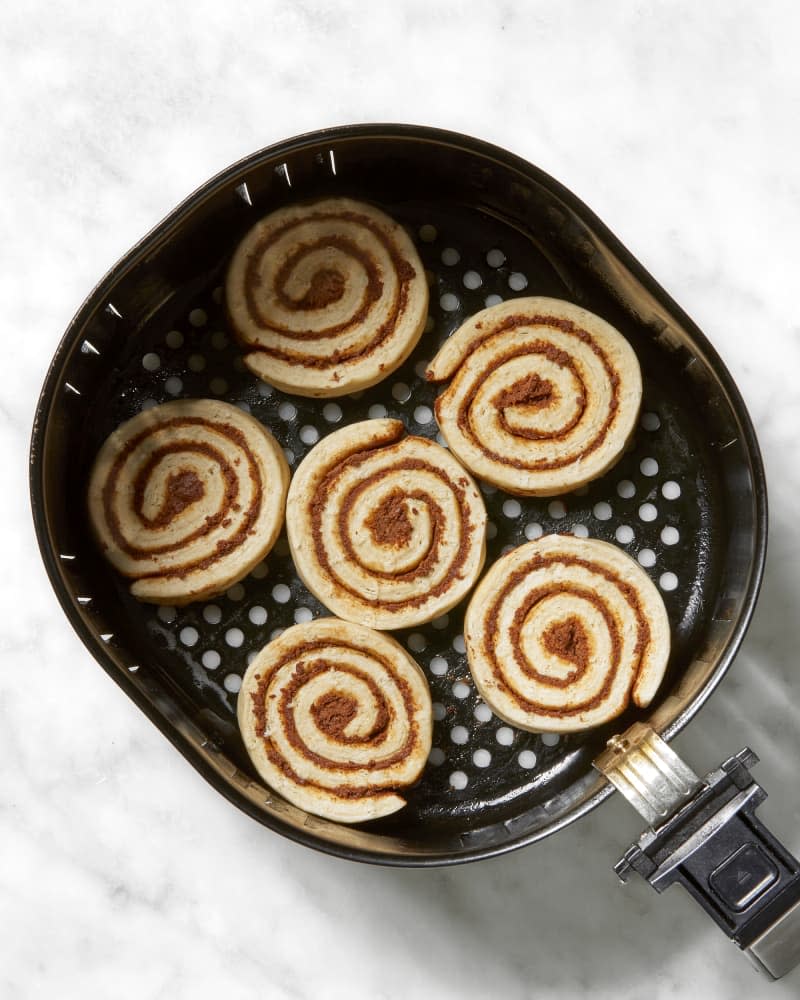
Cinnamon Roll Method: Air Fryer
Rating: 6/10
About this method: To test this method, I followed the instructions from Air Fryer Fanatics. Again, I used the 8-count Pillsbury rolls (not the jumbo rolls) and arranged them in the basket of my Phillips basket-style air fryer. It was a slightly snug fit, but I didn’t have to wedge any of the rolls in. The instructions say to air-fry at 360°F for 8 minutes, but my air fryer doesn’t offer that temperature as an option — so I air-fried at 350°F for about 9 minutes. After cooling for a couple of minutes, I topped the rolls with the icing.
Results: Because there wasn’t a lot of extra space in the air fryer basket, when the rolls expanded during cooking, they rose up taller instead of wider. They had a crispy-crusty exterior, which was pleasant. But overall, they seemed a bit dry. Even the coveted center of the roll’s spiral lacked the soft, plush texture I was hoping for.

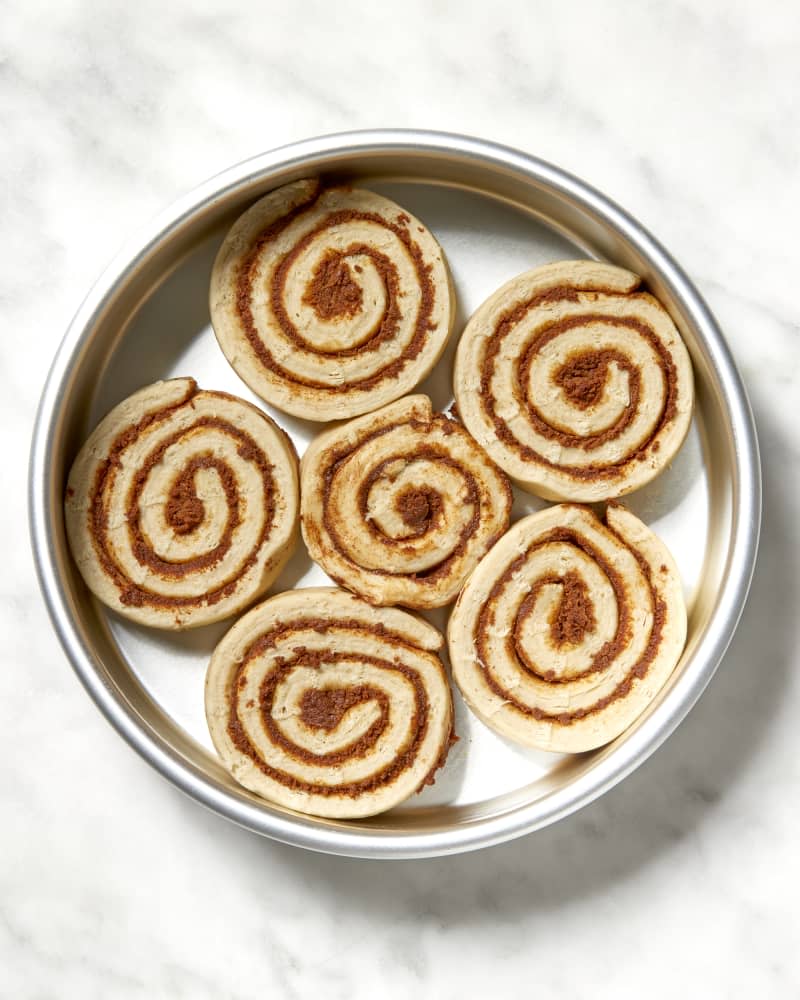
Cinnamon Roll Method: Oven with Butter and Brown Sugar
Rating: 7/10
About this method: I found several sources for this method, including Pillsbury itself, but decided to use the recipe from Sweet Pea Lifestyle, just without the recommended nuts. In the bottom of a 9-inch cake pan, I drizzled a couple tablespoons of melted butter and then sprinkled 3 tablespoons of brown sugar on top. I then arranged the cinnamon rolls on top and baked, uncovered, for 10 minutes. After cooling for just a minute or so, I inverted the hot rolls onto a plate and spread on the icing included in the package.
Results: These rolls were softer and more tender than the rolls made the previous two ways, and the flavor was great. But the brown sugar didn’t fully dissolve; instead, it seemed to crystallize a bit and had a bit of crunch. I would’ve liked for the sugar to melt into the rolls and glaze them, sticky bun–style, but that was not the case.
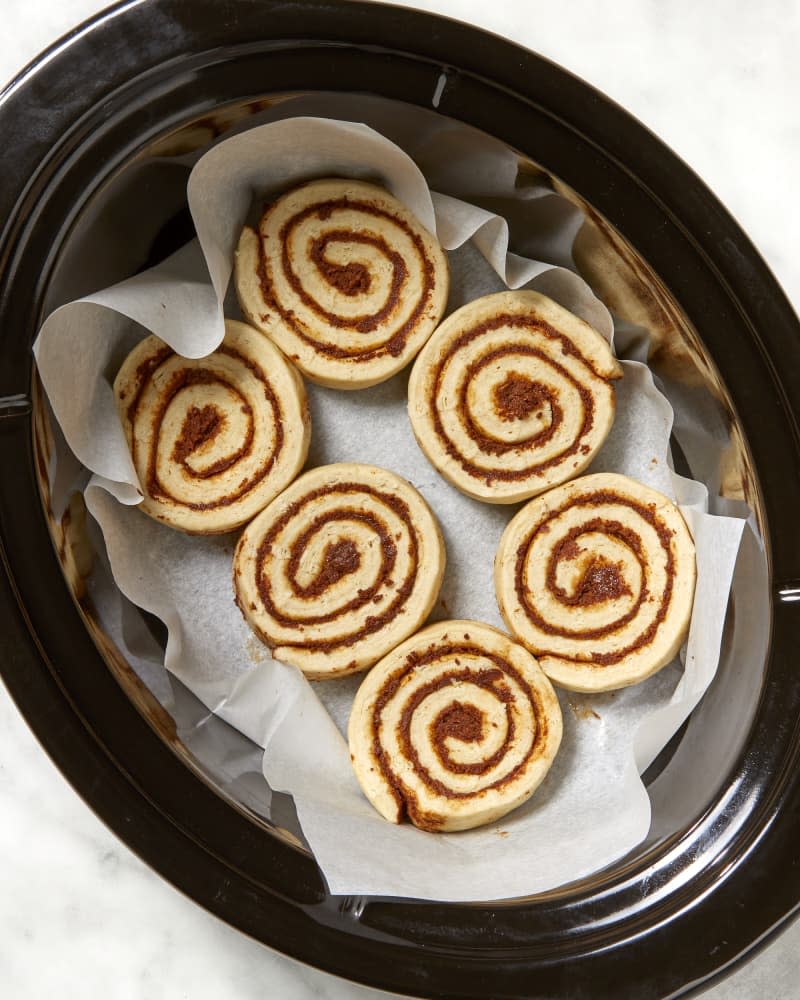
Cinnamon Roll Method: Slow Cooker
Rating: 8/10
About this method: I looked to The Lazy Slow Cooker and our own site for guidance with this method. I lined my 6-quart slow cooker with parchment paper, allowing enough overhang so that I’d be able to lift the rolls out with ease. I then arranged the rolls on the paper, stretched a clean kitchen towel over the top of the slow cooker crock, and covered it with the lid. I cooked on the High setting for 1 1/2 hours, lifted the cooked rolls out of the cooker, and then spread the icing on top.
Results: I was surprised at how well this method worked! The bottoms of the rolls got a little crisp, while the rest of the rolls stayed tender and pillowy soft — ideal for folks who like both textures. The crispiness on bottom read as tough in some bites, though. This method requires the most amount of time by far, so you would need to plan ahead. But it’s a hands-free method that would allow you to tend to other things (or use your oven for other tasks) without worry.
Cinnamon Roll Method: Oven with Cream, Butter, and Brown Sugar
Rating: 9/10
About this method: I found lots of recipes for this method online but settled on following the instructions from Salty Side Dish because the recipe calls for the regular-sized rolls I was working with. I tested a half-batch using just 1 (8-count) can of rolls, and I excluded the nuts. In an 8-inch square baking dish, I drizzled 1/2 cup heavy cream and then arranged the rolls on top. I then melted a half-stick of butter in a small skillet, added 1/2 cup brown sugar and a splash of heavy cream, and cooked until the sugar dissolved. I poured this on top of the rolls and baked them, uncovered, at 350°F for 18 minutes. After cooling for a few minutes, I topped with the canned icing.
Results: These rolls were very soft and incredibly gooey, and they puffed up much larger than I expected. The buttery, caramel-y flavor was pronounced and, for me, seemed a little overthe-top sweet. But my kid testers, my nieces and nephew, went bonkers for them. There was a little too much liquid left in the dish — it didn’t absorb that well into the rolls. If I were to try this method again, I would probably cut the additional ingredient amounts in half.
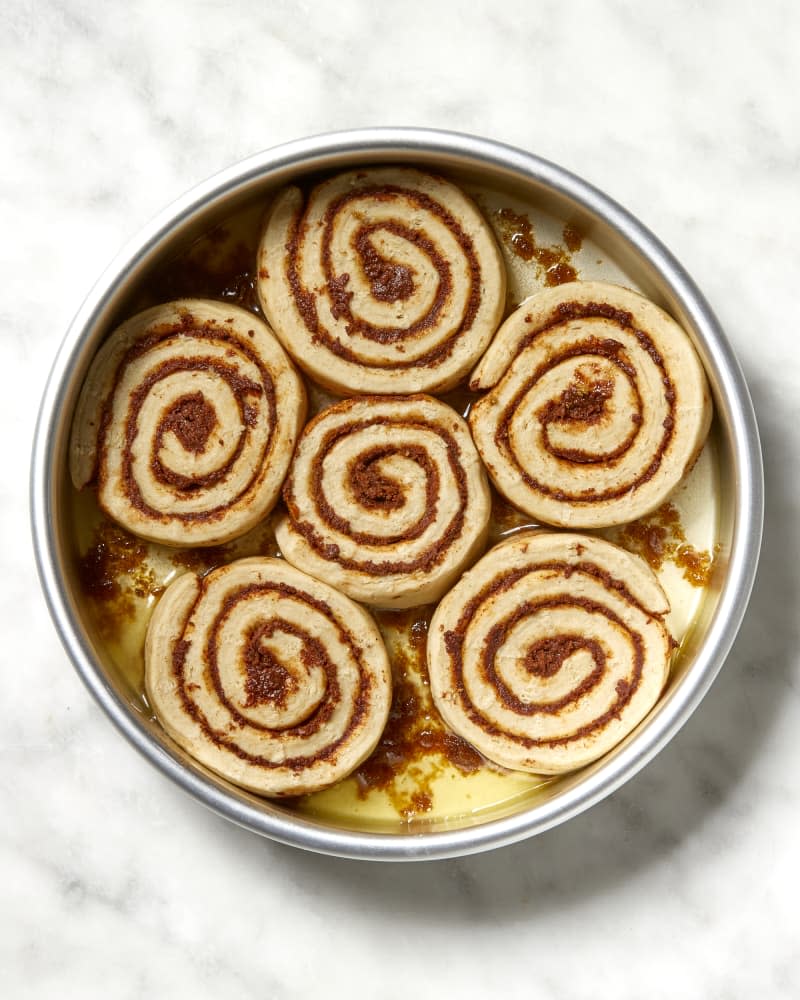
Cinnamon Roll Method: Oven with Cream
Rating: 10/10
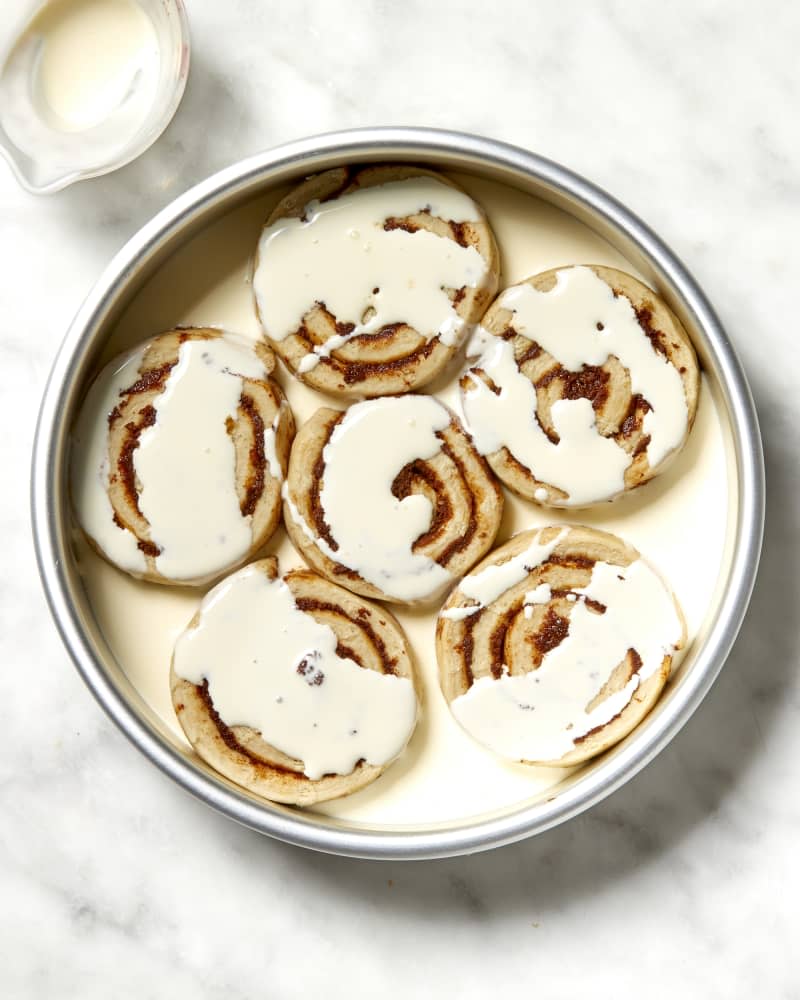
About this method: I found no shortage of online sources for this method and used a combination of the recipe from Rose Bakes (but using regular-sized cinnamon rolls) and general guidance from popular Instagrammer Jordan the Stallion. I arranged the rolls in an 11×7–inch baking dish, spacing them out evenly, and poured a half-cup of heavy cream over the top, allowing the excess cream to pool in the empty spaces in the dish. I then baked them, uncovered, at 350°F for 15 minutes. After cooling them for a couple of minutes, I spread on the icing included in the cinnamon roll can.
Results: First of all, the size of the baked rolls was impressive; they expanded more than with any of the other methods. They absorbed just about all of the cream, with just a little bit left in the bottom of the dish after all the rolls were removed. And because they soaked up that rich cream, the texture was impossibly soft and plush, the entirety of each roll possessing the texture that you usually only get from the innermost part. They were rich and delicious, like bakery-style rolls, with just the right amount of sweetness for my taste. And, perhaps best of all, it took barely any extra effort to achieve these delicious results. I will never again cook canned cinnamon rolls any other way — ever.

