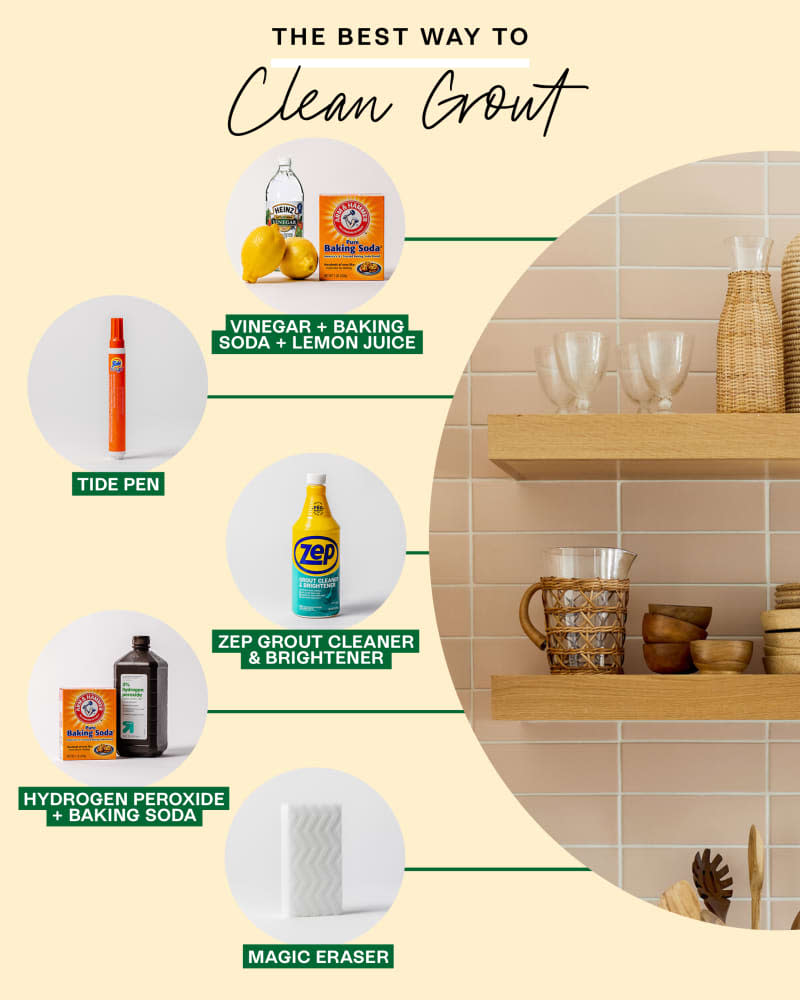
I Tried 5 Methods for Cleaning Tile Grout — And the Winner Was Ridiculously Effective
Grout is my arch nemesis. If I ever have a chance to go groutless, I’d take it in a heartbeat. In the meantime, I have four bathrooms (yes, four!) and one kitchen full of grouted tile flooring. With an active household (read: a family of seven), the grout — especially in my kitchen — requires regular maintenance to keep up any semblance of clean.
I’ve even had my grout professionally cleaned, and the result was refreshing but only lasted three months before it was back to its dingy status. Not only do spills and tracked-in messes make grout dirty, but mopping can also turn grout lines dirty. This might be the biggest insult of cleaning that I’ve ever encountered: To get clean, mopped kitchen floors, I have to accept that I’ll just have dirty grout.
Or do I? I decided, once and for all, I needed a reliable, relatively quick way to clean my grout. So I rolled up my sleeves, ready to undertake a monumental task, and tested five common methods to get grout clean. While it all depends on the particular grout mess you’re facing and the state of your grout, I found one clear winner that was super effective. Read on to discover just which method came out on top. And then use it for your floors and backsplash.
How I Tested the Methods for Cleaning Grout
My family and I are straddling houses right now, and the kitchen in our new house has thick, blackened grout lines that I swear have never been cleaned! It was the perfect setup for testing various grout-cleaning methods.
I tested each method on a 12-inch line of grout, so the total times listed below show how long it took to clean that much grout. For each method, I made the solution, if necessary, applied with a grout brush where applicable, and then wiped away with a wet paper towel. (I’d definitely use a rag if cleaning larger areas.)
The ratings: I ranked each cleaning method on a scale of 1 to 5, with 5 being the best method and 1 being the least effective. I factored in how well each worked, ease of use, and the total amount of time it took.
Grout Cleaning Method: Magic Eraser
Total time: Less than a minute
Rating: 2/5
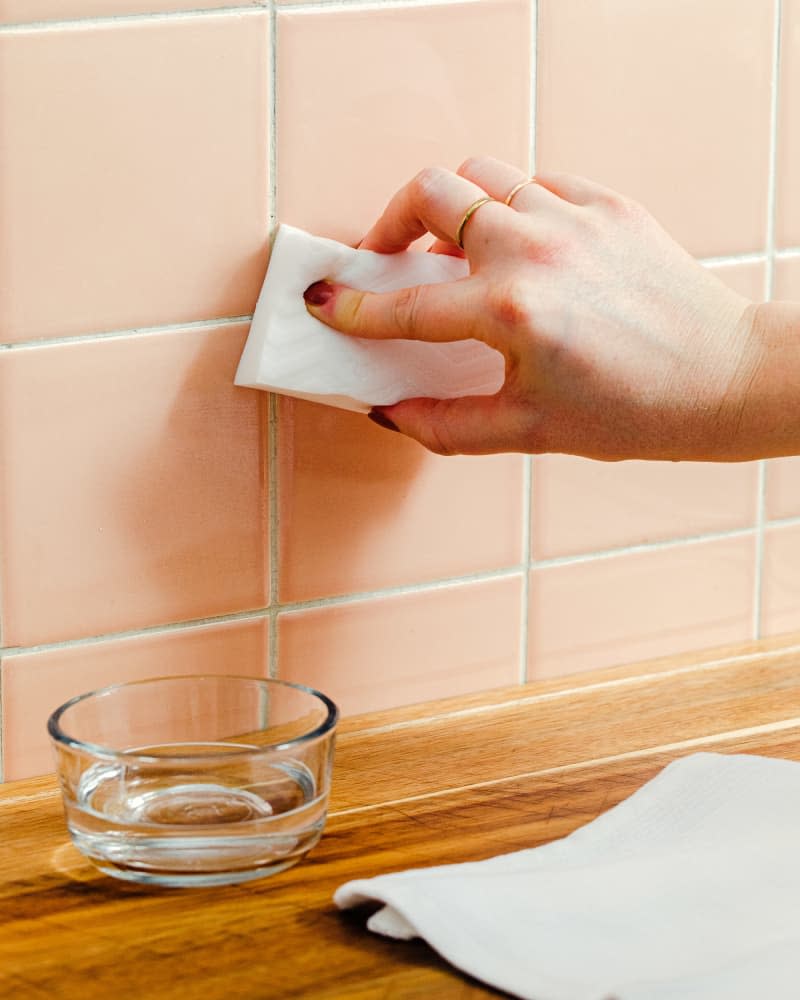
The method: Wet a Magic Eraser, squeeze it out, but not quite all the way, and use it to scrub your dirty grout.
How it went: Known for cleaning hard-to-scrub surfaces, a Magic Eraser is a great “emergency” method for cleaning dirty grout — especially if your expectations are somewhat low or your grout isn’t too dirty. But still, it’s not my new go-to solution: Grout is rough and eats through Magic Erasers fairly quickly, so it isn’t the best choice if you have a large area to clean. Also, little crumbly pieces of Magic Eraser will get left behind, and you’ll need to pull out the vacuum following your grout cleaning. For those reasons, this was my least favorite method of the five. Save your Magic Erasers for other tasks.
Grout Cleaning Method: Hydrogen Peroxide and Baking Soda
Total time: 2 minutes
Rating: 3/5
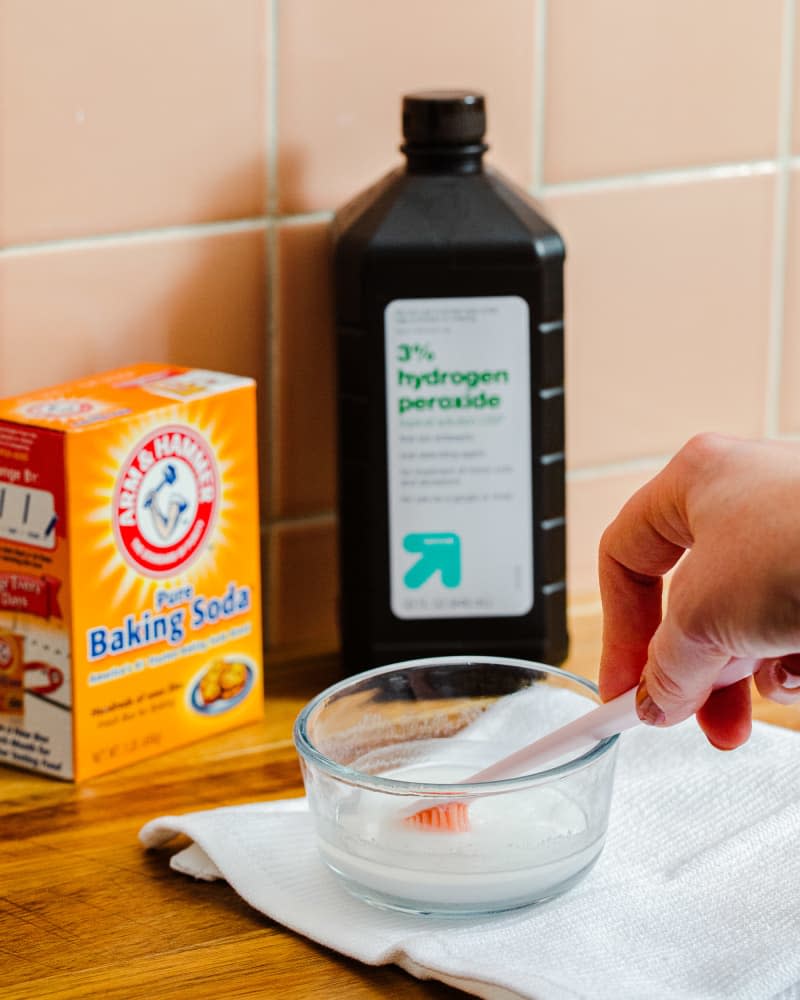
The method: I mixed hydrogen peroxide and baking soda in a bowl, creating a paste that was somewhat runny. I applied the mixture with my grout brush, scrubbed, and then wiped away. One thing to keep in mind when using baking soda paste is that the more baking soda, the more white residue left behind that you’ll need to clean off later.
How it went: This method is simple and most of us have the everyday ingredients already on hand. It worked almost as well as the lemon and vinegar method (see below), and it was slightly easier to put together because I didn’t need to squeeze lemon juice. But, baking soda and hydrogen peroxide might be best for grout that isn’t too dirty or for quick touch-ups because, honestly, the before and after wasn’t too dramatic.
Grout Cleaning Method: Tide To Go Pen
Total time: 2 minutes
Rating: 3/5
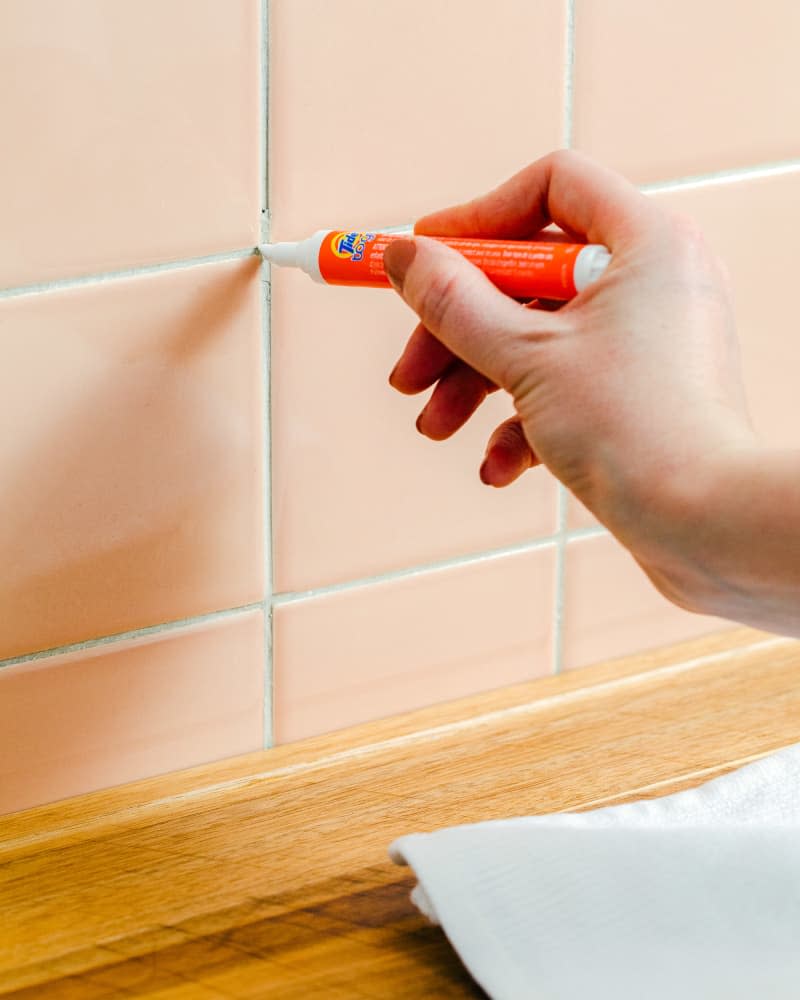
The method: This was a super-straightforward method. I simply took a Tide To Go pen (which my daughter loves!), shook it, uncapped it, and “wrote” with it in my grout line. If you’re not familiar with Tide pens, they have a stiff chiseled tip, and you press it down on the surface you’re cleaning to release Tide. After I got a good amount of Tide into the grout, I followed up by scrubbing with my grout brush, and then wiped away the excess liquid with a wet paper towel.
How it went: The Tide pen definitely made a difference in the appearance of the grout, but it wasn’t a super noticeable difference. I’d also be averse to this method if cleaning a whole room’s worth of dirty grout, mostly because of cost. With its relatively fine tip, a Tide pen would be best suited for touch-ups … maybe along the backsplash near your stovetop.
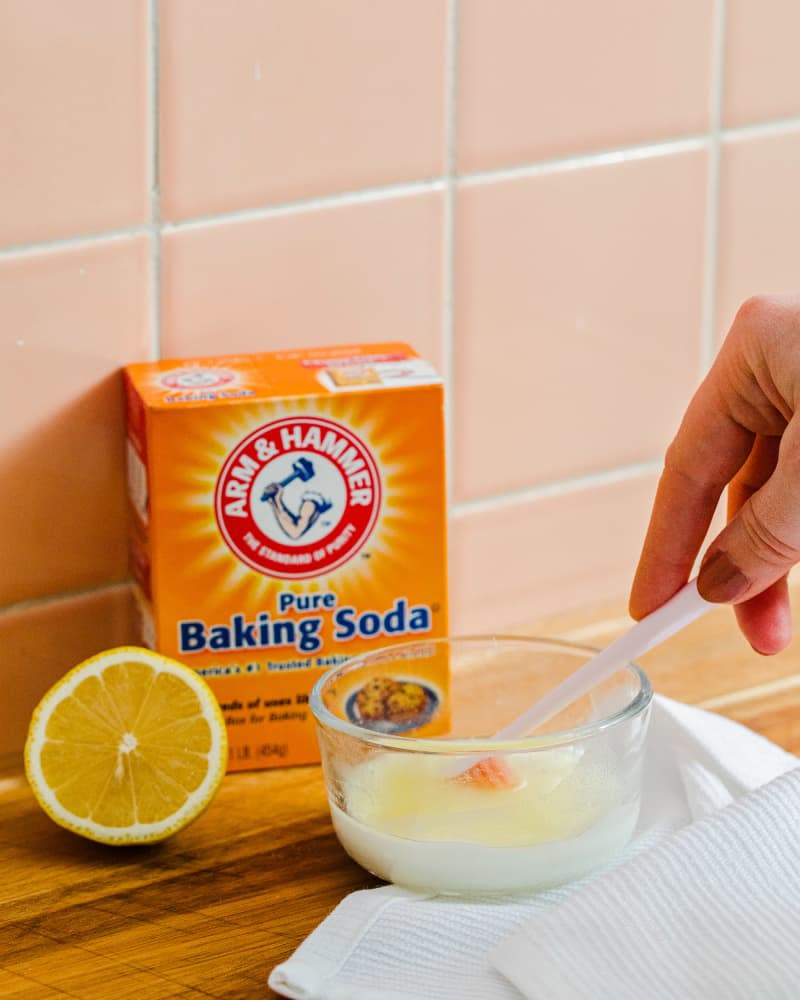
Grout Cleaning Method: Vinegar, Baking Soda, and Lemon Juice
Total time: 2.5 minutes
Rating: 4/5
The method: As we all know, vinegar is a great all-purpose cleaner. Its acidic properties make it good at cutting through grime, but it’s mild enough to be one of the safest cleaners out there. Lemon juice has mild bleaching properties, which is a huge plus when it comes to dealing with dirty grout. Baking soda makes a paste out of the two liquids and adds scrubbing power.
To make this cleaner, I combined juice from half a lemon, a little pour of white vinegar (about a tablespoon), and a sprinkle of baking soda. The concoction was still quite runny. I dipped my grout brush in the solution and scrubbed it on the dirty grout line. When I was done, I wiped away the excess liquid with a paper towel.
How it went: I was surprised by how well this method worked. It’s true that combining certain amounts of vinegar and baking soda means you essentially end up cleaning with salt. It turns out, baking soda (sodium bicarbonate) and distilled white vinegar (acetic acid) combine to make water, carbon dioxide, and sodium acetate. But this little chemistry equation didn’t seem to deter from the potency of this simple, inexpensive, homemade cleaner. As I scrubbed the solution onto the grout, I saw dirt lift right before my eyes. This method is a great contender — especially because most of us already have everything we need to make it.
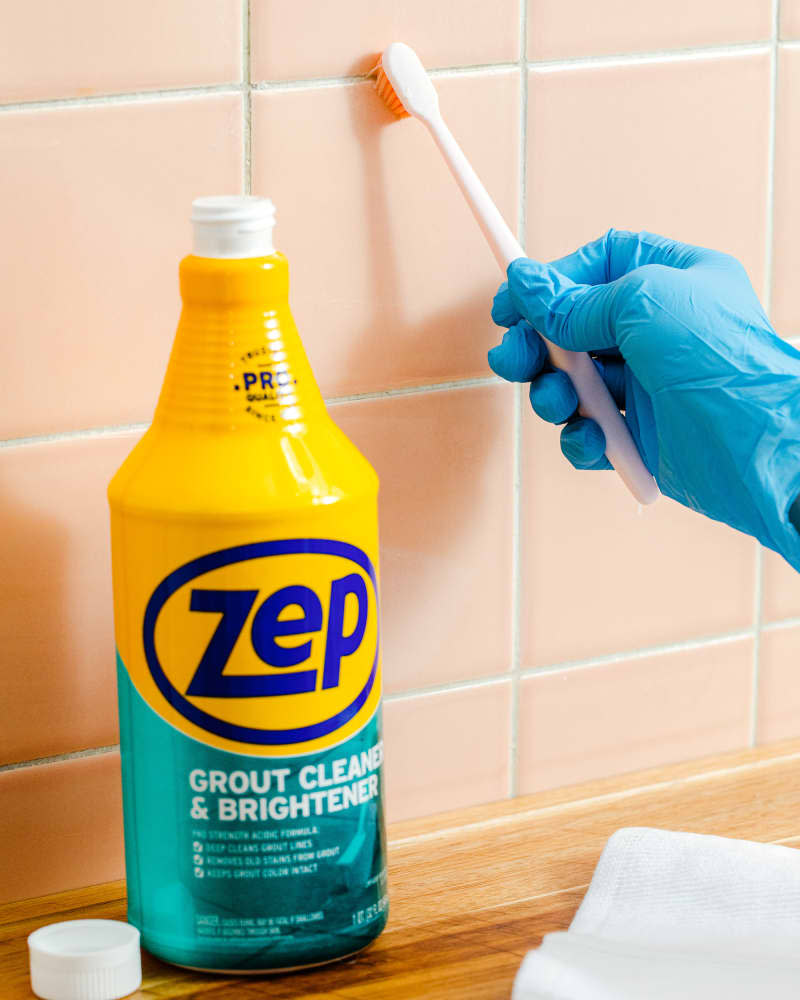
Grout Cleaning Method: Zep Grout Cleaner & Brightener
Total time: 5.5 minutes (including 3 minutes of waiting time)
Rating: 5/5
The method: Zep Grout Cleaner & Brightener comes in a relatively large 32-ounce bottle. Its consistency is watery and you apply it by tipping the bottle and running it along the grout line. (You can apply it with a brush or rag if you’re working on the wall!) Let it sit for three minutes, and then scrub. It’s a strong acid, so cleaning gloves and eye protection are a must. If you’re cleaning a large section of floor, work in sections. Wash away with a wet rag.
Zep Grout Cleaner & Brightener
How it went: Zep Grout Cleaner & Brightener is so good. Comparing it side by side with other grout cleaning methods just confirms my loyalty to Zep as the best. Zep melts grout grime right in front of you. You can actually see the dirt lifting, and the end result yields the cleanest grout, even in the deepest pores. The only drawback is that Zep is strong and can be dangerous. Again, it’s important to wear safety goggles and gloves and to follow the directions on the back of the bottle. Also, take care not to use it on natural stone and to keep it far away from children and pets. But, in terms of effectiveness, Zep is the clear winner!
This post was originally published on The Kitchn. Read it there: We Tried 5 Methods for Cleaning Tile Grout — And the Winner Was Ridiculously Effective

