The Trick to No-Stick Sugar Cookies
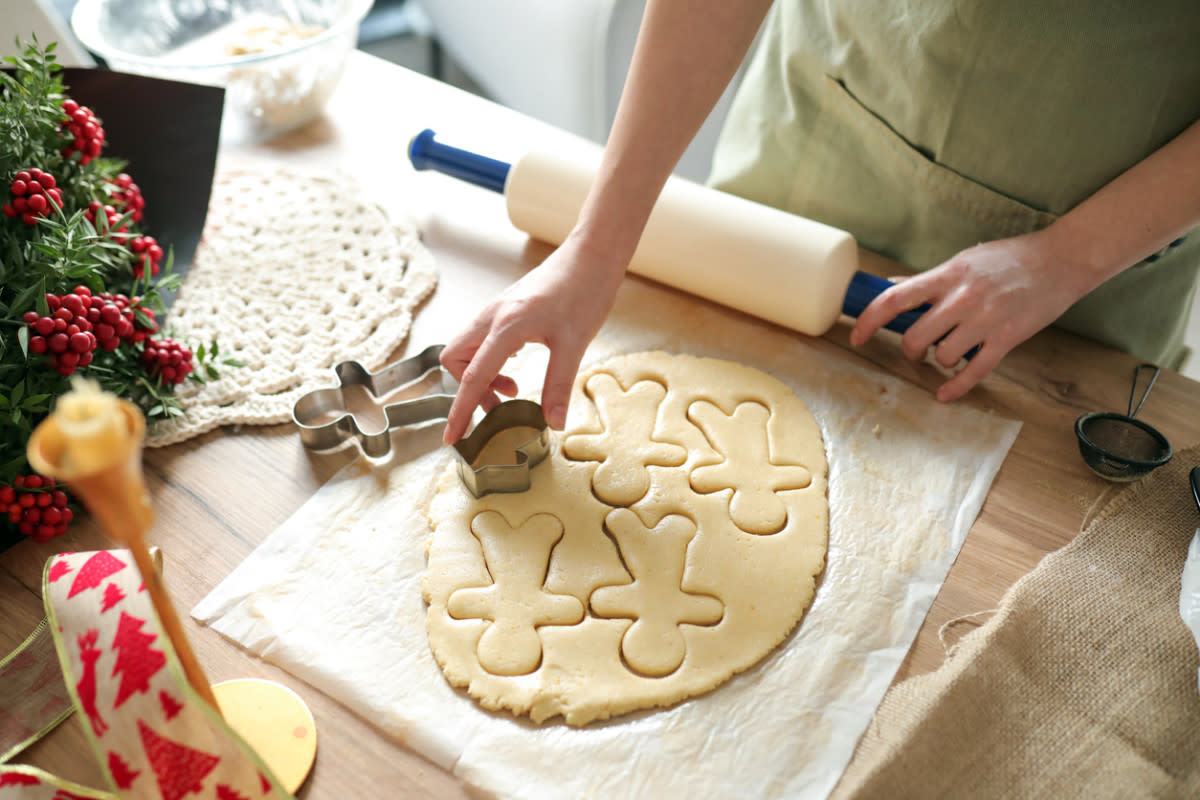
Cutting out sugar cookies
As holiday baking season rolls around, dough making, rolling, cutting, baking and decorating kicks into high gear. And for many that brings nothing but joy and good cheer. But for some of us, in addition to all those warm and fuzzy feels, there lurks that familiar sense of foreboding, followed by the age-old question: But what will I do if my cookie dough sticks to my cutters? Lucky for you, this year we have answers. Here we present all the tips and tricks you will ever need to keep cookie dough from sticking to the cookie cutters (and the counter and the rolling pin) so those sugar cookie and gingerbread cutouts turn out perfectly every time.
Related: 54 Best Sugar Cookie Recipes
IMAGO / Bihlmayerfotografie
8 Great Ways to Keep Your Cookie Dough from Sticking
1. Flour power.
Perfect sugar cookies start even before you begin rolling. Start by properly flouring your countertop and rolling pin. The sugar cookie dough is much less likely to stick to your cutter if the rolling surface and the rolling pin are adequately floured. Have a small shallow bowl of flour near your work surface so you can dust the countertop and the disc of dough and also your hands. Coat your hands in flour before rubbing them over your rolling pin to make sure it's well coated.
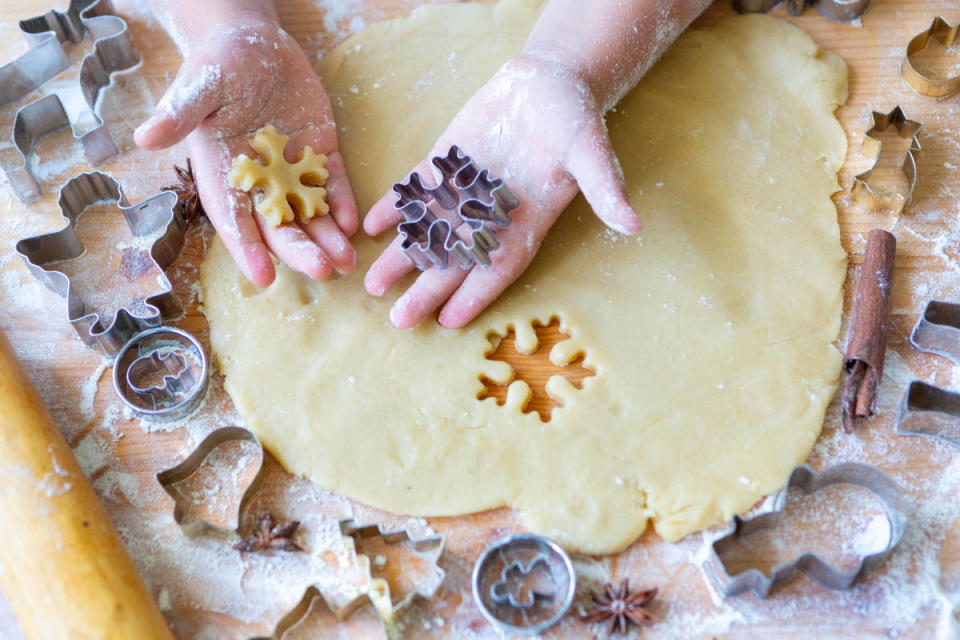
2. Choose your cutter wisely.
Flimsy cookie cutters are a surefire way to create weirdly shaped cookies and are also more likely to stick to the dough. Use sturdy cutters that hold their shape when pressure is applied. Plastic or metal are both fine choices—just make sure they're not wiggly or wobbly.
3. Dip, cut, repeat.
Dip your cookie cutters in flour before and after each cut. Remember that small shallow bowl you’ve set up near your workstation? Well, it's also the bowl that you will dip your cutter in before and after every cookie. This ensures that your cutter stays dry and floury (as opposed to moist and sticky) with every cut. A dry, floury cookie cutter translates to cleanly cut sugar cookies.
Related: The Secret Ingredient to the Best-Ever Sugar Cookies
4. Be generous.
Dip your cookie cutter into the flour with purpose and intention and be sure the entire inside of the cutter is completely dusted with flour. Once dipped, shake off any excess flour by tapping the cutter on the side of your bowl. Flouring the cutters has the added benefit of sealing the edges of the cookies, which helps them keep their shape as they bake.
5. Add a little extra insurance.
Although you should never grease the edges of your cutters with cooking spray or butter, if your flour fails to adhere to the cookie cutter's edges, take a small piece of dough and rub it along the cutter—the flour will stick to the dough-slicked edge. If your cutters are collecting sticky dough as you work, simply wipe away the dough with a damp paper towel, before re-flouring the cutter's edges.
6. Don't do the twist.
For the cleanest cuts (and less risk of sticking), press the cookie cutter straight down and lift it straight up. Just like cutting biscuits, sugar cookies release best from their cutters when the cutter is pressed straight down into the dough and pulled straight back up.
7. How to get unstuck.
If, despite your best flouring effort, you have trouble releasing the cookies from the cutters, use a small tool, such as a tiny spatula or a long, skinny chopstick, to nudge and poke the dough out of the cutter. The chopstick is especially handy for cutters that have lots of nooks and crannies.
8. Fix your mistakes.
If despite your best efforts a piece of the cookie sticks to the cutter and rips, poke it out with your chopstick and then dip your finger in water to reapply the piece to the cookie it belongs to on your baking sheet. The water will help seal the crack.
Up next: Mariah Carey's Simple Sugar Cookies Are a Smash Hit

