Before and After: How I Transformed My Sad Beige Living Room TV Wall with a Budget of $160

One of the biggest lessons I’ve been forced to learn since buying a house is that everything — furnishing, fixes, upgrades — takes more time than you think it will. That’s in part because everything also takes more money than you think it will, which means that, in the absence of an unlimited budget, you have to do all those small projects in stages. So even though I’ve made a pages-long list of all the things I’d like to tackle in the 1956 split-level home my husband and I bought in 2020, it’s been slow going.
The first summer my husband and I were here, we bought a pair of gorgeous mid-century teak chairs at an estate sale to use in our first-floor living room; since then, we’ve filled the space with more seating, lighting, and a coffee table. Most recently, after upgrading our basement TV, my husband and I mounted our old one to the wall in this space so that we’d have a secondary hangout spot — useful for nights he’s practicing guitar or gaming with a friend and I want to cringe-watch “Succession.”
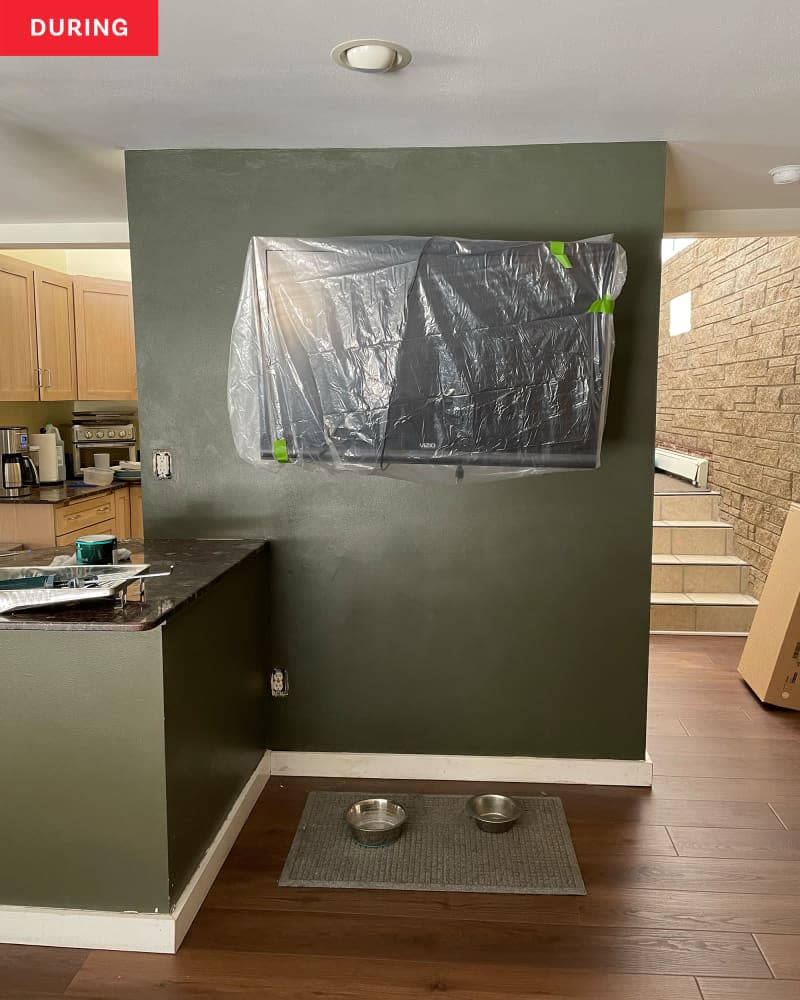
We didn’t do anything else to update the area, so our TV sat with dangling cords over a dreary off-white wall the old homeowners left behind for months. It wasn’t the worst, but it wasn’t particularly pretty, either. After a while, I realized that this wall was the only incomplete aspect of this living room space, and that was motivation enough to pull it over the finish line.
I started by painting the wall a deep green color (Behr’s Black Bamboo). The adjacent peninsula is painted a similar color and I’ve always loved it, so I wanted to find something that was as close as possible. I think I nailed it! (The peninsula has some scratches and dings, so when I repaint that, I’ll be using this color again.) To get a really clean line on the sides of my accent wall, I used painter’s tape followed by a thin, swiped-on layer of caulk. That helped seal the edges so my green color didn’t bleed through.
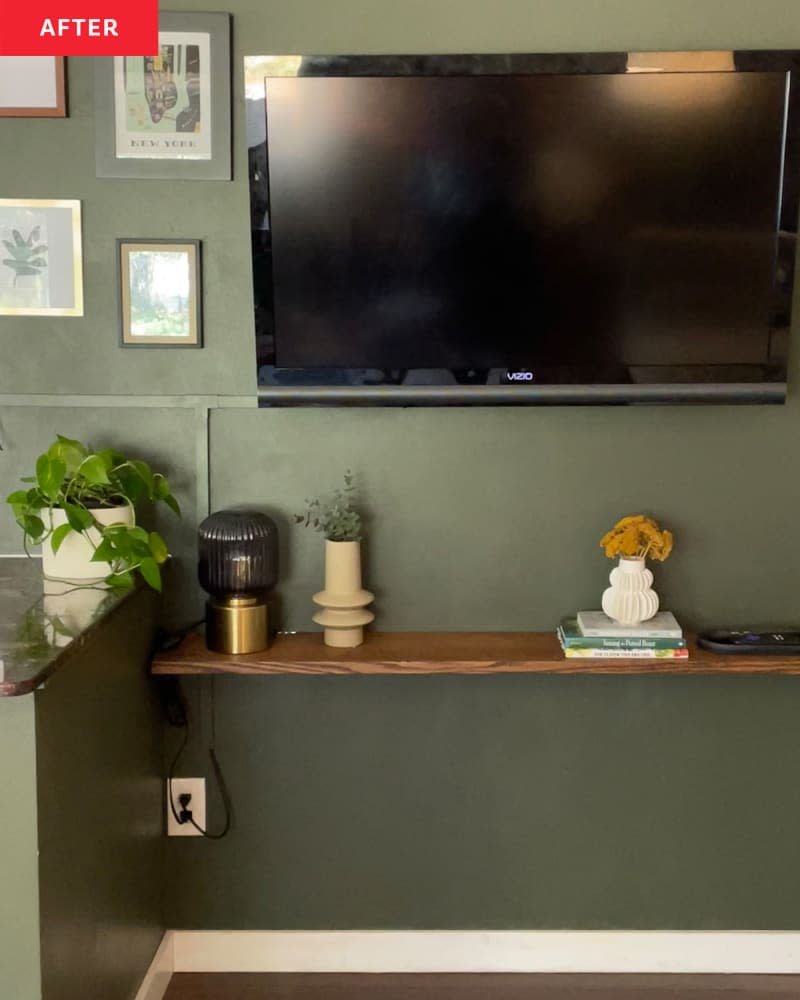
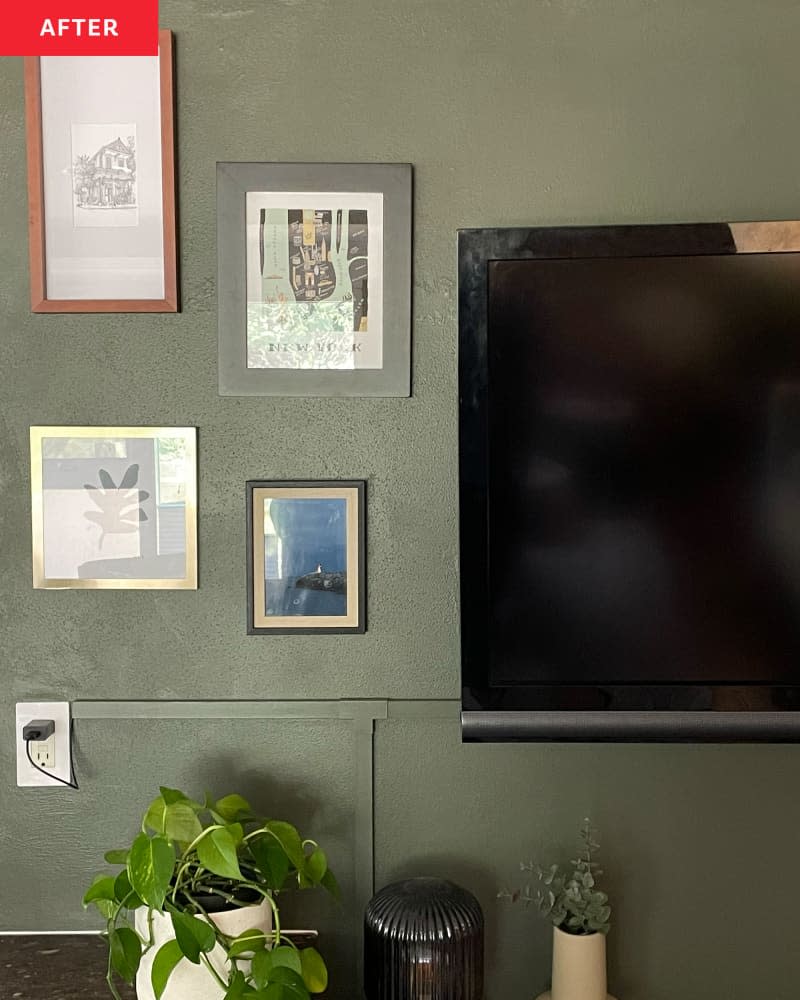
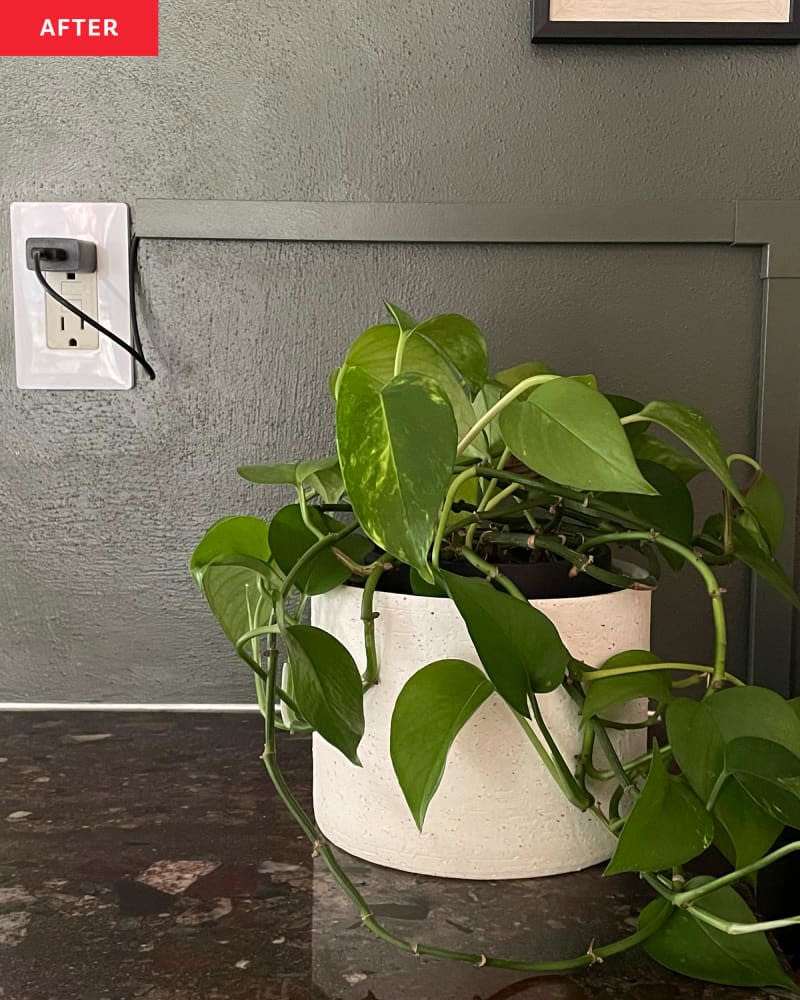
Key to this makeover was disappearing the TV’s unsightly cords. I bought cord hides on Amazon, looking specifically for something that was paintable; after scuffing up the hides with sandpaper, I followed with a spray primer and then a couple coats of my Black Bamboo paint, applied with a low-nap roller. Because of the length of my cords — the TV power, plus a Roku streaming stick — I had to split my cord hides to two different outlets. Honestly, I considered stopping here; the new rich paint color combined with the hidden cords already made a huge difference in the look of this wall.
I kept going, though, with a new floating shelf below the TV. I purchased blind shelf supports from Woodcraft along with an oak board that they cut to the exact size I needed (though I did have to buy the leftover scrap, too, which means I have a piece leftover for another project later). The oak was a bit of a splurge, but because I only needed one shelf and I wanted to have a natural wood look instead of painting, I decided it was worth it.
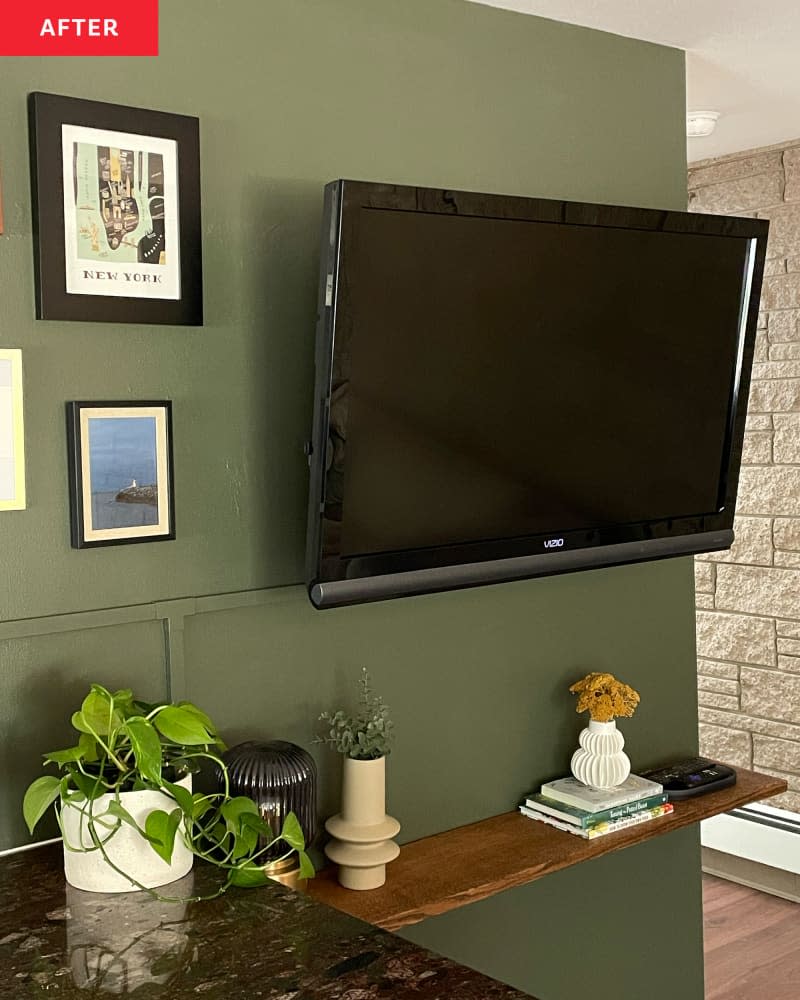
I had to cut notches into the wood to help the shelf sit flush to the wall and to make room for the cord cover to run through on one side. After much hand-sanding, I stained the oak board with a Minwax walnut stain I had leftover from another project, and followed with a wax finish I also had on hand.
Once it came to decor, I mined what I already had: The framed art came from other areas of my home, the IKEA lamp was moved in from the living room’s side table, and the tray for holding remotes came from my bedroom. My total cost for this project was about $160, though I did buy more paint than I really needed (with the intent to use it elsewhere). The primer, too, is something I’ll be able to use again, and I still have leftover cord covers to use in other rooms as well.
Today, our once-sad TV wall is completely free of dangling cords, the remote is always findable, and the deep color makes the display into a focal point (and not an eyesore). And finally, I can call this space done and move on to one of my hundred other to-dos on the list!
This article originally published on Apartment Therapy. See it there: Before and After: I Transformed My Sad Beige Living Room TV Wall with a Budget of $160

