How to Transfer Rides Off Your Garmin Watch
Athletes took to social media this weekend to complain that their rides weren’t syncing to Garmin Connect. The company got hit on Thursday with an outage that some other tech publications are classifying as a ransomware attack. Garmin hasn’t yet said the cause of the outage, nor when the platform will be back online. As of this morning, Garmin’s status page lists some services coming back online while others are “limited”—we’ve had no luck reaching Garmin Connect online or on an iPhone app yet.
In the meantime, that means we can’t upload our rides to Garmin Connect, nor automatically post those rides to third-party training logs like Strava. But, even with Garmin’s online services dead, you can still pull that data from your watch—it just takes some tools that were commonplace a decade ago: your charging cable and a desktop or laptop computer.
WINDOWS COMPUTERS
Let’s start with PC users, because the process is a little more straightforward than on Mac computers. The first step is to get out your charging cable and plug your watch into the USB port on your desktop or laptop, and wait for it to show up in the left column of File Explorer. Your watch should appear as an external hard drive using its name, like “Forerunner 245 Music.”
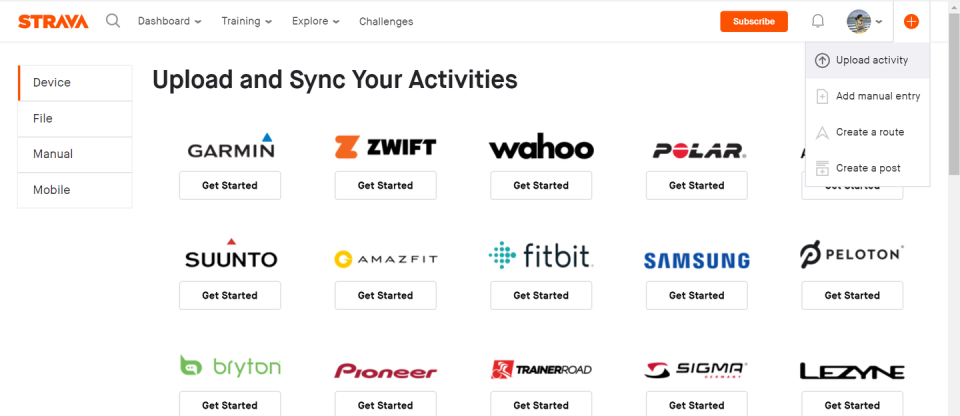
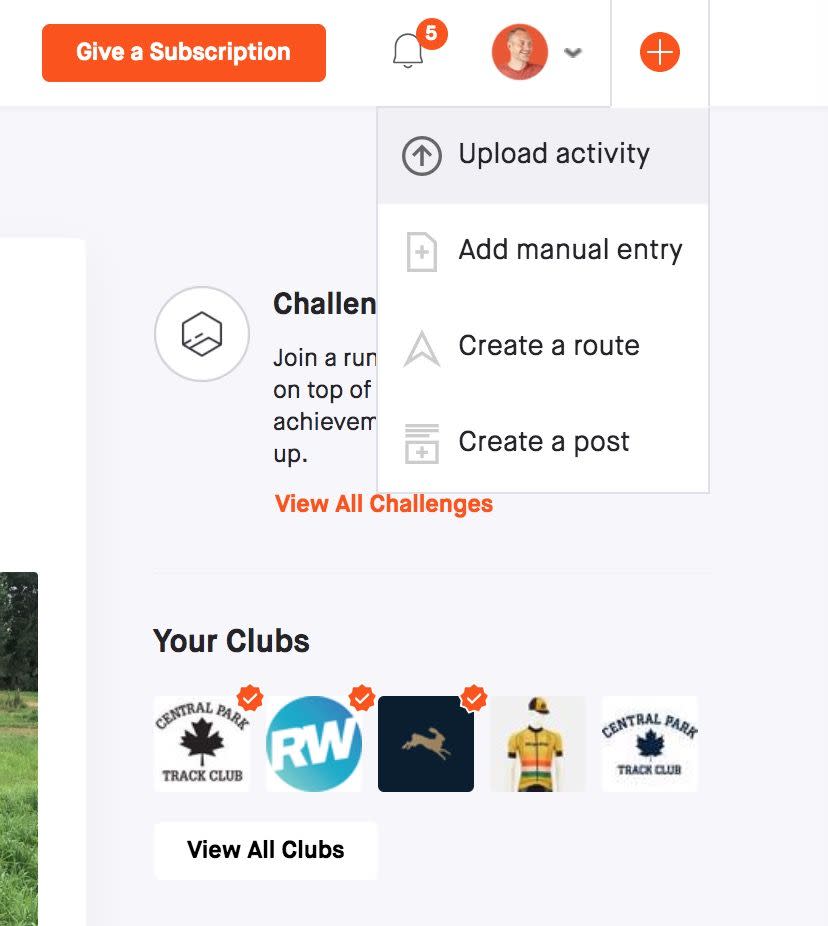
Then, open your web browser and go to strava.com. Hover your cursor over the (+) in the top right corner and then click “Upload Activity” from the dropdown options, which will take you to this page.
From that page, you want to choose the correct file off your Garmin. A file picker box will pop up, so you can navigate to your watch, then locate the GARMIN folder, and open the Activity folder.
NOTE: If you’re using a watch that can play music, you’ll have to choose the Primary partition on your Garmin watch, then navigate to GARMIN > Activity.
You’ll probably see a bunch of workouts in the Activity folder, so be sure to upload the right one. Garmin’s naming convention is:
YEAR-MONTH-DAY-HOUR-MINUTE-SECOND.FIT
For example, a ride at 6:05:23 a.m. today would be named:
2020-07-27-06-05-23.FIT
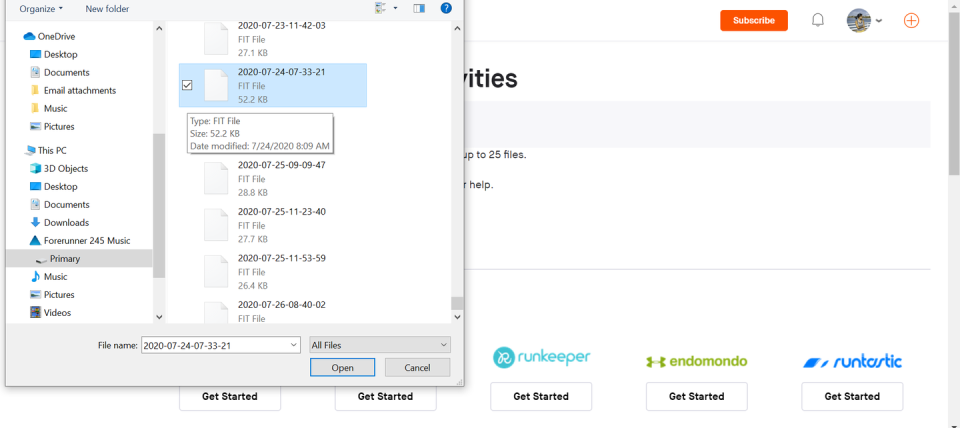
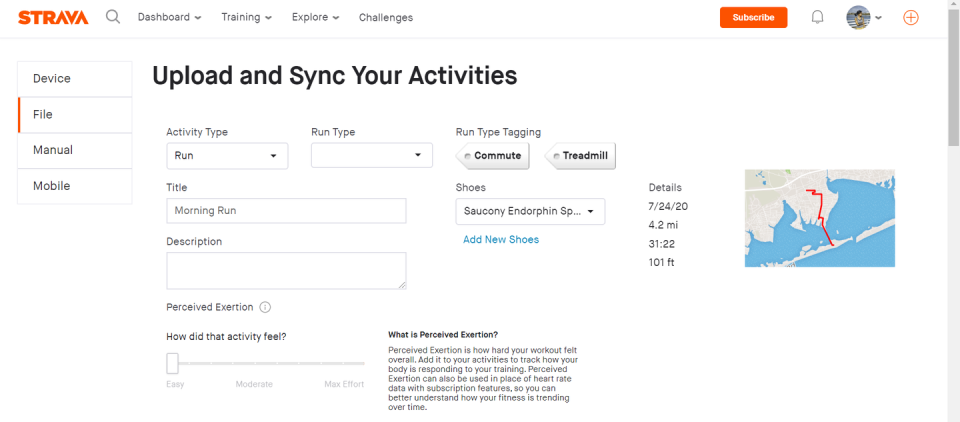
Select that file, click “Open” and Strava will upload the file to its servers and process your workout.
If you’re using other online training logs, the process will be similar.
MAC COMPUTERS
For those of us using Apple computers, the process could be a little more involved. If you ride wearing an older Garmin that doesn’t support music playback, your steps to upload your ride are as easy as for Windows users—your watch will mount as an external drive, and you can browse the files using Finder without any extra steps.
But, if you work out with a newer watch that lets you stream music from services like Spotify, Amazon Music, and iHeartRadio, your watch is invisible to Finder. In that case, you need to download and install a small application called Android File Transfer.
Once you’ve installed that application, plug your Garmin into your Mac using the watch’s power cord. Android File Transfer will let you look at the contents of the watch’s file system, so you can navigate to the GARMIN folder and then into the Activity folder.
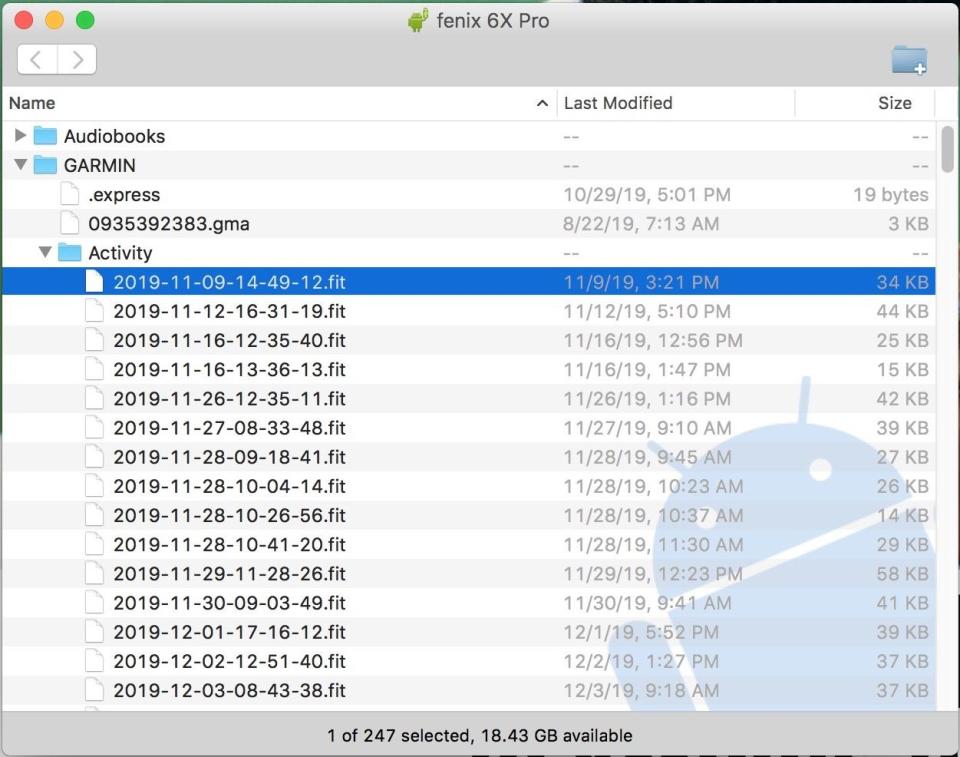
You’ll probably see a bunch of rides or other workouts in the Activity folder, so be sure to upload the right one. Garmin’s naming convention is:
YEAR-MONTH-DAY-HOUR-MINUTE-SECOND.FIT
For example, a ride at 6:05:23 a.m. today would be named:
2020-07-27-06-05-23.FIT
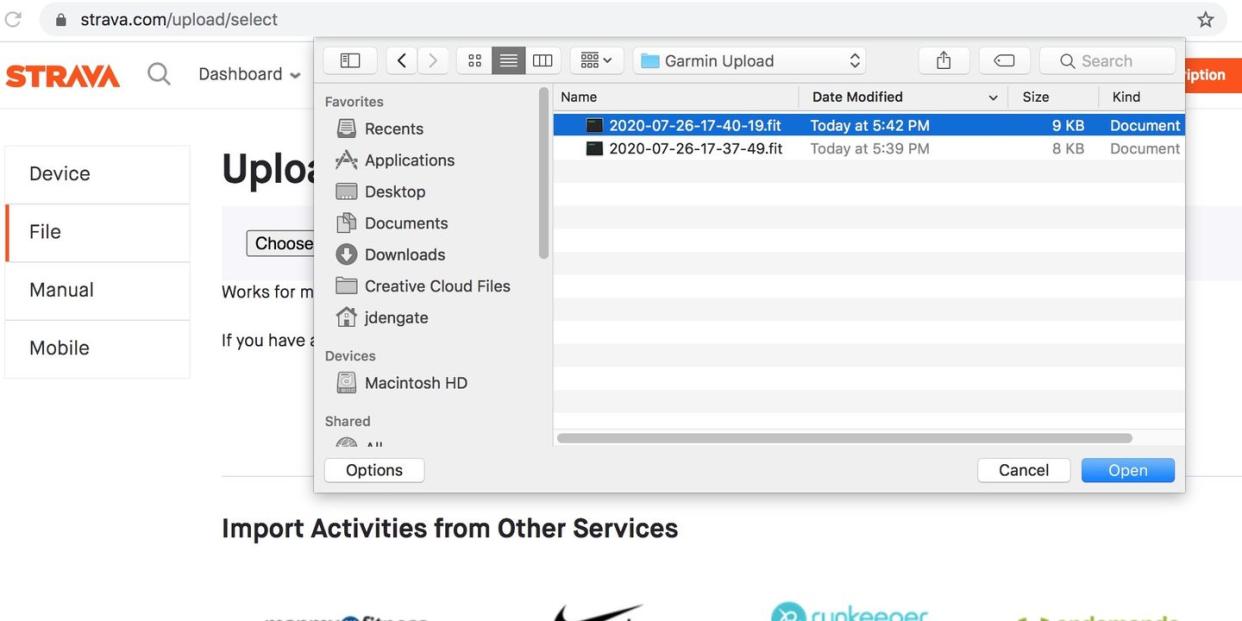
Here’s a second step where the process is different than for Windows users: If you’re using a Garmin that plays music, Strava can’t access the files on your watch directly. In that case, you have to drag it to your Desktop or Downloads folder, using Android File Transfer. (I created a folder called Garmin Upload so they’re all stored in one place. Who knows how long this will last?)
[Want to fly up hills? Climb! gives you the workouts and mental strategies to conquer your nearest peak.]
Then, open your web browser and go to strava.com. Hover your cursor over the (+) in the top right corner and then click “Upload Activity” from the dropdown options, which will take you to this page.
From the next page, a file picker box will pop up so you can navigate to wherever you saved the Garmin file—Desktop, Downloads, or, in my case, Garmin Upload folder.
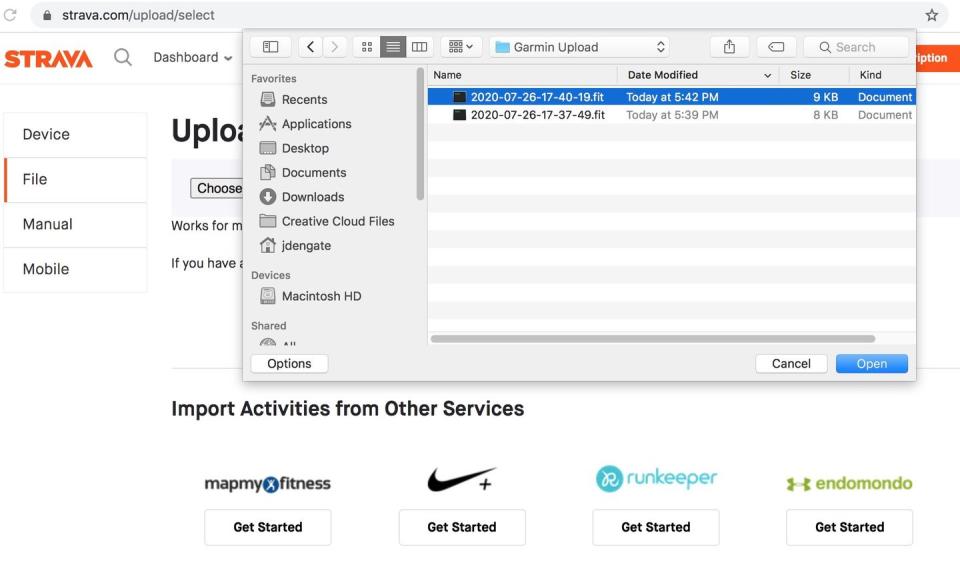
Select the file you want to upload, click “Open” and Strava will upload the file to its servers and process your workout.
WHEN GARMIN COMES BACK
At this point, we don’t know how long Garmin will be offline. But, whenever it does come back, you’ll likely be able to continue uploading your workouts wirelessly as you did before the outage. We assume Garmin Connect will see “new” files on your watch and upload those to the Garmin Connect web platform. But don’t worry, you won’t end up with extra rides on Strava—their service detects duplicate uploads and won’t process those requests.
You Might Also Like

