I Spent a Week Backpacking Near Lake Tahoe — How to Explore the Area's Glacial Lakes, Stunning Trails, and Granite Peaks
How to plan your backpacking trip in the Desolation Wilderness near Lake Tahoe — get ready for crystal-clear lakes and giant valleys carved by glaciers.
Eve Carrick/Travel + Leisure
I love to backpack, but I’m partial to the mountains of Colorado, where I live. So when a friend told me it was her dream to backpack around Lake Tahoe, I was interested, but wary of the work it would take to travel out of state with all my backpacking gear.
It turned out the 165-mile thru-hike around Lake Tahoe on the Tahoe Rim Trail takes 10 to 15 days — time we didn’t have — so we researched the highlights of the route and settled on a five-day backpacking trip through the Desolation Wilderness. As it turns out, flying with backpacking gear is surprisingly easy. Your stuff is consolidated for one thing, and we checked our bags and waited to buy food and camp stove fuel in California (the latter is a must, since you cannot fly with fuel).
The three of us met at the aptly named Desolation Hotel in South Lake Tahoe, unloaded our backpacks and debated what to bring and what to leave behind. After a night spent eating pizza, drinking wine, and soaking in our private outdoor tub, we got a late start, enjoying a plate of truffle shoestring fries at Maggie’s, the hotel’s restaurant, before hitting the trail around noon.
The Route
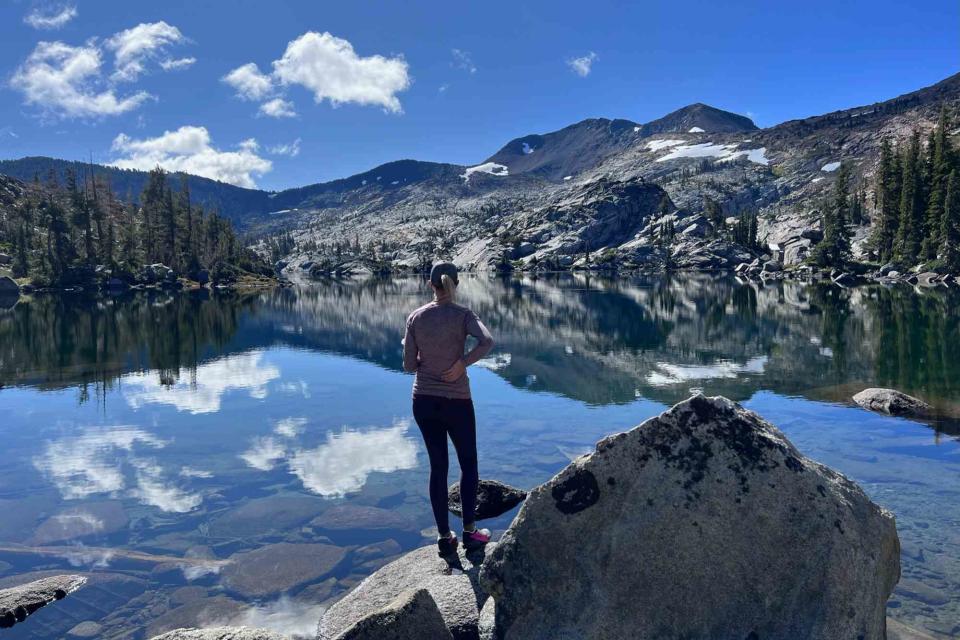
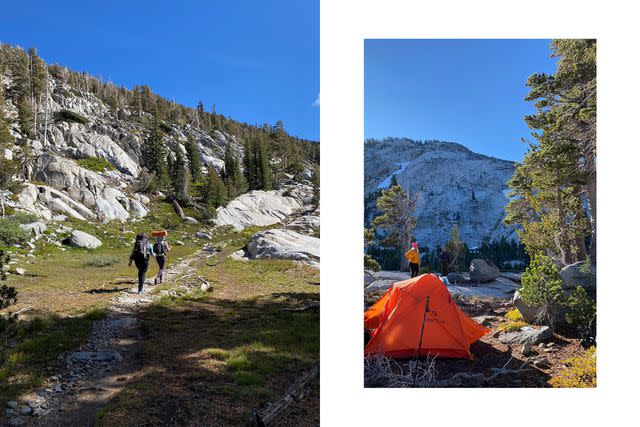
We left our rental car at the Bayview Trailhead near Emerald Bay, a bright-blue bay off Lake Tahoe that’s a 25-minute drive from the Desolation Hotel. From there, we hiked up to Granite Lake, taking an extra 20 minutes to go off the main route and summit Maggie’s Peak as an ode to our morning fries. From Bayview Trail we veered north, taking the Fontanillis Lake Loop to our first campsite of the trip, a little wooded area near Middle Velma Lake.
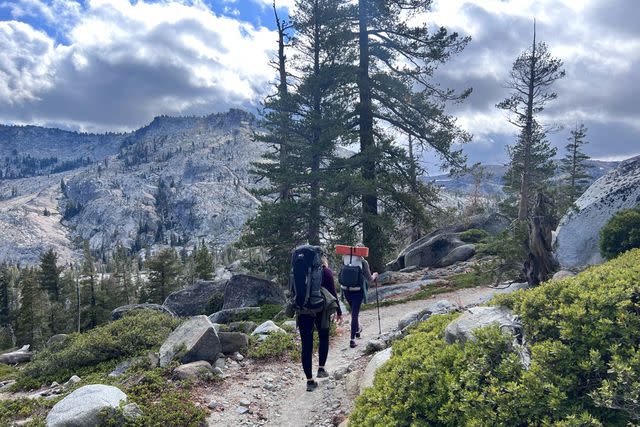
It wasn’t until the next morning that we joined the official Tahoe Rim Trail off of Fontanillis Lake Loop and headed south. We snacked at Fontanillis Lake and lunched at Dick’s Lake before making the grunt over Dick’s Pass just in time to make dinner and set up camp at Gilmore Lake.

Eve Carrick/Travel + Leisure
In the morning, we left our packs at camp and summited Mount Tallac, which provided the best views of the trip — we could see Fallen Leaf Lake and the sprawl of Lake Tahoe.
After our quick summit, we returned to camp for lunch and made the hike up and over Dick’s Pass yet again. We spent our third night at an unnamed lake on the southeastern side of the Fontanillis Lake Loop trail before hopping on the Eagle Falls Trail to Eagle Lake. The plan was to stay our final night at Eagle Lake, but after three nights and four days in the wilderness, the number of people at Eagle Lake felt a bit much — as did the weight of our bags and the stench of our hiking clothes. We bailed early and spent the night in Reno, Nevada, eating pizza and watching trashy TV before our flight home the next day.
When to Go
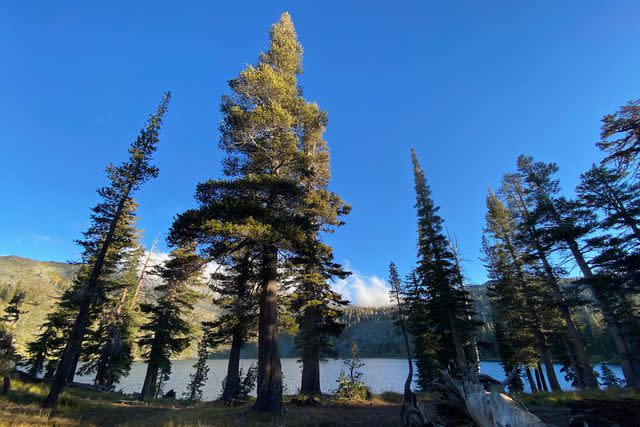
The main hiking season around Lake Tahoe runs from Memorial Day Weekend to the end of September. Most people go during this time frame, but we booked our trip the first week of October. It was a risky move because October is when the area usually gets its first heavy snow — and, in fact, it snowed in the hills surrounding South Lake Tahoe the day before we started hiking, but warmed up by the time we had hit the trail.
Eve Carrick/Travel + Leisure
For reliable weather and fewer hikers, I’d recommend booking your trip in September.
What to Pack
Even if you’re planning your trip in July, you’ll want to bring layers — including a light down jacket — because the weather in the mountains can change dramatically depending on what elevation you’re at and what the conditions are.
For our October trip my “warm-up kit” included two down jackets, down pants, and a wool base layer — but, as my backpacking pals will tell you, I’m always cold. They both brought one down jacket and regular hiking leggings and were fine.
Eve Carrick/Travel + Leisure
It goes without saying that sunscreen, a rain jacket, and all your camping stuff — a cookstove, food, bear canister, water filter, headlamp, tent, and sleeping bag — should be on your packing list.
What to Know
Contrary to its name, Desolation Wilderness is far from desolate. There are lakes and streams everywhere (we pumped, rather than packed our water) and plenty of trees and granite boulders for protection from the elements.
There are lots of bears in this area, so a bear canister is a must. I spent a lot of time listening for snapping twigs or heavy breathing during the night, of which I heard plenty — but every morning we woke up to an untouched campground and bear canister.
Eve Carrick/Travel + Leisure
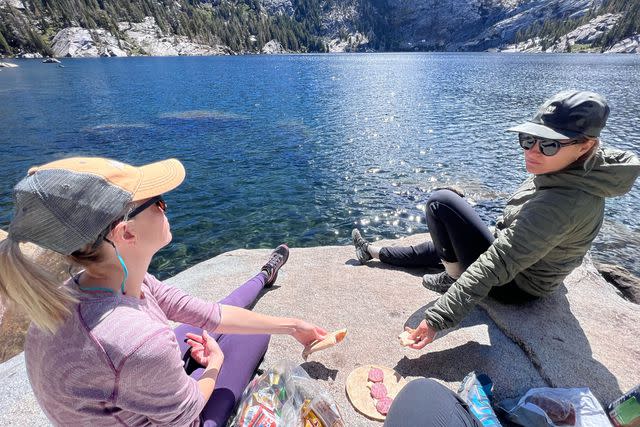
In the Desolation Wilderness, campfires are not allowed. That translated to early nights for us, since it was too cold to hang around outside. We cooked our dinner and promptly zipped into our sleeping bags and tent. We also had to have a poop plan, since human waste can be a major issue in popular wilderness areas like Desolation. We brought a trowel to dig catholes and packed Ziplock bags to pack out our toilet paper.
And finally, don’t expect cell service. We downloaded our maps and route to our phones ahead of time and brought along a paper map of the area as backup. We often had cell service when we got up high — at the top of Dick’s Pass, on top of Mount Tallac — but rarely had it where we camped or along most of the trail.
How to Get a Camping Permit
You’ll need an overnight camping permit to stay the night in the Desolation Wilderness. The permits are limited during the peak usage season — the Friday of Memorial Day Weekend to the end of September — but easy to get if you plan to visit outside the peak times, like us.
Permits can be reserved through Recreation.gov up to six months in advance of your hiking start date and are given out by zone — so you’ll need to know what trailheads you plan to use to enter and exit the wilderness.
Eve Carrick/Travel + Leisure
Within the week prior to the start of your trip you’ll have to print out the permit and carry the paper copy with you on the trip.
The permit costs $5 per person for the first night, and $10 per person for two to 14 nights, plus a $10 campsite reservation fee.
Come Along on T+L’s Top U.S. Adventures
demo_tandl
g4q1Mv
For more Travel & Leisure news, make sure to sign up for our newsletter!
Read the original article on Travel & Leisure.

