If your soil's no good or you don't have any, grow your garden plants in straw bales
If you’d like to install a raised bed but don’t have the resources to build one, you can achieve the same effect by growing your plants in straw bales. It’s also a great option for those with poor soil or who don’t have a patch of dirt to call their own.
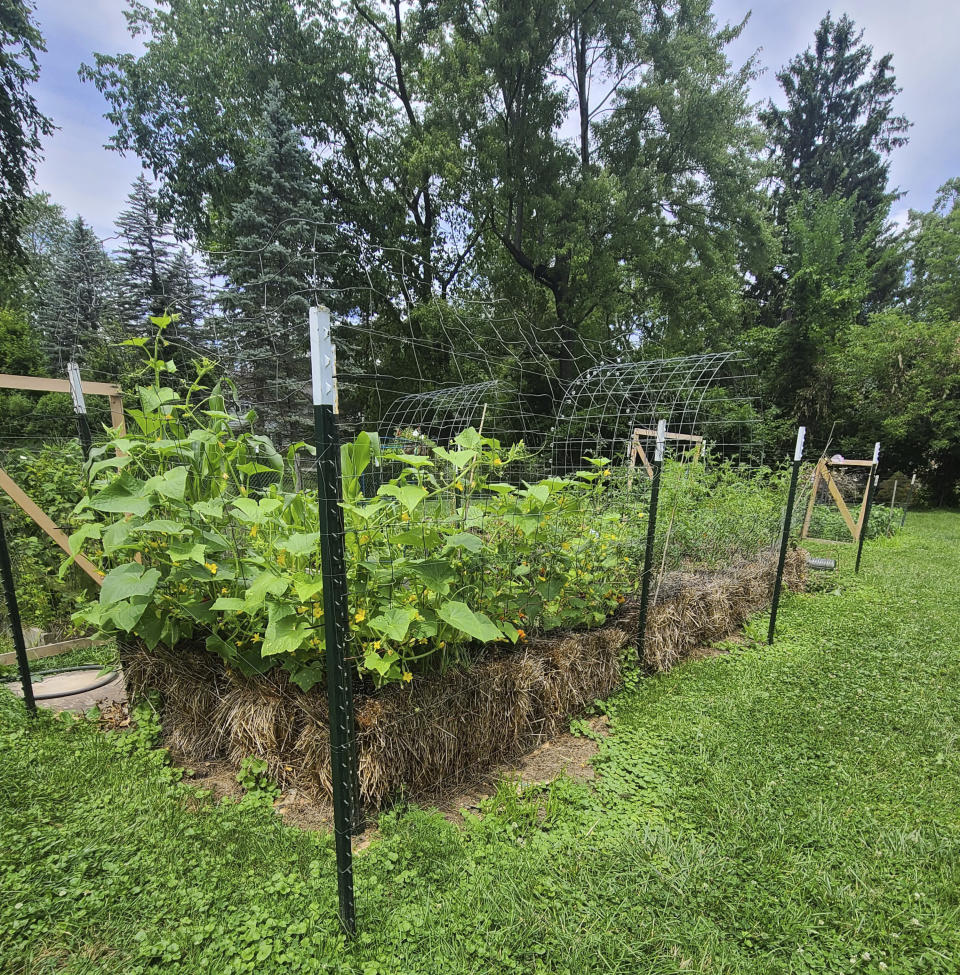
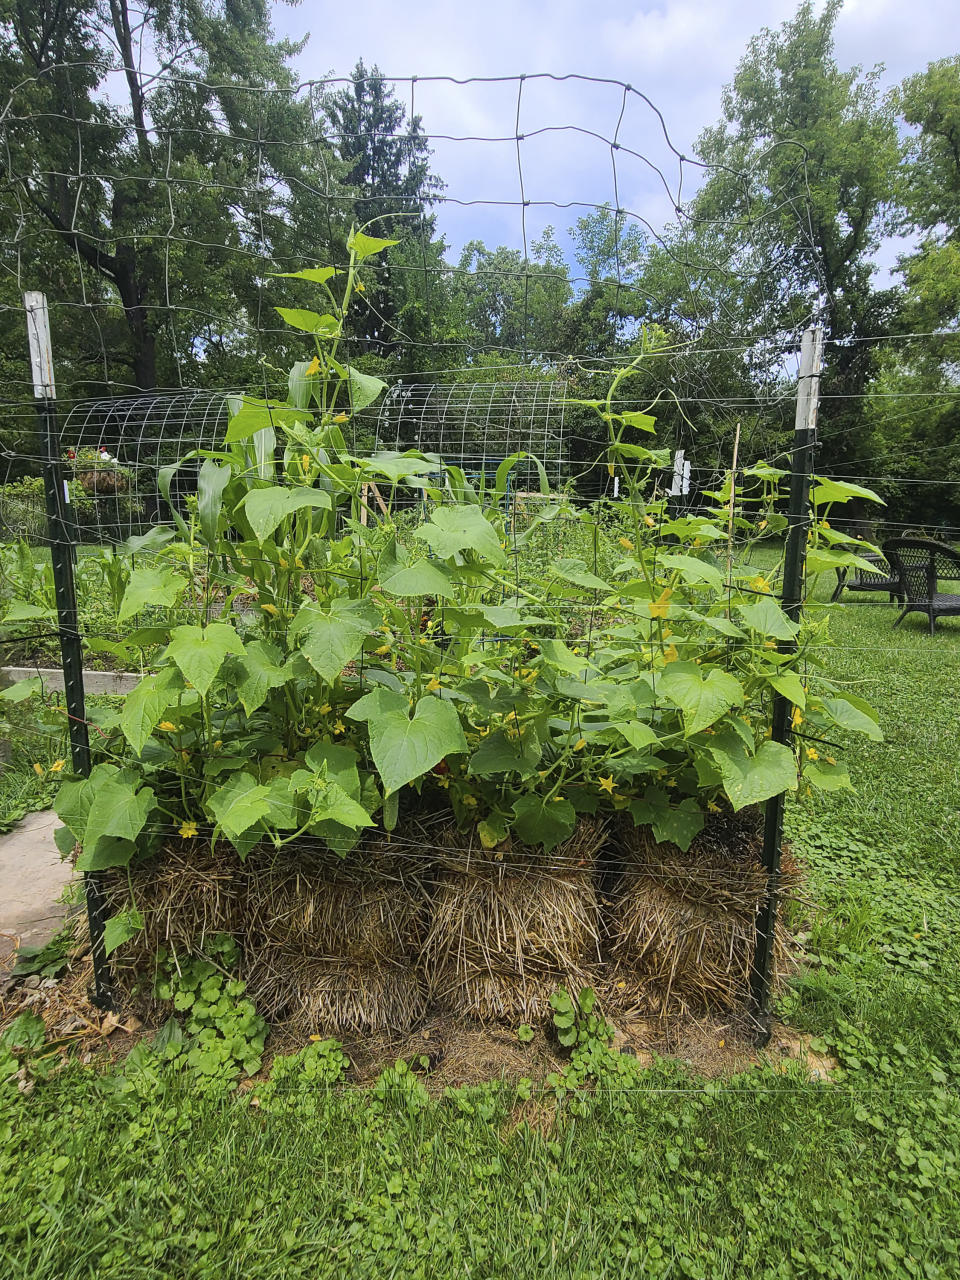
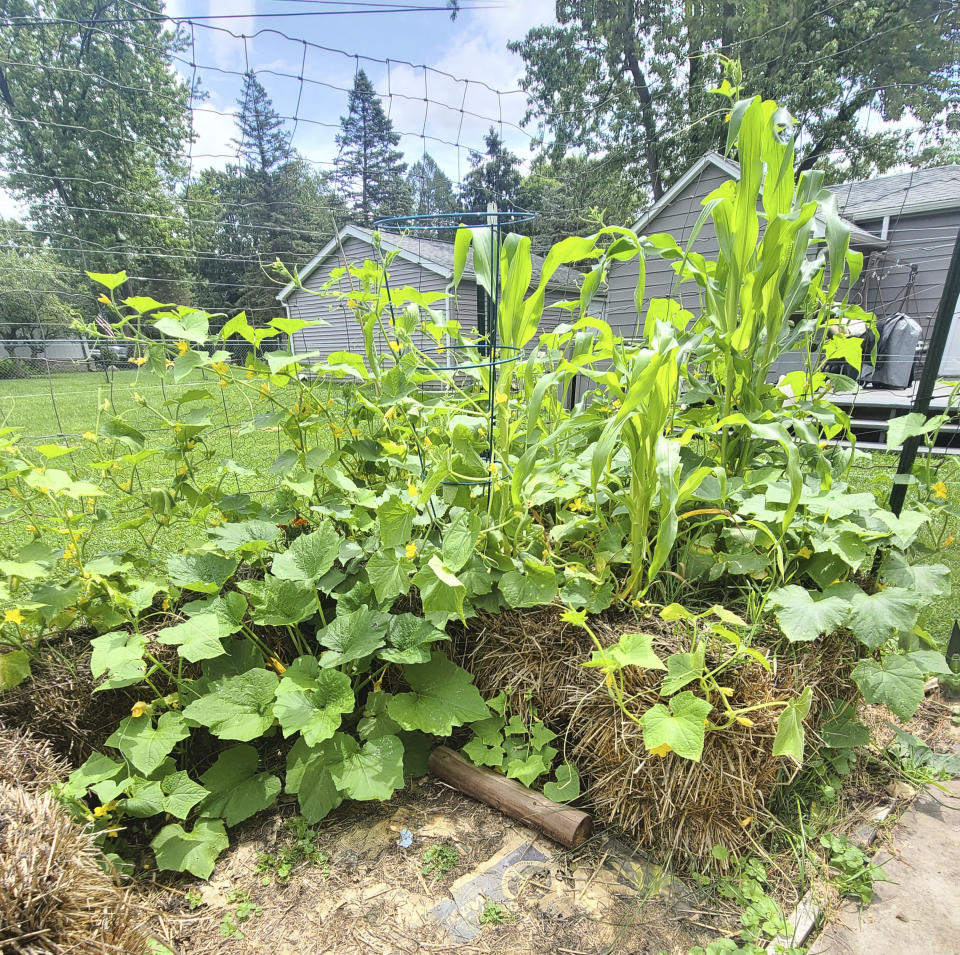
Typically used as Halloween decorations to display winter squash and pumpkins, straw bales can also be used to grow those vegetables in an economical, low-maintenance way.
Sizes vary, but standard bales measure roughly 14 to 24 inches high, 18 inches wide, and 36 to 42 inches long.
When shopping for bales, avoid hay, which contains seeds and, as we know, is for horses.
Straw is for gardening, and most of its seeds have been harvested, so there shouldn’t be many (or any) remaining in the bale to sprout into weeds. Straw is also less likely than hay to have been treated with pesticides, which would inhibit your plants or prevent their growth altogether. To be sure, ask the retailer if their bales are organic or at least pesticide-free.
PREP WORK
It will take about two weeks to condition your bale, a process that turns it into a moist, fertile garden bed.
Select a location that provides the correct sunlight exposure for the plants you will be growing. You can place the bale on any flat surface — concrete, gravel, wood pallets or even grass (if you don’t mind the grass beneath it dying). But be aware that after the bale is wet, it will be very heavy and difficult to move.
Set the bale with its cut (prickly) end facing up, then begin the conditioning process.
On days 1-3, apply water slowly and evenly until it begins to run out the bottom of the bale. A soaker hose snaked over the top and, ideally, set on a timer would facilitate the process and ensure the straw doesn’t dry out.
On days 4-10, sprinkle the top of the bale with one-third cup of herbicide-free lawn fertilizer that contains at least 20 percent nitrogen (organic gardeners can substitute a 50/50 mix of bone meal and blood meal). Water the bale to dissolve and distribute the fertilizer, but take care not to overwater, which would wash out the nutrients.
Continue to water the bale daily.
As the nitrogen works to decompose and transform the bale into a nutrient-rich environment for plants, the center of the bale will heat up, similar to a compost pile, and then begin to cool. It will be safe to plant seeds or seedlings when the temperature drops below 100 degrees (use a compost thermometer to measure the bale’s internal temperature).
Black ink mushroom growth at the beginning of the process is normal. They will die down on their own. Do not eat them!
PLANTING AND GROWING
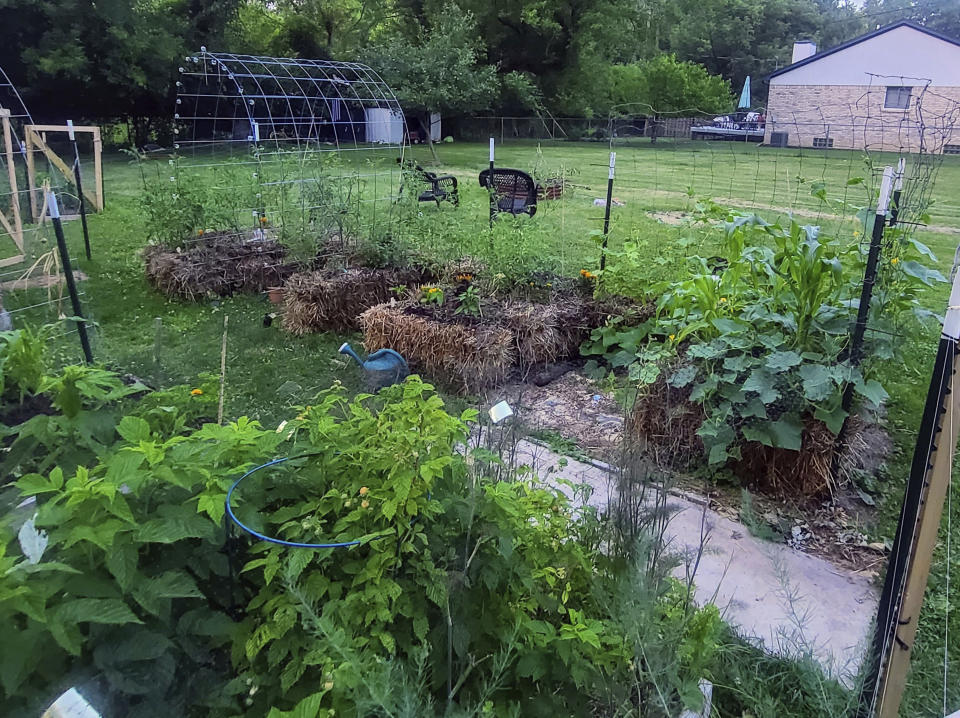
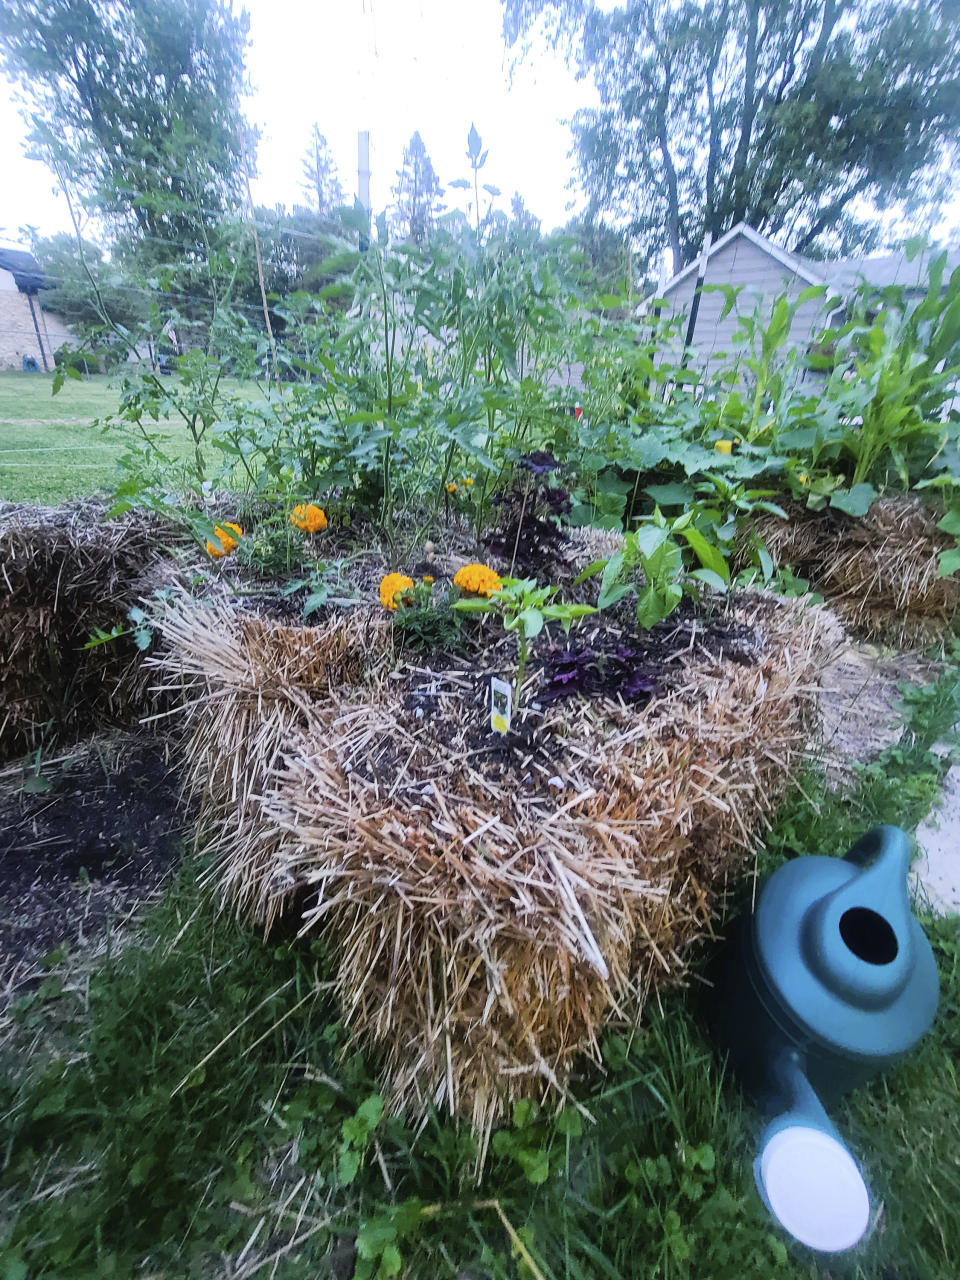
Poke holes or cut slits in the top of the bale and plant your seedlings, filling each little hole around them with compost or potting mix. If planting seeds, make holes or slits following the depth recommendation on their packet. Drop larger seeds in, then fill each hole with compost or potting mix. If planting smaller seeds, sprinkle a layer of compost or potting mix over the bale’s surface, sow seeds, then sprinkle more compost or potting mix over them to achieve the recommended depth.
Continue to water daily to ensure the center of the bale and the area around each plant are kept consistently moist. Depending on the weather, more frequent watering may be necessary. Do not let the bale dry out.
Apply fertilizer and amendments throughout the growing season as you would to garden plants.
Although many flowers and vegetables grow well in straw bales, those with shallow roots and heavy tops, like corn, should be avoided.
___
Jessica Damiano writes regular gardening columns for the AP and publishes the award-winning Weekly Dirt Newsletter. You can sign up here for weekly gardening tips and advice.
___
For more AP gardening stories, go to https://apnews.com/hub/gardening.
