The Simplest Ways to Dry Flowers for Perfectly Preserved Blooms

"Hearst Magazines and Yahoo may earn commission or revenue on some items through the links below."
Picking up a fresh bouquet is the easiest way to spruce up your home (and boost your mood!)—but no matter the time of year, your beloved flowers and foliage will start to wither eventually. Instead of tossing out that perfect blossom or statement centerpiece, though, you can keep it around for weeks, months, or even years to come by learning how to dry flowers.
Luckily, preserving flowers is relatively simple, and we’re sharing easy ways that yield gorgeous results. While dried flowers may not have the same effect as fresh ones, they do have their own unique, charming beauty. And part of that beauty is the ability to turn those cherished bouquets and blossoms into keepsakes—especially if they’re sentimental in some way.
The key to preserving flowers is drying them out completely, but the right method depends on each bloom’s species and age, plus your desired effect. Some techniques require almost no effort, while others are more involved (but may yield better results).
Ready to learn how to dry flowers? Use these simple methods to preserve their natural beauty, and then learn a few top tips to keep your dried flowers in great shape for as long as possible.
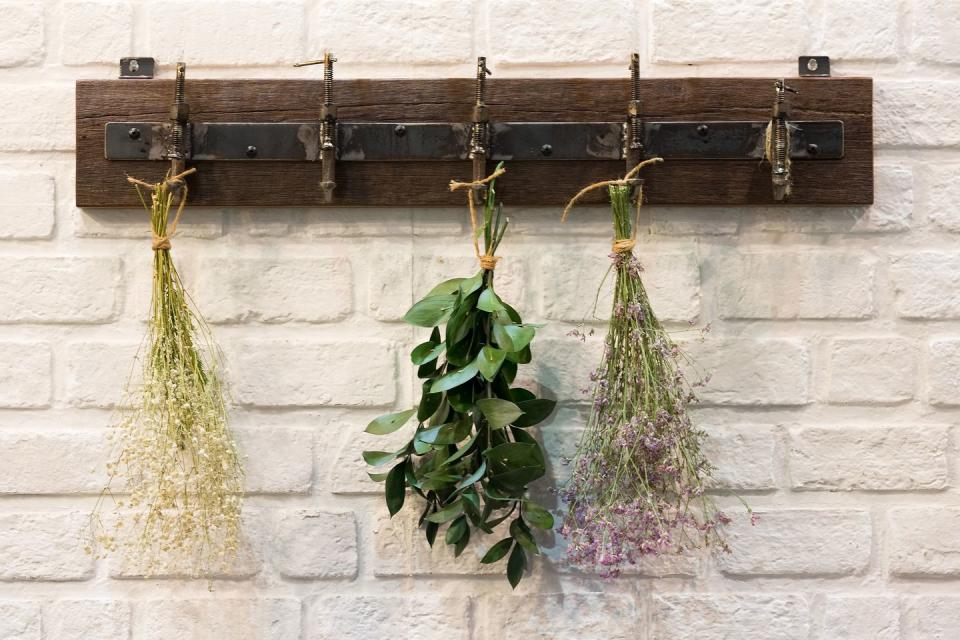
Hang them up to dry.
The traditional technique is also the simplest: All you need to do is leave your flowers or foliage exposed to air, also known as the “hang and dry” method, according to Clemson University’s Home and Garden Information Center.
These flowers should be cut right before reaching max bloom, and then “collected, tied, and simply hung upside down in a warm, dark, dry place,” per Clemson. This preserves blue and yellow shades especially well, while rosier tones will fade a bit. Use rubber bands (or more photogenic twine) to keep them hung together for a few weeks.
Let them be.
Another method involves placing single flowers with stems in a container with a bit of water, then allowing the water to evaporate over a few weeks. Just like the upside-down method, these flowers should be kept in a warm, dry, dark location. Air-drying works best for semi-dry flowers like hydrangeas, lavender, baby’s breath, and heather.
Pop them in the microwave.
Yep, your microwave is actually a really effective flower dehydrator, according to Purdue University’s agriculture department. Pick a bloom just before it’s fully opened, then support it in a desiccant—drying agents like silica, sand, and kitty litter—inside a microwave-safe dish. Pop it in the microwave uncovered alongside a cup of water to prevent excessive drying.
Small flowers, such as violets, daffodils, and orchids, may need only one to two minutes, per Purdue, while larger flowers, such as peonies, mums, and dahlias, may take three to four minutes. There’s no need to do it in one go, either—feel free to microwave in one-minute intervals until your flower is completely dry.
Use desiccants, like silica, borax, and sand.
If you’d rather go au naturale or want to invest in a high-quality finished product, desiccant materials like silica, borax, and sand can preserve pretty much any flower—but especially work wonders for those that wilt quickly, like roses, violets, and carnations. Silica gel and sand (especially oolitic sand) work best, but a borax-sand or borax-cornmeal mixture can also work. You can even reuse your desiccants once you’re done.
Additionally, the New York Botanical Garden (NYBG) notes that air drying works well for more dainty, small flowers, but it can shrivel large, fragile blooms beyond recognition. And, NYBG says roses, peonies, dahlias, sunflowers, lilacs, zinnias, hyacinths, and daffodils fare much better when they are dried with a desiccant.
Cut off most of the stem, then place the flower in a storage container—your plants should not overlap—that already has a bit of your desiccant of choice inside (about a ½ to 1-inch layer). Next, pour the desiccant around your flowers, shaking as you go to ensure that the drying agent gets in between the petals. If you are working with especially delicate flowers, pour more around the edges, then tap the container until it fills in around the flower. Repeat this step until your blooms are completely covered—that way, the flower will retain its natural shape instead of looking like it’s been crushed.
This method takes a few weeks, but you should check on your flowers every few days to make sure they aren’t over-dried. If you’re drying multiple blossoms, Purdue recommends placing a test flower near the top of the mix to make it easier to check on them.
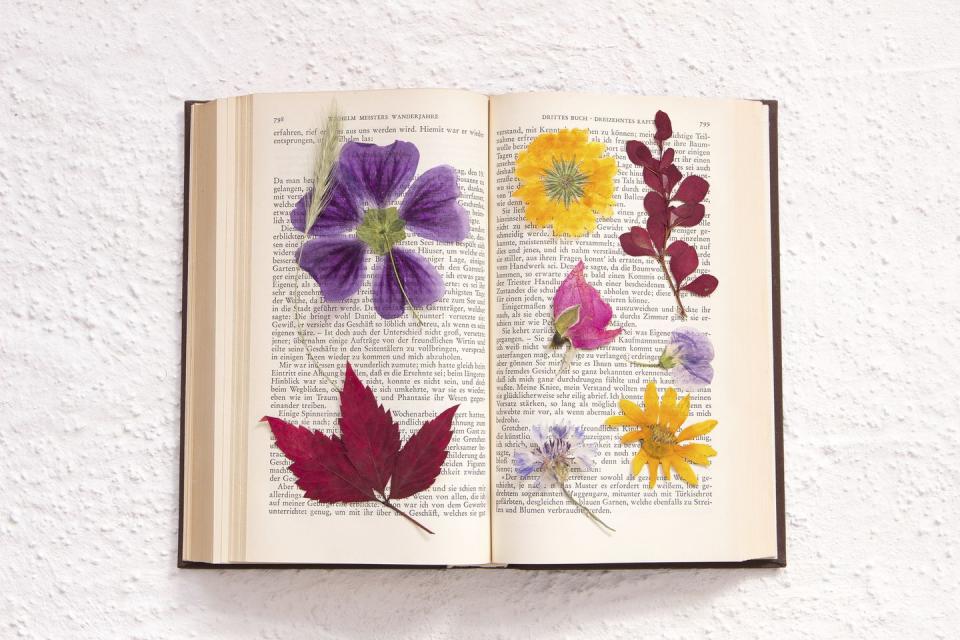
Press them the old-fashioned way.
If you don’t care about the shape of the blooms, take a cue from the Victorians and press your flowers. Larger ones could take a few months to dry out completely, but pressing is pretty much the definition of low-stakes flower drying.
The classic method involves placing a flower between the pages of a book, but you can also use newspaper, paper towels, or some other kind of absorbent paper. Simply set the flower inside and weigh it down with a book or other heavy object, leaving it for a few weeks or months. The good news is that it’ll stay fresh even if you forget about it—making for a delightful surprise when you finally rediscover it.
Try waxed paper.
The waxed paper technique is similar to the above method of pressing flowers, but involves an extra step that allows for immediate use of your pressed flowers. For this technique, NYBG says that flat flowers and foliage are easier to press.
Using dried or fresh flowers, place your blossoms between two sheets of wax paper and cover with a cloth. Then, you’ll take an iron and press down on a low to medium heat setting for a few minutes. Allow a few moments to cool, and your flowers are pressed and ready to use!
Support from readers like you helps us do our best work. Go here to subscribe to Prevention and get 12 FREE gifts. And sign up for our FREE newsletter here for daily health, nutrition, and fitness advice.
You Might Also Like

