How to use Shopify: tips for beginners

Shopify is one of the most popular ecommerce platforms in the world – and it’s not hard to see why. If you want to get selling online from a standing start, Shopify is almost certainly the fastest way to do it. You can have a simple online store designed, populated, hosted and launched within quite literally minutes. When we rounded up the best website builders for small businesses, Shopify was our pick for the easiest ecommerce site.
However, there are still a few things worth knowing if you want to get the most out of Shopify as quickly as possible – and that’s where this guide comes in. We’ve put together a few essential tips for getting started with Shopify – helping you get your store up and running as fast as possible, and ensuring you do everything you need to do before you launch.
Get the free trial
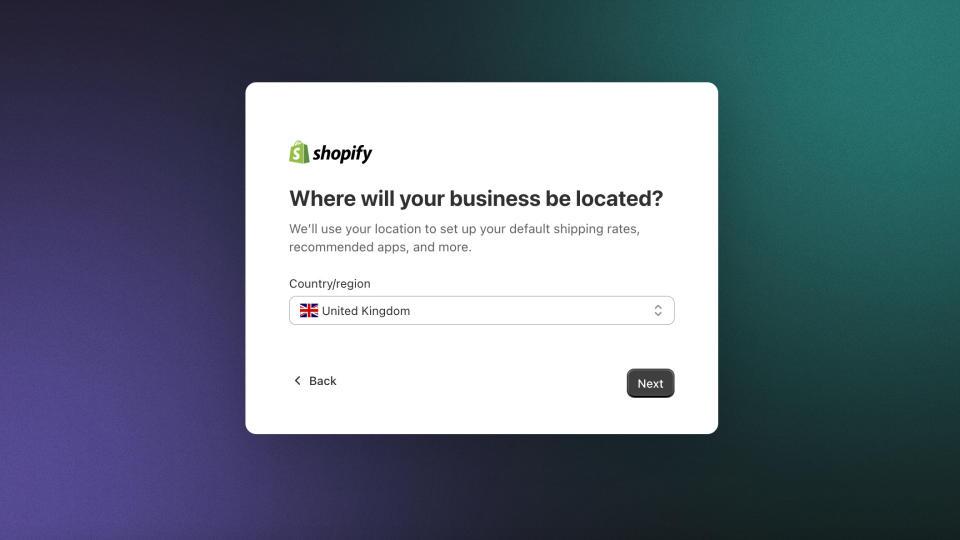
The first thing to do is create your account on Shopify and start your free trial. The trial period is only three days, so you won’t get much of a feel for day-to-day trading, but this is ample time to get your store set up and designed, and learn your way around the platform. Bear in mind that while you’re on a free trial, your store will automatically be password protected – so while you won’t be able to sell, you also won’t run the risk of anyone stumbling across it until it’s ready.
Once your account is set up, you’ll be dropped into the main dashboard, where you can set up and monitor everything about your business.
Name, theme, design
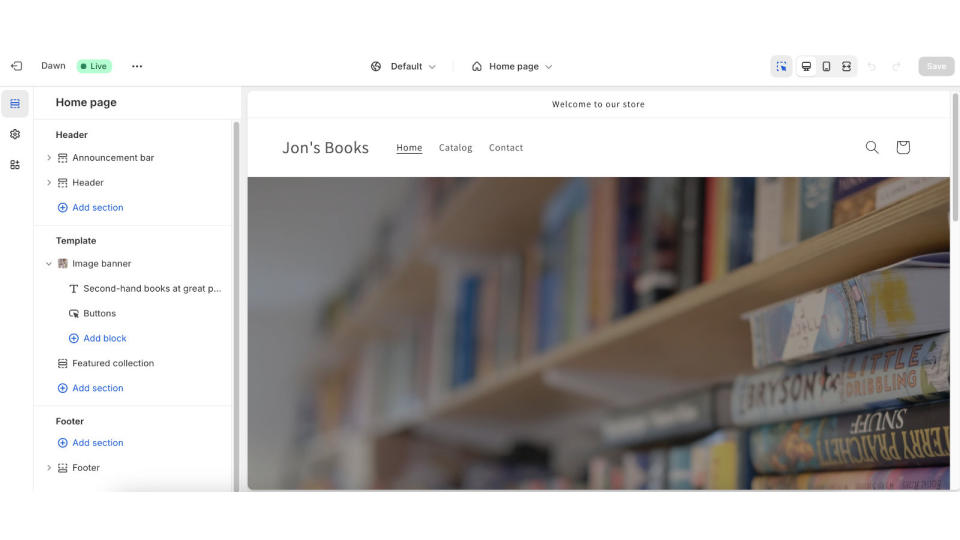
First things first, access the “Settings” menu in the bottom left. This will allow you to name your store.
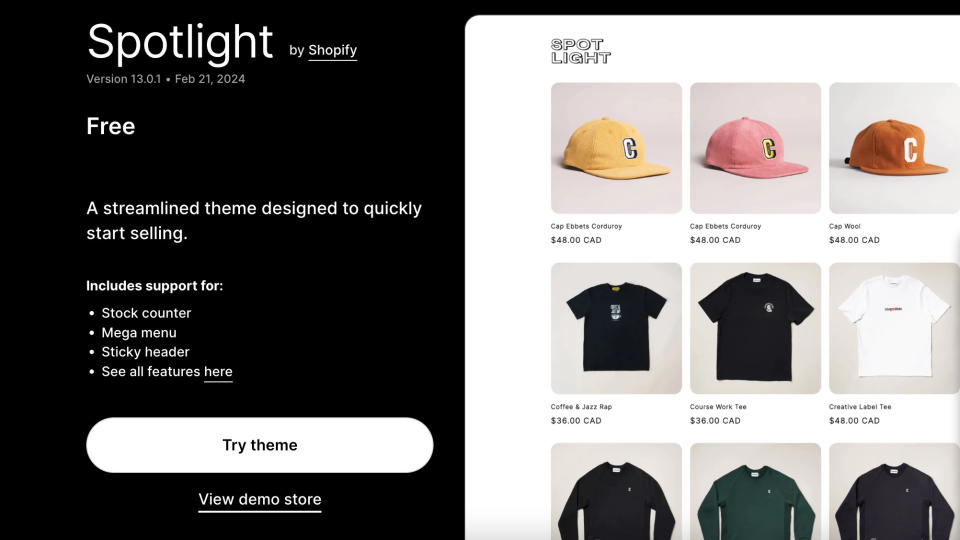
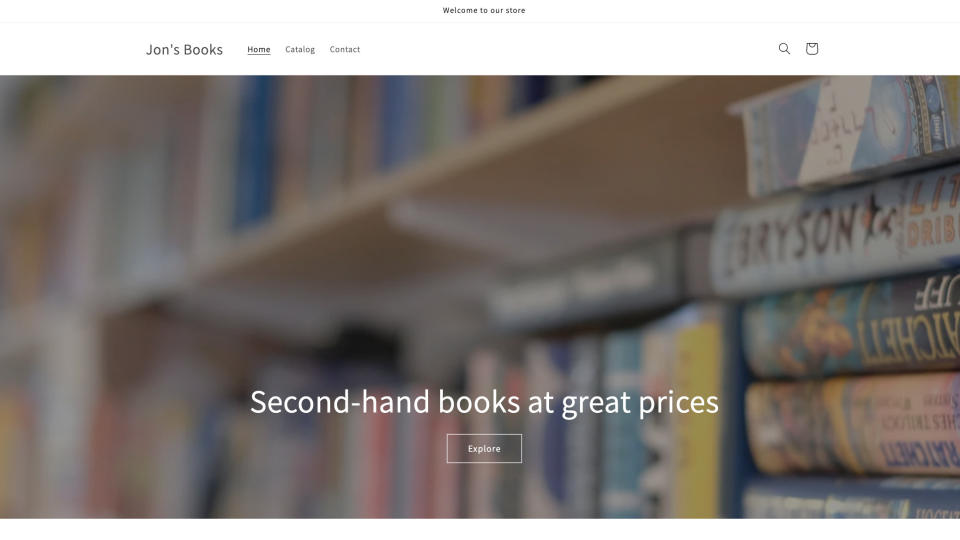
Next, it’s time to pick a theme. Click “Online store” in the left-hand menu, and then “Themes” in the drop-down menu. Shopify offers a selection of free and paid-for Themes, all of which can be customised. If you aren’t sure what to pick, the best thing to do is prioritise simplicity. A straightforward design where people can clearly see the products you have is always going to trump something complicated and over-engineered.

“Spotlight” is a good free choice if you want to keep things as simple as possible, or “Dawn” if you want to put images to the forefront. Once you’ve picked a Theme, click “Add” to add it to your library, and from there, click “Publish” to apply it to your store. There’s no reason not to experiment with the different free Themes – and the paid-for ones let you try them out before committing.
Once your Theme is picked, you can customise with your own text, colours and pictures. A golden rule to remember: if you’re unsure, just keep things simple. A single sentence explaining what your business does is better than a giant paragraph of fluffy text.
Add products
A business isn’t a business without something to sell! Click “Products” in the left-hand menu and you’ll be able to start adding in your inventory. From this dashboard, click “Add product” in the top right to try adding something.
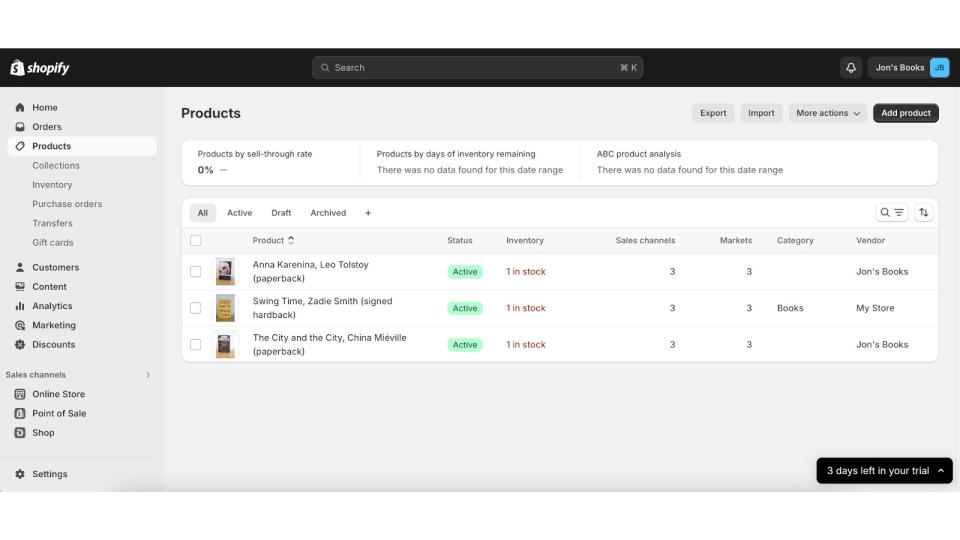
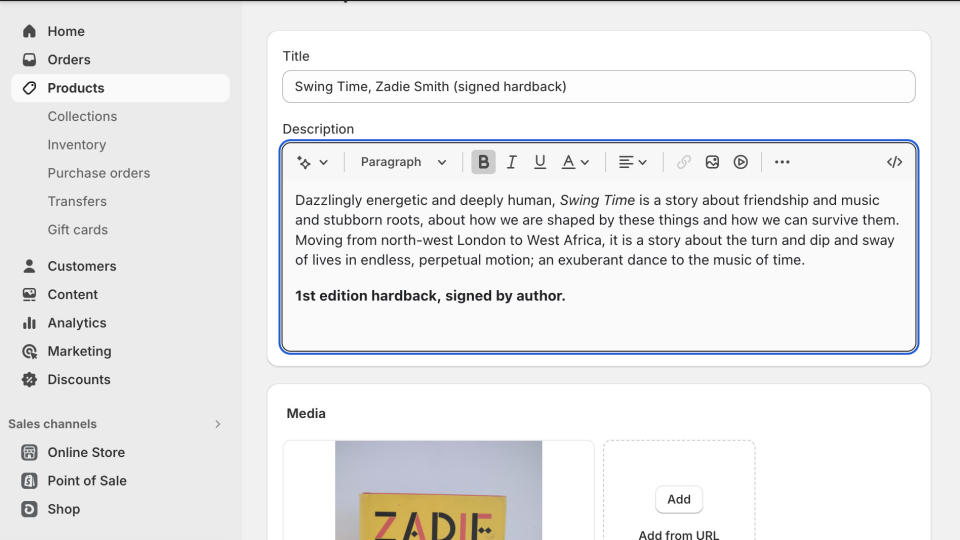
Here, you’ll get to a straightforward editor where you can add the product name, as well as pictures, a description, price, stock numbers.
Listing tips
Products need a picture – customers like to be able to see what they’re buying. Again, the best thing to do is keep things simple. There’s no need to be too artistic; find a plain background (a white wall is perfect) and take a straight-on, well-lit photo of the item you are selling. Cropping them to square format is a good idea, as it'll mean they display well in uniform rows and columns.

If you’re selling something that doesn’t photograph so easily (like yoga classes or tarot readings, for instance), you may need to get more creative. You may want to consider purchasing stock imagery – check out our guide to the best stock photo libraries.
Write a description of the item in the box. How much you write and the tone of your writing will heavily depend on what you’re selling – a suitable description for a candle-making workshop will likely be very different from one for a power drill or a quad-bike. Look at similar stores to yours – what kind of tone are they striking? How much text are they writing?
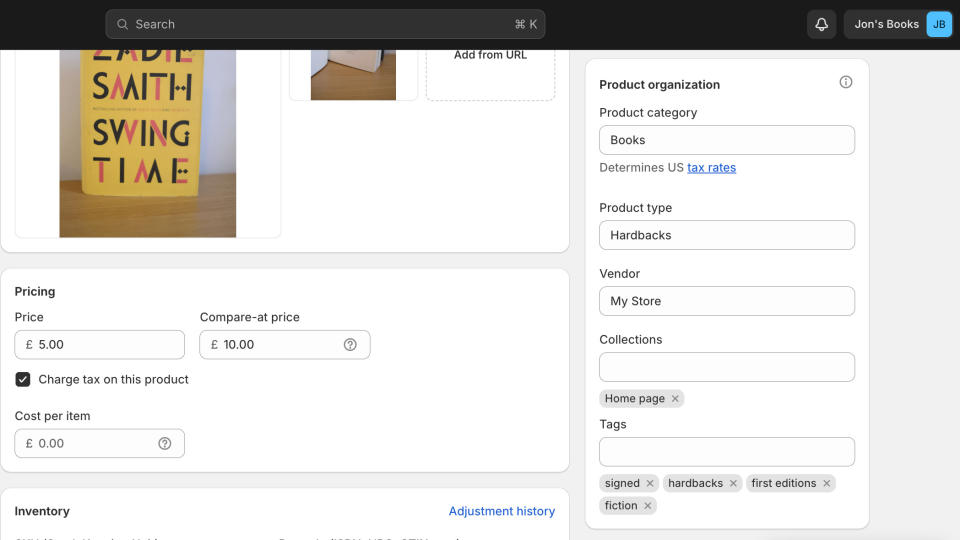
Below, you can set the price for your product. If it has been reduced, you can also enter the original price, which will be displayed on the front end of your store with strikethrough – like this “£10 £5”. For internal use, you can also add the cost price – this won’t be displayed to the customer.
Things to do early
There are a few features Shopify offers in its Products tool that will make your life much easier if you start using them right away.
The first is Product Organization. On the right-hand side of the “Add Product” screen you’ll see a section where for each product you can add a category, type and tags, and assign to a collection. Start using this right away, as it will make your store much more navigable for both you and your customers. For instance, if I’m selling second-hand books, I can make categories for fiction and non-fiction, or hardbacks and paperbacks. I can create a tagging system to mark up books that are signed, or first-editions, or out-of-print. Start this early to save headaches down the line.
The second is to give each product a SKU (Stock Keeping Unit). This is a unique number or alphanumeric code assigned to each of your products, making them instantly identifiable. Devise a system of SKUs for your products – it can be as simple as calling the first one “00001” and working up from there. It will make your inventory much easier to navigate and keep track of.
Pre-launch checklist
Here is a quick list of essential things to make sure you’ve sorted before launching on Shopify
Payment gateway
A payment gateway is what allows your customers to pay you. There are hundreds to choose from, however unless you’re very attached to a particular third-party provider, Shopify’s own Shopify Payments is the easiest and cheapest to use. Click “Settings” then “Payments” to walk through the setup wizard.
Policies
In the “Policies” section of settings, you can clearly set out your store’s returns policy to avoid confusion down the line. Here is also where you can set your store’s privacy settings – it is important these comply with local law and regulations (check if you’re unsure).
Shipping
If you’re shipping physical products, here you can set the details that will enable Shopify to automatically calculate and display shipping rates – and even print the labels for you.
Taxes
In the “Taxes and Duties” section, you can select the region in which you’ll be paying tax. Once you’ve done this, Shopify can automatically add on local taxes like VAT (UK) or sales tax (USA). If you’re at all unsure about anything here, consult a tax professional.
There is of course, lots more you can do to make your Shopify business soar. However, if you’ve completed everything in this guide, you’ll have the basics covered to start selling online.


