How to shoot a flat lay featuring ingredients from nature
A flat lay is a photo setup where an object or objects are laid on a background and shot from a bird’s eye view, using a flat or soft light so that any strong or distracting shadows are avoided.
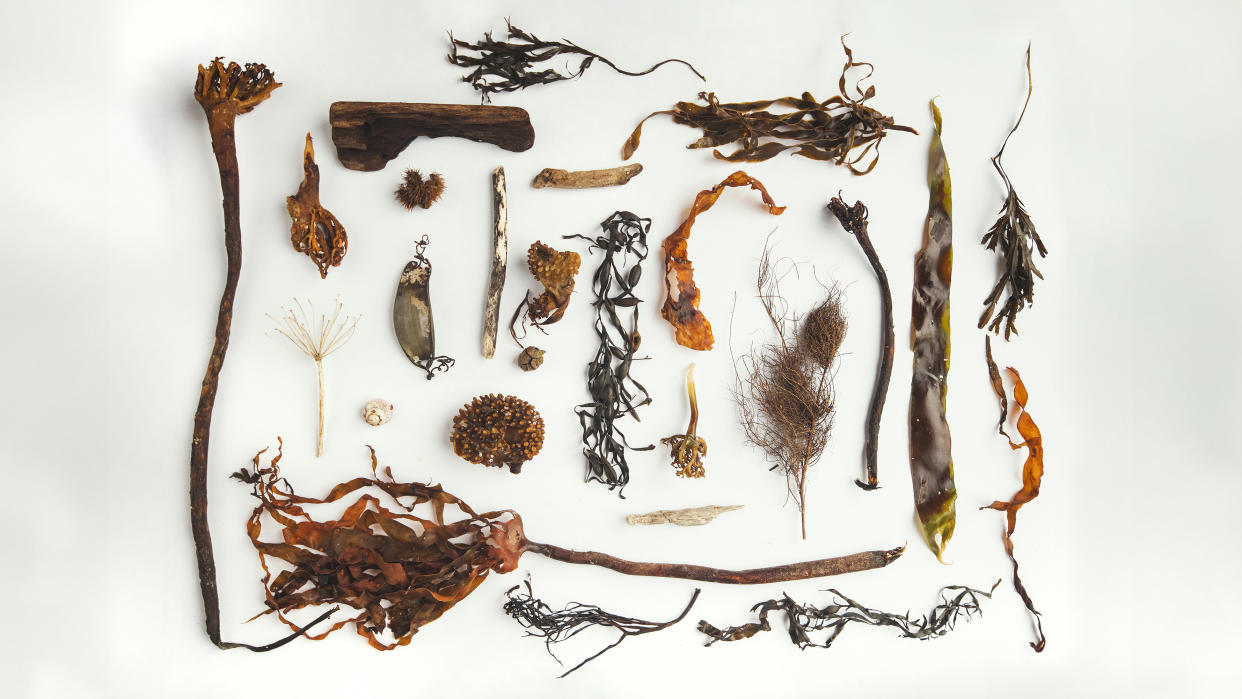
A flat lay can be created with anything – the only thing you need to take into account is the size of your objects and how they will sit on your background. A flat lay can feature anything you choose – here, we used interesting types of plants and seaweed that had washed up on the beach.
For our background, we used a large piece of white card so we had plenty of space to play around with. You don’t have to use white card – your background can be whatever color you want it to be. If you are going to use color, make sure that it complements your subject. If you’re unsure, white or grey are neutral and easy to work with as they won’t clash.
One final note: at Digital Camera World we are conscious of doing the right thing. We believe you should return any natural items back to where you found them as soon as you are finished (the same day, ideally) – think of it like a library loan and take care of them while in your possession. Do not pick seaweed that is attached to a rock and, if an animal is using something, leave it alone.
1) Collect your items
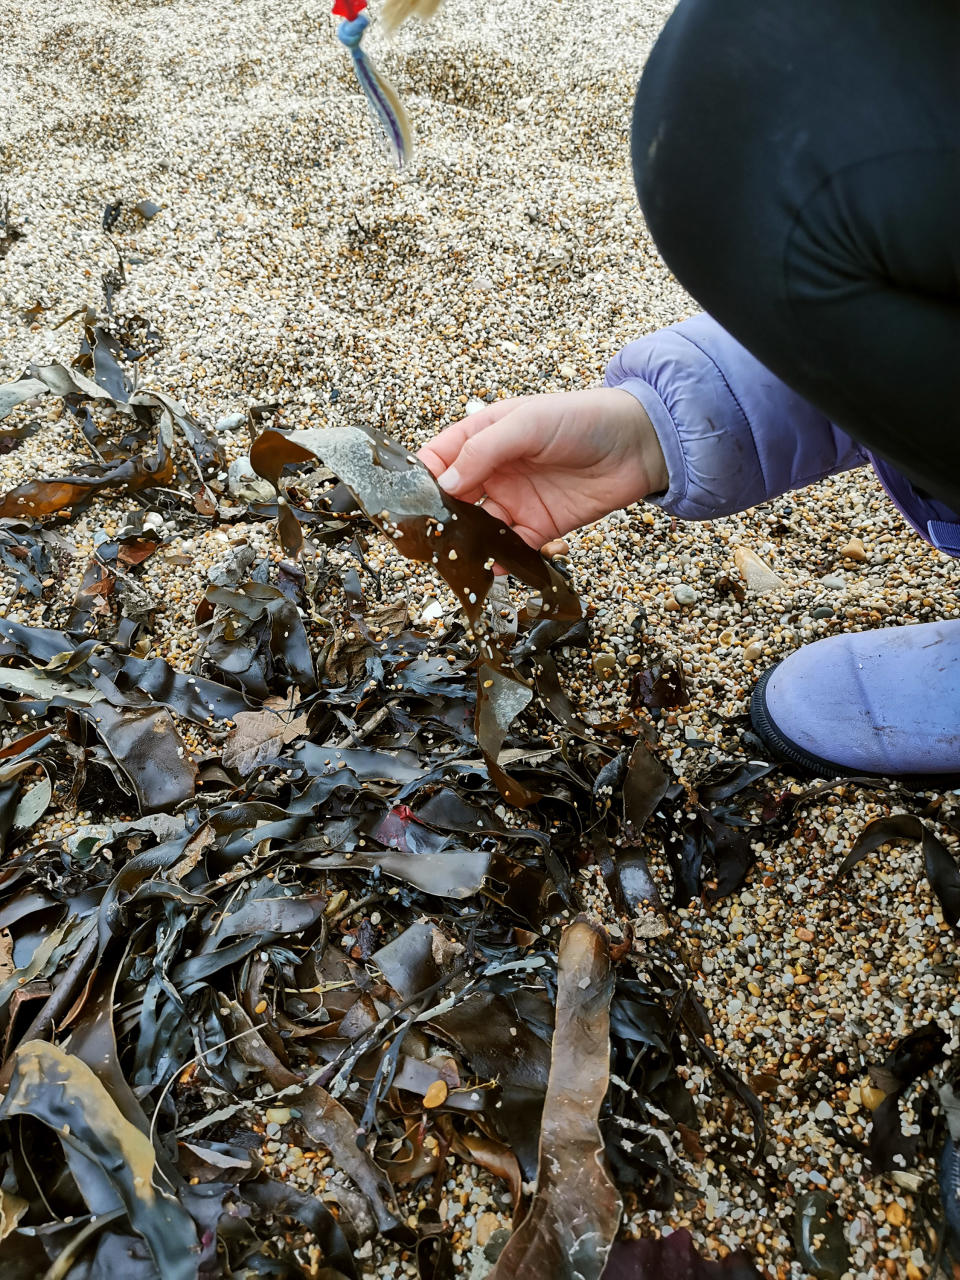
For this photoshoot, we headed to the beach to see what we could find. In the end, we had two separate bags. One was full of natural items (like seaweed, shells, a mermaid’s purse and driftwood) and the other bag was the trash we collected from the beach at the same time. It’s great when you can use your photography to help nature, too! For hygiene reasons, take gloves or use a litter picker when picking up trash.
2) Camera and lighting settings
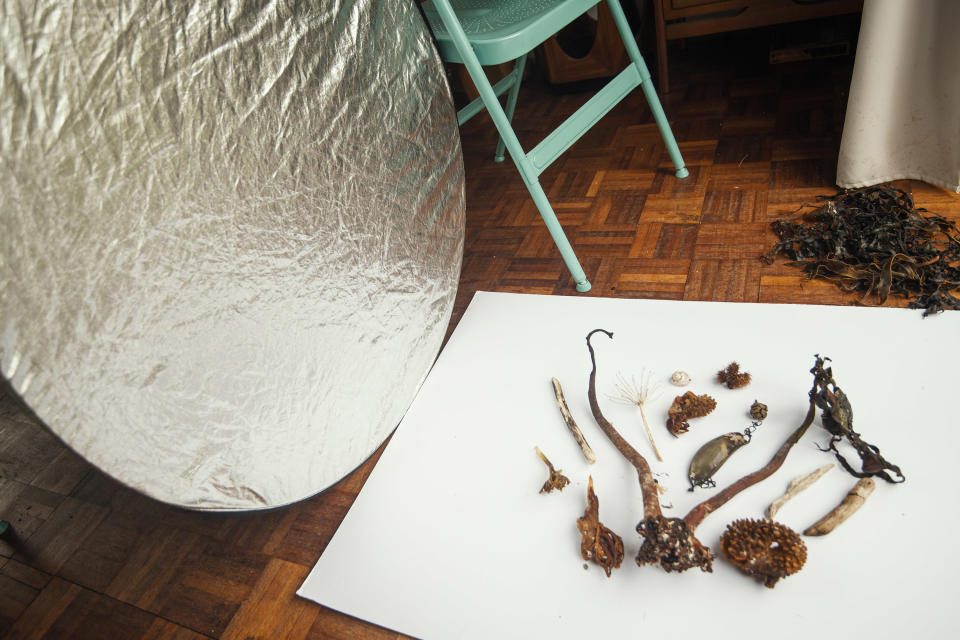
To shoot our flat lay, we positioned our large piece of white card (594 x 841mm / 23.4 x 33.1in) next to some double doors. As we had plenty of natural light to shoot with, we decided to hand-hold our camera. We set the aperture to f/4, although anywhere between f/4 and f/8 should be enough to ensure that all the objects in the scene are sharp. The ISO was set to around 400 to ensure we had a fast enough shutter speed. We also placed a reflector on the left to bounce some light back into the side of the frame that is furthest from the light source.
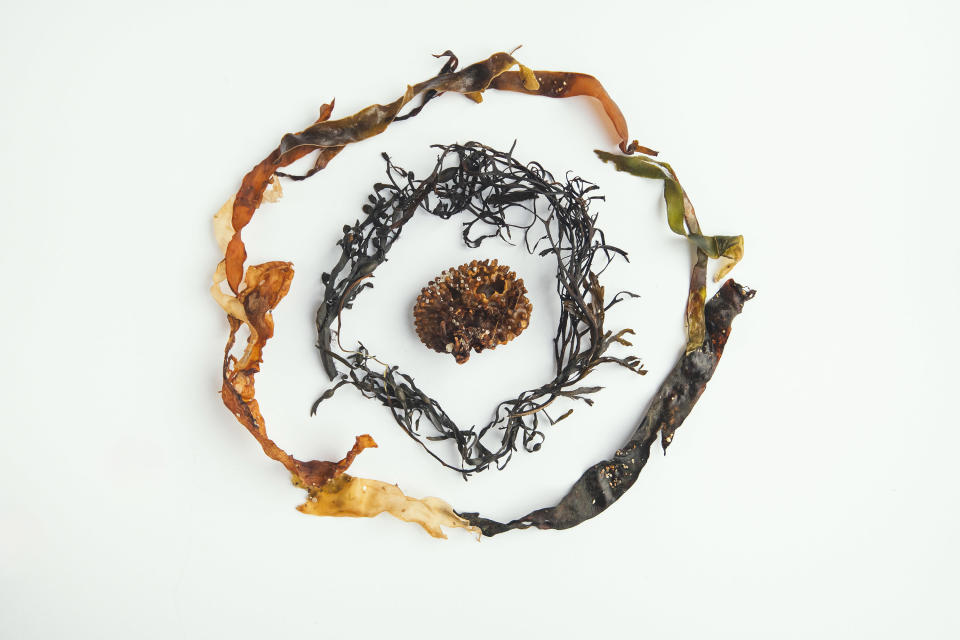
3) Arranging the items
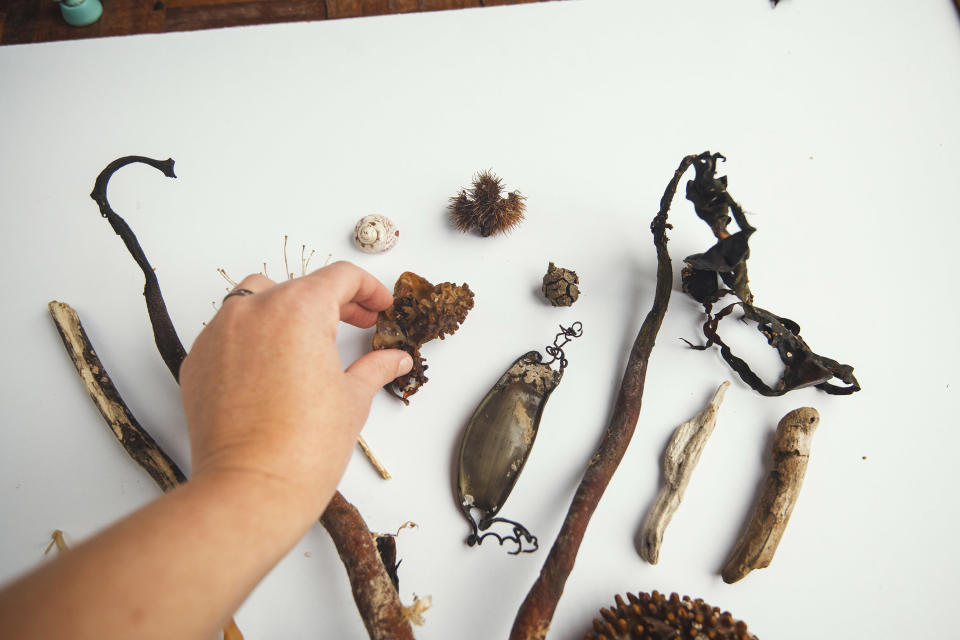
This is the part of the project that you need to pay the most attention to – the arrangement of your objects. Experiment by looking for different shapes and how they can sit next to each other in the frame. It’s an experimental process and you may not get it right the first time, so keep trying until you create a winner. It’s also worth noting that we used a wide-angle 16-35mm f/4 lens to take our images, with the focal length predominantly at 35mm (full-frame).
4) Clean it up

To make your image look clean and tidy requires a little editing in post-production. First, you want to tone and style your image to your liking and ensure the exposure and contrast are correct. Remember, you want a neutral effect and soft light so the objects stand out by themselves. Some of the seaweed and rubbish left marks on the card, so we cleaned those up in Photoshop using the Remove tool. A few small stray stones also made it into the final pictures so, again, we removed them in Photoshop with the same tool.
5) Turn trash into art
As mentioned earlier, we also collected a bag of rubbish from the beach and so decided to turn this into art. Again, think about how the objects interact with each other – place the larger objects in the frame first and then dot the smaller pieces around. Also, think about shapes and colors in your image and how they work together.
Digital Camera World is the world’s favorite photography magazine and is packed with the latest news, reviews, tutorials, expert buying advice, tips and inspiring images. Plus, every issue comes with a selection of bonus gifts of interest to photographers of all abilities.
Subscribe now with our latest subscription deal! View Deal
Check out the best wide-angle lenses, take a look at the best photo editing software, and while you are down on the beach, make sure to take one of the best waterproof cameras.

