The Secret to Smooth, Creamy, Never-Grainy, Fool-Proof Fudge

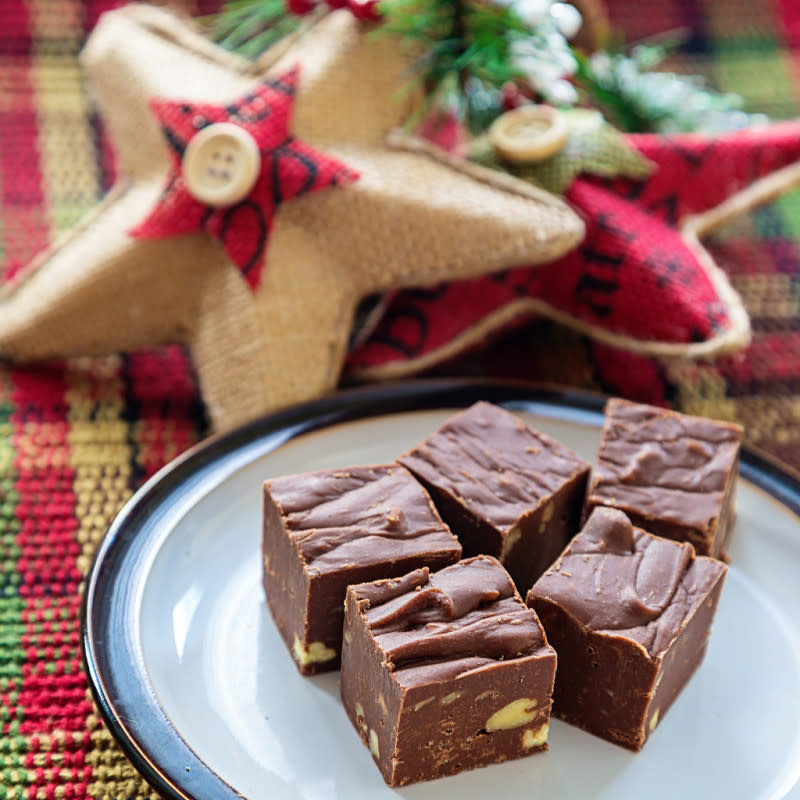
Chocolate and nut fudge
Homemade candy is such a special way to celebrate the holidays (or, a random Tuesday) and making homemade fudge is particularly noteworthy—and not only because it is delicious and can be assembled in a variety of different flavors, including chocolate, red velvet and even pink lemonade. Fudge is an exceptionally unique candy (and a great gift) because it gives off all the homey, old-fashioned, nostalgic vibes that make the holidays (and Tuesdays) extra meaningful.
Although making fudge does require a candy thermometer, (which can be scary, we know) it's actually quite easy to make—and to fix, when things get grainy—yes grainy. The ideal fudge texture is lusciously smooth, and yet sometimes during the assembly process large sugar crystals can form, giving the fudge an unpleasant texture. Read on for how to fix grainy fudge—and how to avoid it in the first place.
Related: Easy Peanut Butter Fudge Recipe
iStock
How to Make Smooth, Creamy Fudge
We’re sharing these basic fudge-making steps to help illustrate the moments where fudge can turn from smooth to grainy. Walking you through this process will help you avoid the pitfalls and make you a better, more confident candy maker.
1. Melt the sugar gently. Your fudge ingredients—including the sugar—need to be gently warmed on the stovetop until the sugar has completely melted and dissolved.
Potential grainy moment: If you mistakenly turn the heat up high or stir vigorously, the melting sugar can splatter on the sides of the pot and form crystals (and crystals equal graininess). In other words, low and slow is the name of the fudge game. However, if despite your best efforts, crystals do form on the sides of your pan, you can easily remove them with a wet pastry brush. Additionally, take the time to make sure the sugar is thoroughly melted and dissolved before you move on to the next step. Otherwise, you guessed it, crystals can form.
2. Resist stirring. Once the sugar is completely dissolved, boil the mixture without stirring until it reaches the soft-ball stage. What does that mean? The mixture will between 235° and 240° and will form into a soft ball when you drizzle a little bit of the mixture into a glass of cold water.
Potential grainy moment: We know it's hard to not stir, but fight the urge! If you stir the mixture while it comes to the soft-ball stage, you risk creating grainy crystals.
3. We'll say it again: resist stirring. Fudge is a lesson in chemistry—and also a lesson in patience and restraint. After the mixture raches the soft-ball stage, you want to let the fudge cool to about 115° without stirring.
Potential grainy moment: If you stir your fudge before it cools to 115° F crystals can form. Take a deep breath. You can do it!
4. Now stir it just enough. Are you sensing a theme here? If you can get the stirring (and not-stirring) down, you will be a fudge expert. Once the fudge is cooked, beat it with a wooden spoon for about 5 to 10 minutes until it's creamy and loses its sheen.
Potential grainy moments: If you stir your fudge for too long or too little, crystals can form. Be mindful of the signs it's ready (ie: no sheen and a creamy texture).
Related: 80 Christmas Candy Recipes That Are Great for Gifting
How to Fix Grainy Fudge
If, despite your best efforts, your fudge is grainy when you go to transfer it to your pan, never fear! You can fix it. Just place the fudge mixture back in a saucepan on the stovetop with about 1½ cups of water and slowly melt the fudge to a smooth liquid. Bring the liquid to a boil and then to the soft-ball stage and proceed with your recipe (ie: the cooling and stirring steps).

